Getting in to refinishing furniture was a fluke. I had never been a crafty person in my entire life and anytime I worked with my hands, it was because I was forced. My dad is a handyman around the house and taught me the basics about tools, and how to use them safely, but never how to build, craft or refinish anything.
I was 7 months pregnant when I moved to San Antonio. My husband and I just spent the entire first two trimesters separated across the U.S. and I was living with a roommate while I waited for our assignment (military situation) to work out. I kept busy to pass the time with reading, classes and of course…shopping!
But moving to San Antonio was an adjustment and I decided, as a first time mom, that I wanted to do something for my son that I made with my own hands. So I started with nursery decor and from there my passion to refinish just evolved. Plus there was a lot of DIY network and HGTV involved in that…I was just so fascinated at how easy it all looked!
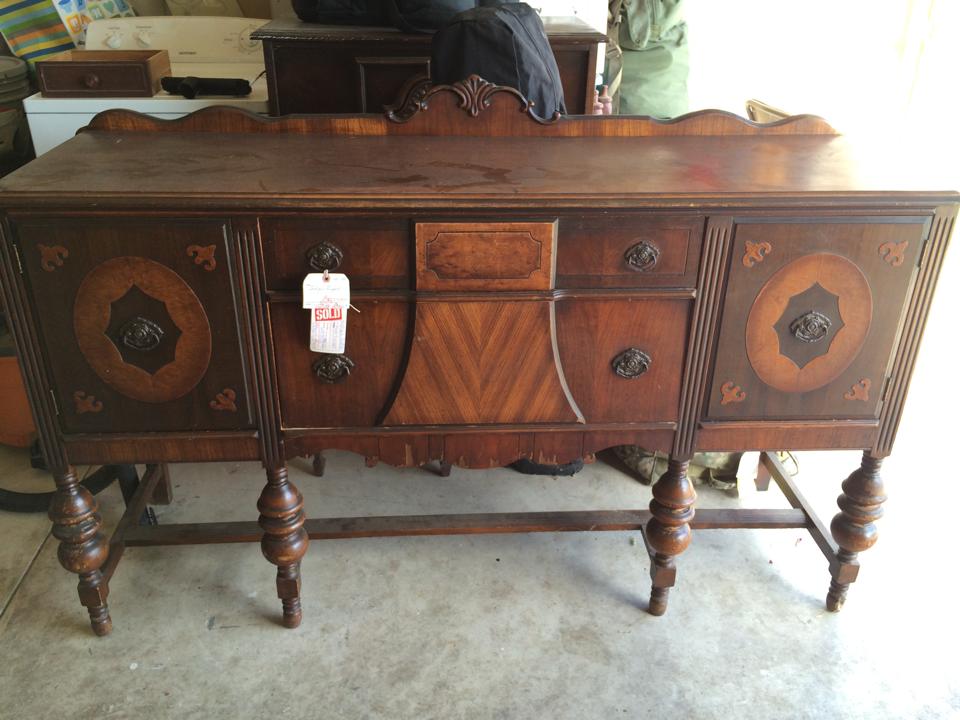
Then we came across our first real piece. It was a gorgeous buffet, a little funky in the design, but it was everything I had been looking for! And to top it all off…it was only $150 on Craigslist and a short drive away…a great investment for our family or as my husband likes to say, a great investment for me.
**This post contains affiliate links**
You can see all the gorgeous details this buffet had from the legs to the door design to the back board! It was perfect. It still had the Goodwill tag from the previous owner on it and we were surprised that he sold it for less than half of what he paid, but hey…his loss right?
My original vision for this was a deep turquoise base with dark stained top. My husband got set to working on removing the veneer in hopes there was some beautiful hardwood underneath, but what we found was a cheap pine, and he had gotten a little carried away with the hammer and chisel and now there was a few grooves of missing wood. So in the end, I was ok with painting the top.
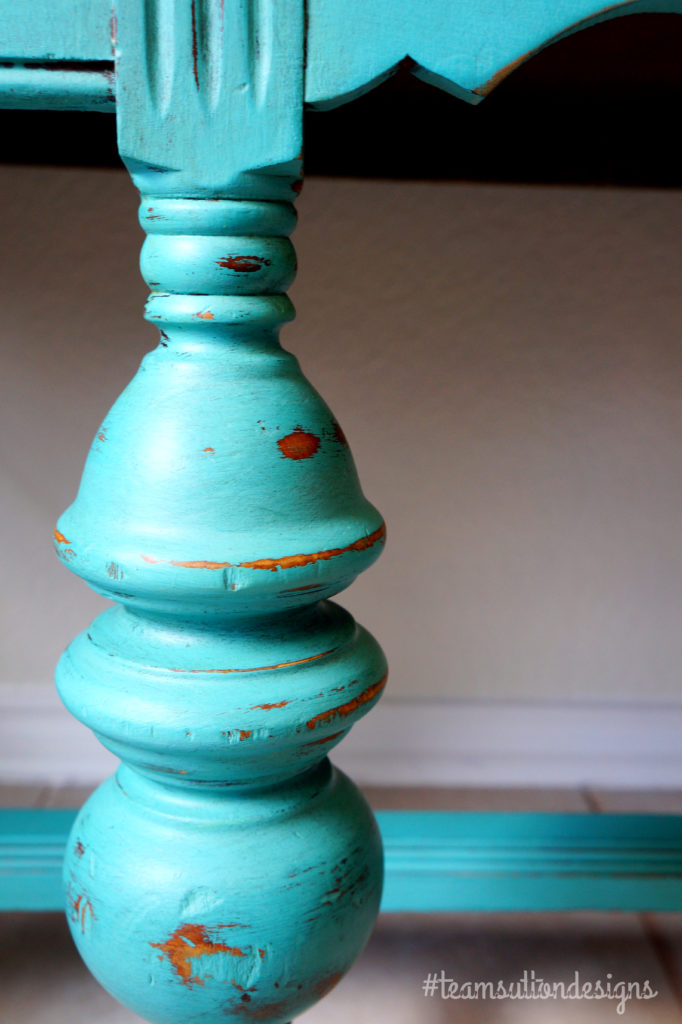
I went with “Bali Bliss” by Behr for the base. It is such a bright, fun turquoise and the antiquing wax just gave it such a depth and variation that gives it an heirloom feel. I distressed it and topped it off with a matte polyurethane.
SIDE-NOTE: There has been some issues with peeling on this because of the antiquing wax and poly. In the future I will have to remove the wax, use a water-based glaze and a water-based poly or remove the poly and keep the wax with a clear wax topcoat.
Bottomline…never use poly over wax! I learned this the hard way so please learn from my mistakes! I spent hours researching the peeling and found out it’s because the wax seals the porous surface over the paint and the poly has no grip on the wax’s slick surface!
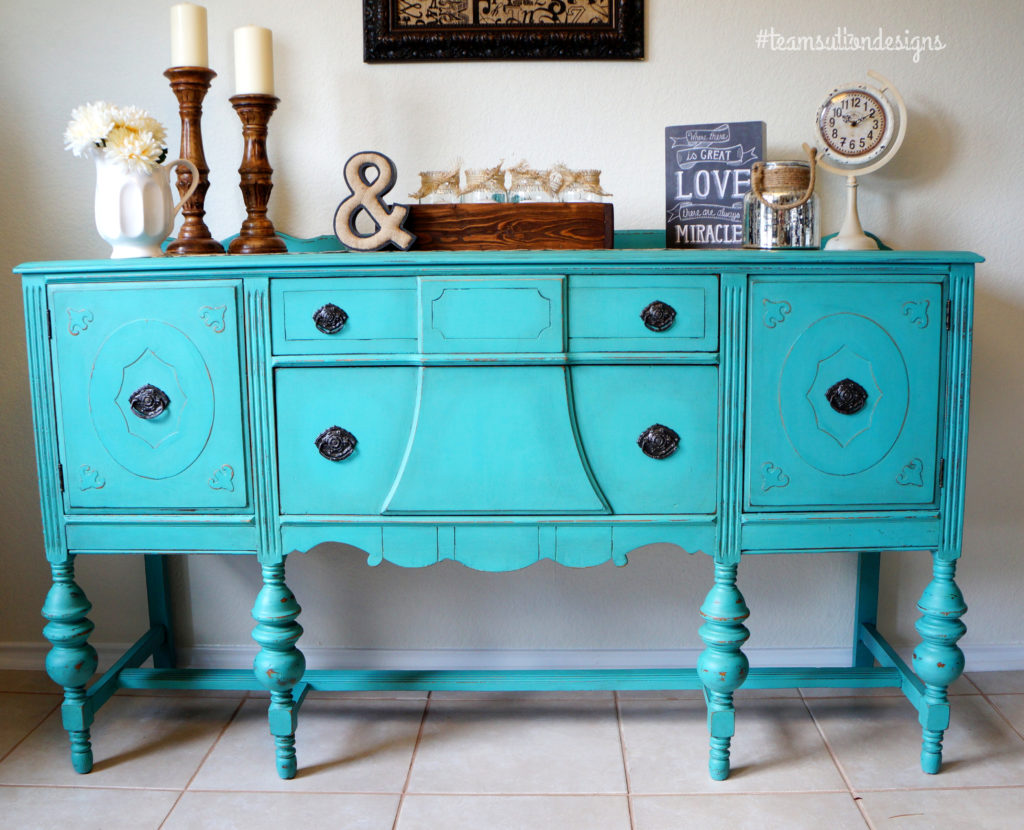
I was very intentional on where I applied the wax. As a beginner with this piece, I didn’t want to give it a “sat in a barn for a decade” type of weathering and aging. Instead, I wanted it to look very clean, very classy, but aged.
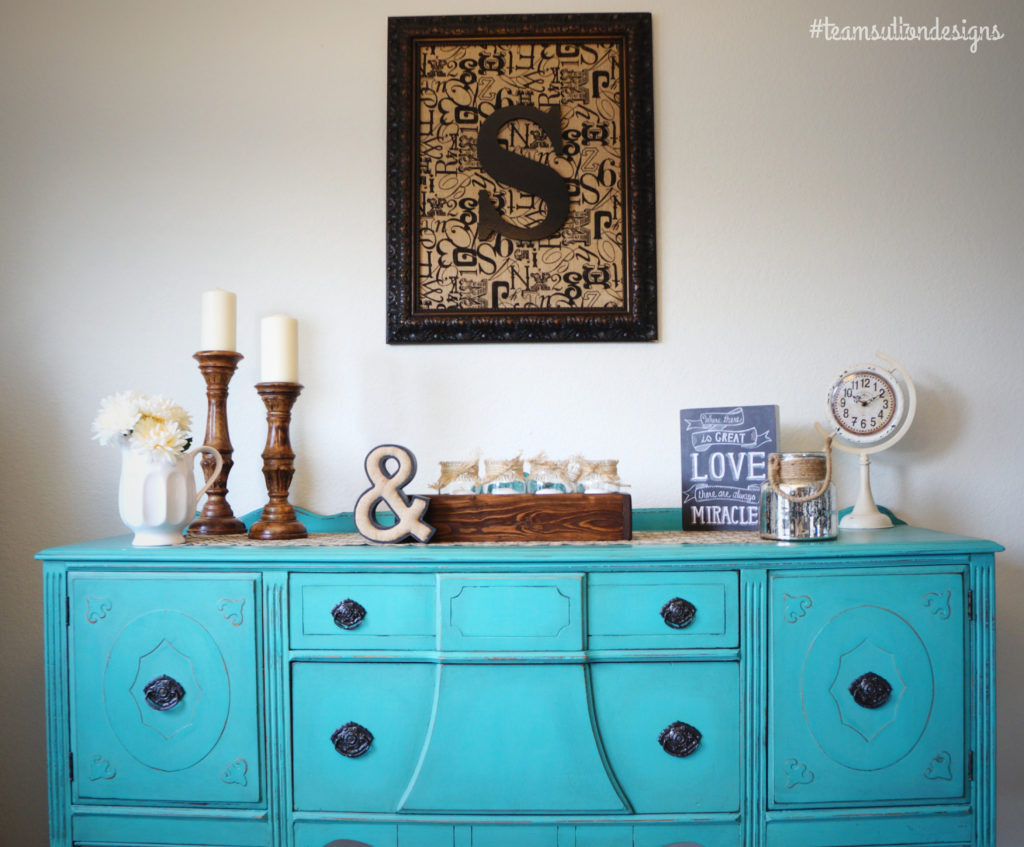
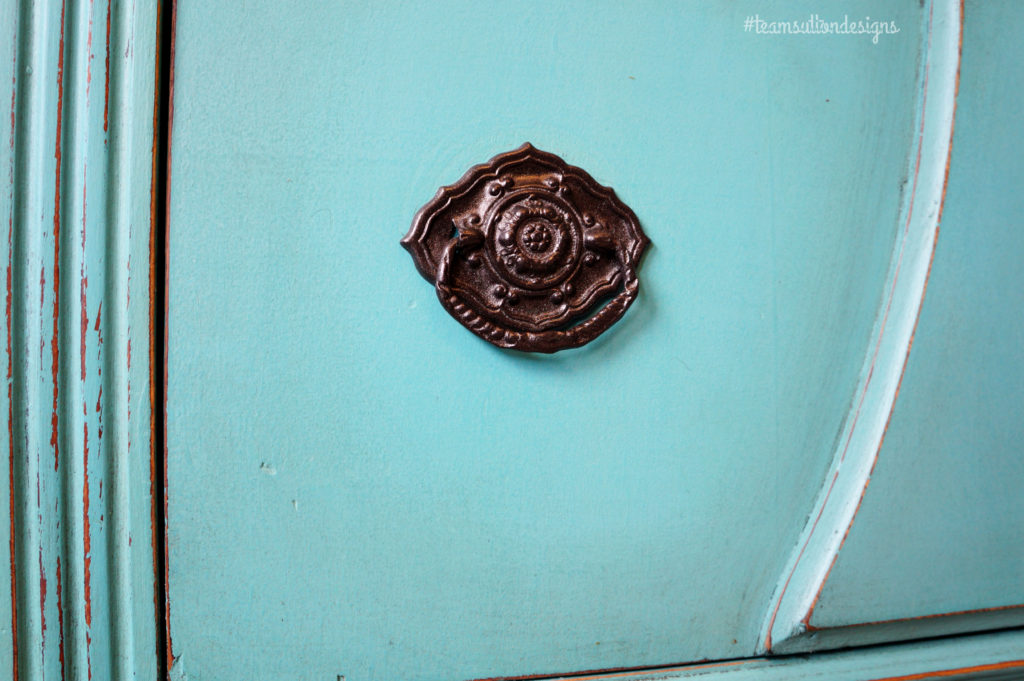
I kept the original hardware and just adjusted the color by spray painting the handles with “Oil Rubbed Bronze” by Rustoleum.
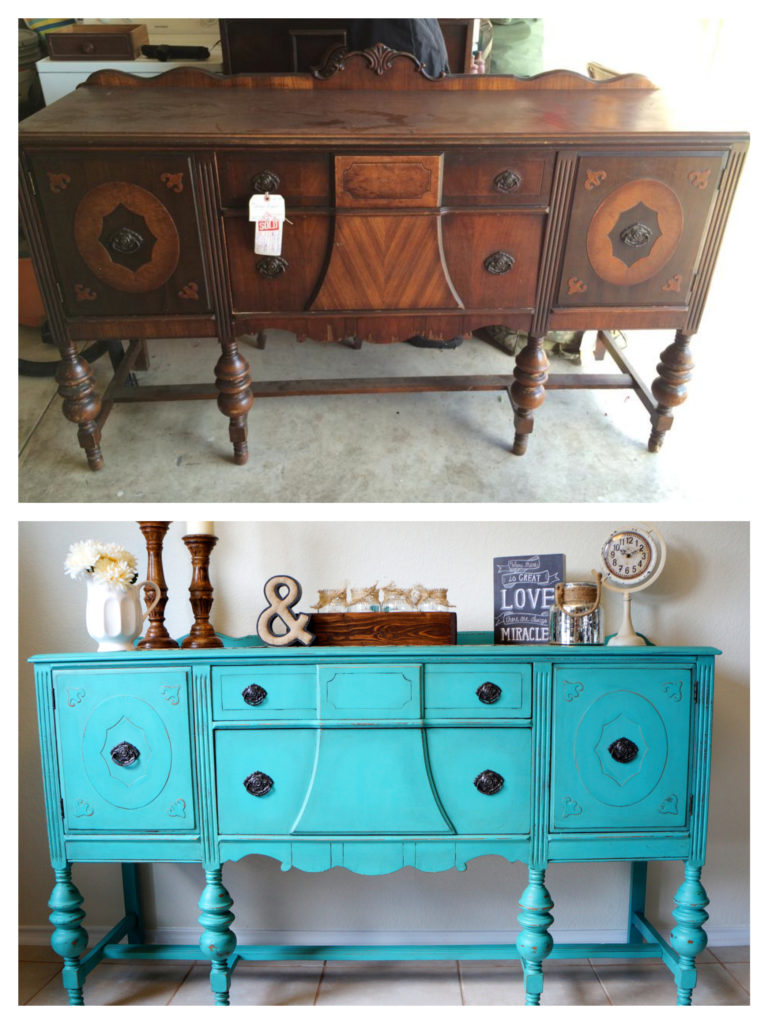
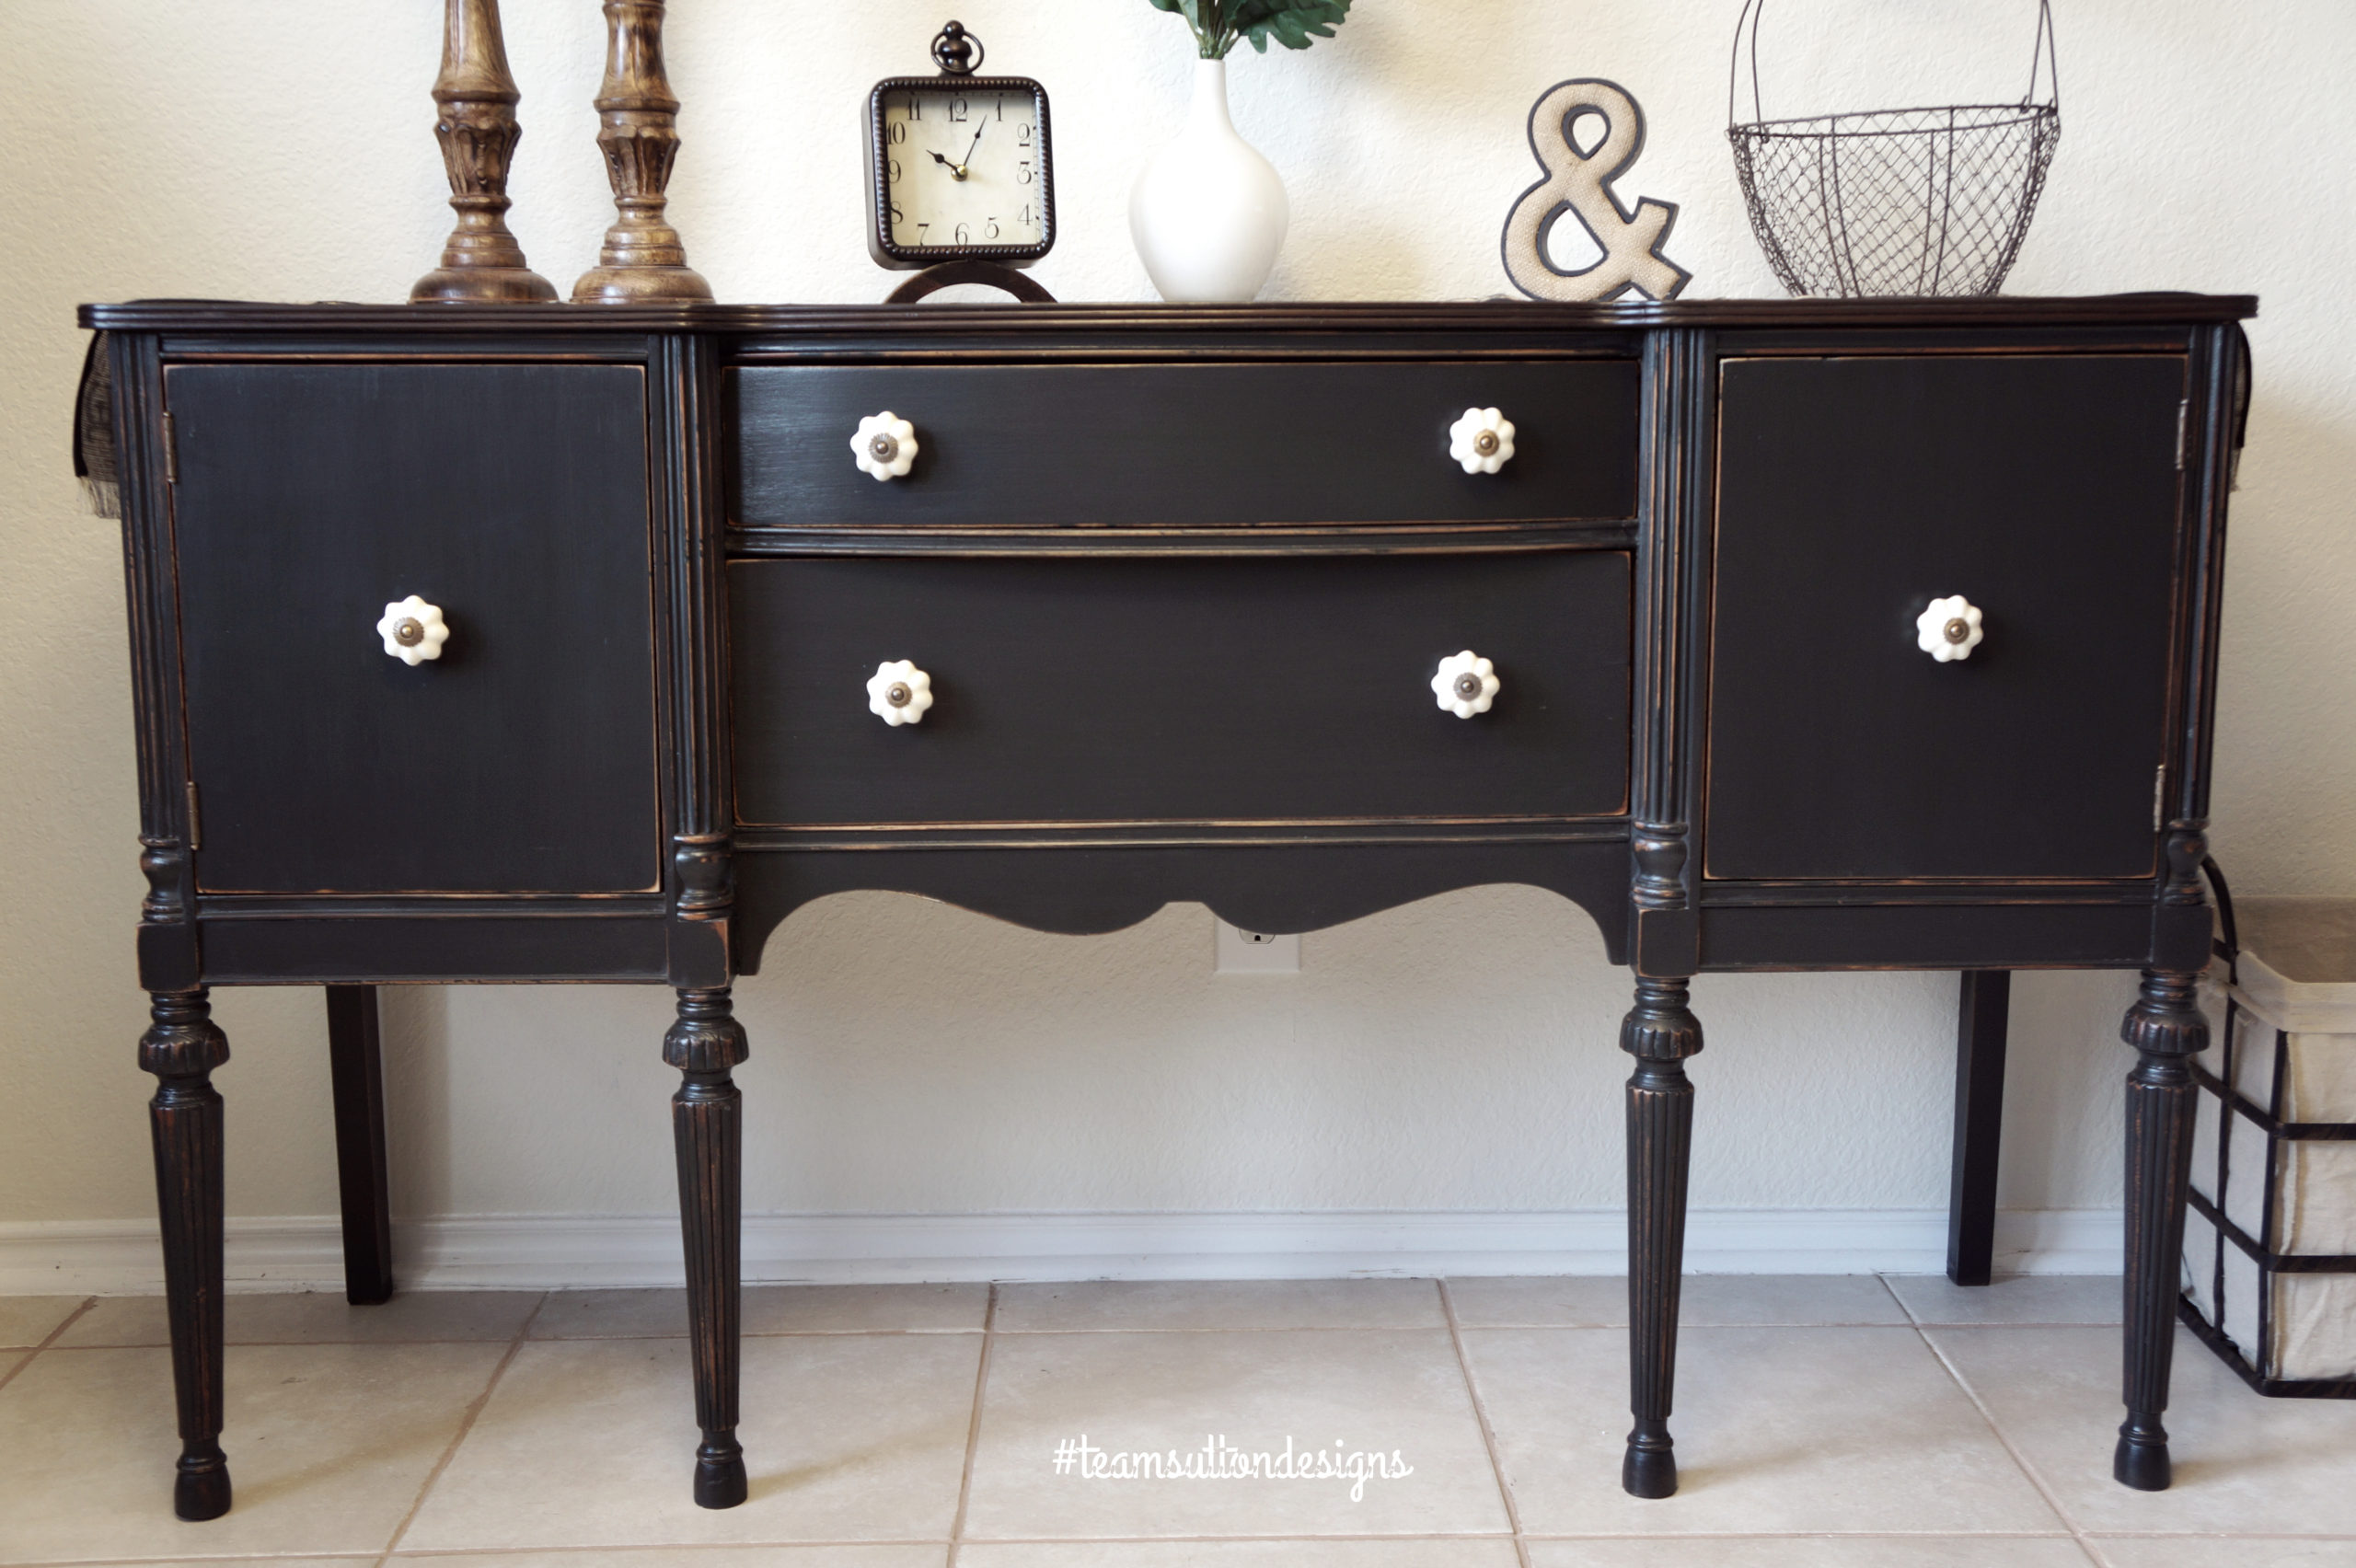
And here is the Before and After! Let me know what you think in the comments below! Thanks for stopping by!



LOVE this piece!! Your work is amazing!!!
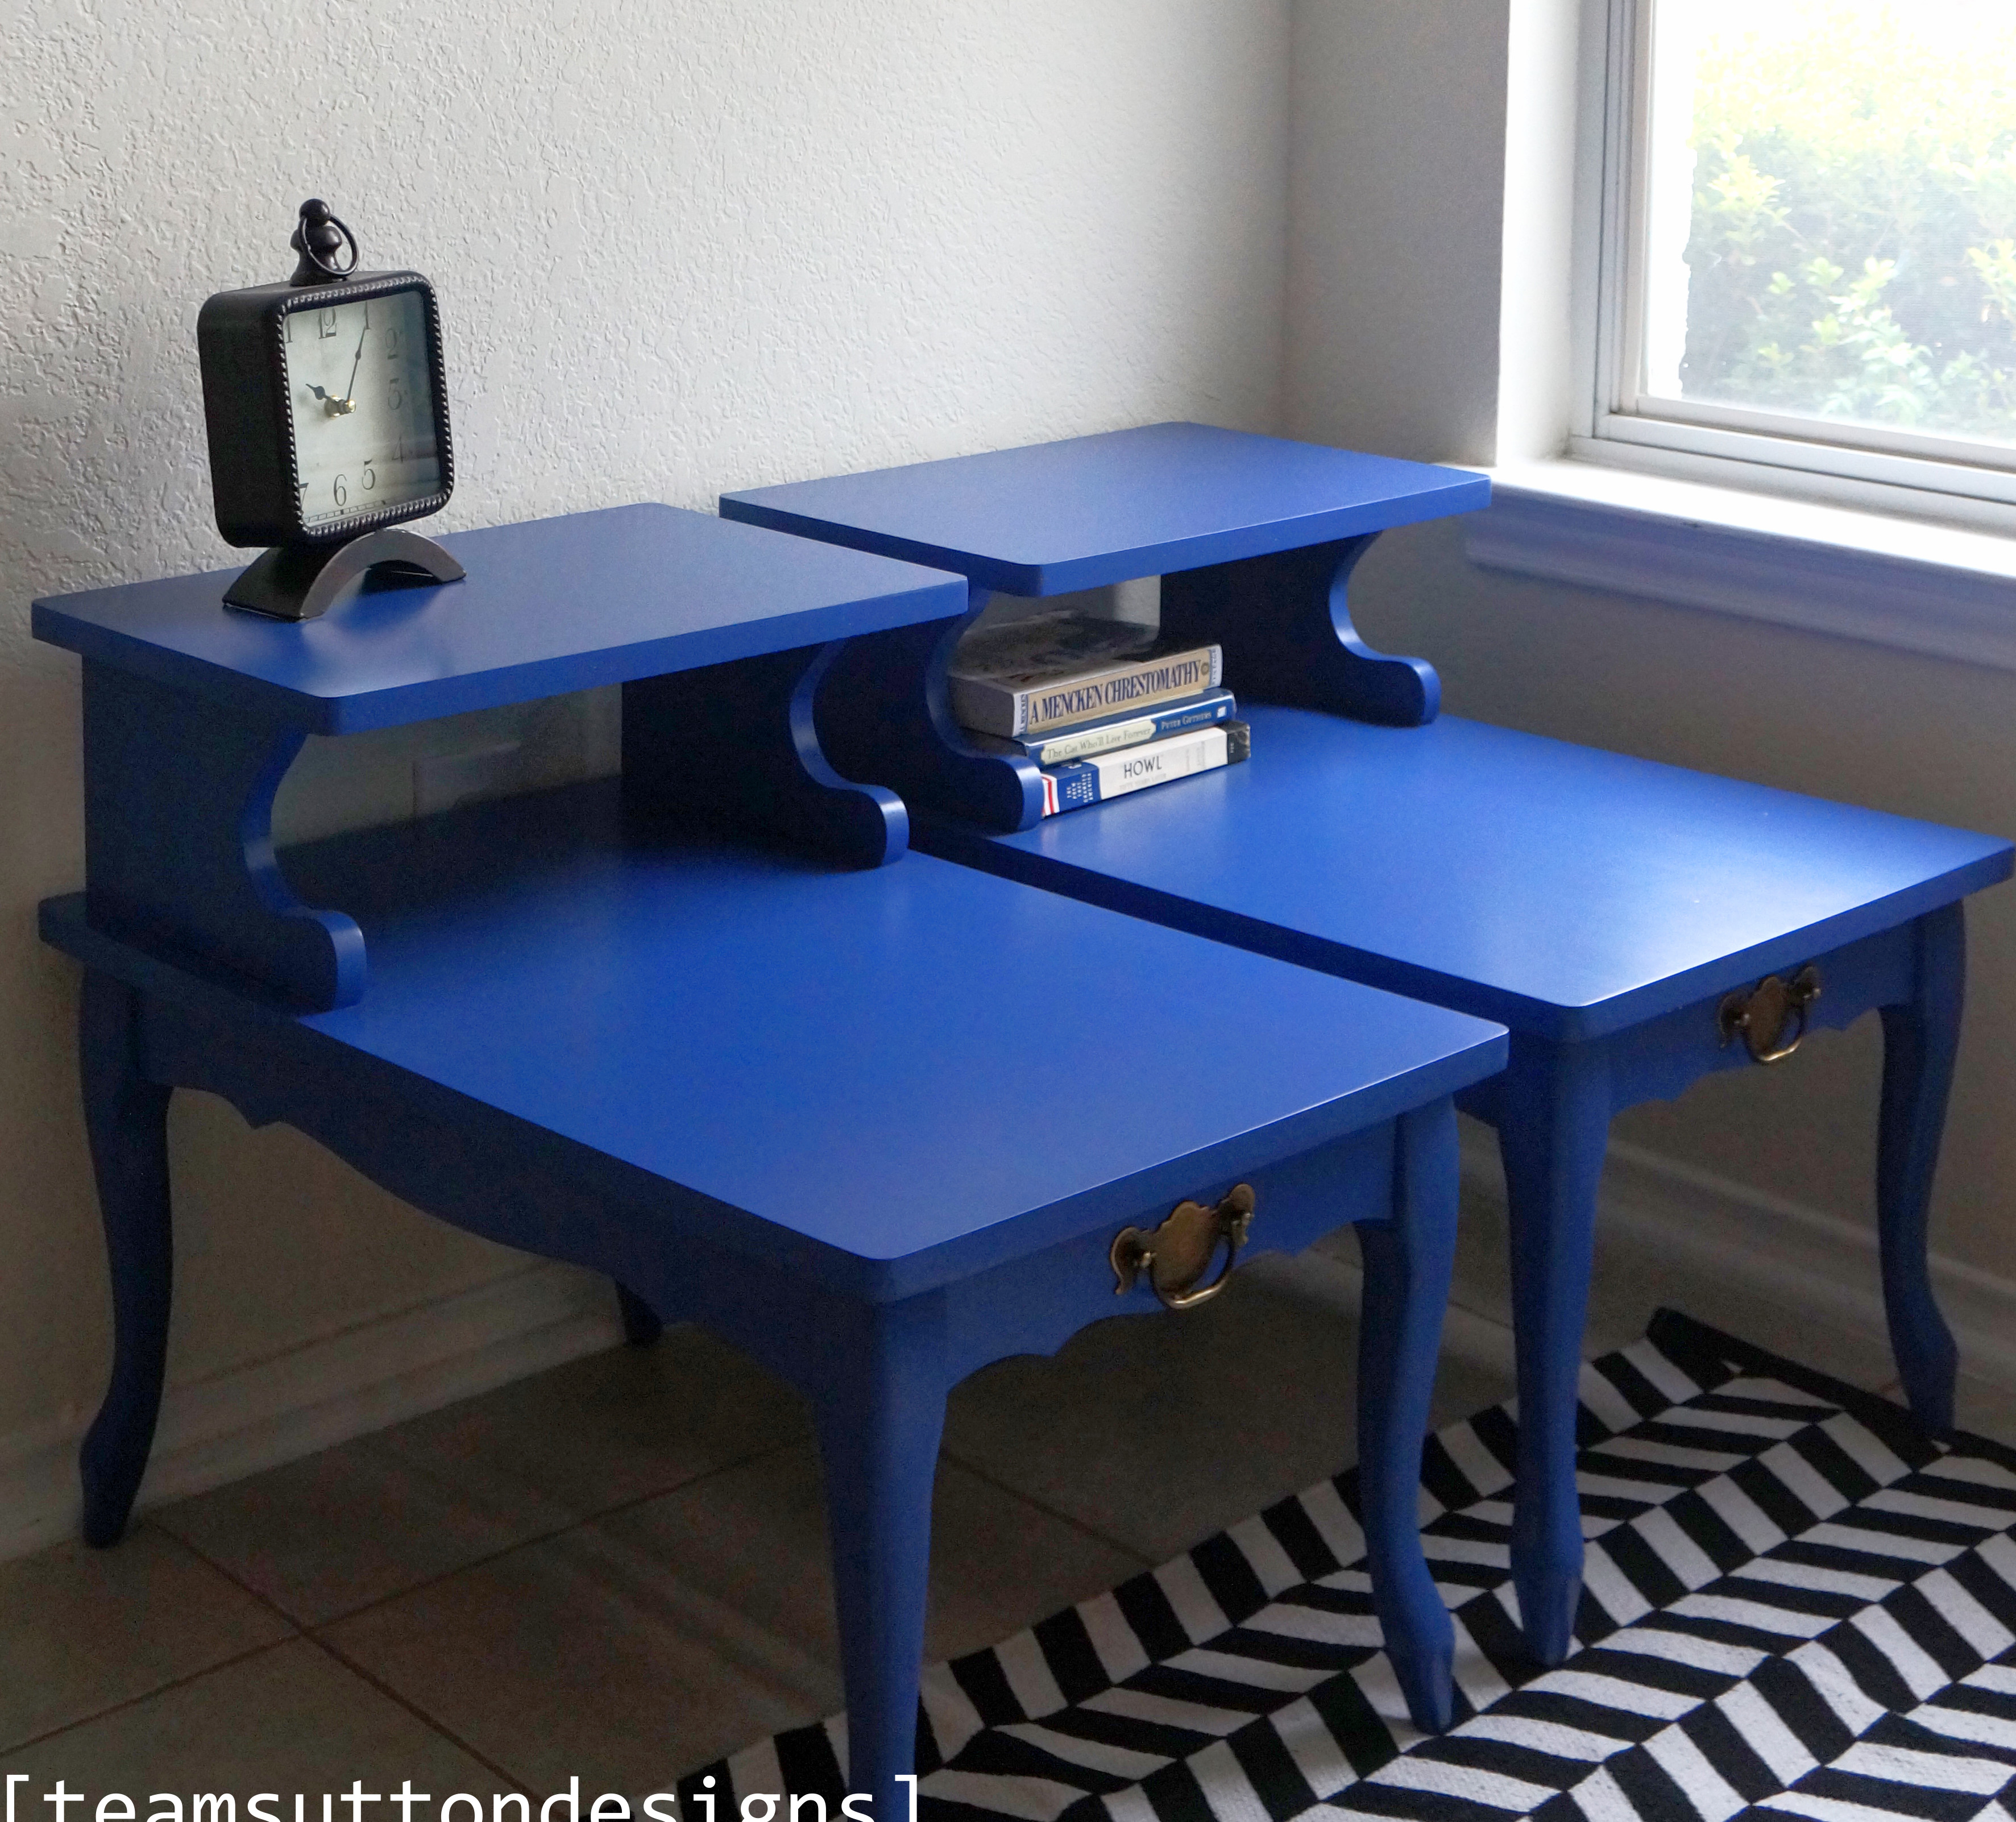
Thank you guys! This is the same color I did for you on your table!