Well, it looks like this may be my last post for a bit. We have just a couple more days before we start the journey to our new home in Virginia and the last few days have been emotional to say the least. Im actually writing this blog post in my home on the floor, surrounded by mountains of boxes. So since I have literally nothing to do at home, I figured now would be a good time to catch up and blog about one of my FAVORITE projects to date using Country Chic Paint in Liquorice.
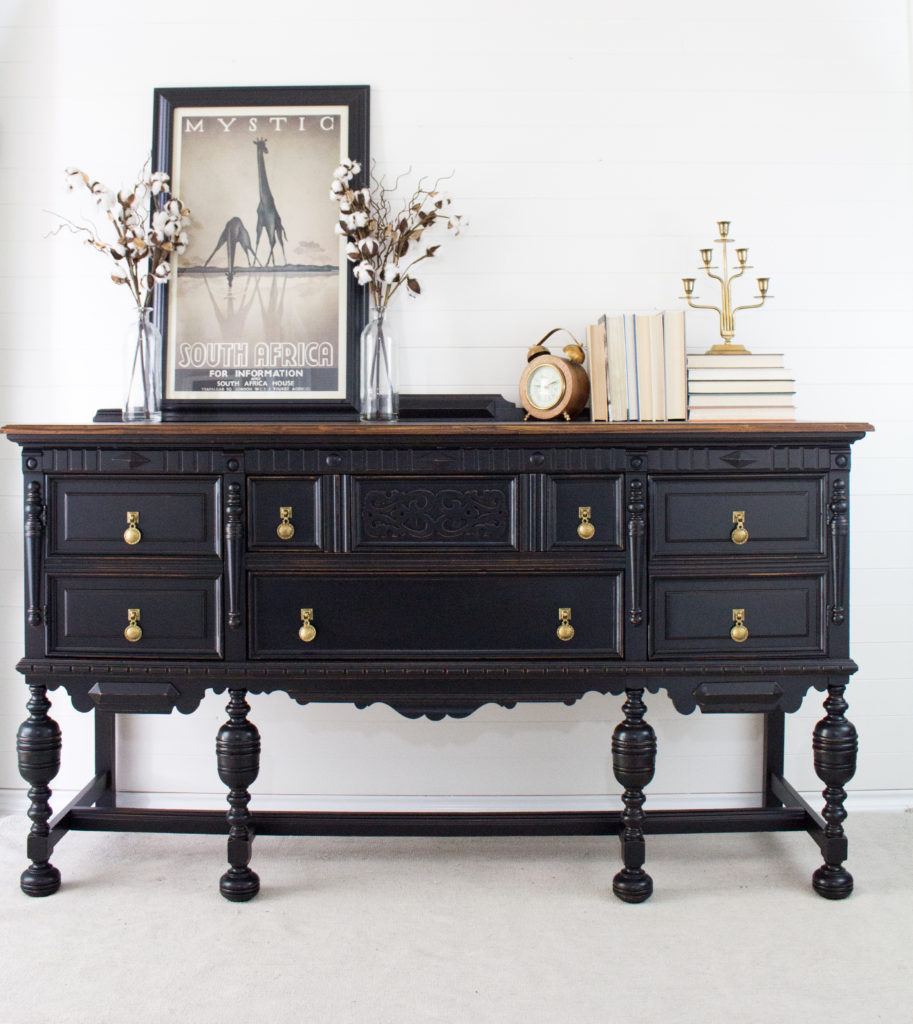
This buffet has been sitting in my inventory for a couple of years now. At first, my plan was to keep it for myself, but then plans changed when we found a piece of furniture that was better suited for our home. I could never find a true vision for this piece either so I just sort of procrastinated on it until the time came down to clear our our inventory. This buffet needed many repairs including a broken leg. Since the legs need to be structurally sound for a large storage piece like this, I used a special wood glue that I trust would provide a secure bond to support the weight of this piece for years.
Prep was a huge part of why this piece turned out so pretty. It had a chipping finish on it that needed to be smoothed out and of course a deep cleaning. I vacuumed out every nook and cranny with our shop vac . Then I needed to give this piece a good scrubbing, so I used a bucket of hot water with a brillo pad and Krud Kutter to scrub away the years of grime, especially in all those intricate carvings. This also helped to remove some of the chipping finish so that I would have a bit less work to do with sanding.
I choose to hand sand this piece because an electric sander might have been too powerful for those details. Although it took me a while, it definitely was worth the hard work. I used a 120 grit sanding block to get all the flat surfaces and then used a 180 zip sander to get along the edges and details. Then came time for the second cleaning, this time using Simple Green to get the dust and residue off. My last and final step for furniture includes insecticide. Although this is a touchy subject for some because it does involve chemicals, it is a necessary evil. I’d much rather my home and wood furniture be protected from wood eating insects, spiders and bed bugs than have to deal with any sort of infestation where my whole house would have to be bug bombed. Most of the time, I don’t know where the furniture has been, so I use Raid Multi-Insect Killer to protect my pieces. I spray beneath the piece, on the interior of the drawers and doors, and behind any nooks and crannies. If you see any spider webs or moth balls, thats a good indication of where to spray.
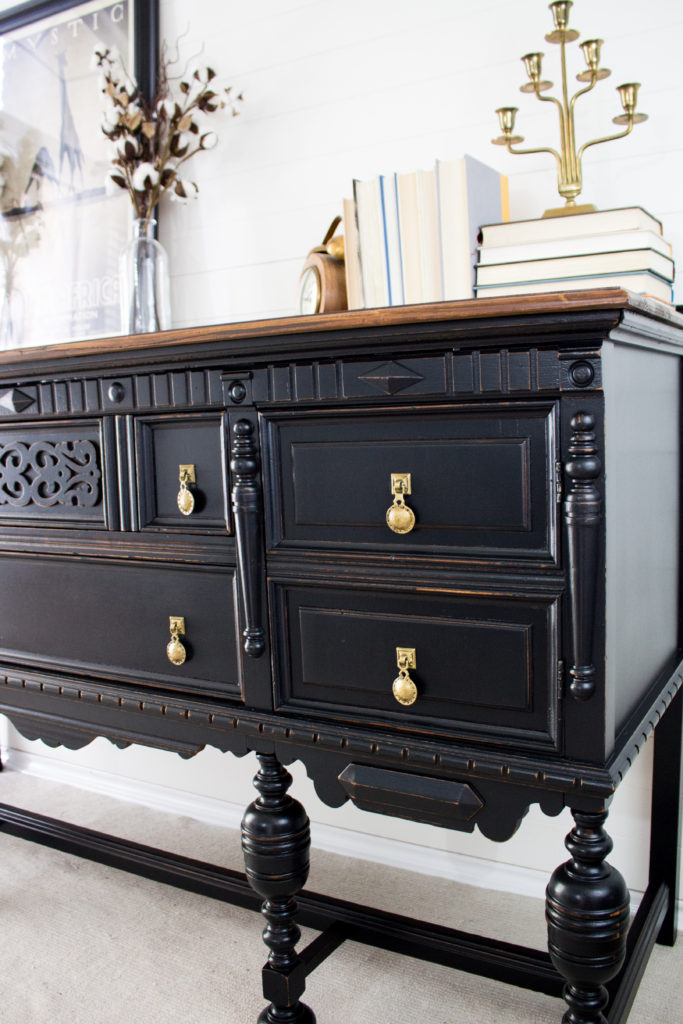
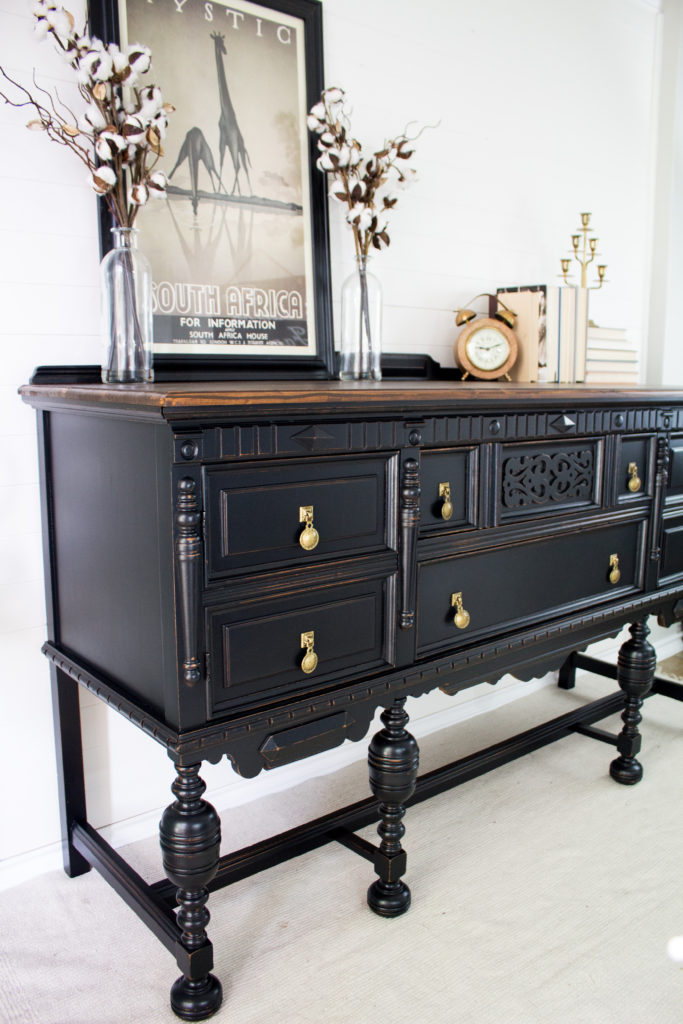
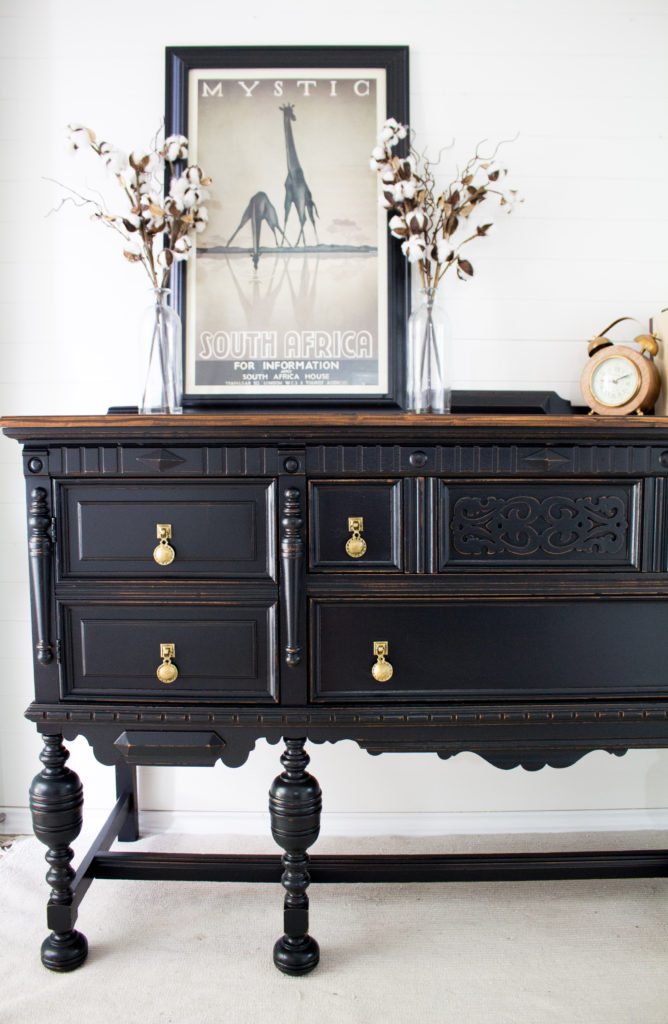
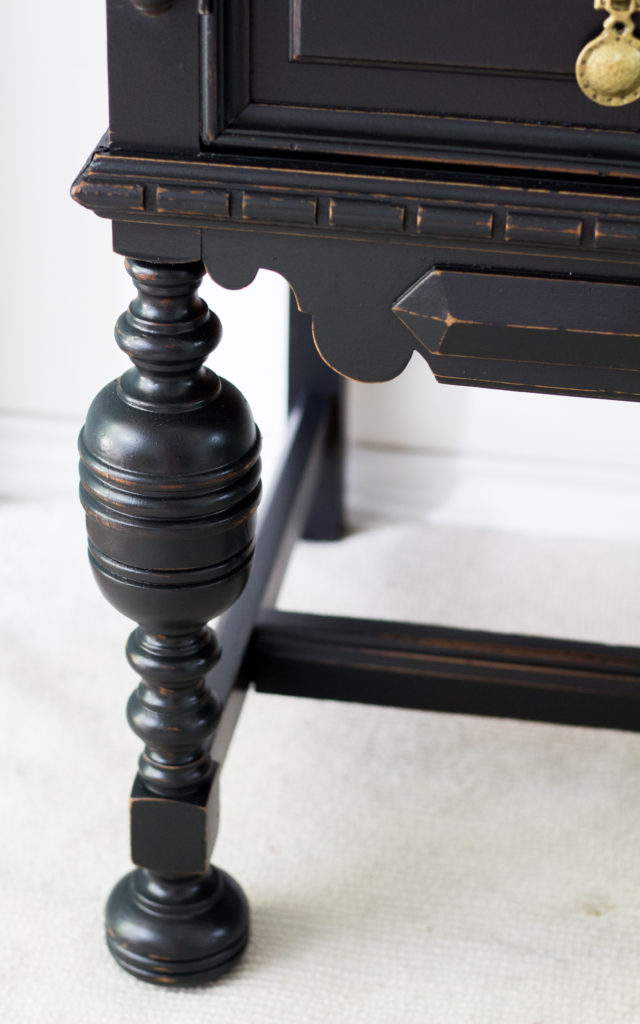
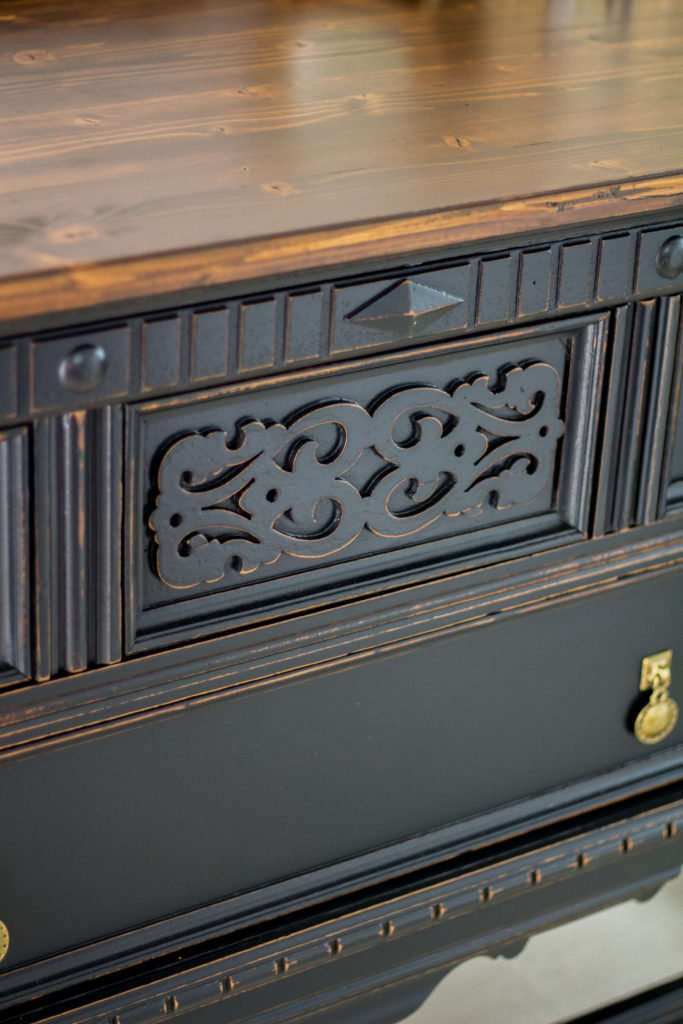
Although I struggled to find my vision with this piece, I ultimately decided on black, with a wood top to showcase the intricacies and workmanship. I used Country Chic Paint in Liquorice because this color seems to be the darkest black in chalk paint you can find anywhere. After three coats, I was ready for light distressing on the highlights. I wanted to go for a rustic but elegant look, so I carefully traced the details with my zip sander to make sure I didn’t distress along the flat parts.
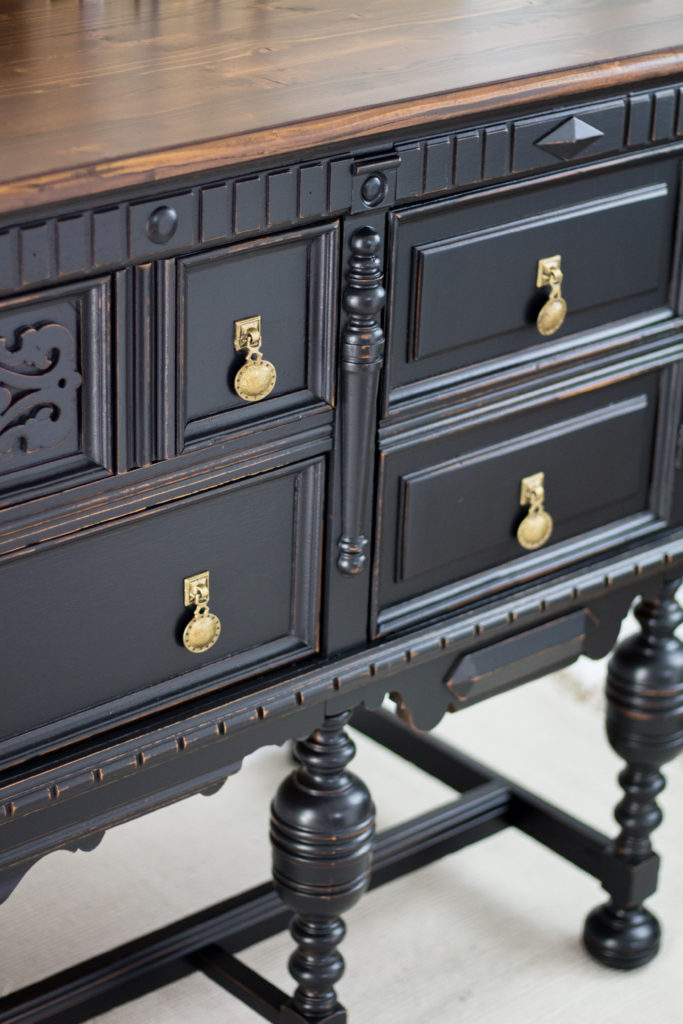
I used General Finishes High Performance Top Coat in Satin to seal the paint. Although the sheen doesn’t look satin, I used a 400 grit paper between coats of poly to make it just a bit shinier. I realized I could have gone with a semi-gloss poly, but I wanted to use what I had on hand. In total, there was about 4 coats of poly. That leg in the background is the one that was broken. You can’t even tell!
The hardware is original to this piece, but it was a mix of brass and other metals that did not match after an attempted polishing. Since I wanted to have an aged brass look, I used Rustoleum “Brass” Spray paint get a solid base. The brass was too bright, so I used GF Black Glaze to tone down the brass and age the hammered finish. I dabbed on the glaze with a foam brush and then sealed with a clear lacquer.
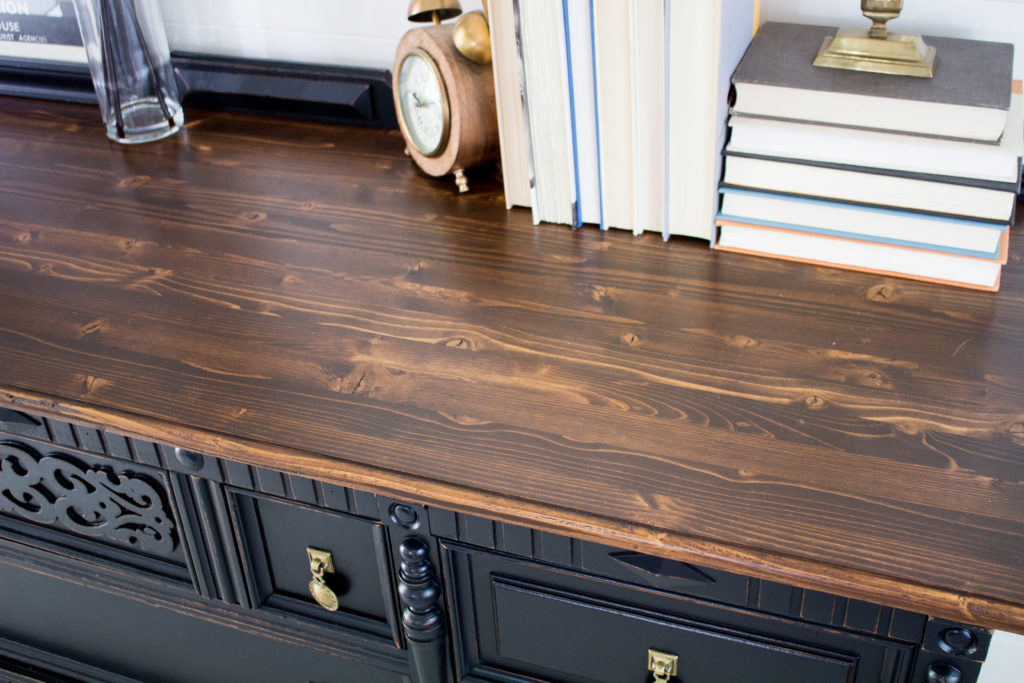
The top was definitely a headache. I had planned to use the original top and remove the veneer, but underneath, the wood was green and just not worth salvaging. We replaced the top with an aspen panel top and stained it with two coats of General Finishes Antique Walnut Gel Stain. I love that this stain color doesn’t have a red tint or mahogany tint to it. I didn’t want it to clash with the black. I love how this brings a rustic, masculine element to this piece!
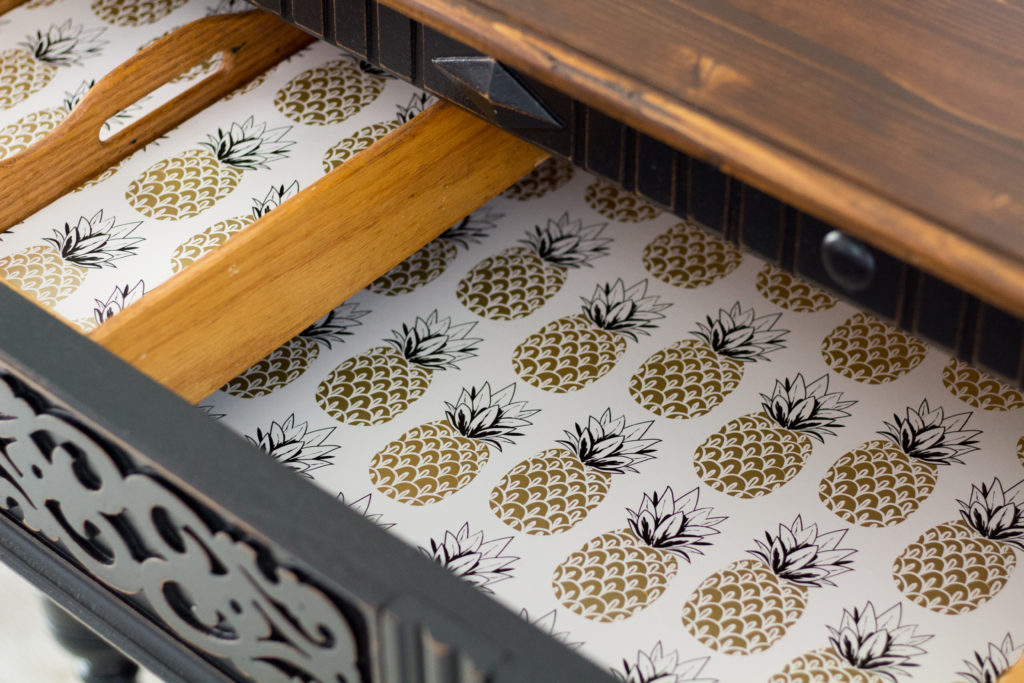
The beauty is all in the details and this gold and black funky pineapple paper was a fun way to take this over the top. I can’t believe how elegant this piece turned out and Im so glad it found a good home here in San Antonio.
P.S – If you want a discount on your next order of Country Chic Paint, send me message through our contact form for a discount code on your next order!
For more ways to update your furniture with Liquorice, follow Country Chic Paint’s Facebook Page! They have amazing makeovers the feature everyday!






Great job! I have an old Jacobean revival buffet that I had redone and have loved it for years!
Thank you Bonnie! I love Jacobean style furniture too! It’s very regal!
Where did you get the gold and black funky pineapple paper from that you used inside the drawers?
Hi Anndrea, I believe I got this at Home Goods!
Hi Crystal! You do beautiful work! Love everything about this buffet! Can you tell me what paint colors you used and where I might purchase the knobs.
Hi Susan, The color is “Liquorice” from Country Chic Paint. You can purchase paint from their website directly using code “driftwoodhome10” for a discount. The knobs were original to the piece, but im sure a reproduction hardware company can source them for you.
Do you want to sell that piece?
It already sold a long time ago! 🙂