Alright everyone, I know I have seriously neglected my blog the last few weeks. I promise it has been for a good reason. I was recently featured in Etsy Finds and I was busy packing a ton of orders and getting them ready to ship out. If you’re wondering what was featured, it wasn’t furniture. My Apple Cinnamon Soy Candles were picked as the perfect Newlywed gift!
Oh that’s right, did I forget to mention I make candles? I dabbled a bit here and there last year and my Pumpkin Pie candles were a huge hit. I hadn’t planned on stepping back into the candle game but a request from an previous customer who told me she had waited all year long for me to bring them back made me change my mind. But I wanted to do it right, so I invested in better waxes and nicer jars and spent a lot of time on my presentation and packaging. I’ve gotten a few wholesale orders, which is AMAZING for me because I second guess myself so much, but I get more confident with this the more sales I get. Anyway, Ill have to blog about that another time.
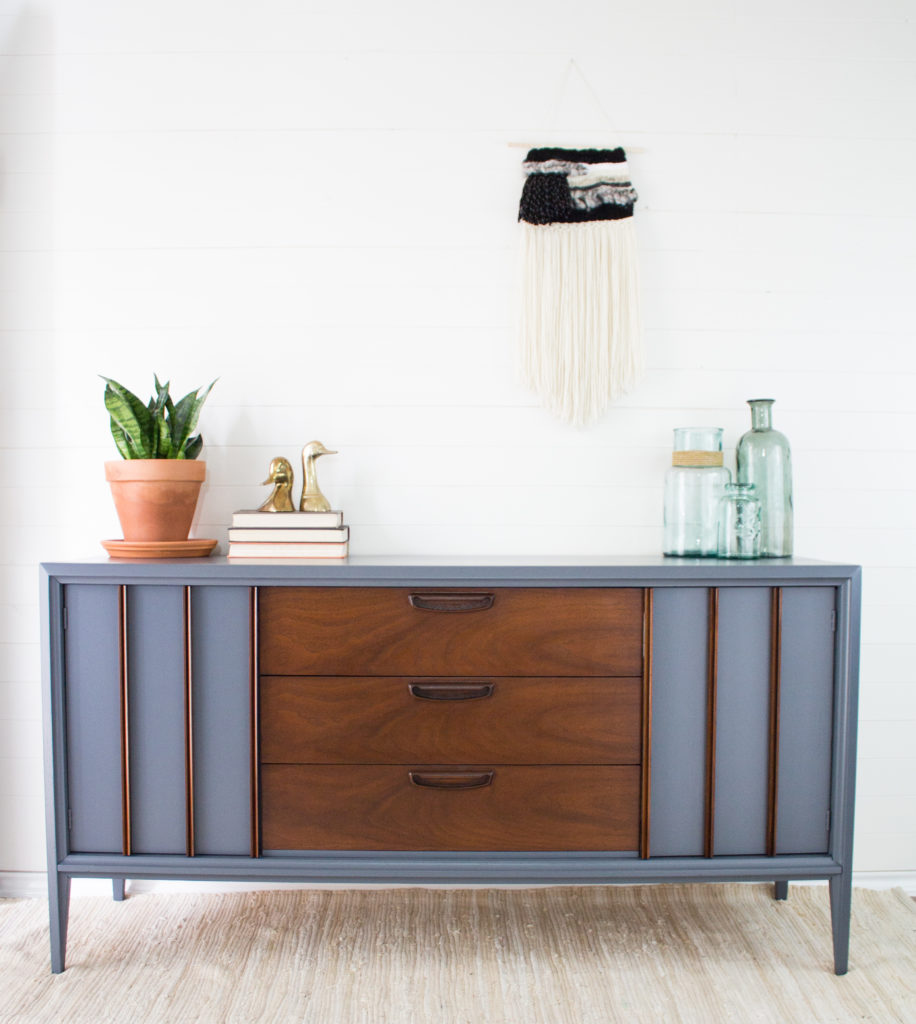
The real reason I brought you here, was to talk about the gorgeous transformation on this Mid Century Modern Credenza I custom painted.
*This post contains affiliate links.
Before we get into the nitty gritty, lets look at a before photo. Everyone loves a good “Before & After” and this one is a Cinderella story. I mean…just look at this before photo from the ad on Craigslist.
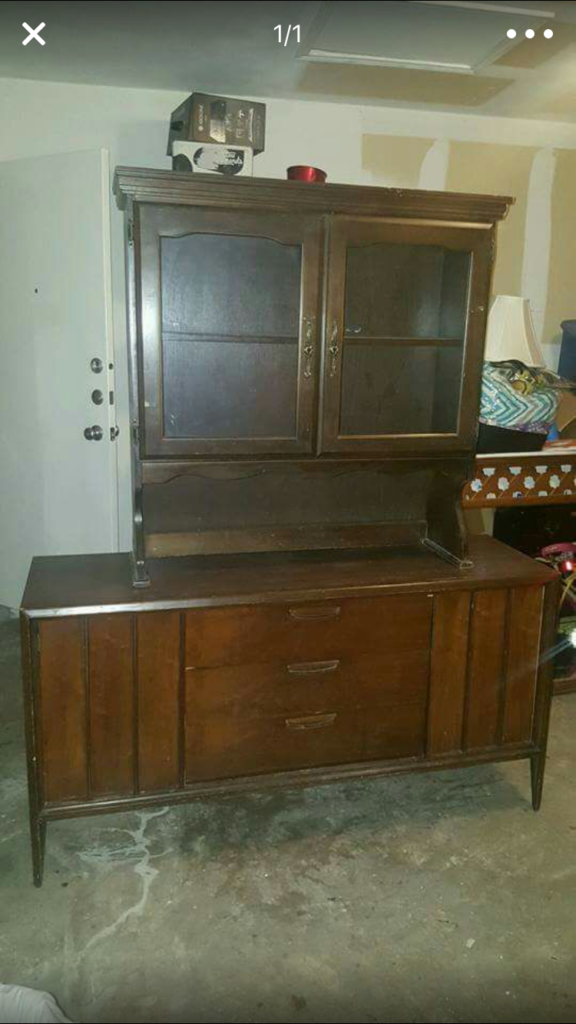
One of the first things I noticed was that the top cabinet did not belong to this piece at all. However it came with the credenza, so I had to take it. I ended up selling it for $20 to a lady who needed laundry room storage. I also know these pieces are notorious for having laminate surfaces so I knew right away a full wood restoration was not an option. Off this went into storage while I figured out what to do with it.
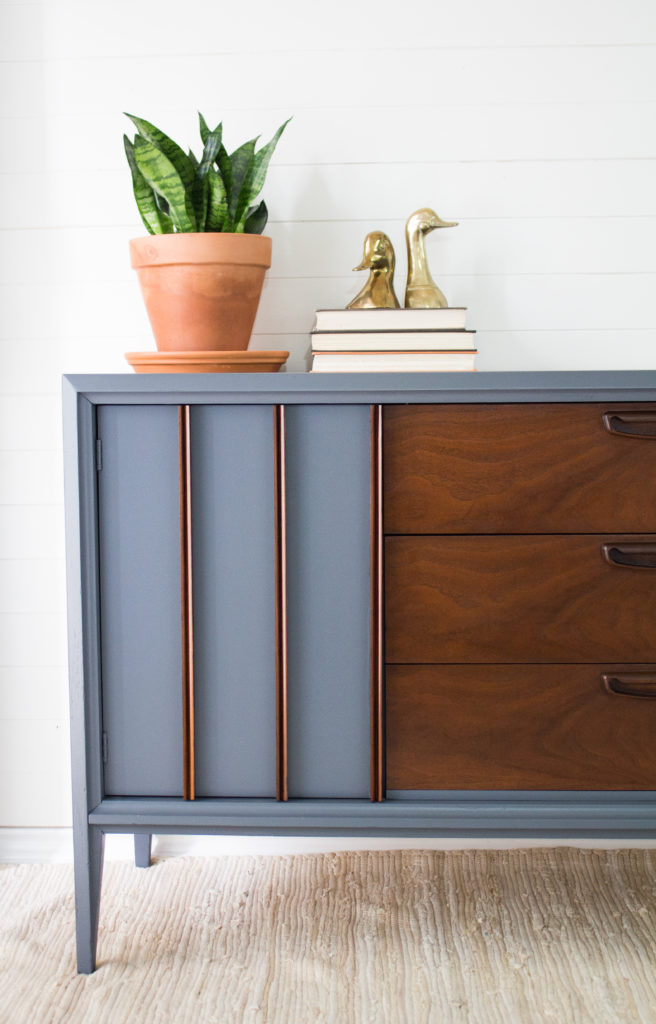
A local client had been looking for a new tv console for his home. He like the storage and clean lines this piece had so I knew it was a perfect fit. He loved a previous piece we did in Fusion Mineral Paint’s Soapstone color and picked that for the base color. The drawers were in nearly perfect condition, so I was able to talk him into keeping that wood.
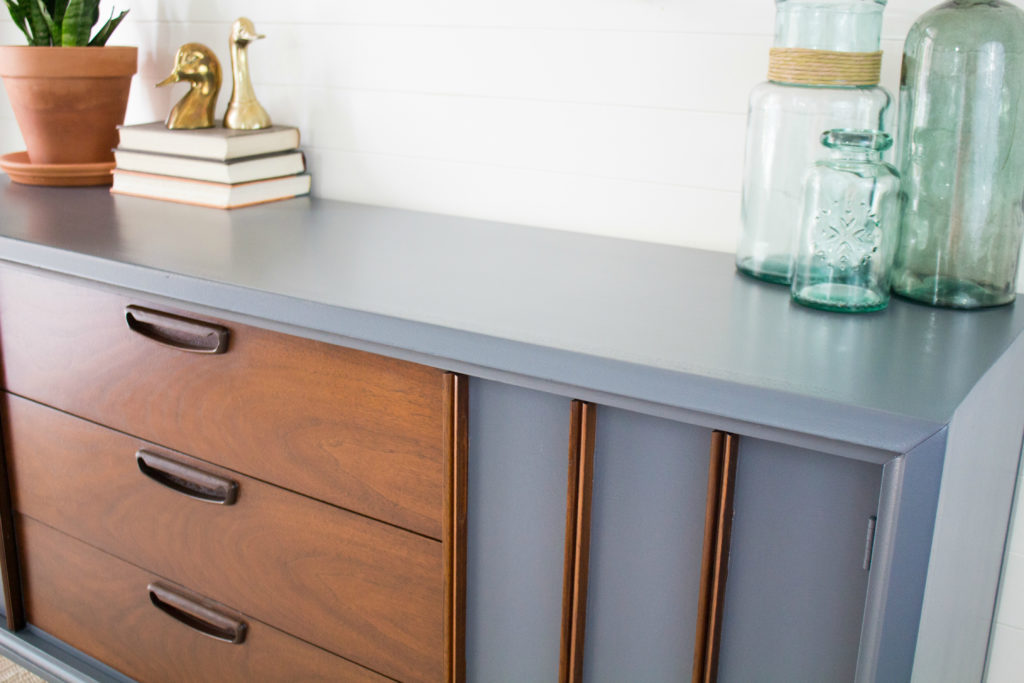
As I suspected, the top was a laminate. I told my client we could replace the top and he agreed, it would only add value. We had to use the largest size of furniture grade panels we could find at Lowe’s; luckily it was a perfect fit. It took some maneuvering and trial and error to get it right, but my handi-man husband made it look seamless. We sanded with 220 grit, and I used Frog Tape to protect the wood trim.
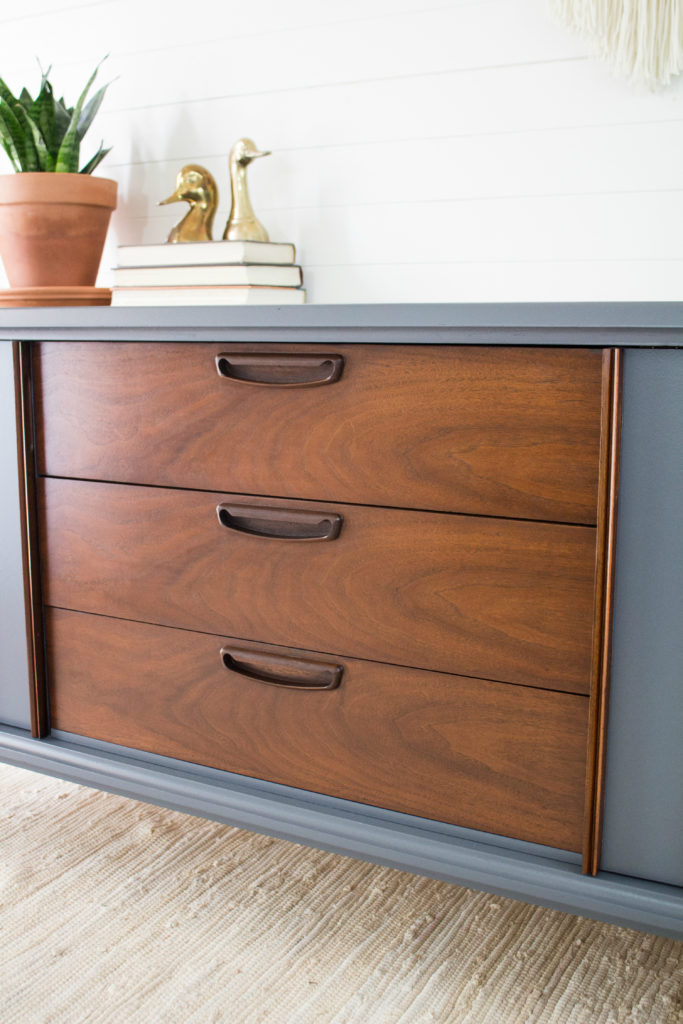
The drawers only had tiny pieces of veneer missing. So we filled them using pro-bond wood filler, and now the missing pieces are barely noticeable. Can you spot them?
The wood was sanded down to bare wood and treated with a pre-stain conditioner. I didn’t want to take any chances with blotches so I took my time prepping the wood pieces. Then I applied only one coat of General Finishes “Antique Walnut” Gel Stain and let it dry for 72 hours.
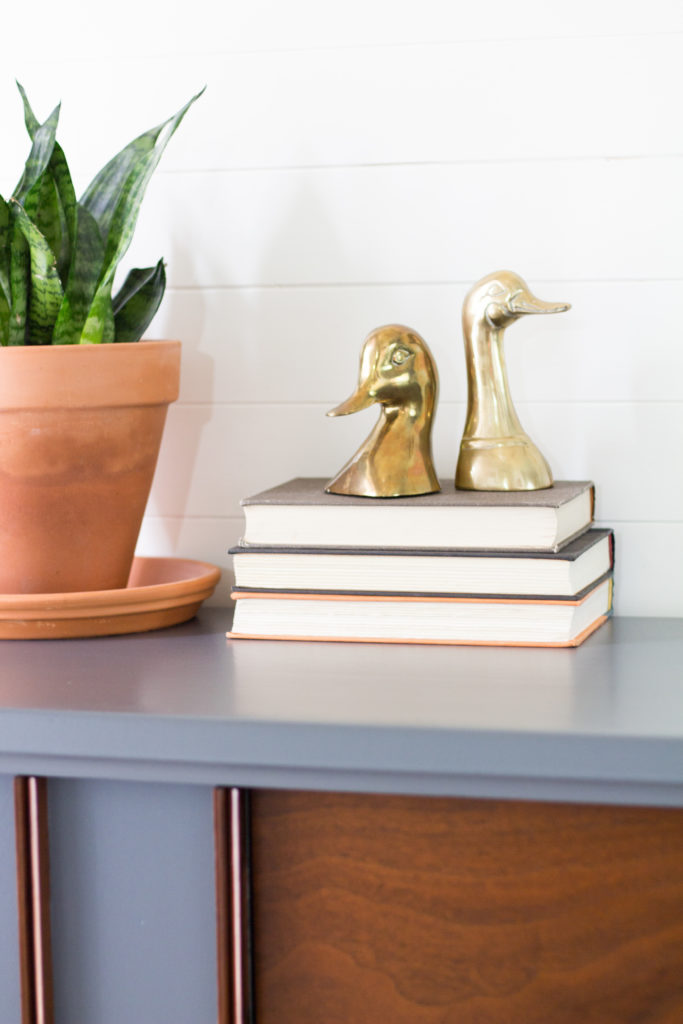
After this piece dried for about three days, I sprayed about six coats of General Finishes Satin Polyurethane. I chose to spray this many coats because I knew this would be taking heavy use in a living room where there is lots of movement. I wanted to protect it as much as possible.
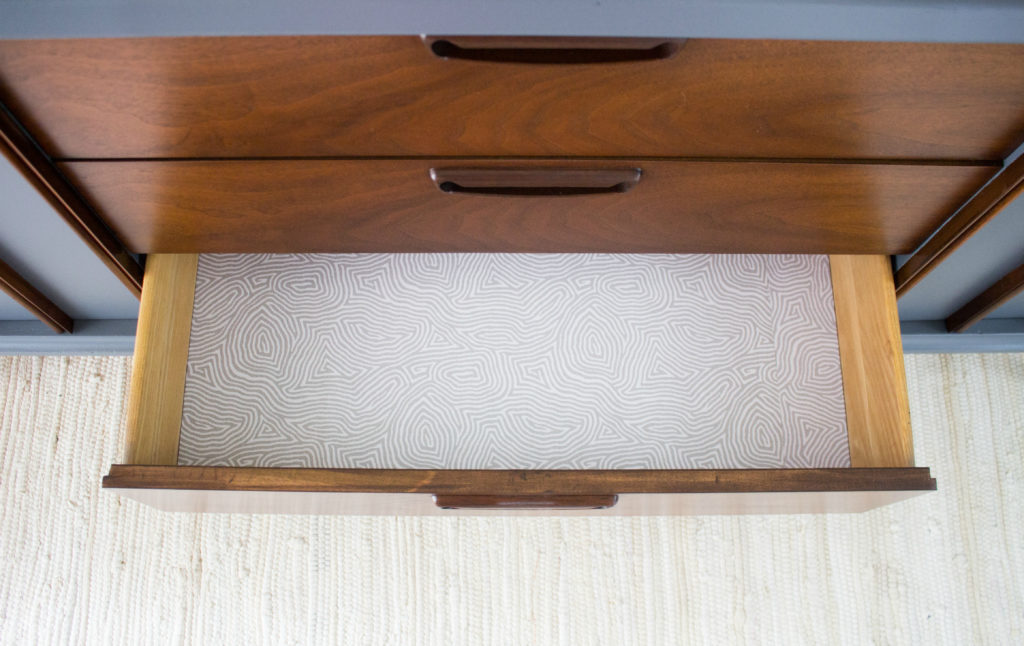
I remember I also had a few sheets of this really fun fingerprint/wood grain paper laying around for a while. I knew it would be perfect for this credenza because It was a gray tone and somewhat geometric. I still can’t quite tell what the pattern really is though, I guess that’s what makes it unique.
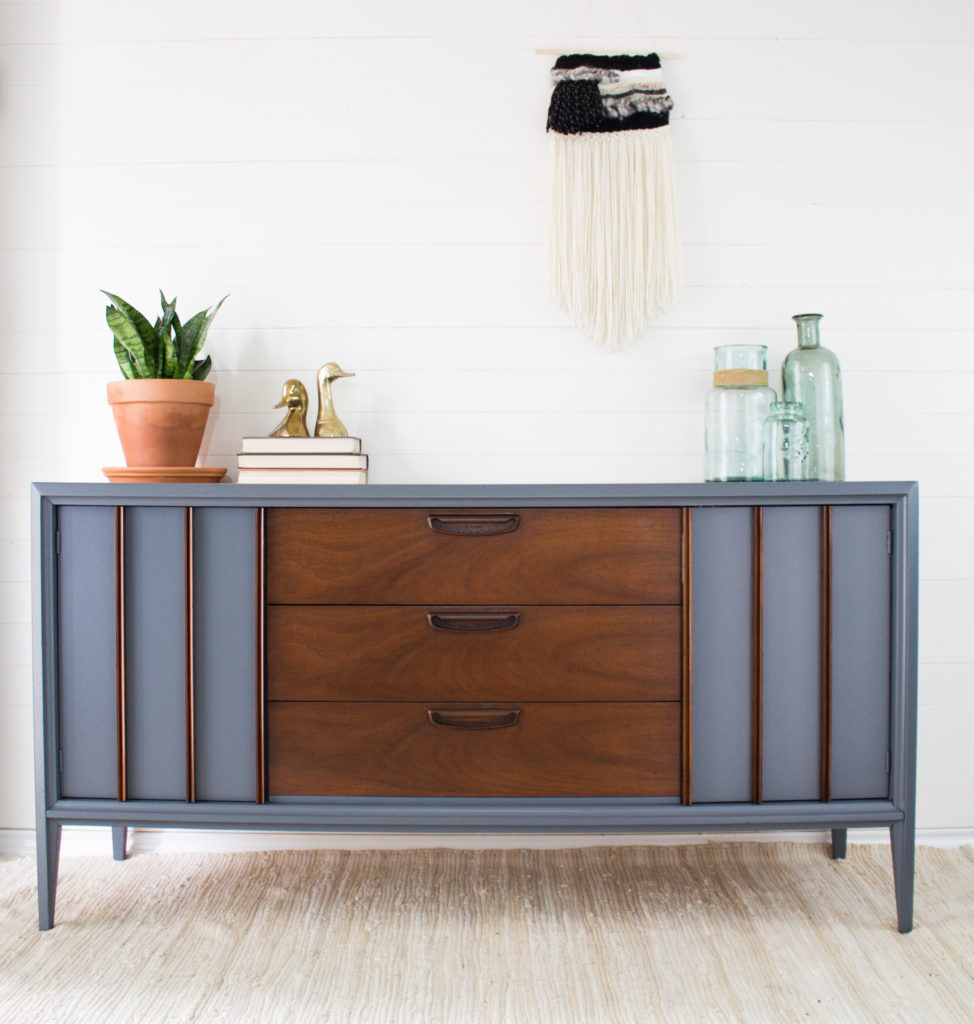
Here is one last look at this handsome piece. This took quite a while to finish between the prep, repairs and finish, but the end result was so worth it. I’d love to hear your thoughts on this piece in the comment section below!
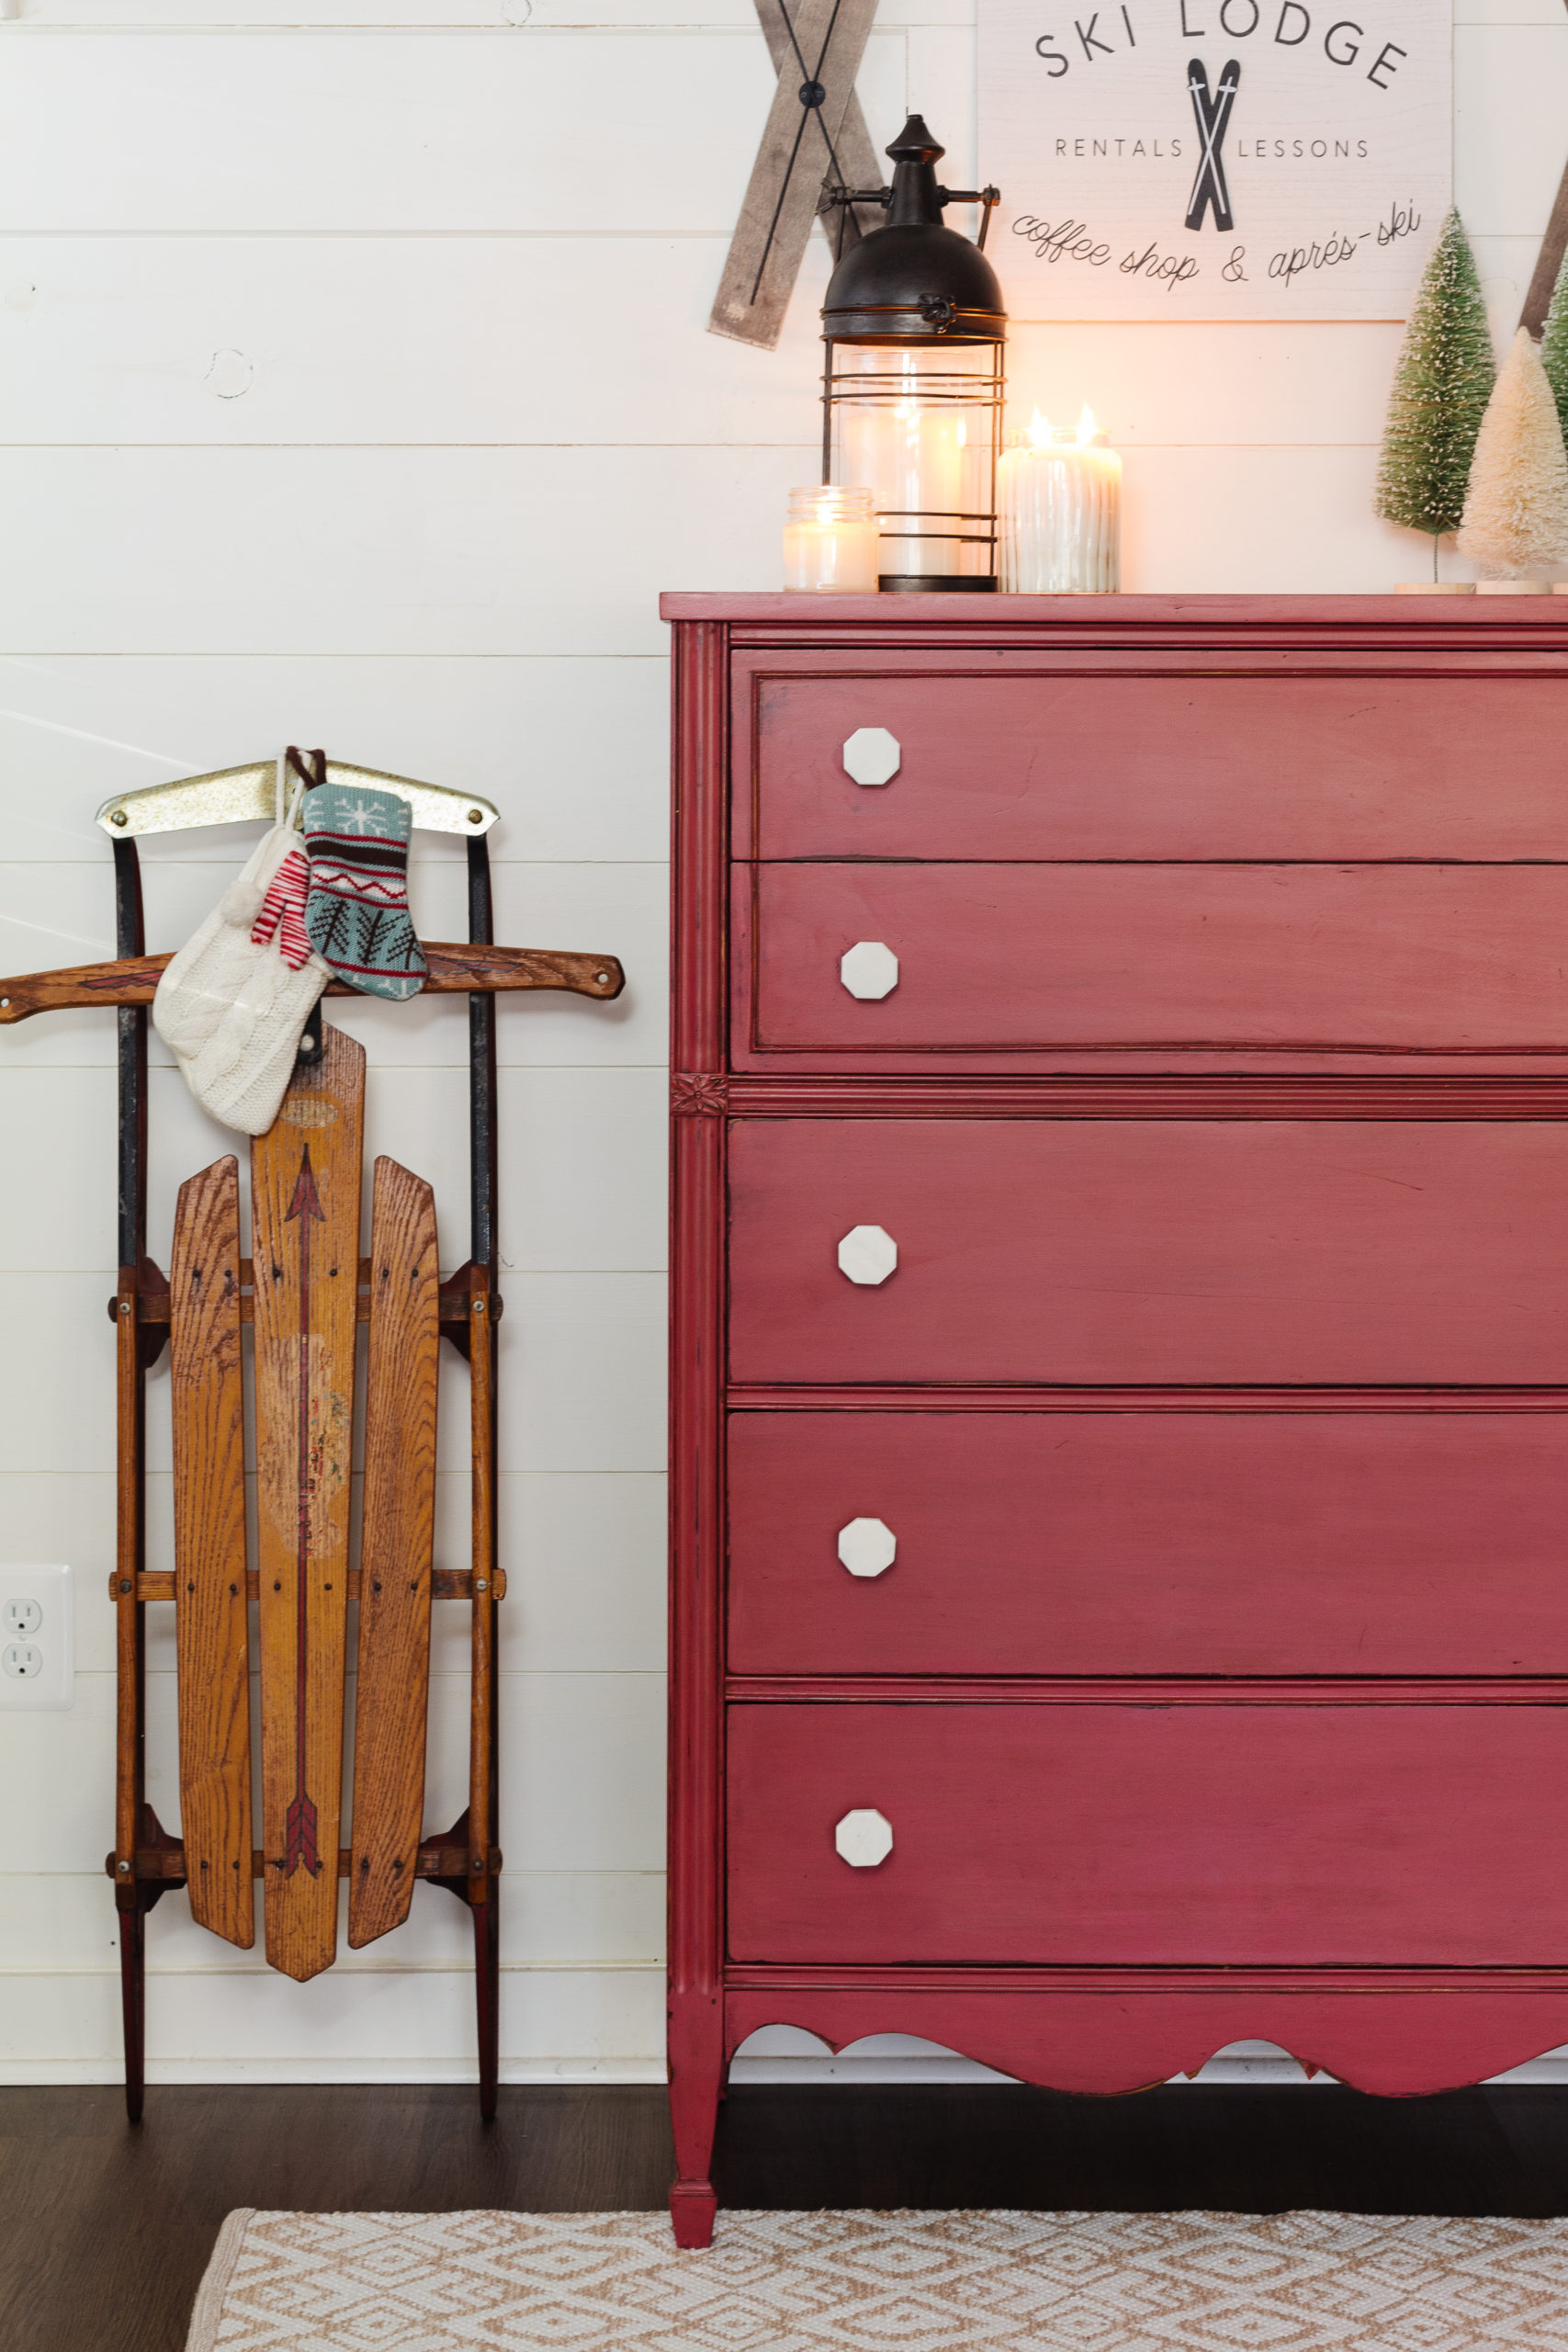
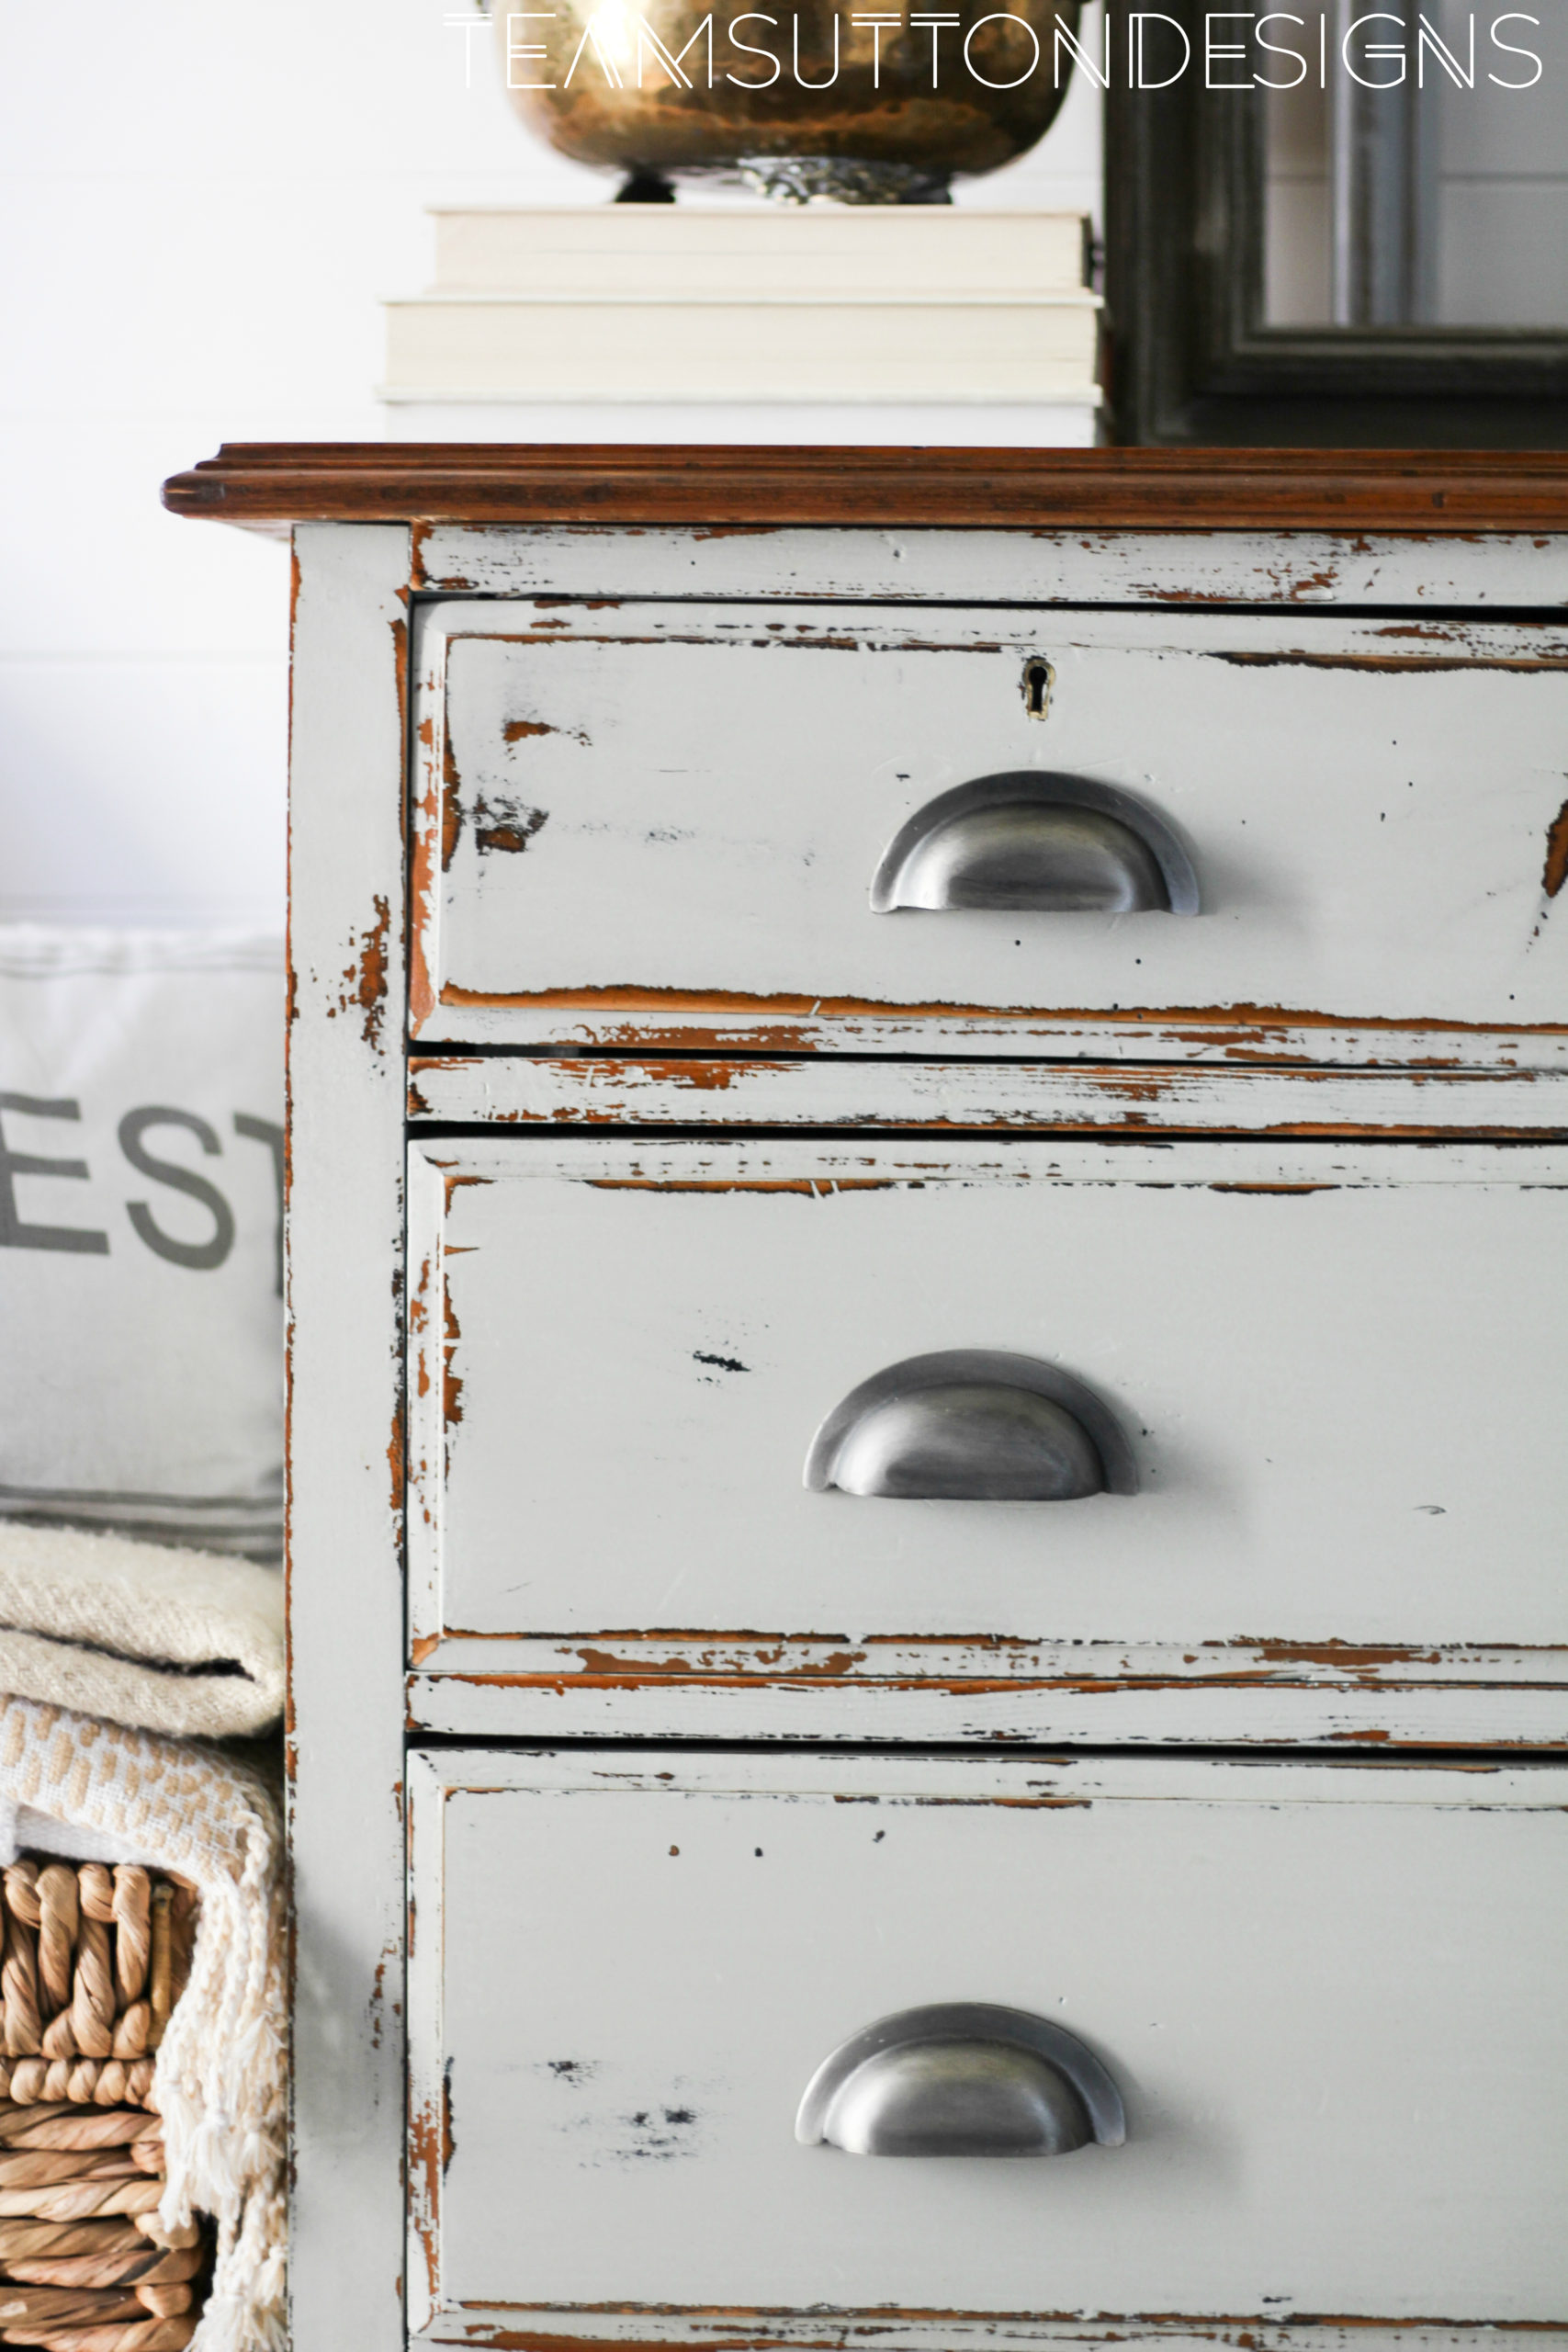

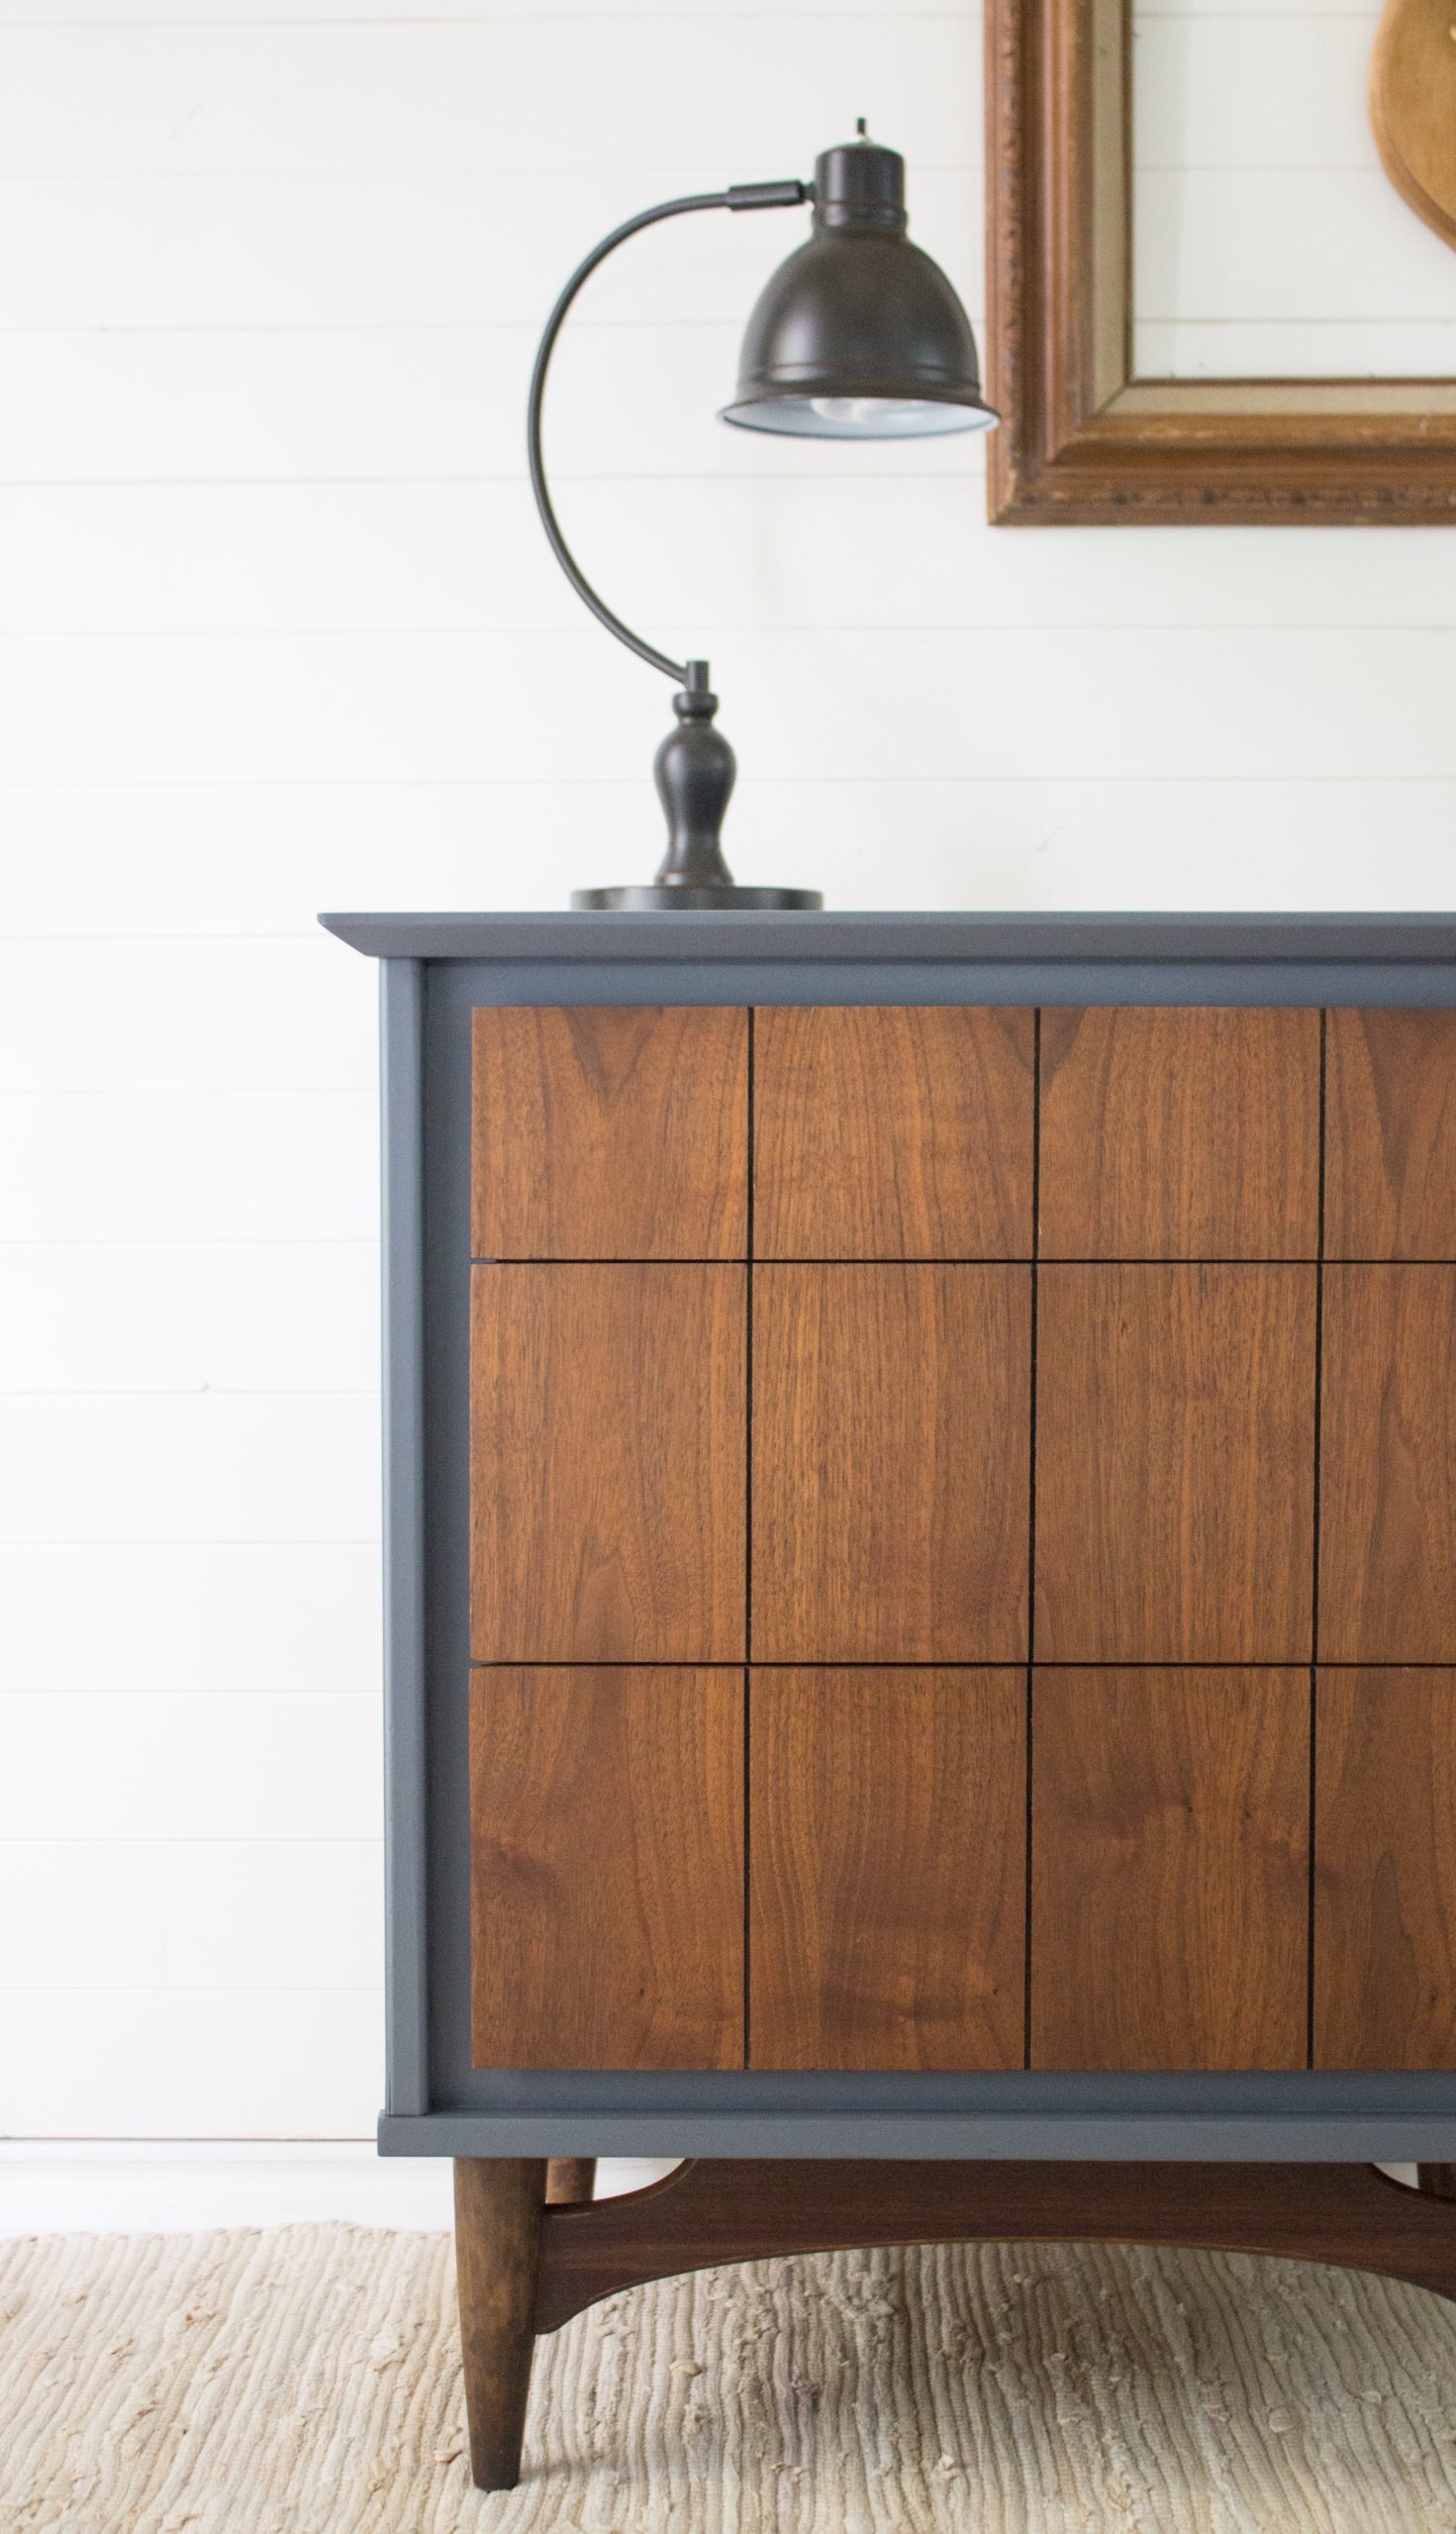



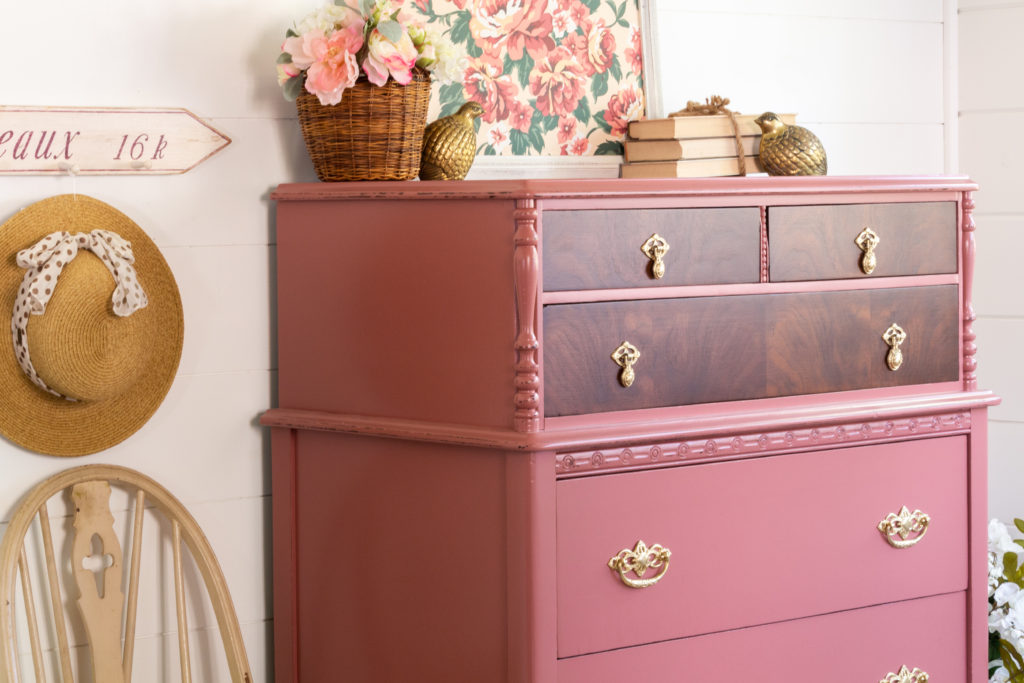

I absolutely love everything about this finished piece, well done!
Thank you Caron!
I’m currently working on this same credenza I found off the side of the road I’m glad to see that u kept the raw wood look and add some paint to it I unfortunately don’t have the drawers to it I was going to turn the drawers area into shelves.
That’s a great idea!