Happy April Fool’s! It’s so hard to believe we are entering the month of April already. It seems like just yesterday we were ringing in the new year and now we are ringing in a new season.
I am so grateful for everything that this year has brought me so far. My husband is back home from deployment, my son just turned three, and I have had some amazing opportunities in both my military career and painting business that I can’t wait to tell you about in the future. For now, I am still trying to catch up on blogging about the projects I have already completed, so that I can tell you what the future holds for Team Sutton Designs. Until then, you will have to keep reading! 🙂
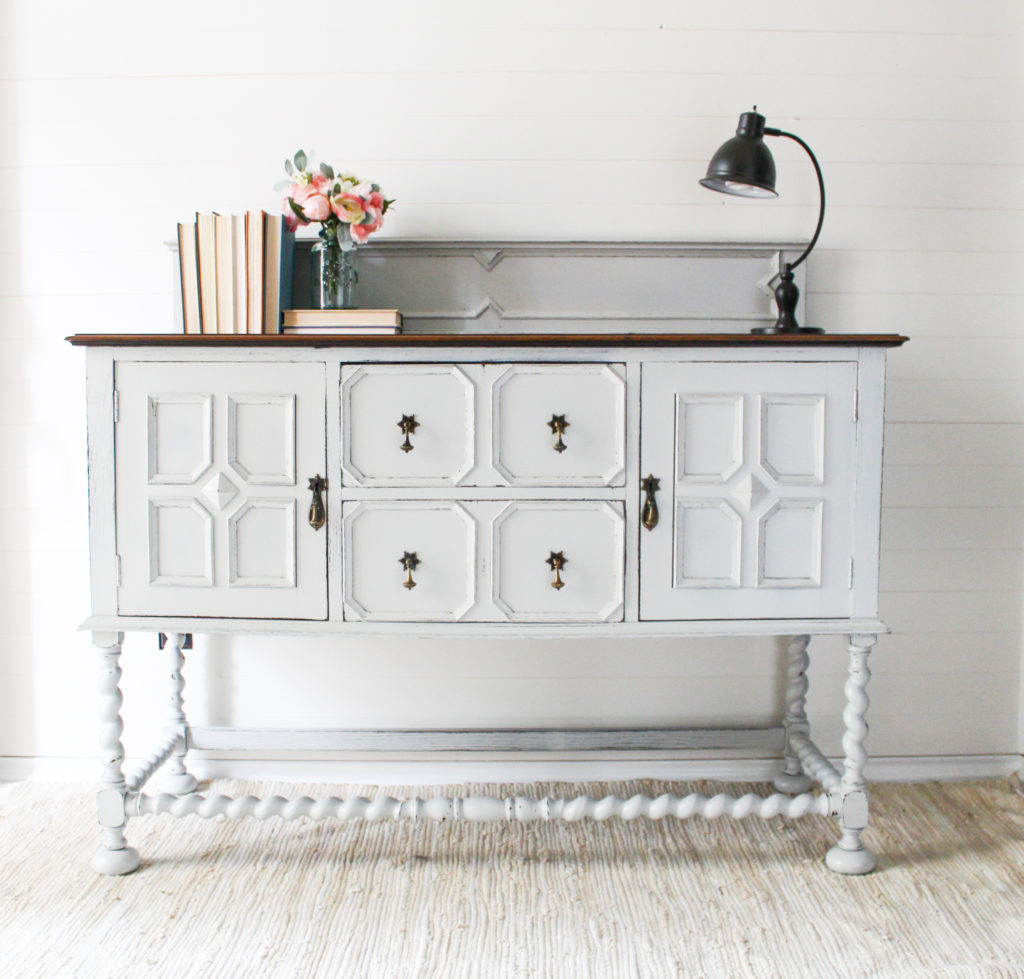
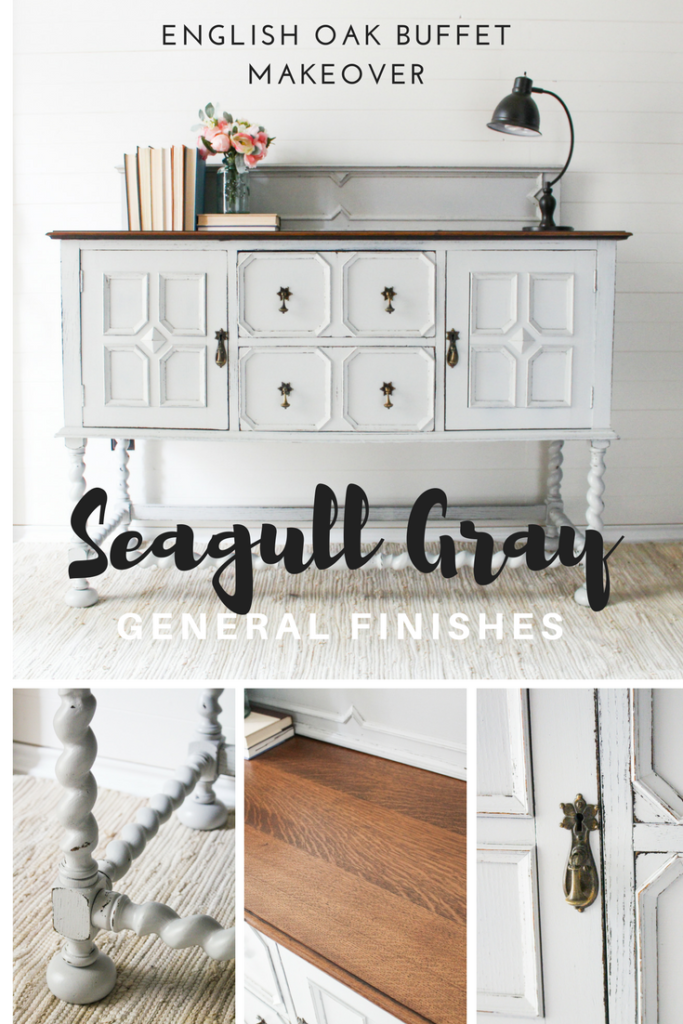
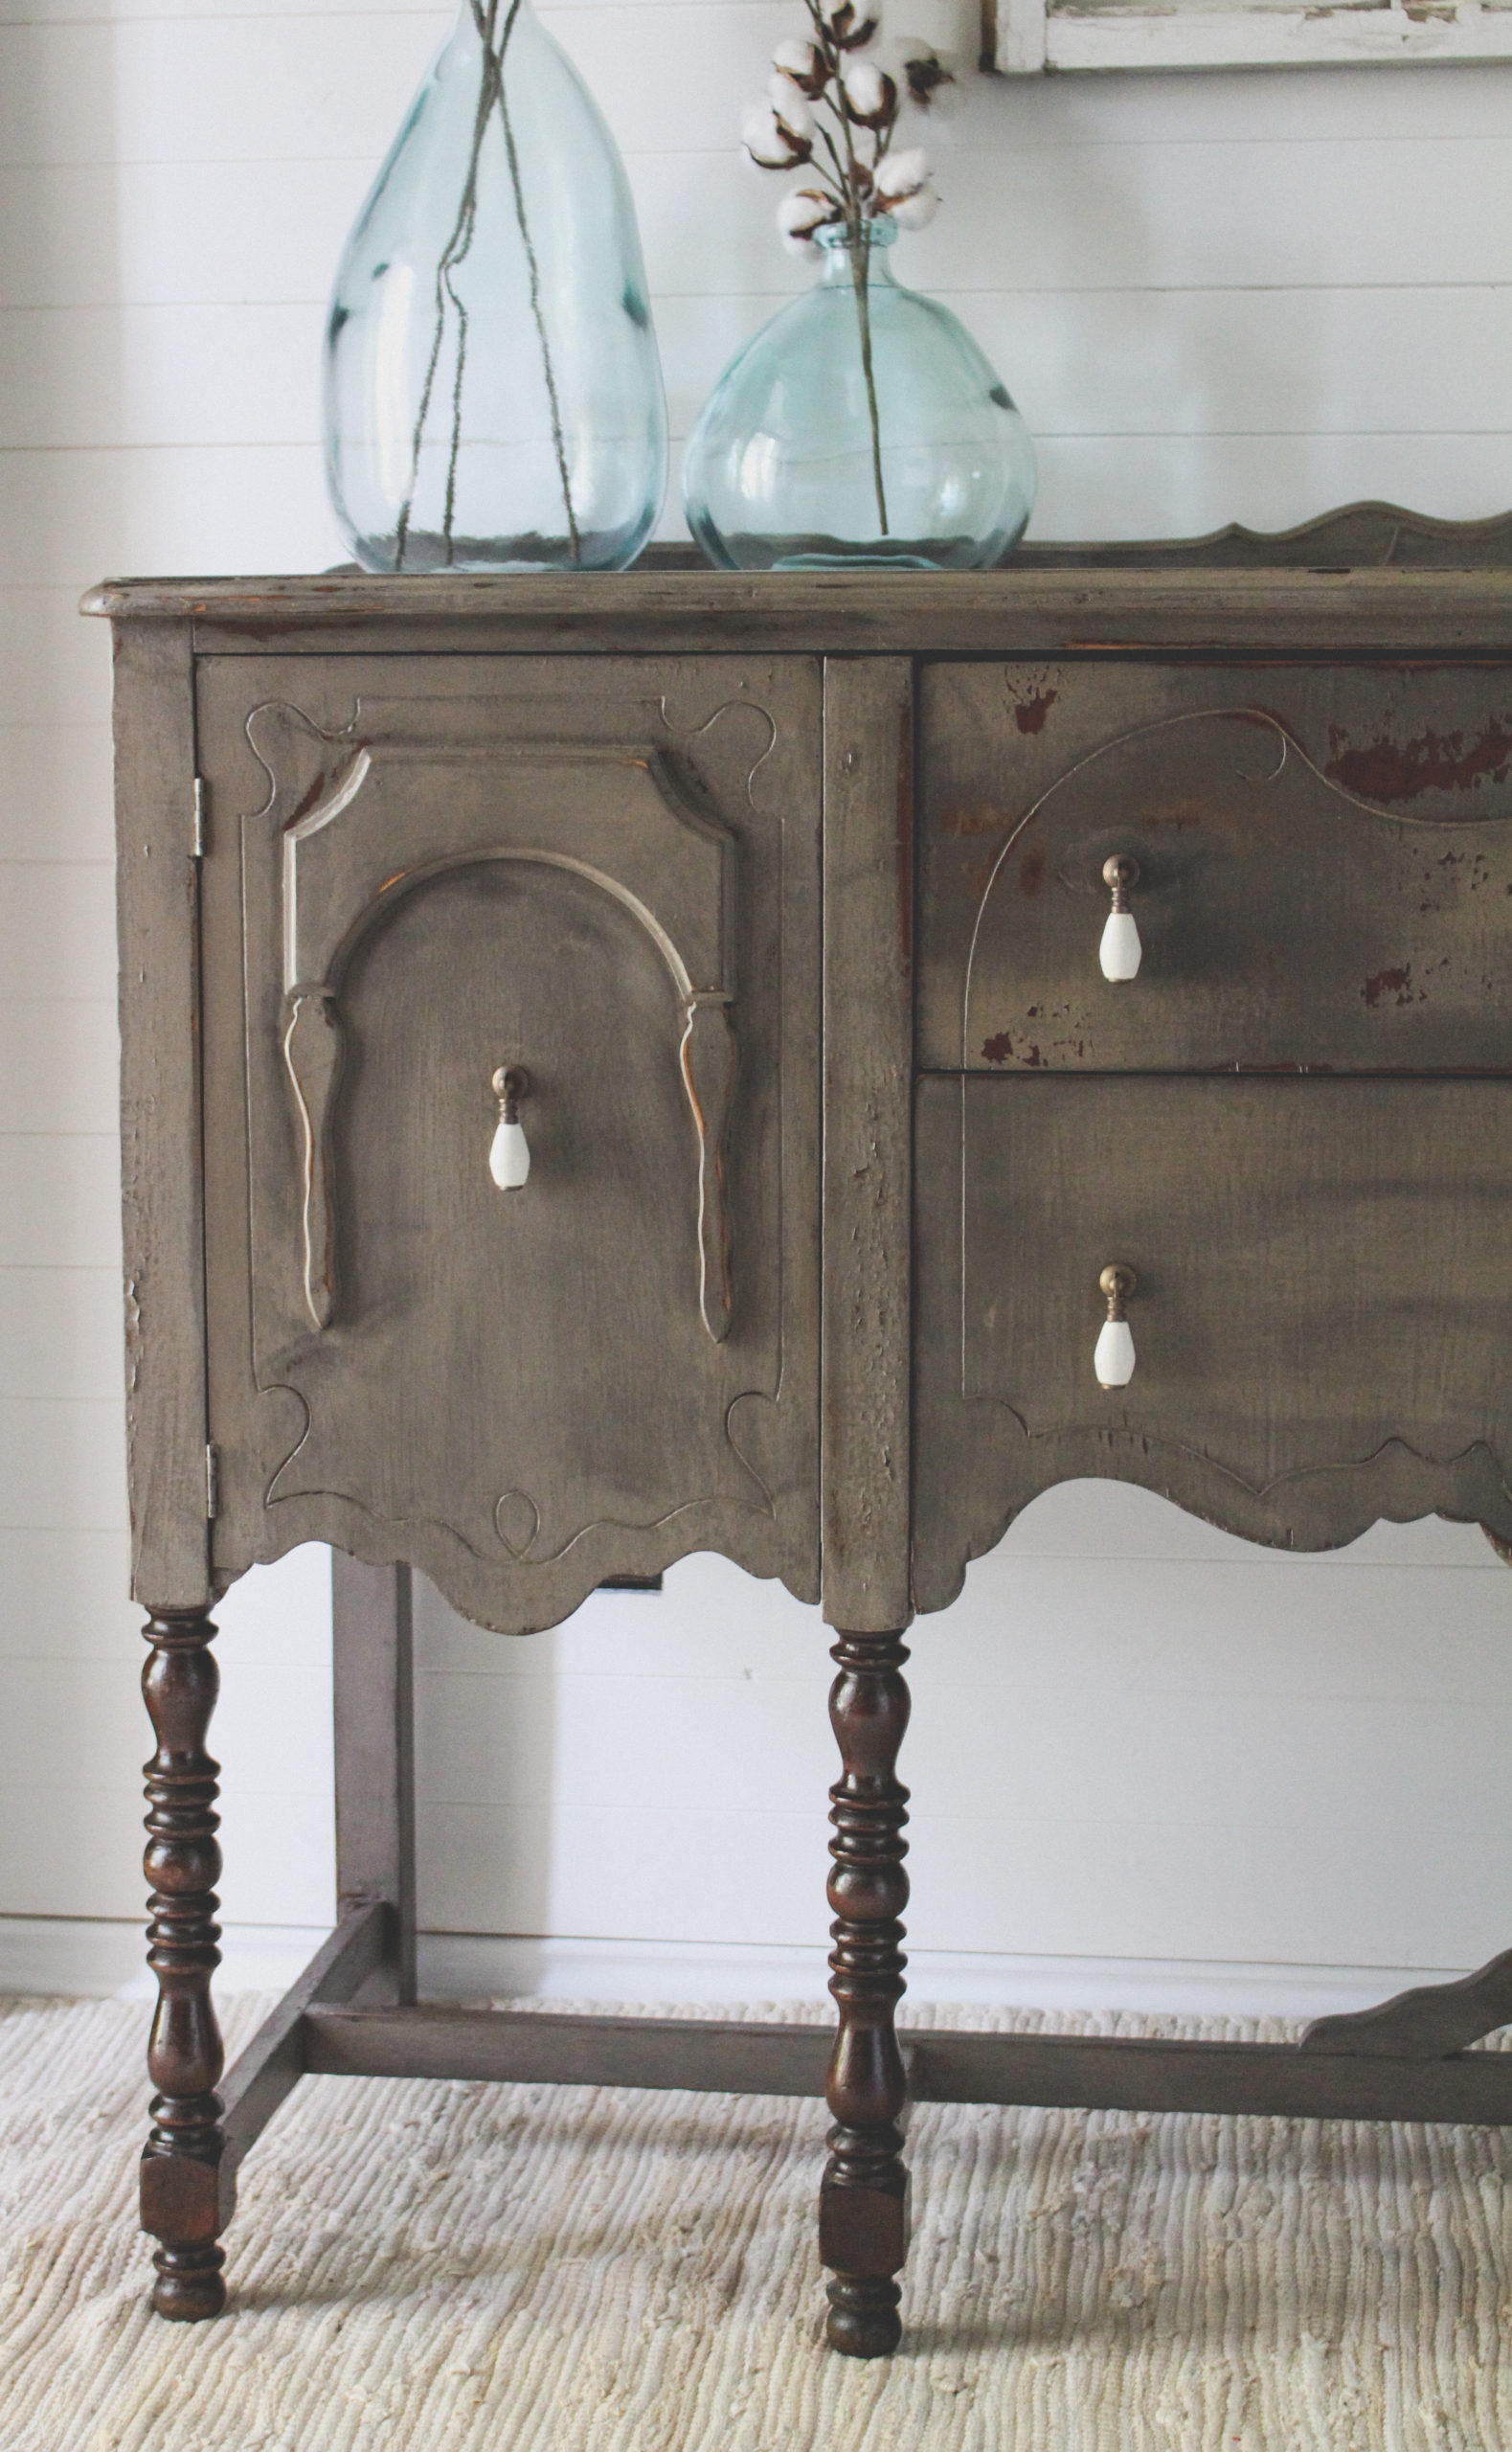
This Seagull Gray buffet was a custom piece brought to me by a local client. She had so many cool pieces she wanted revived (also future blog posts), but this one was the first. She also hails from a military family, and told me this buffet was special because it was purchased from a barn auction in England.
This post contains affiliate links.
The Prep
The original piece was dark and very heavy. It was however in amazing condition and needed only minor repairs like gluing the bun feet to the original dowels on the base. Because this buffet was oak, I knew the grain would be open and could cause potential issues with the dark stain bleeding through. So after a light sanding and a quick wipe down with a tackcloth, it was ready for the paint booth.
I first gave the buffet two heavy coats of Shellac. Not only did this help fill some of the open grain, but it also reduced the chances of any bleed through the paint. This is a tool I highly recommend any furniture painter have stocked in their supplies at all times. I can’t tell you how many times I have had to use this, especially for light paint colors.
The Look
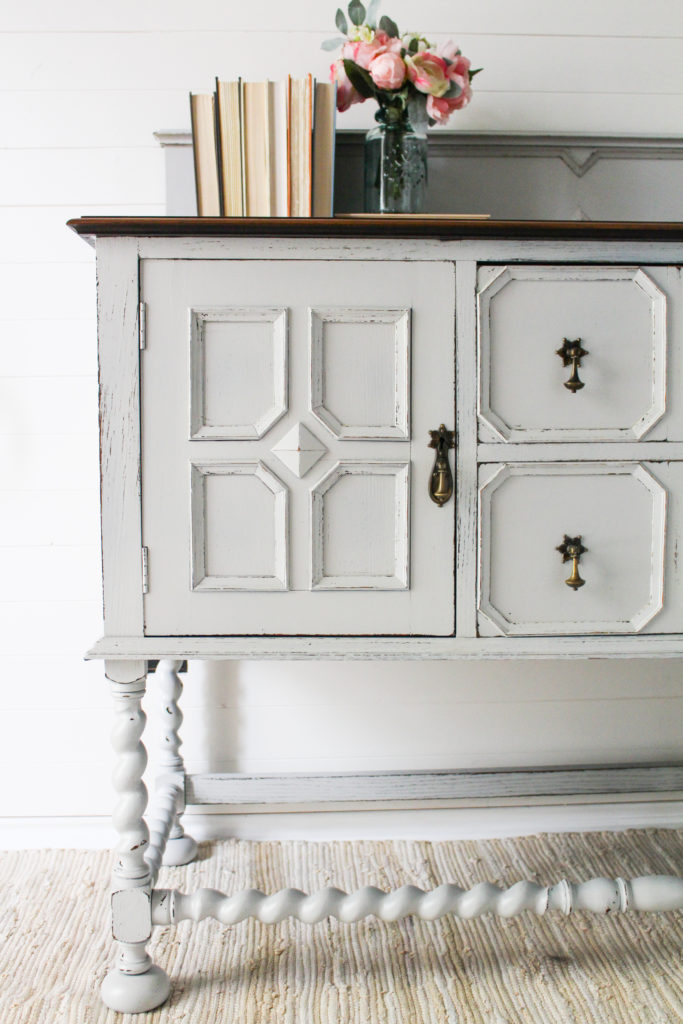
My client specifically requested General Finishes Seagull Gray. I have used this color many times before and love how it brightens up dark furniture. After two coats, I used a 220 sanding block to distress some of the areas where the detail was prevalent. I think the legs and trim work speak for themselves, but a little distressing just helped to bring them out even further.
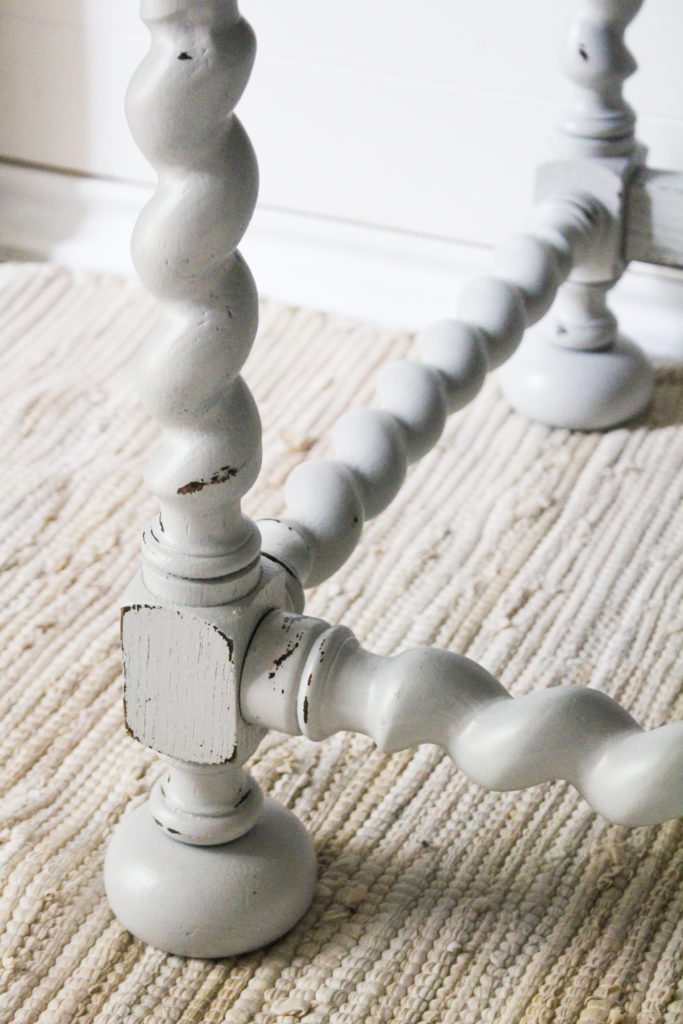
If you have ever painted a chair with intricate spindles, you know how time consuming and detail oriented you have to be to keep your patience. These barley twist legs were no joke to get painted. I actually had to lay the buffet down on it’s back and on top of a table to make sure I got full coverage around the feet and twists. Extremely difficult to do as a one woman person (husband was still deployed at the time). Note to self: do this first before you paint the horizontal and vertical surfaces. That way if you happen to nick or scratch in the process of maneuvering, all you need is a small touch up.
After the paint dried for 24 hours, I sealed it with three coats of General Finishes High Performance Top Coat in Satin.
Finishing Touches
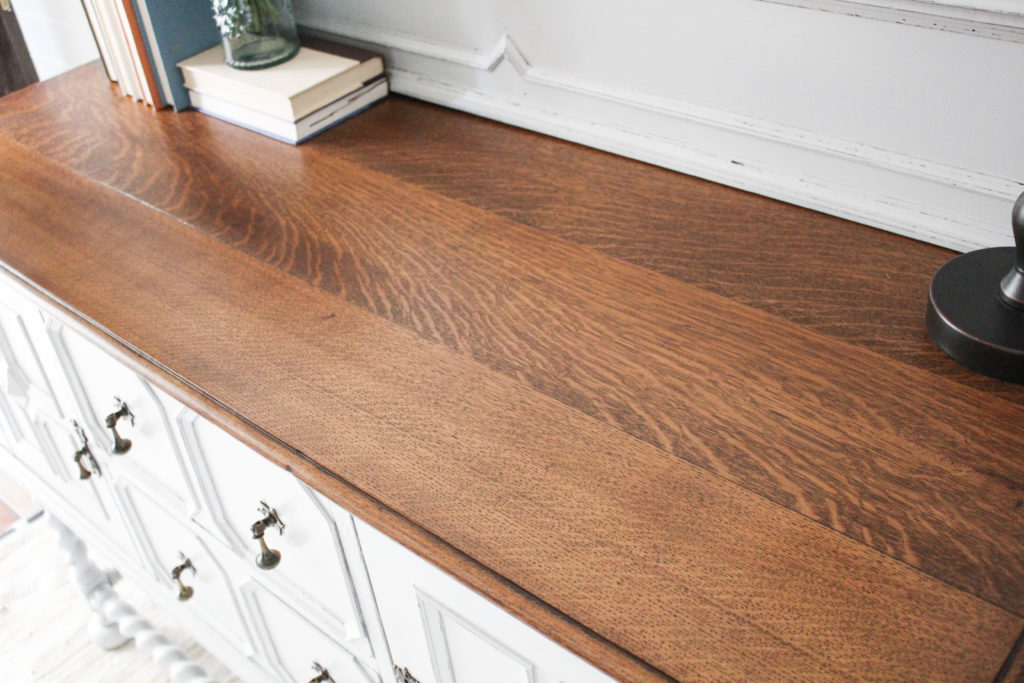
The top was hands down gorgeous. It had nearly no scratches or marks on it considering it traveled from overseas and was rescued from a barn. Once sanded, I knew we had to highlight the grain, without completely drowning it in a dark stain. So I applied two coats of General Finishes Antique Walnut Gel Stain. It was the perfect warmth the compliment the paint. After the last coat had dried for 24 hours, I applied two coats of Minwax Fast Drying Satin Poly.
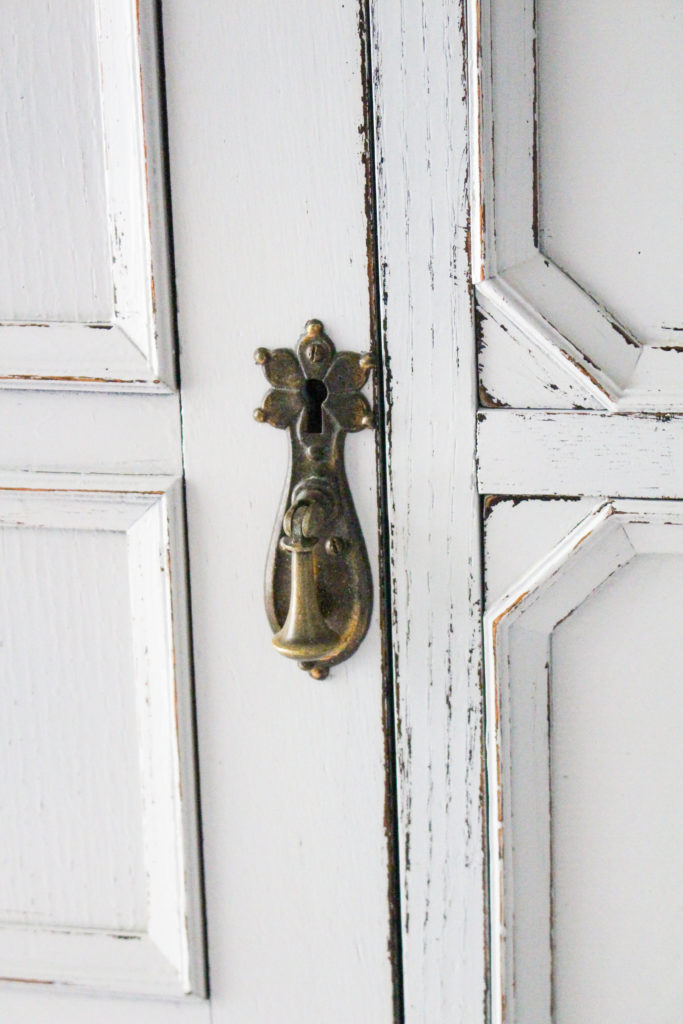
The hardware was original. All it really needed was a light cleaning. The patina perfectly complimented the new look this buffet now had. And now it’s ready to make another overseas home in Japan beautiful!





I love this color! Beautiful makeover, Crystal!