Because this is a review of a product, this post does contain affiliate links.
I finally found some time in-between my custom work, full-time job, mommy duties, school work and house work to sit down and write this review of the Critter Siphon Spray Gun we used on our personal desk. I have a lot of work to catch up so I’ll try to be brief and give you all as much helpful information as possible.
First, lets talk about the Critter. It’s a hand held, siphon fed tool that attaches to a compressor. It uses mason jars to hold your paint, which helps with paint refills during your project.
The Pros:
- It only cost $40 (plus shipping)! I was able to order the gun through Amazon, and based on the reviews here and on other DIY sites, the Critter rated evenly with some of the high-end spray guns you find in your local hardware stores.
- Uses mason jars: this is great for large projects when you need to refill your paint. Rather than stop, open and fill up, all you have to do is unscrew and re-screw.
- Cleaning was easy (mostly). I used latex, chalk paint and General Finishes Milk Paint and each had sprayed well. Since they were water based paints, I simply rinsed with soapy water, then clean water, then air (removed extra moisture). I used an old toothbrush to scrub the tip. This is great for multiple small projects or touch ups.
- Lightweight: When spraying large projects, you need to have a continuously moving hand. This gun is lightweight and easy to handle with a great trigger to help save your arm muscles.
The Cons:
- Siphon: If you aren’t constantly watching your paint levels and you don’t refill before you’re out, you’re left with splatters. This ruins your finish, until you can sand it down, and re-spray. When using this, my rule is to never let it get lower than 1/4 of the jar. The siphon does not reach the bottom of the mason jar, so even though you think you still have some paint left, you may want to refill anyway!
- Clogs: I didn’t have an issue spraying GF or latex, but I did have a few issues when spraying chalk paint. One of the issues was that I did not dilute my paint enough. Because chalk paint can become clumpy if too dry, those clumps became clogged in the siphon. Dilute your paint (but don’t make it watery) and you should not have any clogging issues. I diluted with 10% water.
- Air pressure: I mentioned in a previous post that initially my PSI was too high. I personally found the best application at 45 PSI. However, once my air pressure in the tank began to drop, the pressure in the gun sprayed weakly, leaving me with excess paint sprayed onto my project nearly causing drips. I was able to identify this after the first time it happened so I had to wait for the tank to refill before spraying again. This could be a downfall with the compressor, not necessarily the gun, but I was too frustrated to figure it out.
- Gaskets: These are flimsy cardboard rings that seal the gun to the jar. They break easily and are not ideal for reusing. I was able to get away with using one for paint and one for poly with multiple coats in-between, but if you’re considering investing in this, buy extra gaskets! These are not available in bulk off Amazon, but you can get them from Lee Valley Tools.
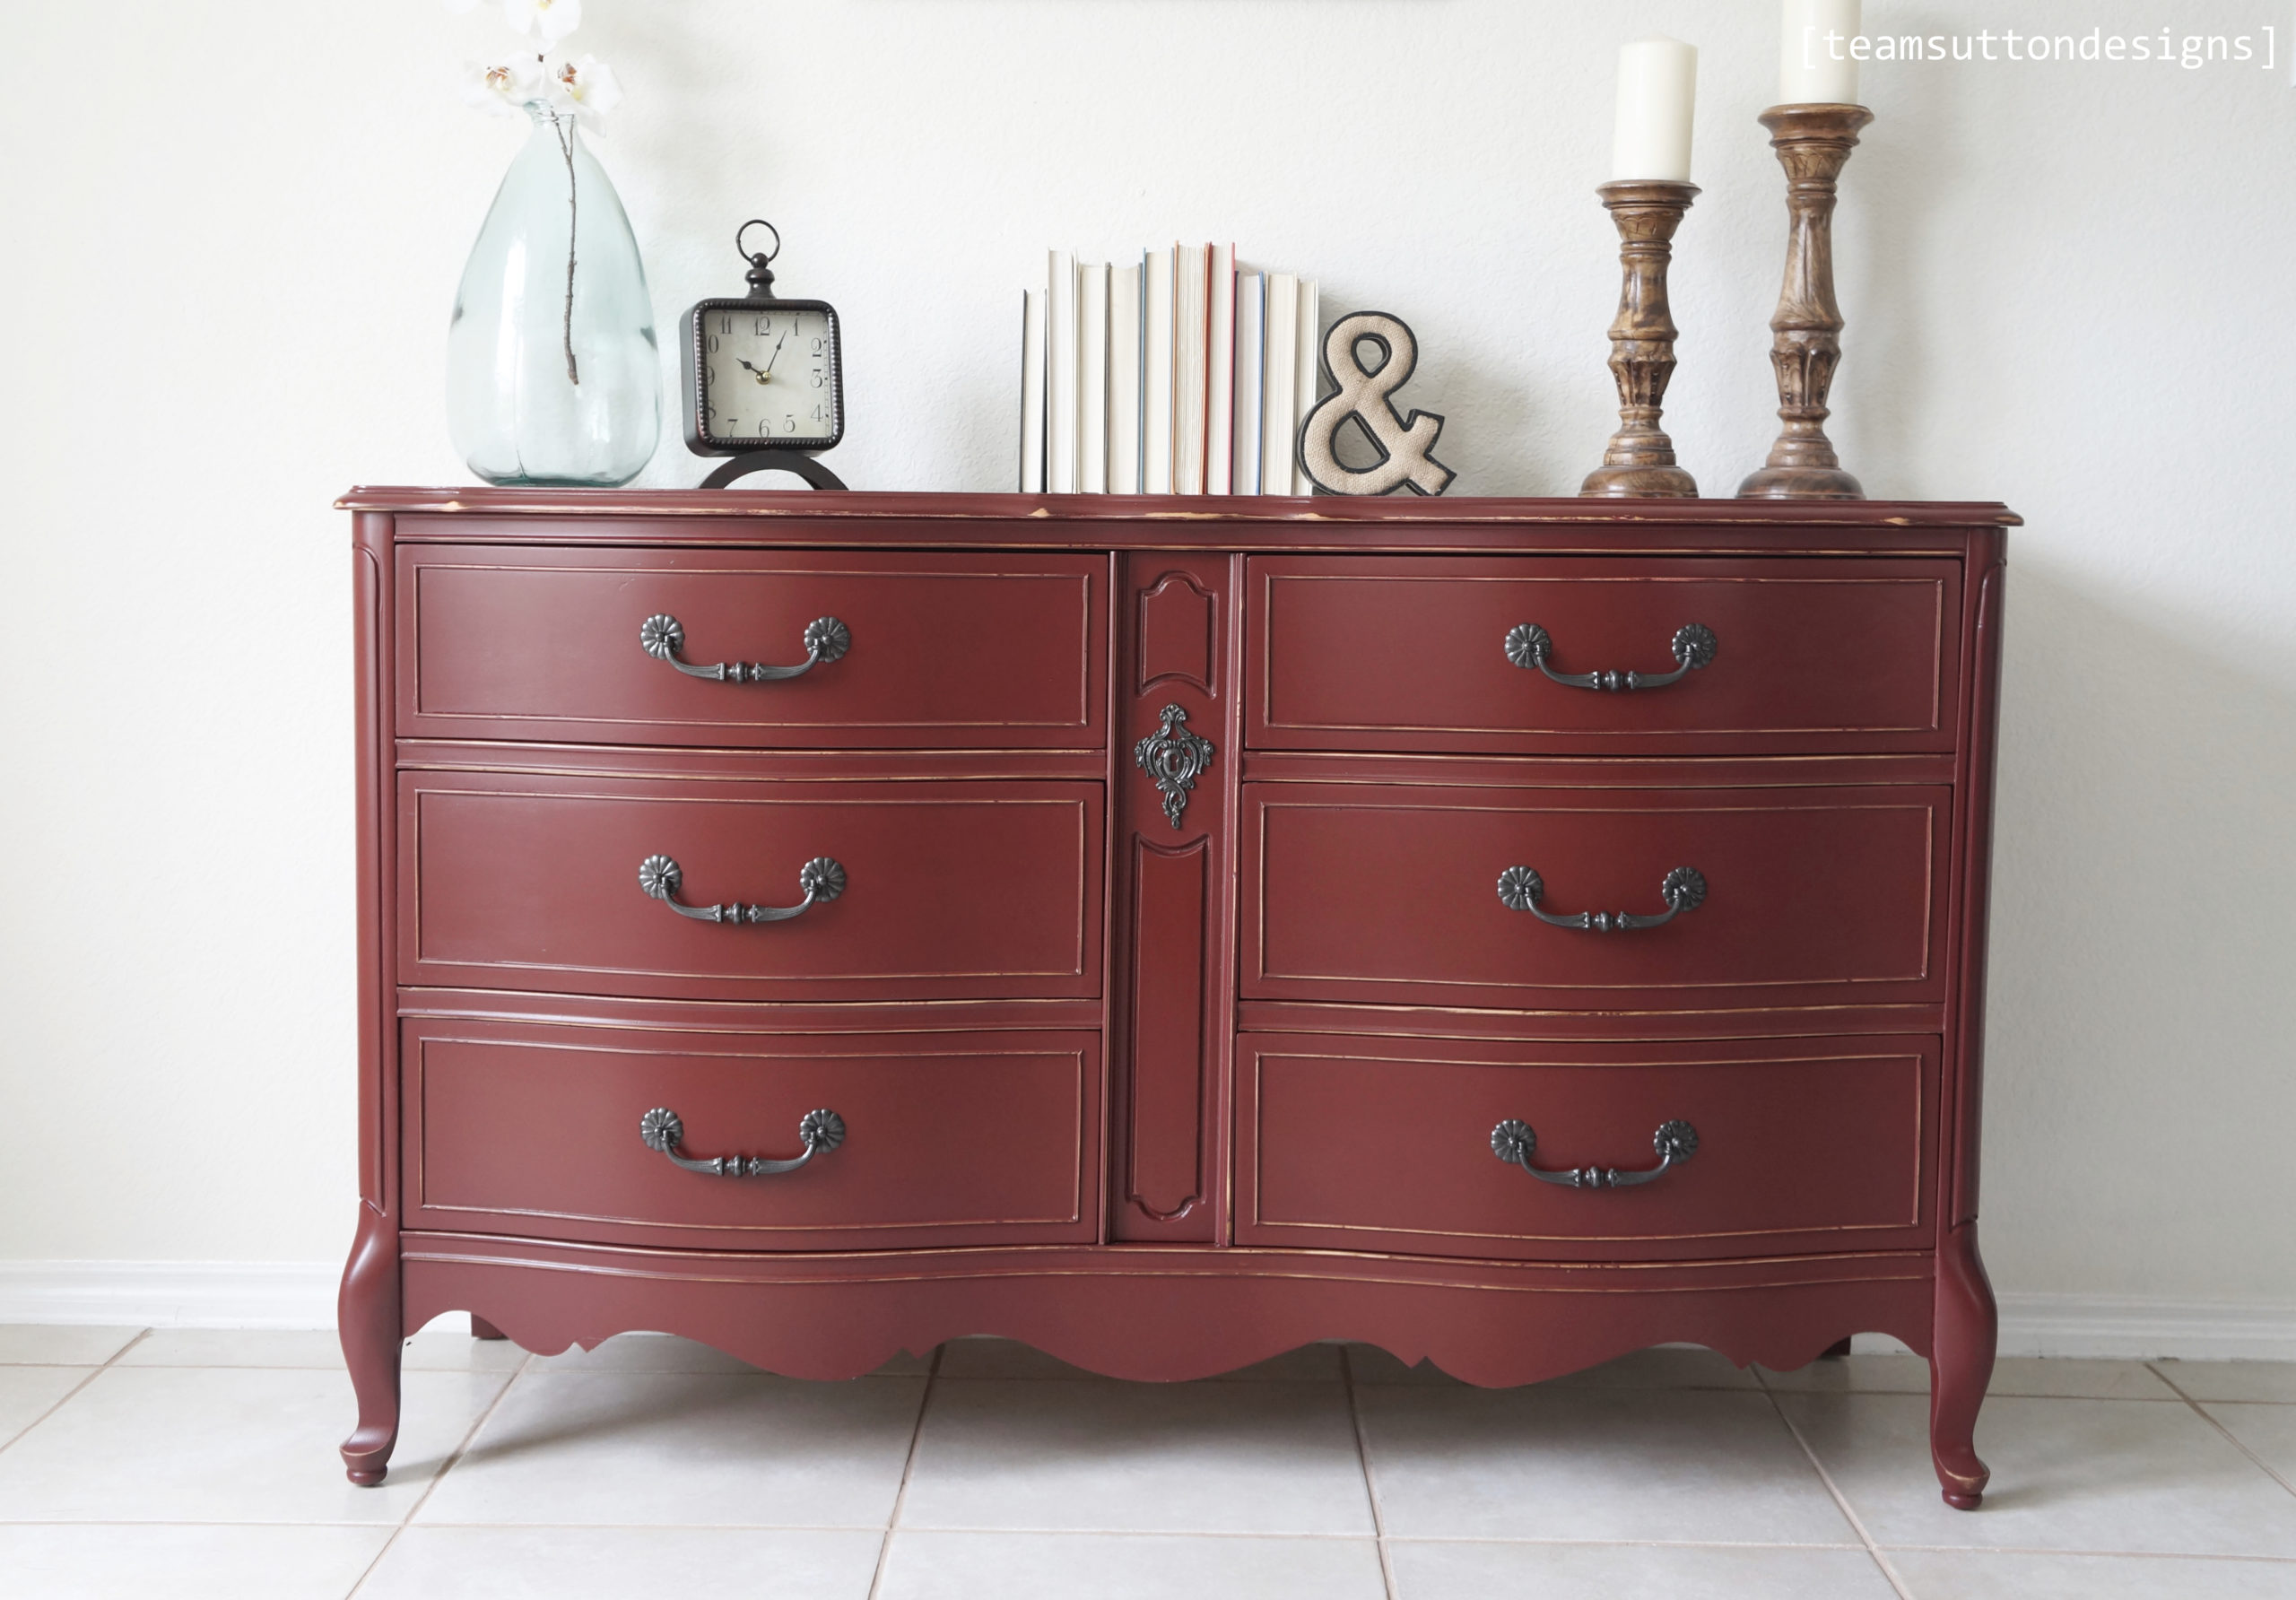
- Overspray and paint volume: I expected to use more paint than usual due to overspray. I was not expecting my garage to be covered in red dust from the overspray on my Sangria Red dresser. We set up a makeshift paint booth (really just plastic sheeting and cardboard) but I found the dust EVERYWHERE! Even in items behind my booth. It was frustrating to think of how much paint was wasted in overspray alone. I used an nearly a quart on the Sangria dresser…hand painting, I would have used maybe half.
So those are the pros and cons. Hopefully you can decide on your investment, but for me it was the perfect starter gun to practice, technique and application. Next, lets talk about the desk. Here is a before:
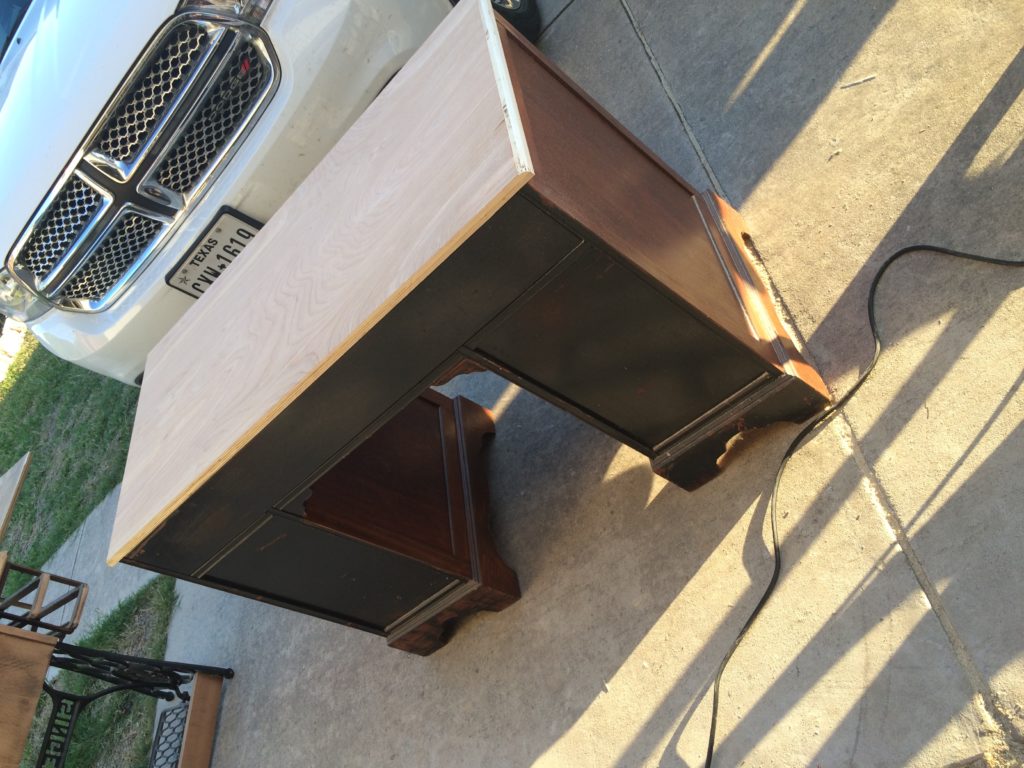
Obviously this is the back of the desk. It’s a solid wood mahogany piece, but the top was laminate. That def had to go!
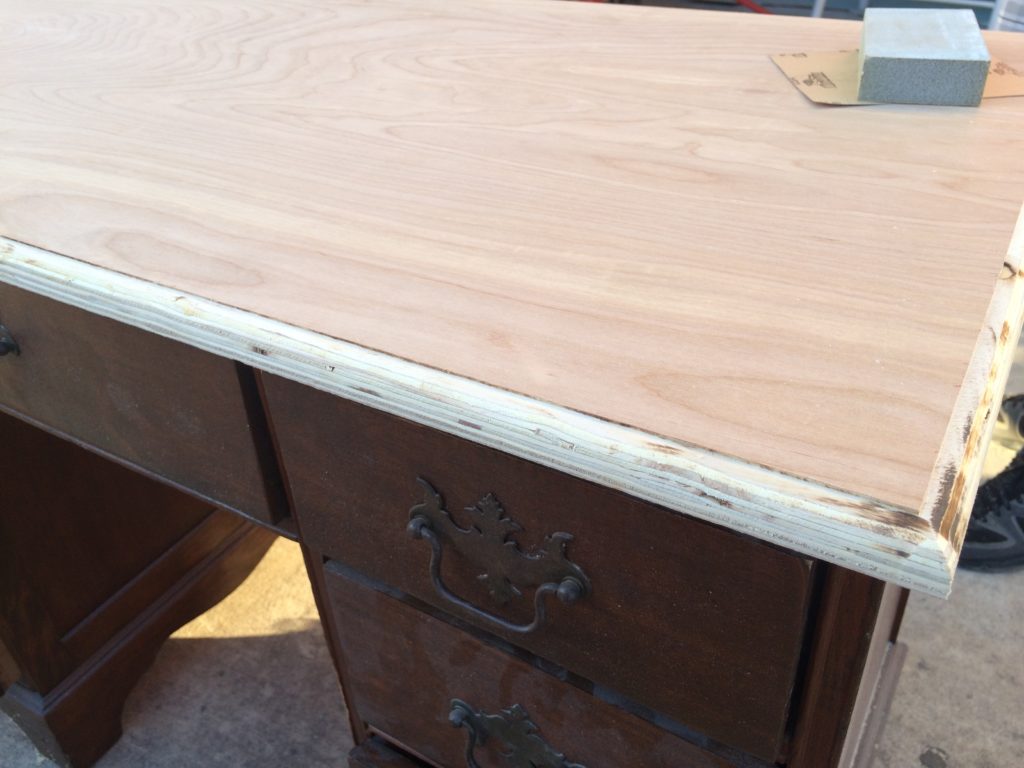
We replaced the top with Birch plywood, and this was Jake’s first attempt at routing. The darker spots on the top are burn marks from where the router was caught and burned the wood in the attempt to continue. Overall, not bad for his first try, but there’s always room for improvement 
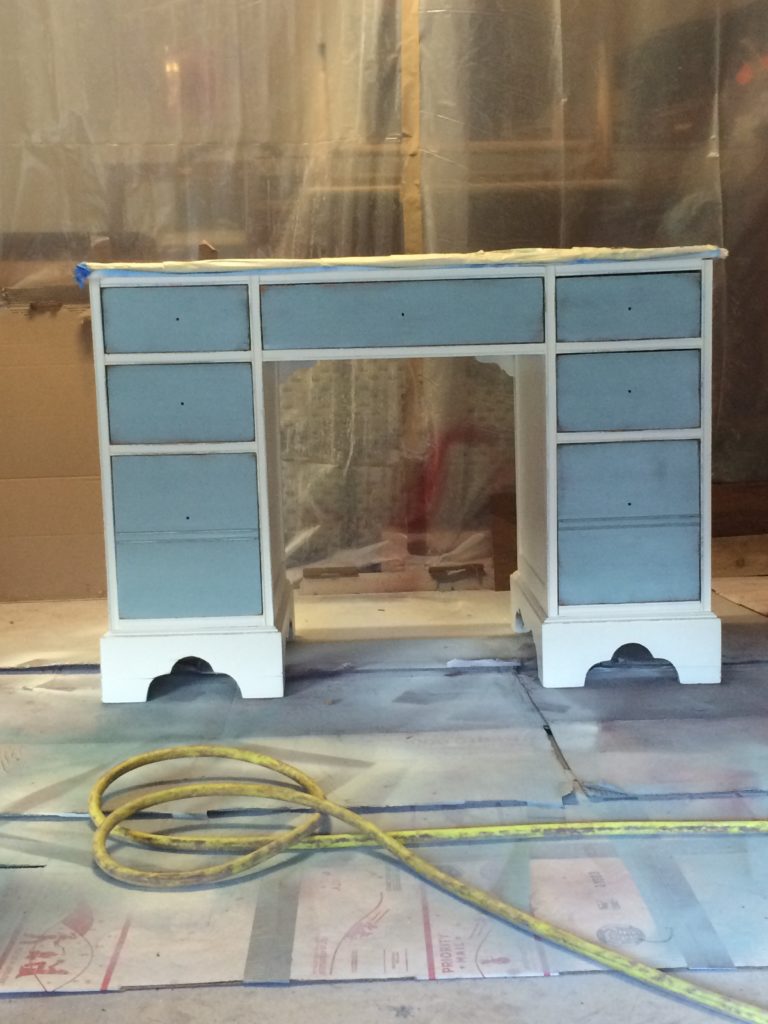
Here it is in the process of getting a top coat. As you can see our makeshift spray booth sucks, but it did what it was intended to do!

And here it is completed! We painted it to match the dresser in our spare room. We used Country Chic Paint’s “Vanilla Frosting” for the base and “Elegance” for the drawers.

I had to primer the base with a shellac based primer to prevent wood bleed through. I used about 3 coats all-in-all, and I used 3 coats of clear shellac on the drawers since I knew I wanted to distress them.
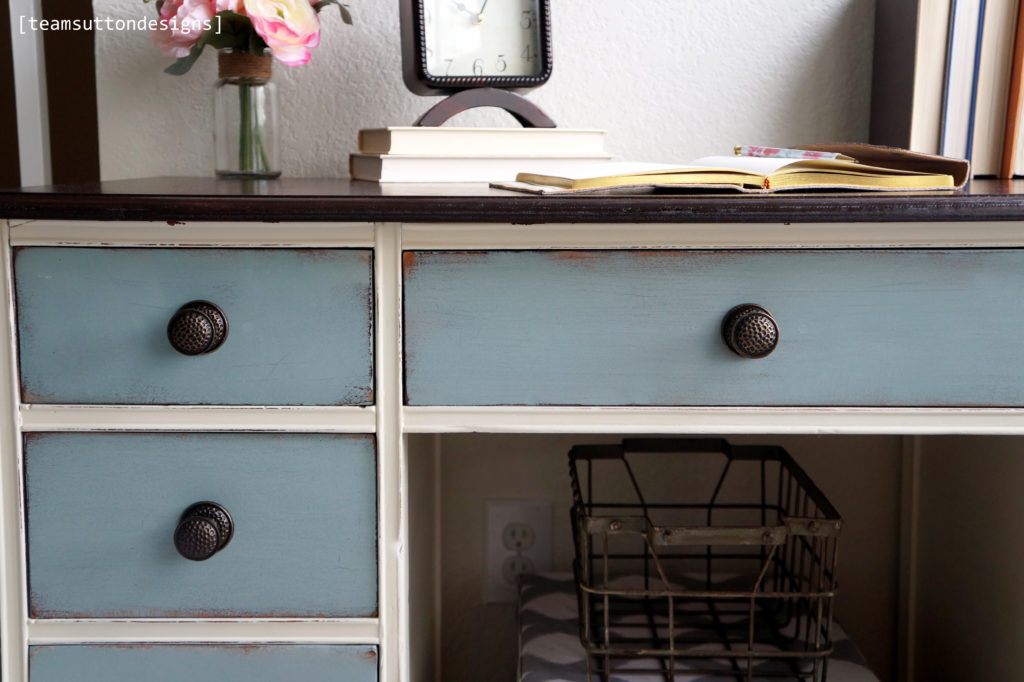
The top was stained in two coats of General Finishes “Java” and sealed in four coats of their wipe-on poly. I love love love this stain!
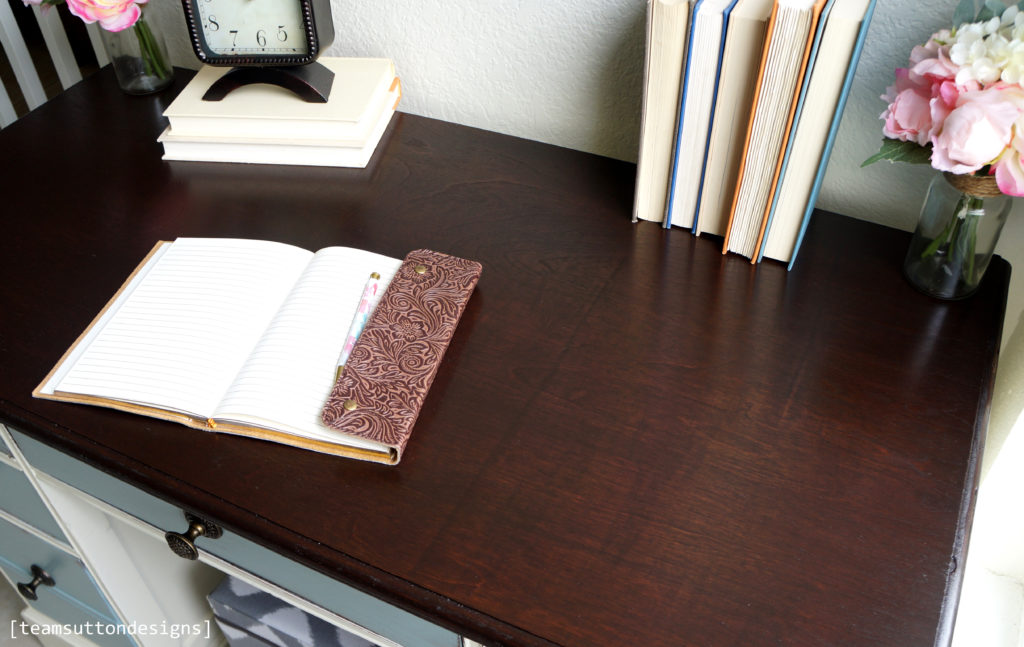
I even painted the inside of the drawers since they were in TERRIBLE shape. They were beyond the help of drawer liner.
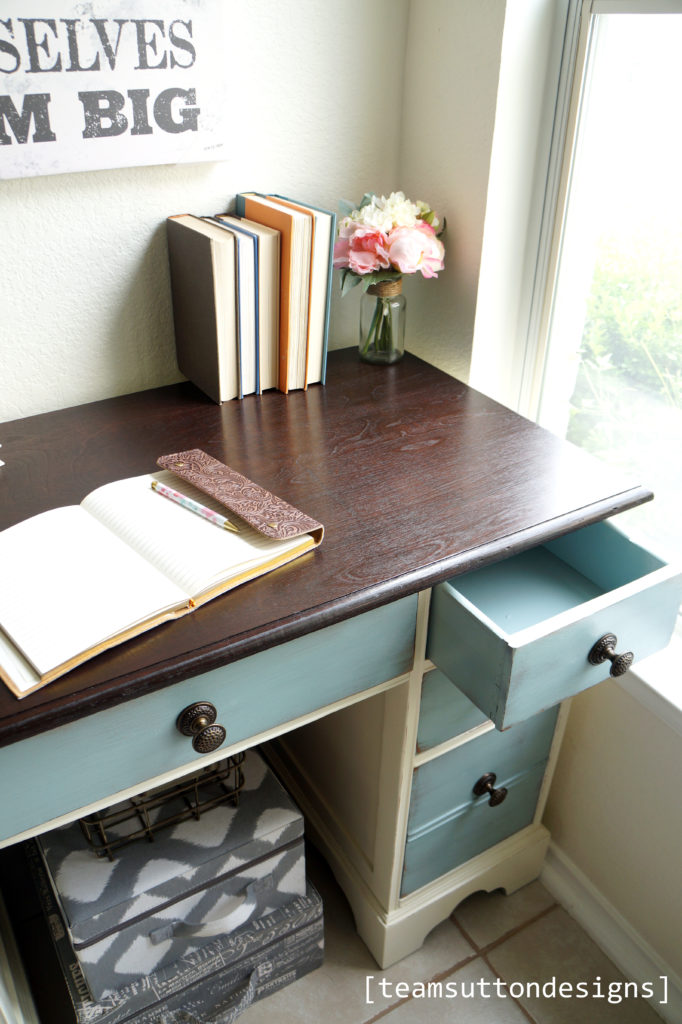
The drawers only required one coat of paint for the kind of distressing I wanted. The base and drawers were also sealed using General Finishes HPTC in Satin. I replaced the bail pulls with these aged brass hammered knobs I got from Hobby Lobby on a 1/2 off weekend. They look very classy!
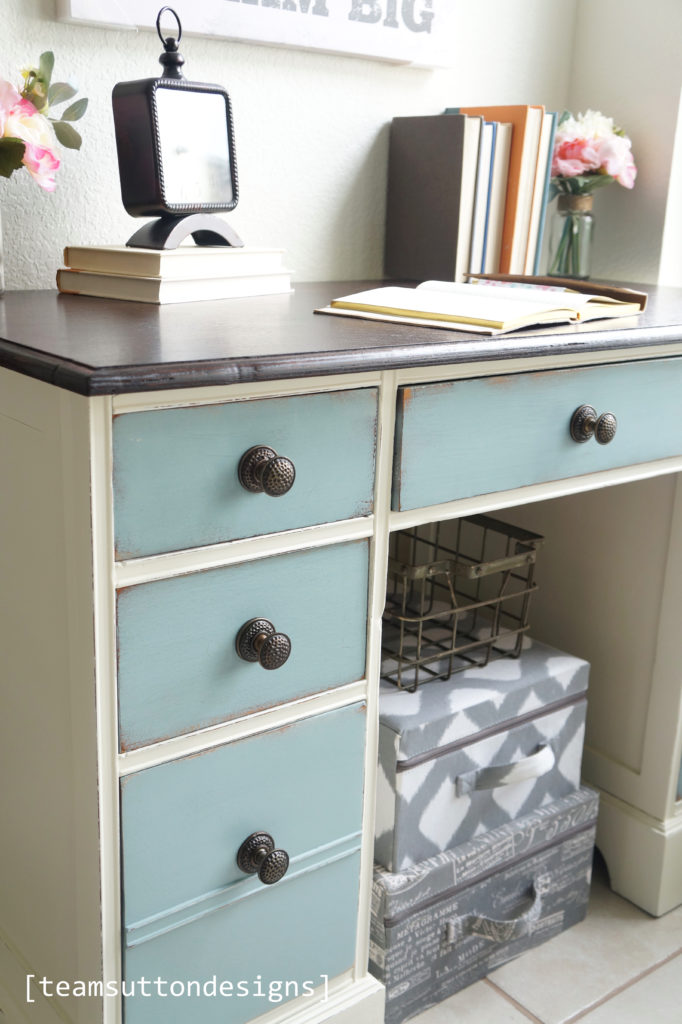
Overall, I’m very happy with the experience the Critter has given me. I plan on using it on all my small, quick projects as we have since invested in an Earlex Hv5500 for our larger projects. I’d definitely recommend this for a someone looking to try out spray painting before investing in a higher quality gun, or to decide if spray painting is the route to go. It’s worth the learning curve if you’re willing to take the risk. I’ve had some people try spraying only to find out it’s not for them and I don’t think it’s for everyone. Some people value the finish and some people value the process. I find that I’m a good mix of both, and just because I’m spraying doesn’t mean I won’t continue to paint by hand. There’s just something about spending hours in a garage, thinking and painting away, letting the piece talk to you and tell you what it needs.
If you have any questions about this gun or my project, please click the contact us link above in the tabs or send us a message on our FB.
DISCLAIMER: I was not provided or compensated by any means in exchange for this review. All opinions are my own.








 Calling all Chinoiserie lovers!


 CANDLE COTTAGE UPDATE
 COAL BLACK
 ![🖤COAL BLACK 🖤
Pairing @fusionmineralpaint Coal Black with rich red wood tones creates the perfect balance of modern edge and vintage warmth. Whether you’re refinishing a classic piece or adding depth to your decor, this combo is a game-changer! 🔥✨
Check out the full transformation on the blog! 👉 [link in bio]
#FurnitureFlip #FusionMineralPaint #CoalBlack #TimelessDecor #VintageModern #HomeDecorGoals #FurnitureMakeover #BoldInteriors #BlackDecor #RefinishedFurniture”](https://scontent-den2-1.cdninstagram.com/v/t51.75761-15/483510334_18489628165053576_9140547431226320604_n.jpg?stp=dst-jpg_e35_tt6&_nc_cat=107&ccb=1-7&_nc_sid=18de74&_nc_ohc=Ah9k9xgB5pkQ7kNvwH22nJl&_nc_oc=AdlmbSKBBgF5o7iucMrAiQ3LX7QSaVqvWHY6nB6RBUIS2wAIgI0oI8_QZVgmylbDsAI&_nc_zt=23&_nc_ht=scontent-den2-1.cdninstagram.com&edm=AM6HXa8EAAAA&_nc_gid=RcC4JlN3jUTg-PaC8jNF_w&oh=00_AfH7TcqlY9TRb2XKSTREK6-fdsAPweCvAisgcQQPfeDHhA&oe=68173D3D)



Leave a Reply