Today I’m bringing you guys a blog post about a refinished set of mid-century dining chairs using one of my favorite, go-to products of all time!
This post contains affiliate links.
Before we start, I want to give you guys an idea of what these chairs looked like before. They definitely had some age marks to them, a few scratches and dings here and there, but the upholstery was brand new. I was able to remove the seats, but I had to use 3M Painters Tape to block off the top portion of the upholstery. This was stressful, because I wanted to make sure none of the finishes would stain the chairs.
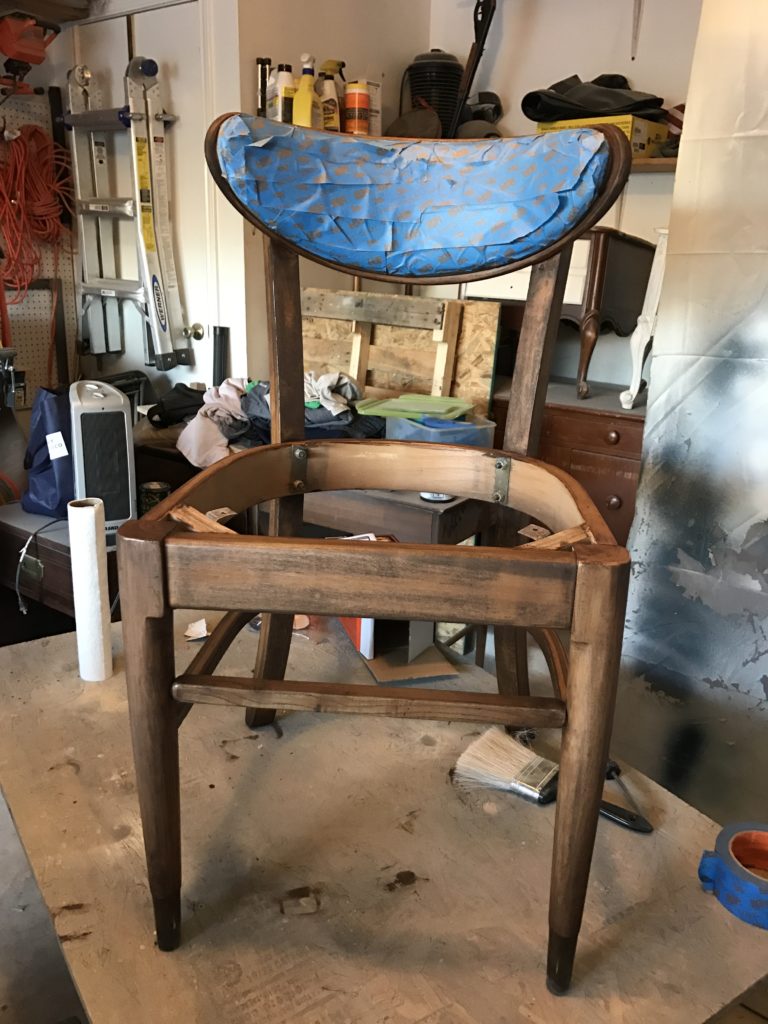
The Prep
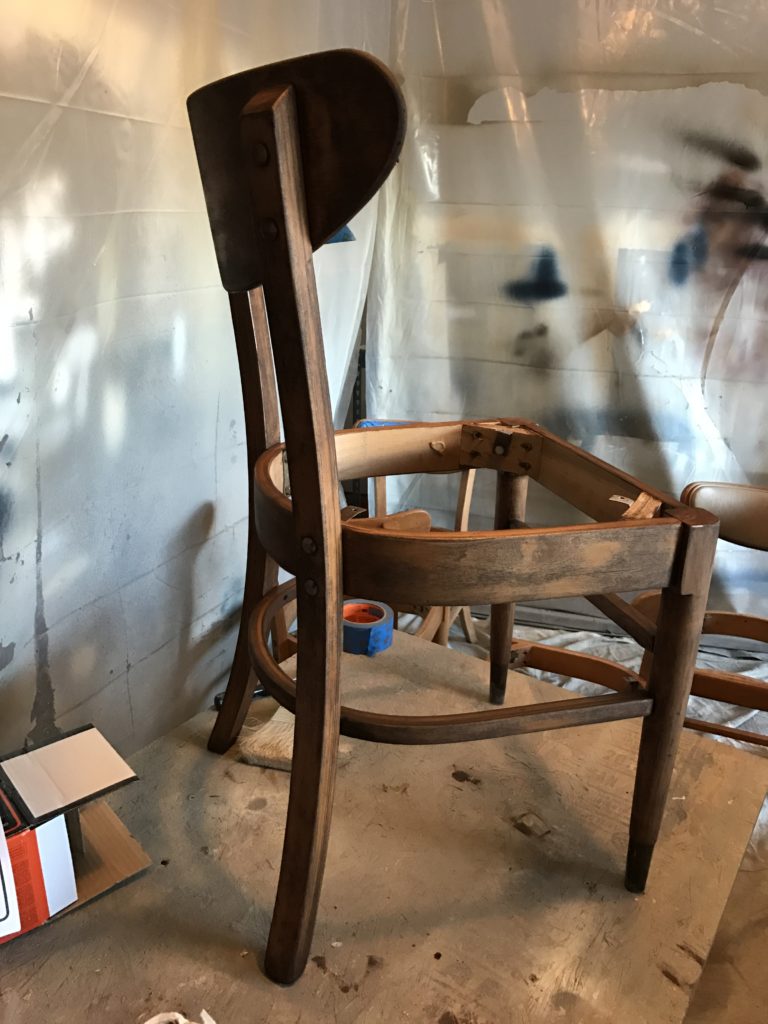
I did have to give these chairs a super deep sanding. Fortunately for me, they were solid wood, but the process was extremely time consuming. I also had to invest in a Black and Decker Mouse Detail Sander to get into all the tight grooves and corners to make sure the surface was evenly sanded. I chose this sander in particular because it had the best reviews, and the sandpaper was easier to find in stores and online than some of the other options. Let me tell you, this thing can go! I was afraid that it might break down because quite honestly it took me about an hour to get each chair sanded and prepped for stain (includes switching grits). But this little guy worked like a champ all the way through six chairs! I also worked through two days to get these done because I would have gone nuts having to sand for six hours straight.
After the sanding was over I gave them all a thorough wipe down with tack cloths to get the remaining dust and residue off the surfaces.
The Look
My client wanted a darker stain on her chairs to balance out with her dining table. I was a bit worried at how dark these appeared after one coat of Rustoelum’s Dark Walnut Stain. But my client confirmed that it was just about the same as her dining table, and I remembered how light her upholstery was, so it wouldn’t be that these chairs would have a heavy presence in the dining room. So one coat was really all these needed!
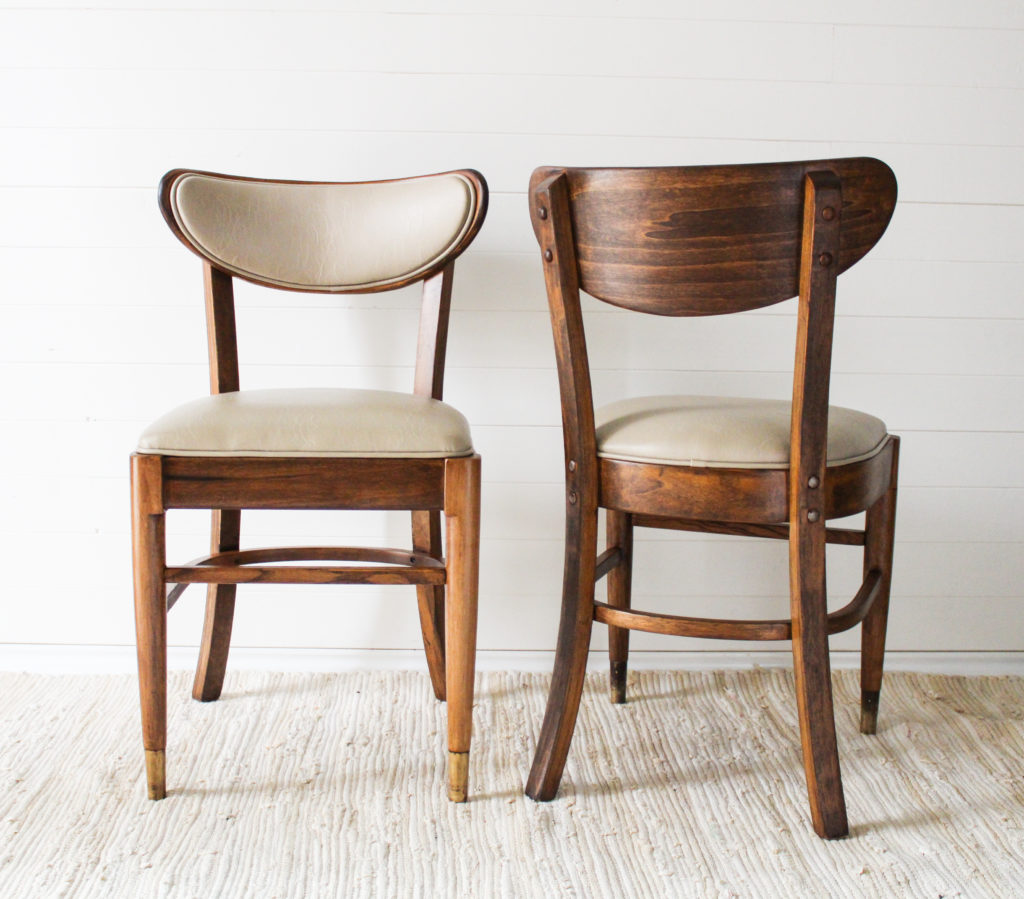
After I let the stain sit for 24 hours, I used a clean rag and Fusion Mineral Paint’s Beeswax Finish to polish these to perfection! If you have never used Fusion’s Beeswax Finish, you absolutely must give it a try! I have used this to save myself countless times with milk paint, stain, even over surfaces with a poly finish to give it a beautiful even finish! If they made it in a large bucket size tub, I would say that it would be well worth the investment to have that on my list of necessary painter’s tools! After two coats, these chairs had a gorgeous protective finish and shine that will last for years!
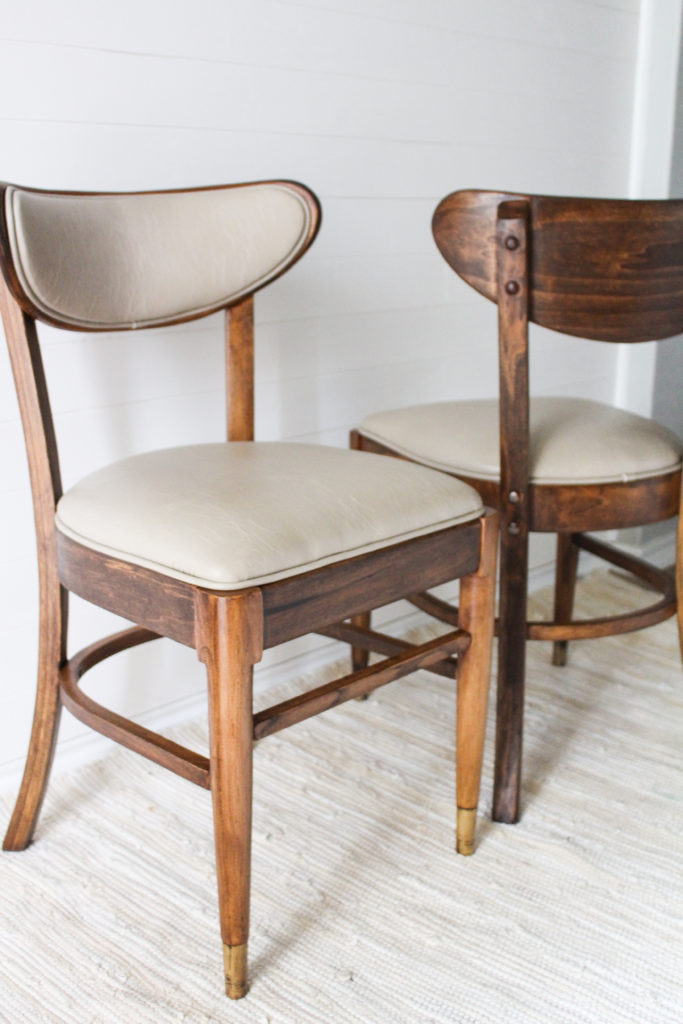
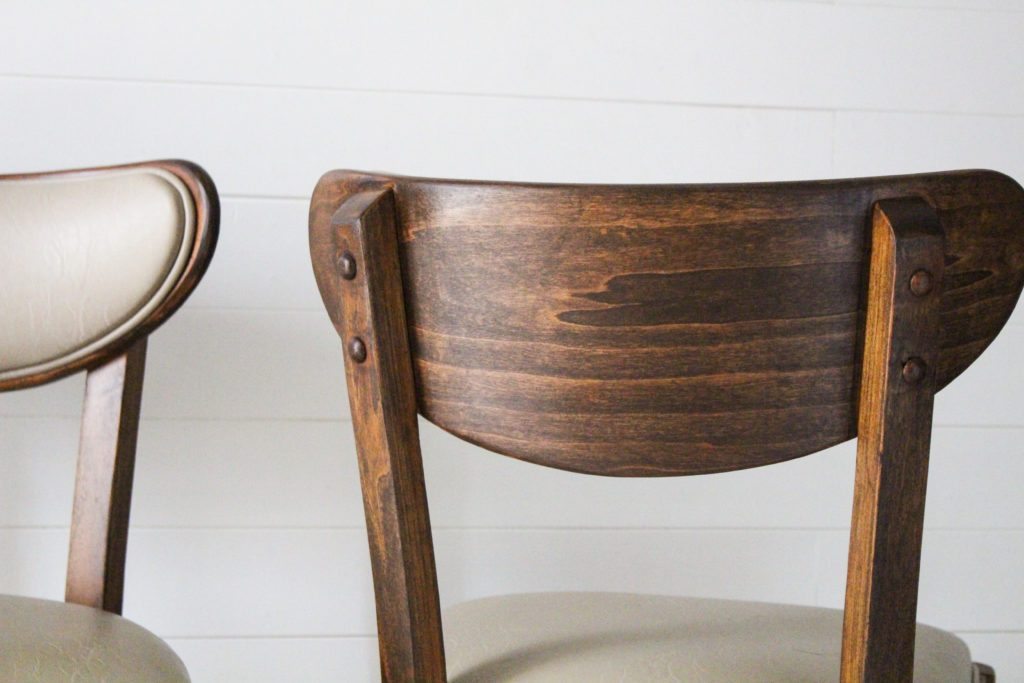
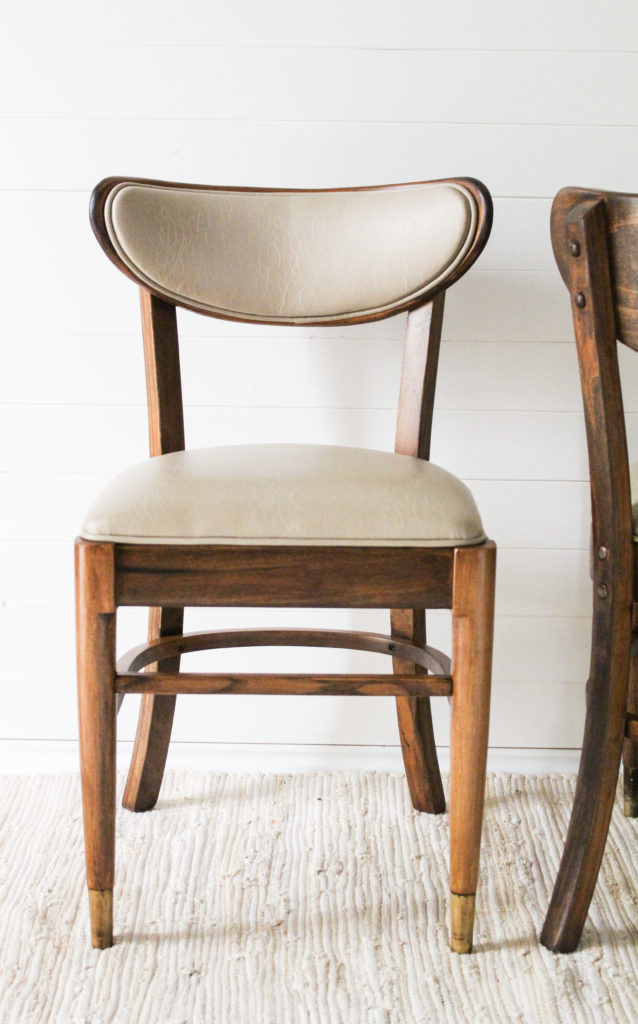
Hope you all enjoyed reading about reviving wood furniture! Chairs always seem to be the most daunting and time consuming, even though they are smaller pieces. It could be that their surface room is so small, it doesn’t leave much in the way of forgiving if you make a mistake. That could also be why it takes me twice as long to finish chairs as it does a fairly large dresser! But the result is always what you expect and more when you take your time!
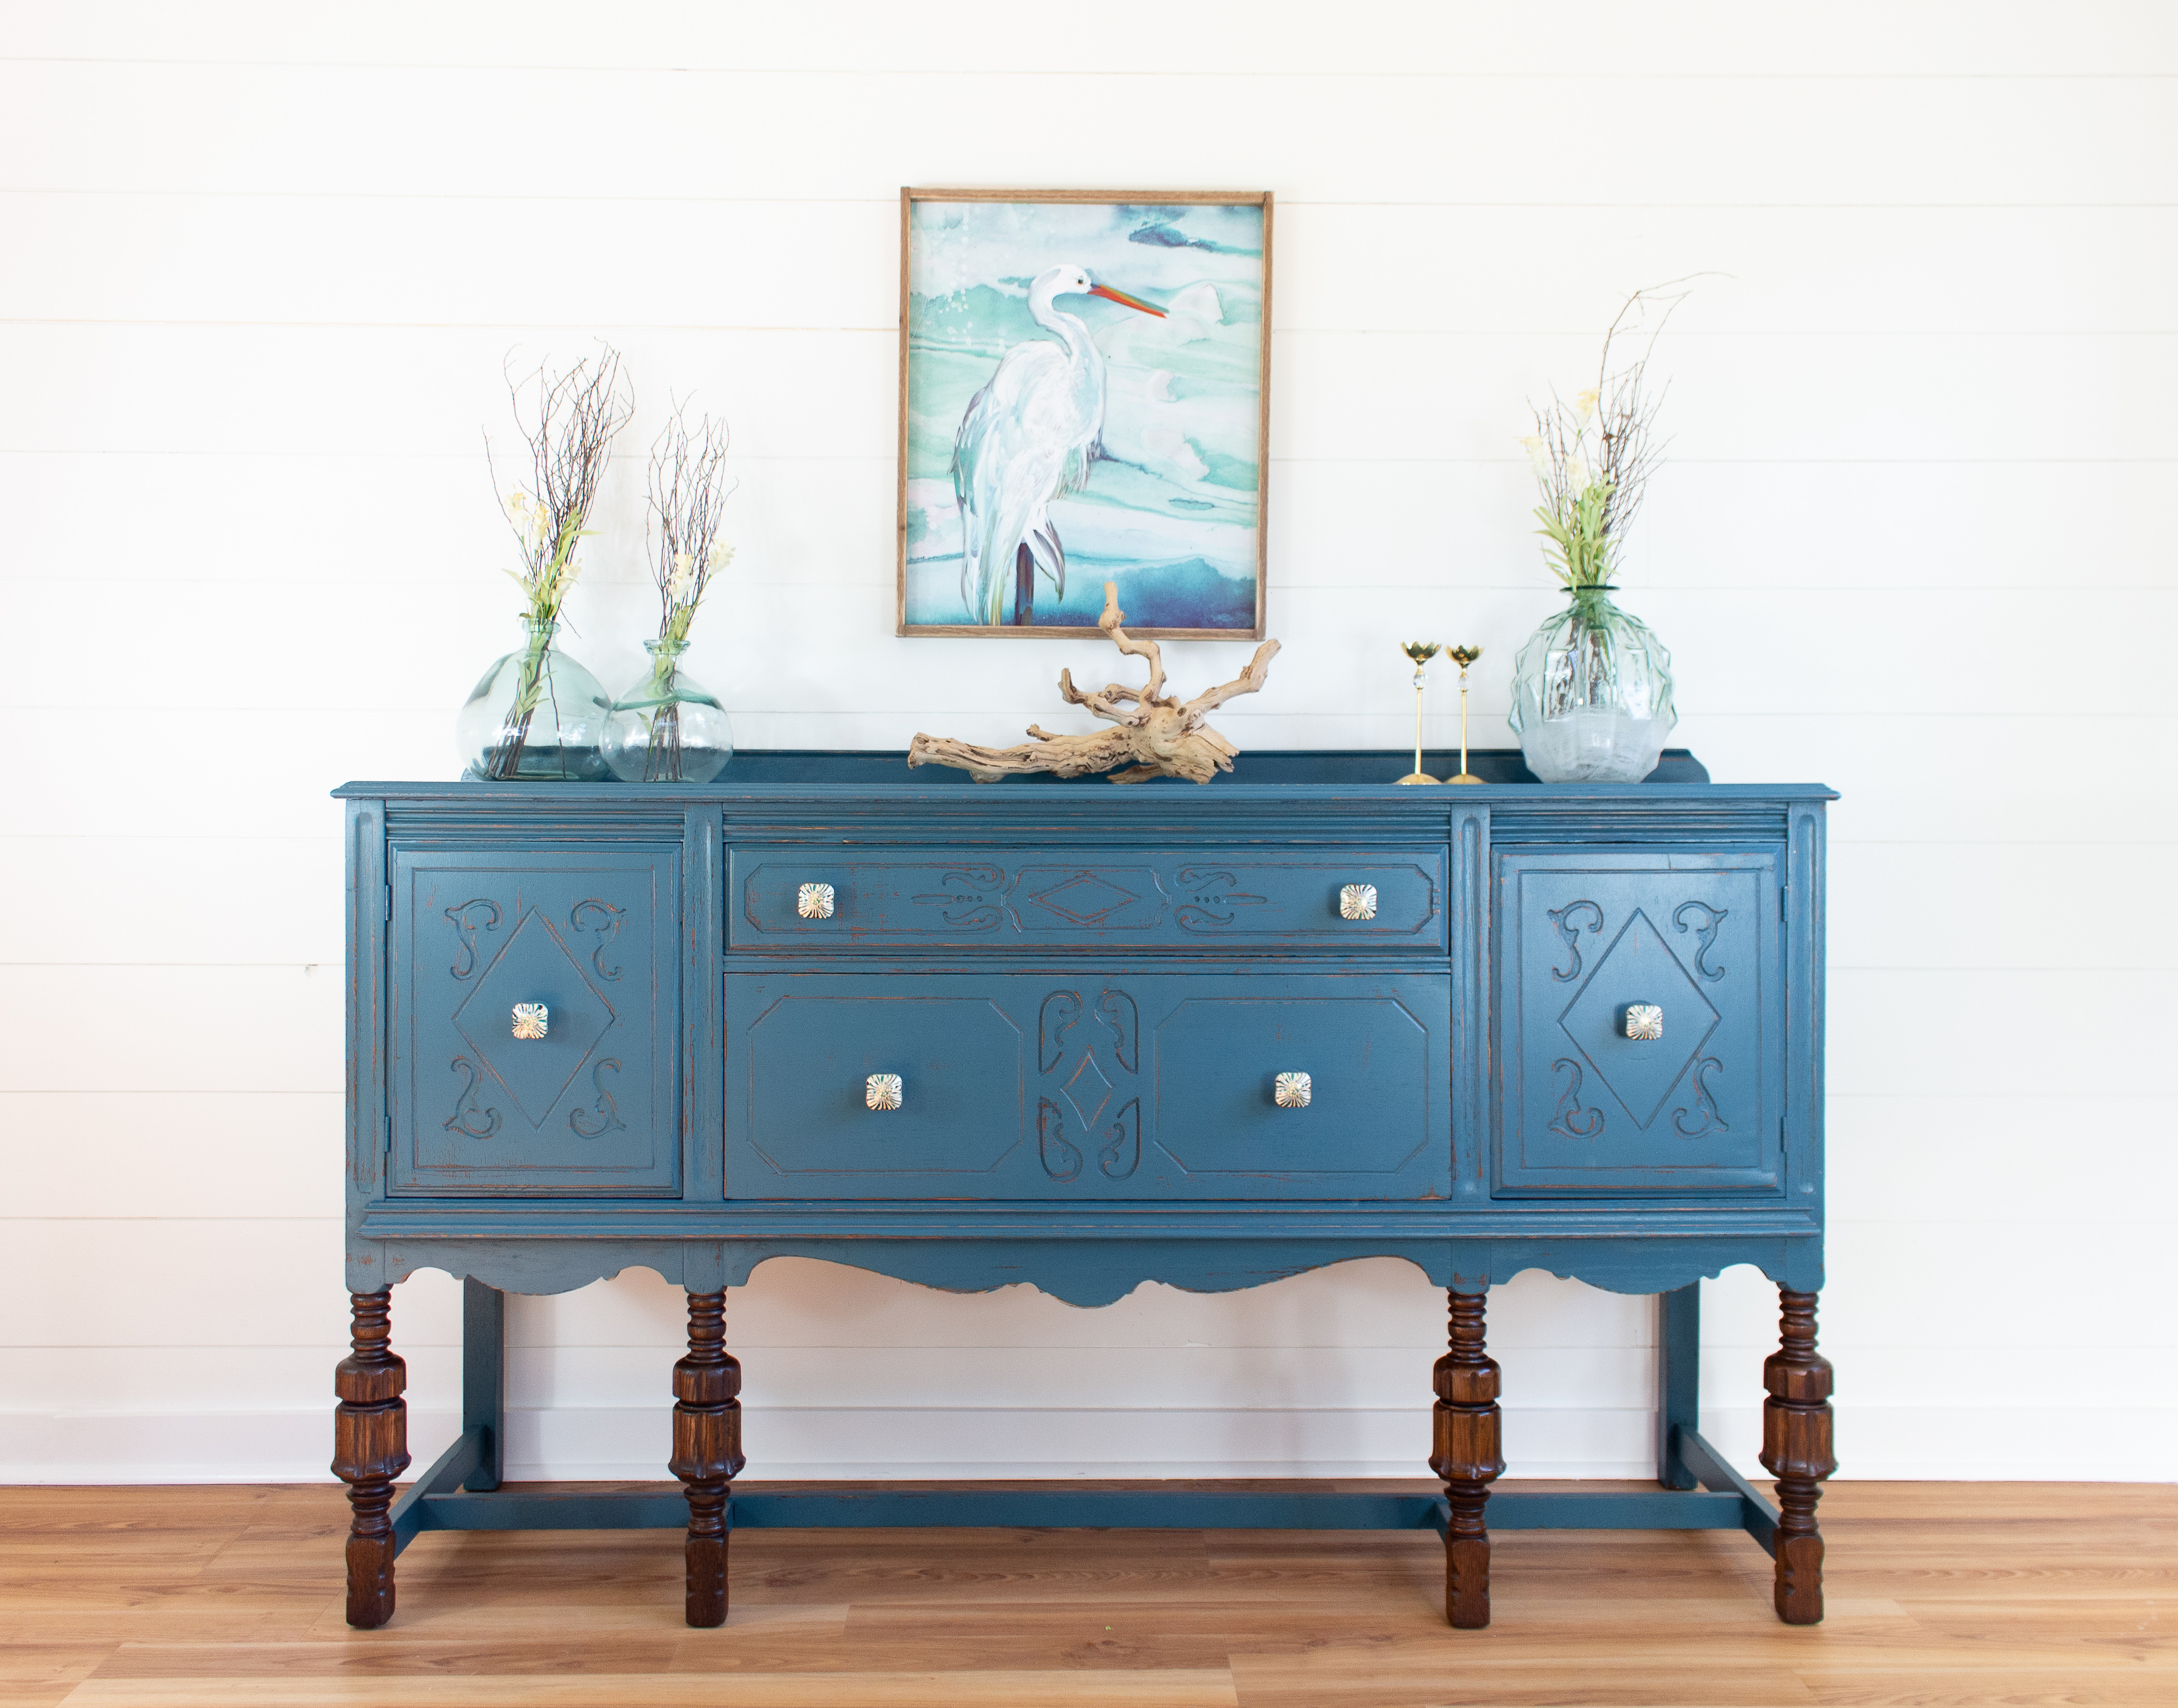
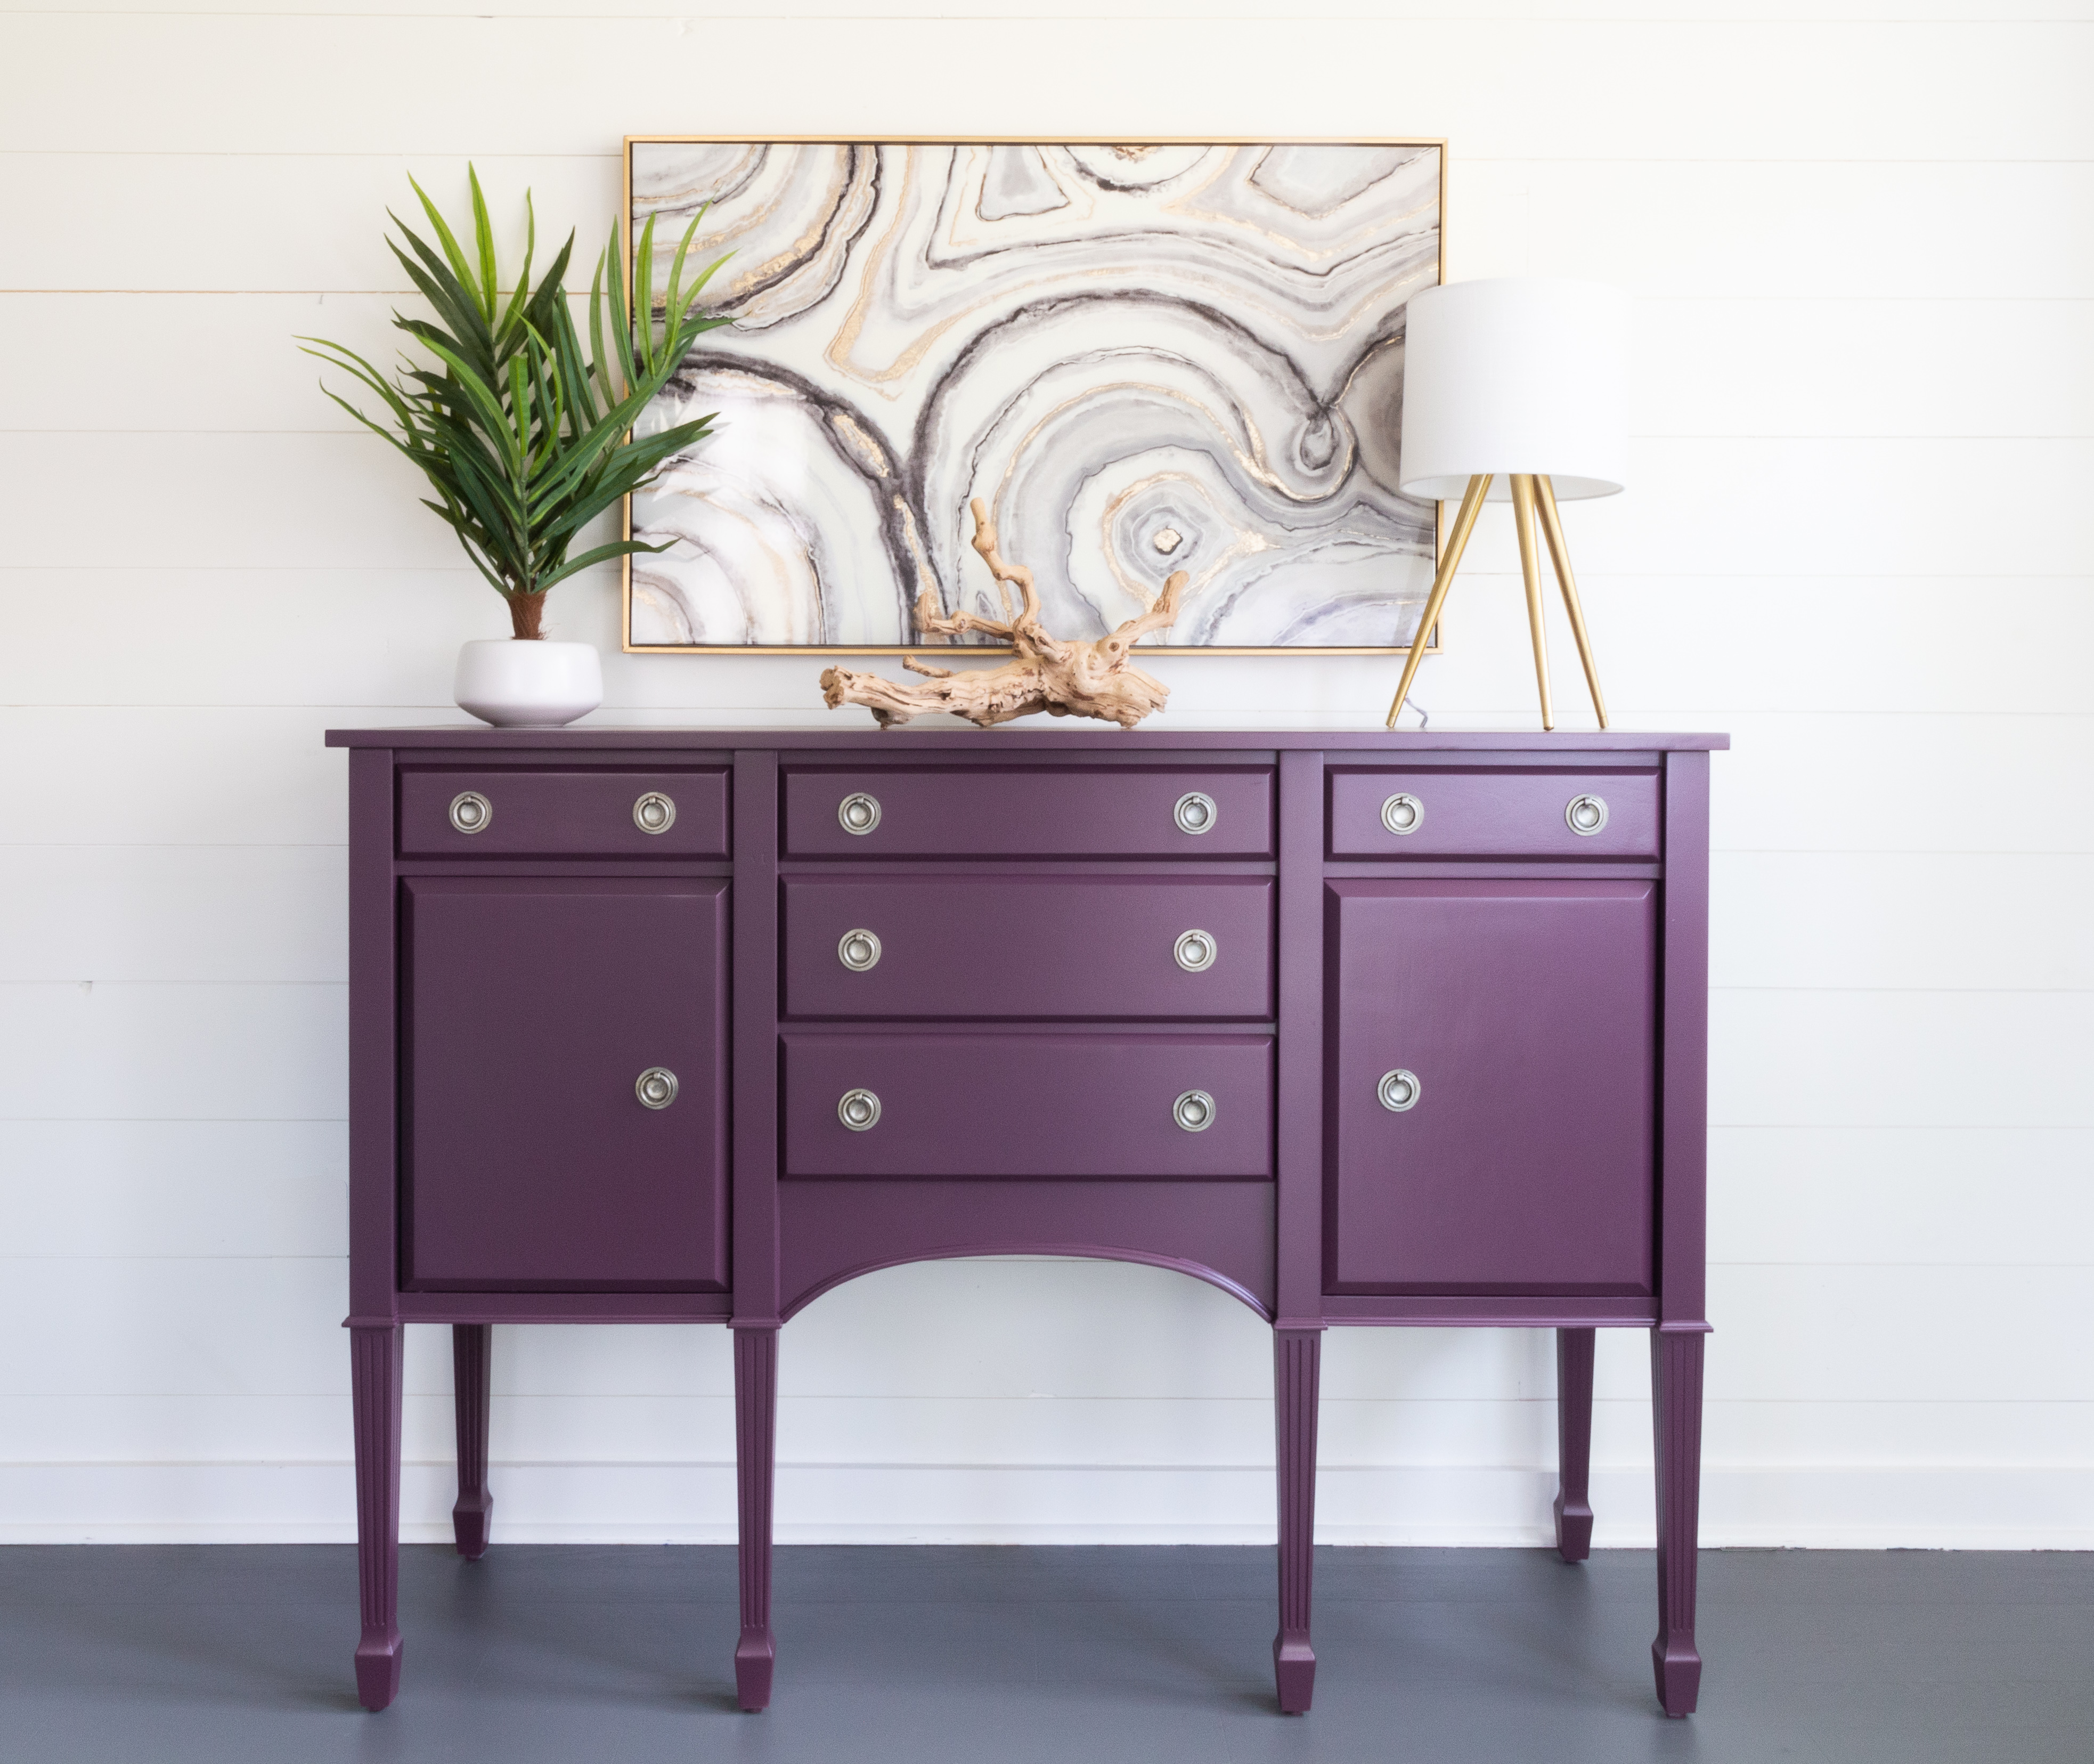






These turned out so beautiful! Wish they were in my house!