Mid Century or MCM furniture can be so versatile. I have successfully seen other painters go for a rustic/boho look, while others choose to maintain glossy, modern finishes. I used to be a firm believer in MCM should always remain sleek and modern, until I realized that the right finish could have the same effect on different pieces. MCM furniture is not a huge hit here in San Antonio, but it does have it’s network of buyers. This end table set in particular actually sat in our living room for a while, until a friend messaged me in dire need of some new nightstands for her bedroom. We had just decided to go with more rustic end tables so these were on the table.
This post contains affiliate links.
These White Furniture Co. end tables are extremely sturdy and well made. They actually match a dresser we are using as a t.v console (which we plan to keep), but also, my dad said that his mother had a similar set growing up.
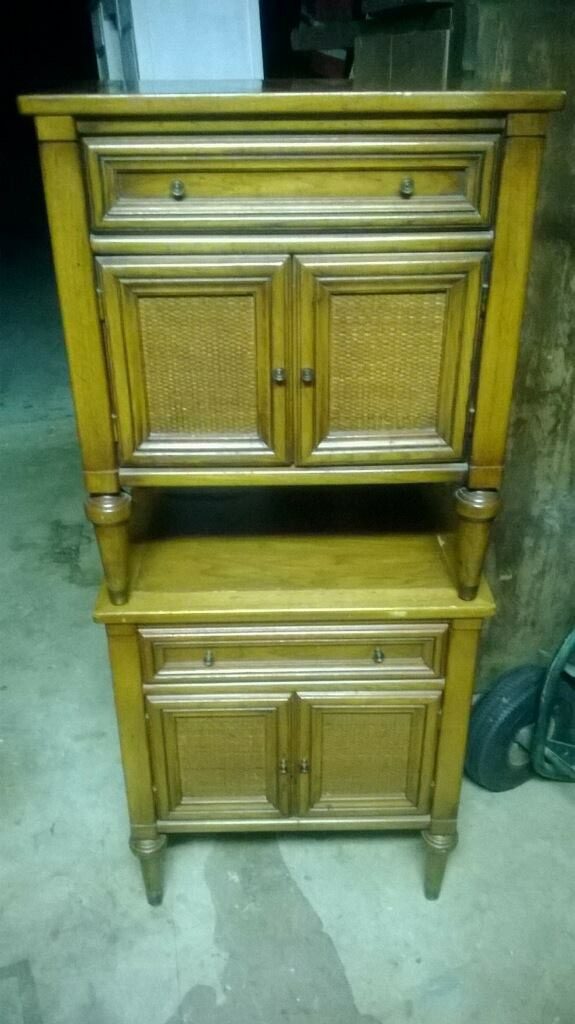
The Prep
They’re not much to look at in their raw state. In fact, I spent about a year or so debating on whether I wanted to remove the cane on the door fronts. I just got too lazy to put the work in on them, but a custom job gave me the motivation. To prep, I did my usual light sand with 220 grit paper, wiped clean with soapy water and blew them out with compressed air. We eventually realized the tops had severe water damage and had to be replaced. So we just used a Luan Hardwood Sheet to cut down and replaced the tops. Additionally, my friend wanted the doors removed to give her open storage on the bottoms, so we just wood-filled and sanded where the door hinges used to be.
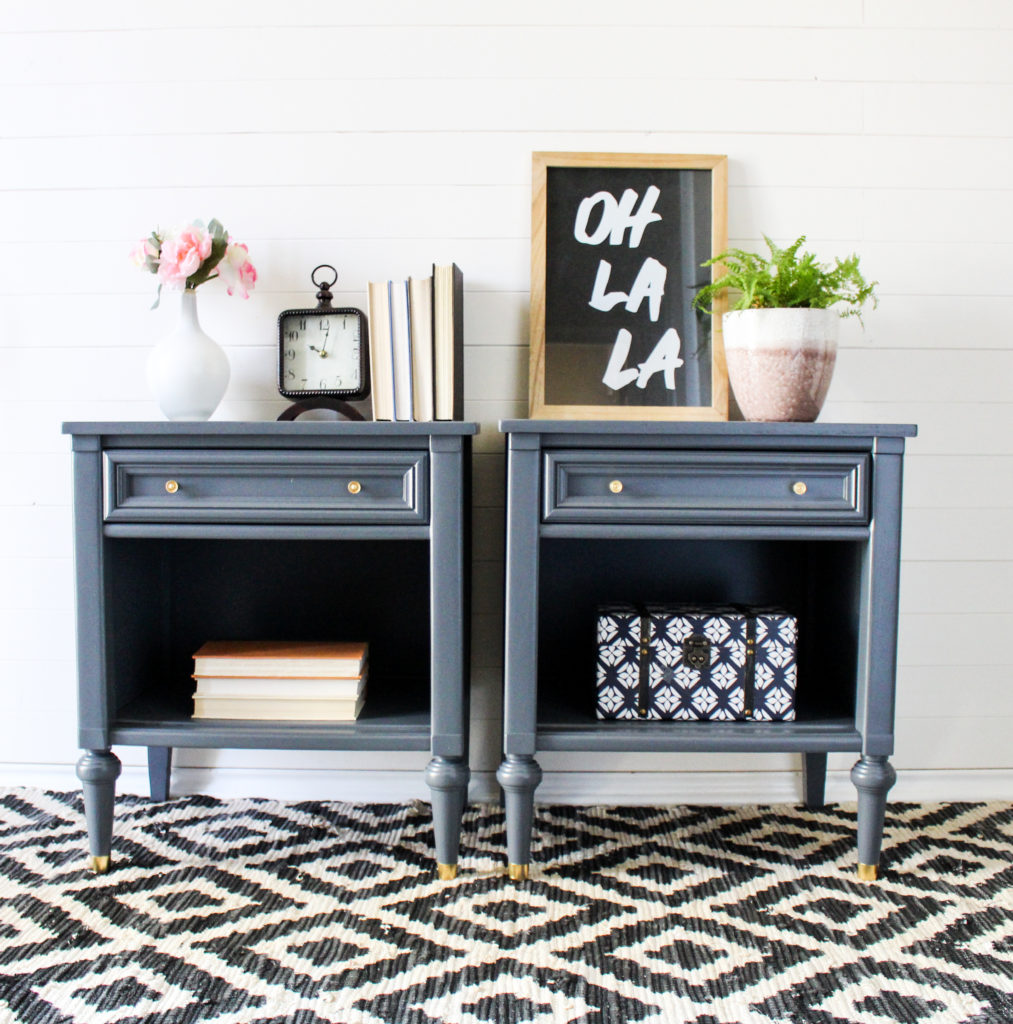
The Look
I used my favorite primer to give these tables a base coat. They were not pretty after prep so I wanted to see how they looked with primer on to see if I needed to pay more attention to certain areas. I also wanted to prevent any bleed through from coming through the paint. Even though the color I used was dark, bleed through can come through anything unless it’s jet black.
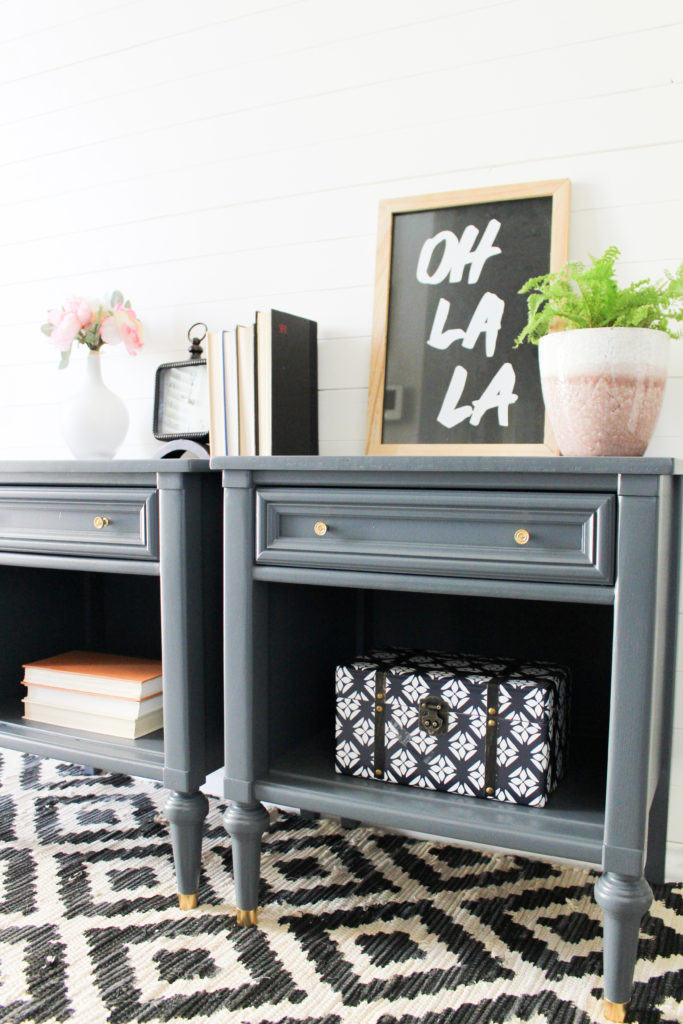
After sanding the primer smooth, I sprayed on three coats of Fusion Mineral Paint’s Soapstone from the Michael Penney Collection. If I had to describe this color, I’d call it a hippopotamus gray. Its not too dark but it does have a depth of color that plays off blues and blacks.
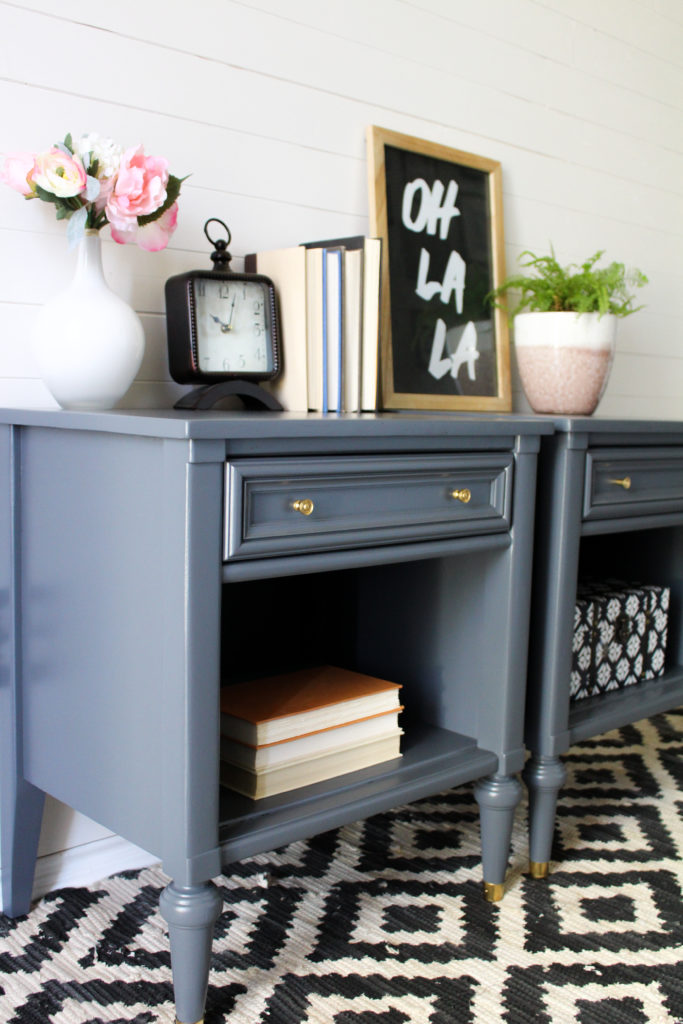
After the paint dried for 24 hours, I went over it with 4 coats of General Finishes HPTC in Satin. The original plan was gloss, but I had some weather issues and finish issues that just did not allow the poly to dry evenly, and there was a lot of flashing. The satin worked out much better for the overall look.
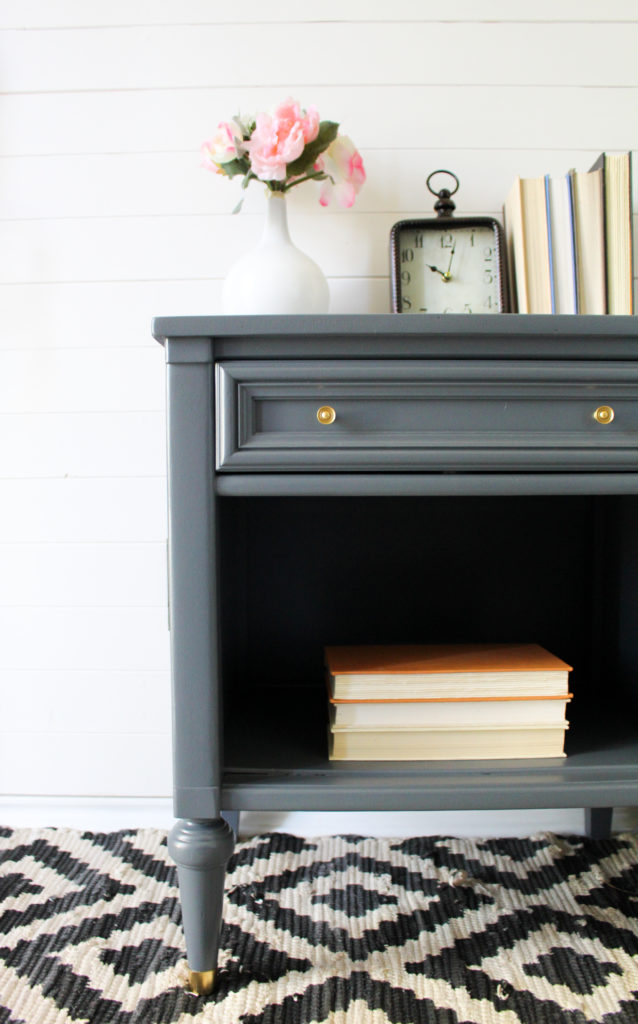
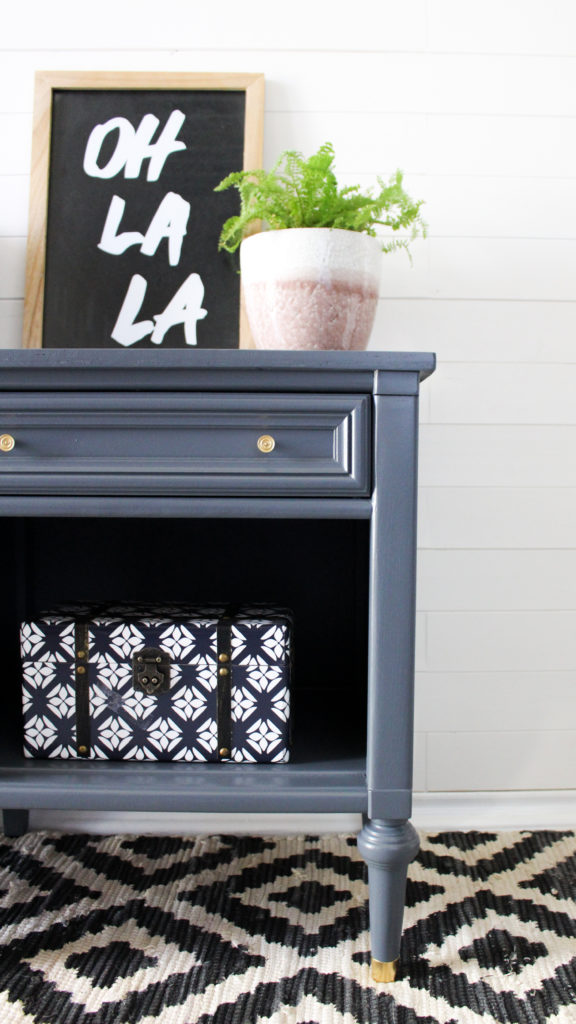
The Finishing Touches
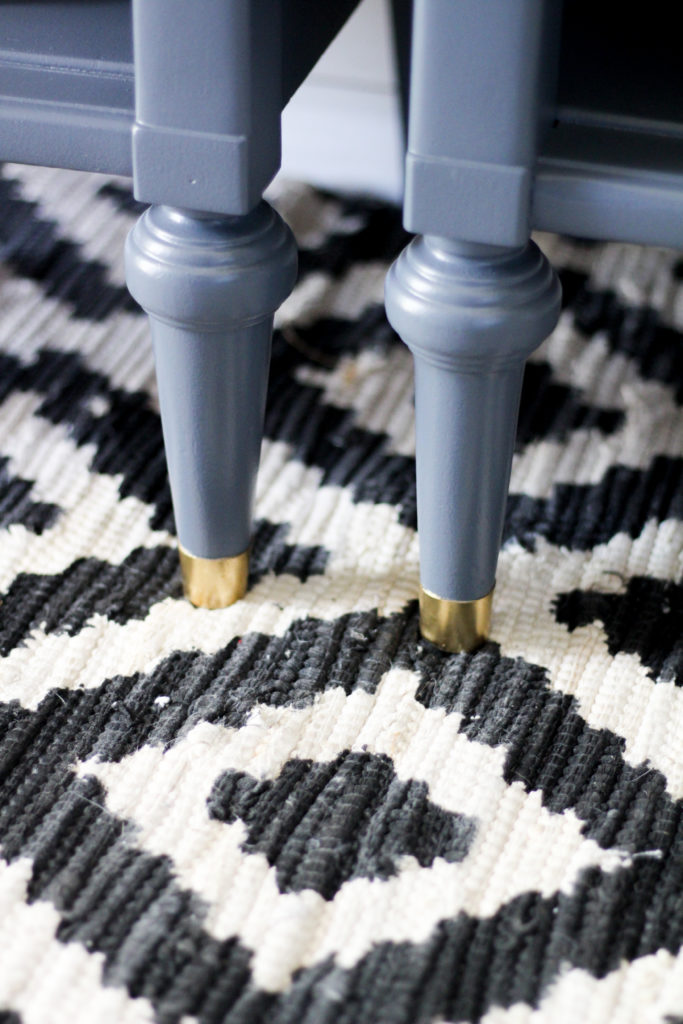
The brass caps and hardware were repainted in Rustoleum’s Brilliant Gold Spray paint. I have to admit, this is now my go-to gold for hardware. It is so pretty, bright and metallic.
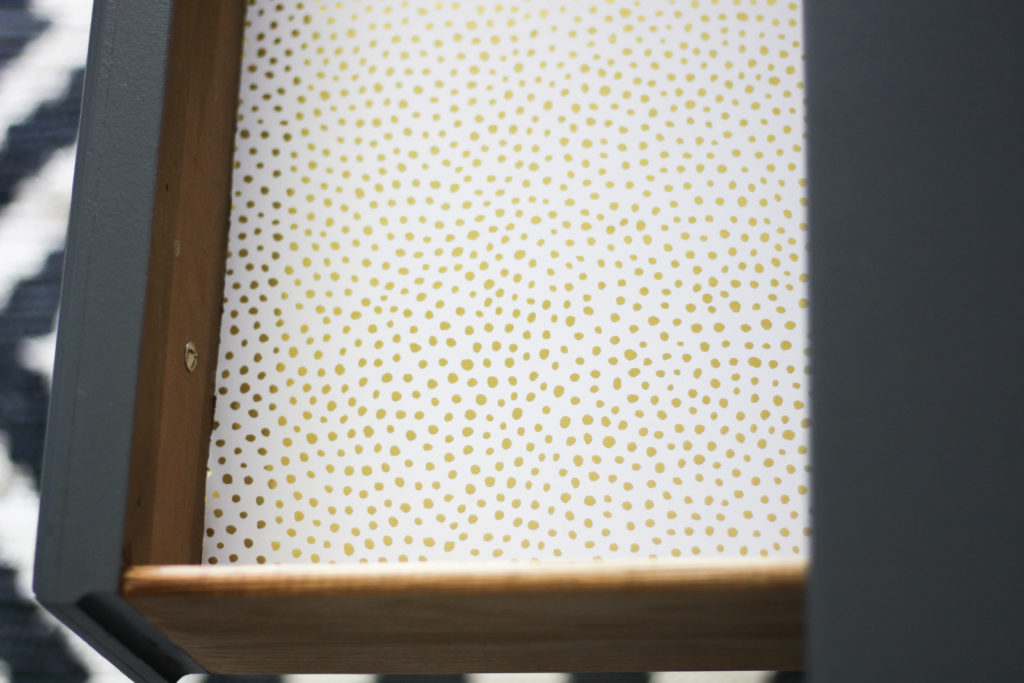
The interior drawers were lined with a pretty white and gold polka dotted paper I got from Target during the Christmas bonanza. You can always find great paper during the holiday season. It’s hard to tell from the photos but those gold flecks actually perfectly match the gold hardware and caps.
Well folks, thats all for this project. I’m actually just finishing up a dresser for my friend that matches these. It’s a fairly large dresser so if I can get it staged there will definitely be a blog post, but if not, Im sure there will be snapshots of it on my Instagram. If you’re not already following me, just click the link above!



Wow, you are good at this. I thought Fusion Mineral had it’s own topcoat built in so I’m confused why you used a different one. Could you explain for this neophyte? What sheen does Fushion Mineral dry? I know nothing but trying to learn from your blog.
Also, I was alive and kicking in the 50’s MCM (1933-1965) and these tables are 70’s or 80’s when I was really up and running. I have a set that looks like yours that I inherited. Not that it matters…not really.
Can’t get over your precision and professional designer touch on your furniture.
Thank you from an old lady who thinks she still 30.
Hi Dee! Fusion does have a topcoat built in, but personally, I wouldn’t let heavy duty surfaces like dressers and table tops go unsealed without extra protection. Plus the topcoat helps prevent stains and water from seeping through to the paint which can hinder the ability of protection. It’s always been a habit of mine to seal paint. 🙂
These are gorgeous! What sprayer did you use to apply the fusion paint and did you have to water the paint down? Also, what did you use to apply the top coat?
Hi Jaime! I used an Earlex HV5500 sprayer to apply both the paint and topcoat. It is definitely a quick and easy way to get into hard to paint surfaces like this. I did not have to water down the paint or the topcoat, but Fusion is formulated in that special way that it is ready to go from the jar. Other paints you may have to water down, but that all depends on consistency.
what is your favorite base coat.
My favorite primer is Zinsser BIN Shellac Based Primer.
Hi, these turned out gorgeous! I actually received the exact same night stands from a friend and am in the process of fixing them up. I have the same issue with the top (extreme water damage), what was the method you used to replace the top? Did you have to miter out the veneer/particle board area in the center? I’m trying to figue out the best way to do it.
Hi Nerissa,
We just cut out new tops from ready to paint plywood that we got at home depot. If you have a router, you can create a beveled edge to it looks a bit more finished!