Custom work is always something I look forward to. Not only does it keep me employed but it also gives me a break from having to be creative with my visions. Instead, I’m looking to expand on the vision the customer has in mind, but also keeps me within boundaries. Sometimes I start with one vision and it ends up evolving into something completely different. With custom work, I know where my end point has to be and the key is in the details.
This post contains affiliate links. Purchases from affiliate links helps keep this blog funded and posting so I can continue to bring you updates and DIY tutorials!
A client was looking for a very specific piece of furniture. She wanted to a serpentine style dresser with wood drawers and a painted base. But serpentine dressers aren’t always easy to find, especially not in this area. So I had a friend and fellow furniture retailer keep an eye out for me when he went on his buys. A couple weeks later, he had the perfect dresser for my client.
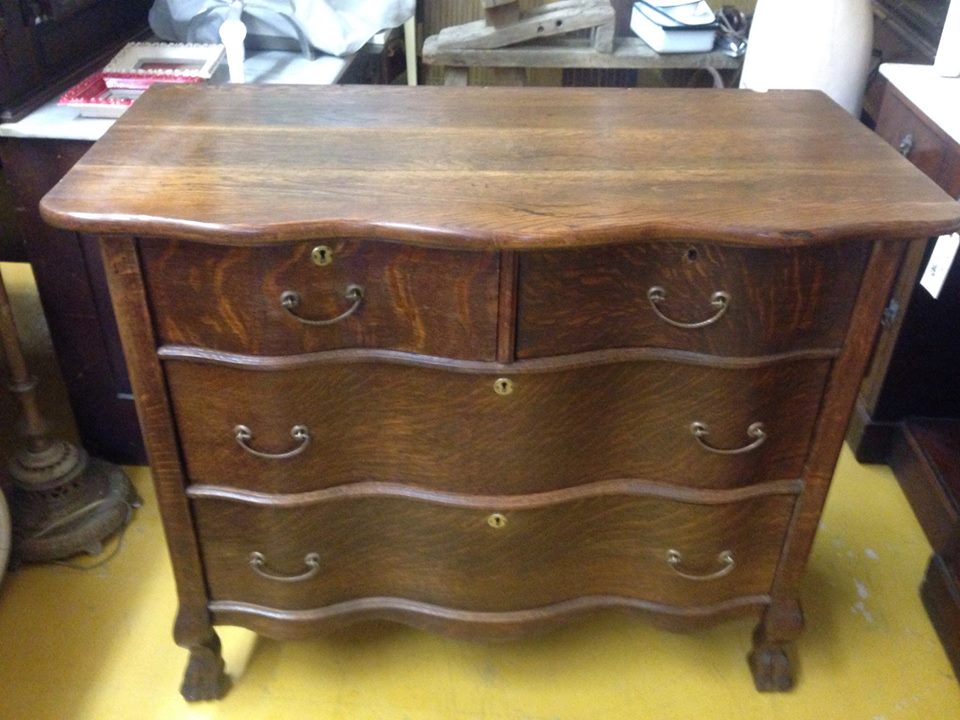
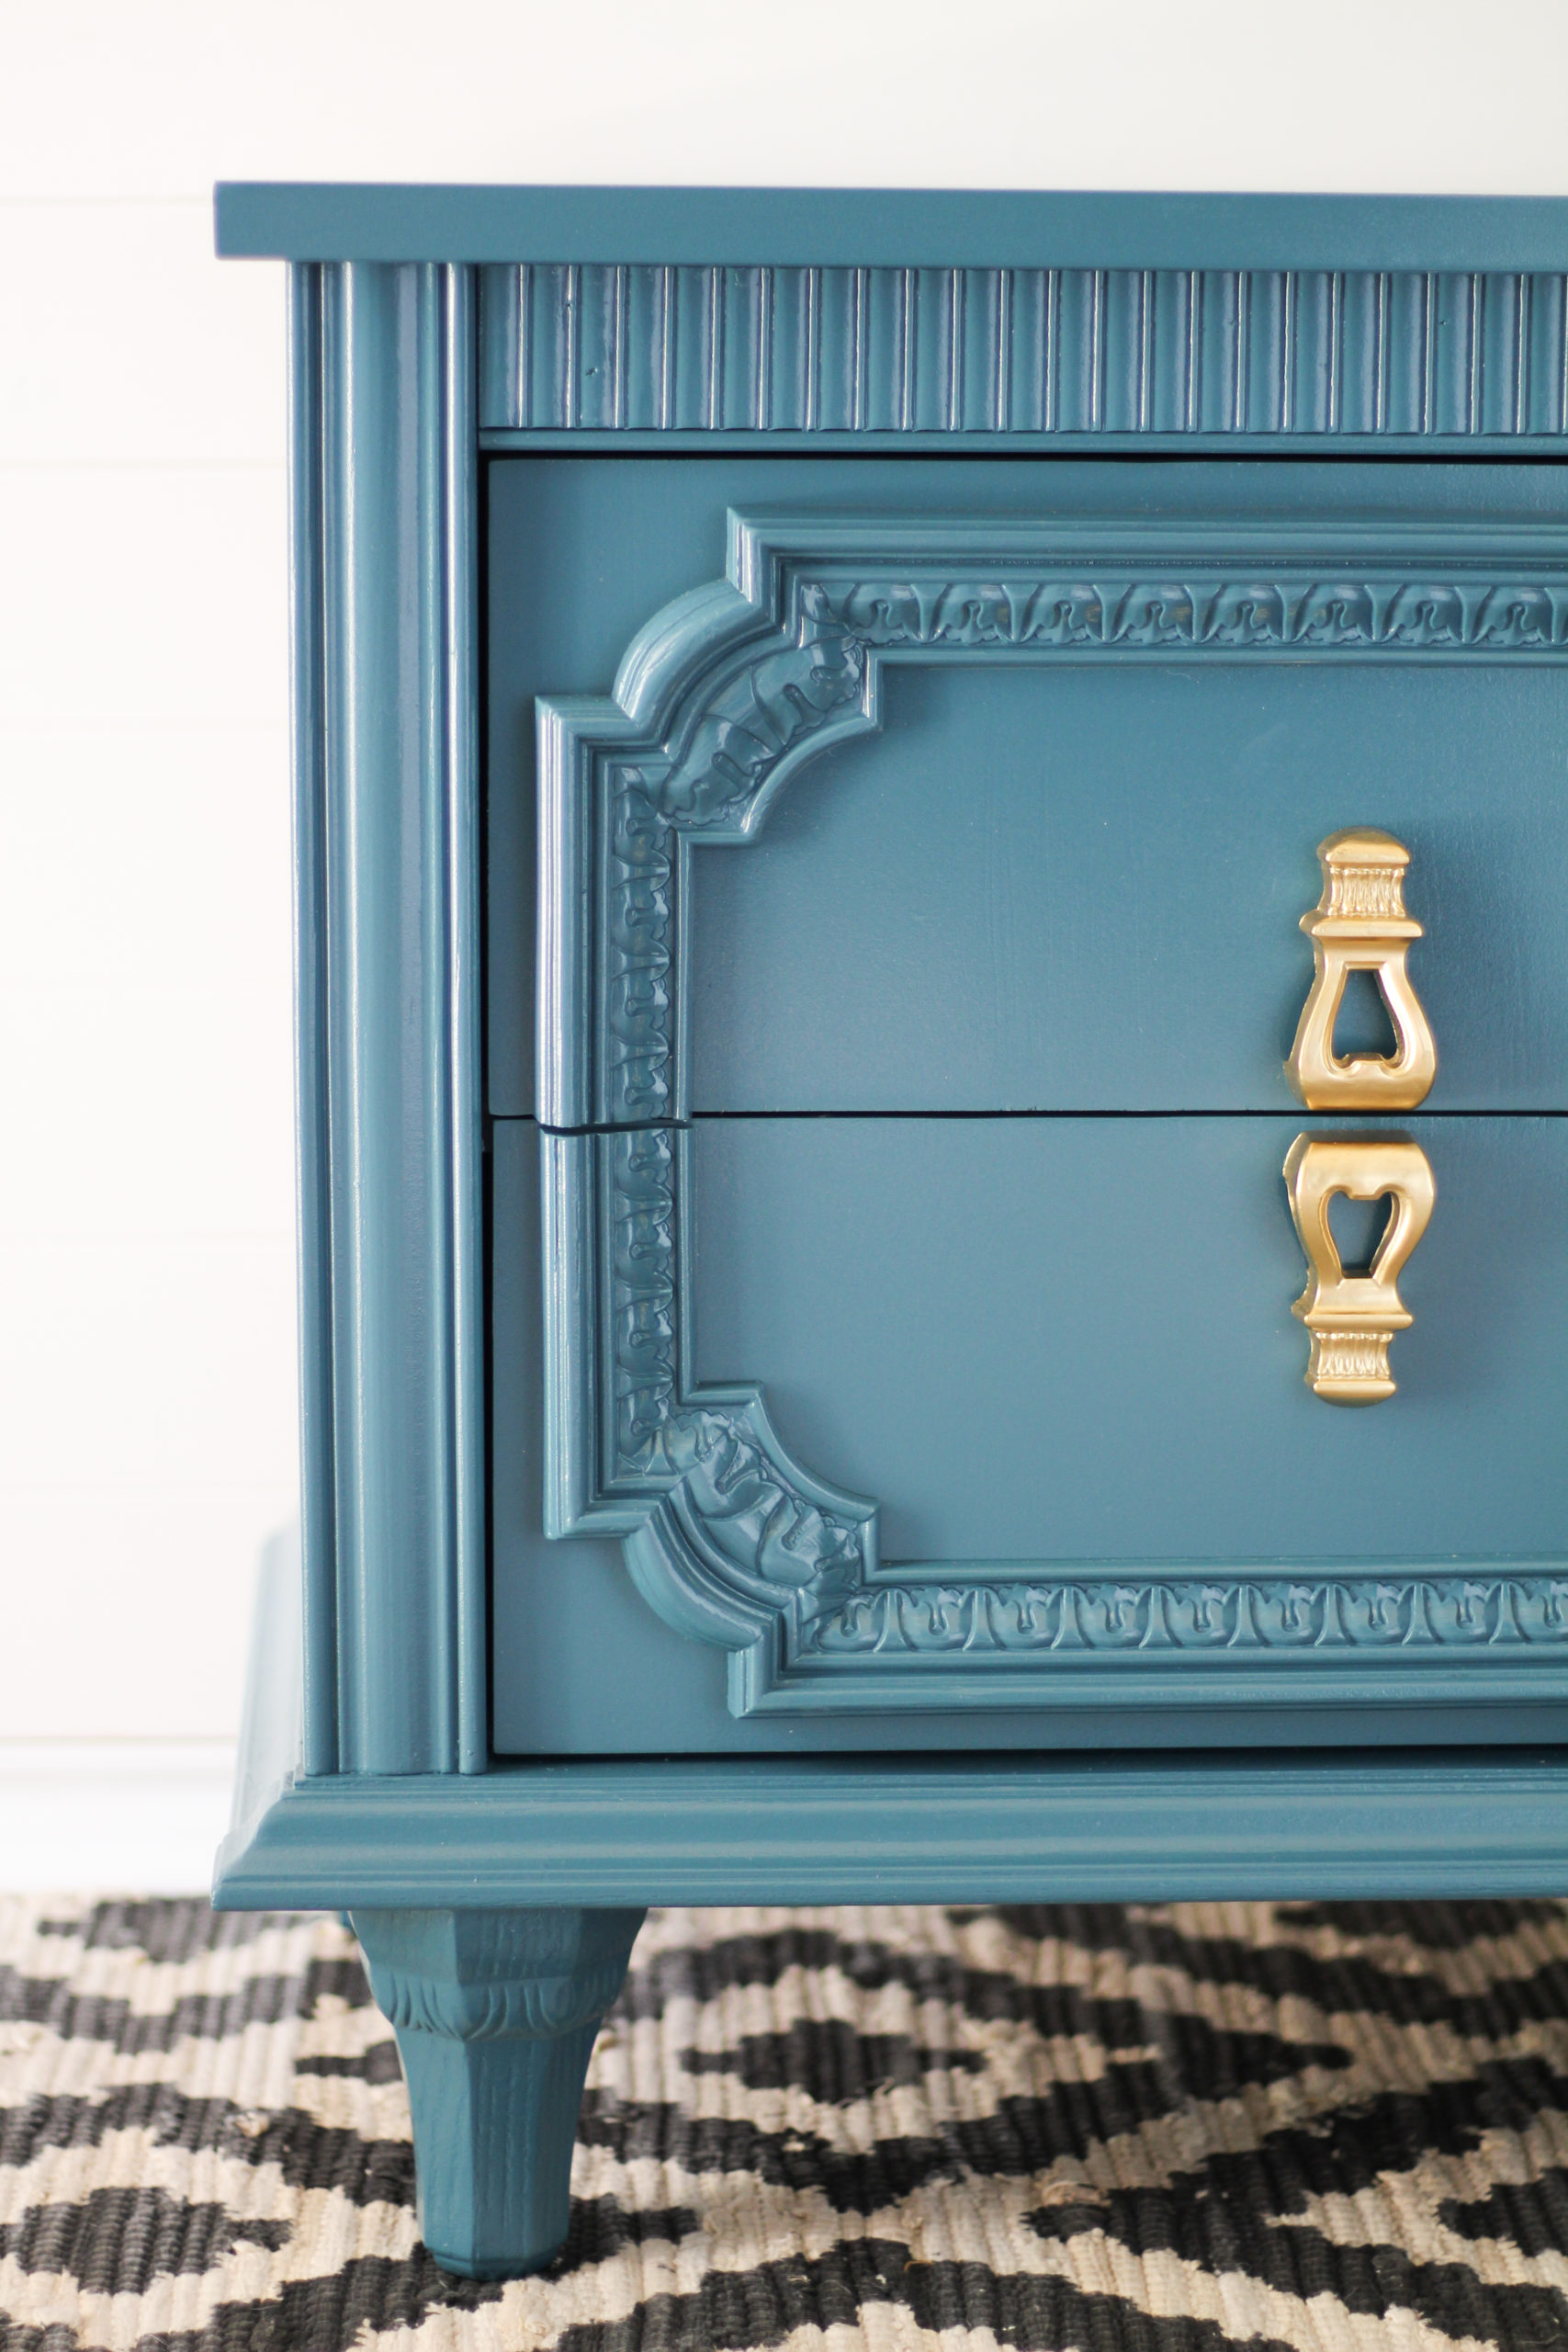
It was a beautiful solid piece that needed minor work. For this vision, I had tested several of my favorite Fusion Mineral Paint blues. In the end, the client settled on “Inglenook” which is a pale mint color with hints of ocean blue in it.
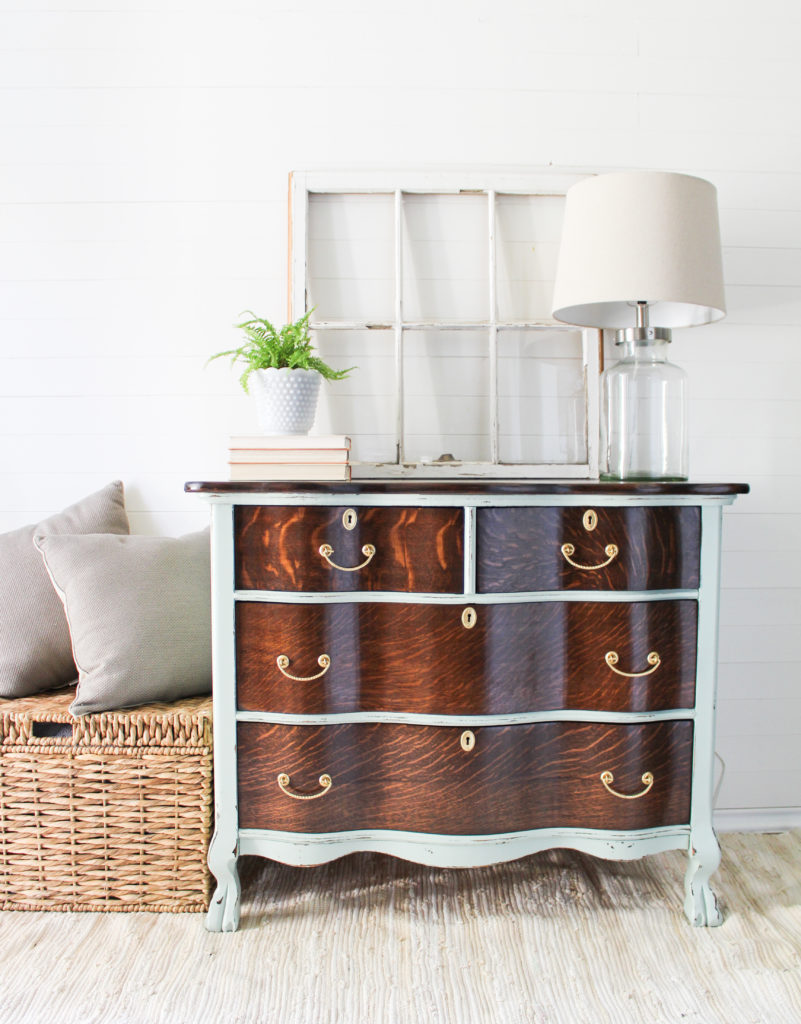
In the end, the pale mint color faded beautifully allowing the tiger wood grain of the drawers to be the star of the show!
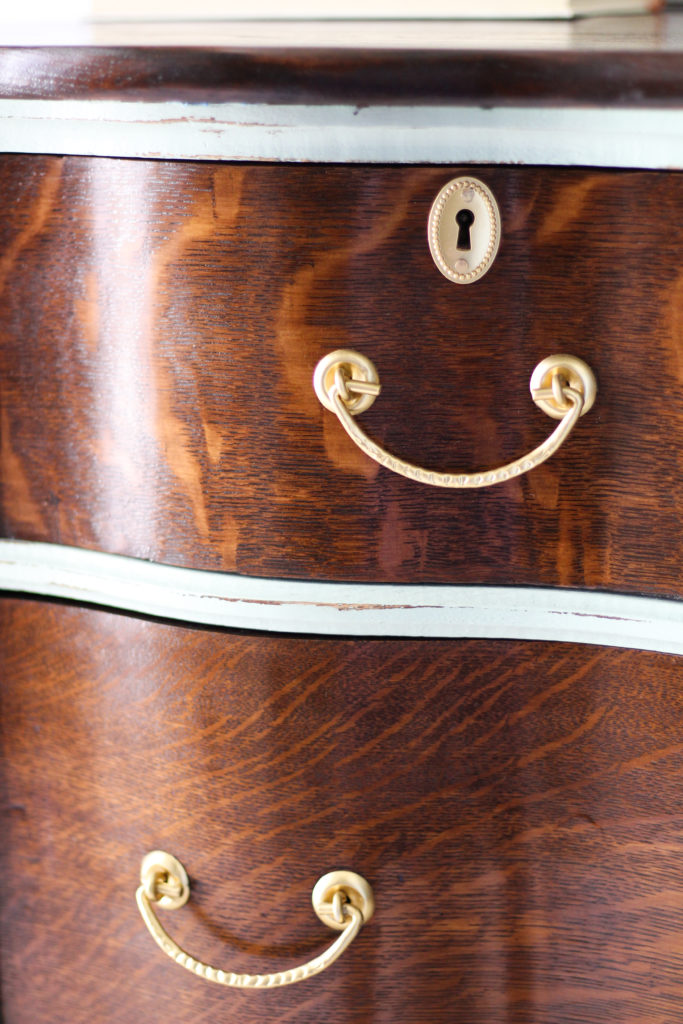
The drawers were sanded to bare wood using 80, 120 and 220 grit sandpaper. I wanted to ensure that the stain was absorbed evenly so I used Minwax Water-based Pre-stain Wood Conditioner to open up the grain and allow the stain to penetrate properly. Then I very lightly sanded with a 220 grit sponge.
Then I applied two coats of General Finishes Java Gel, letting each coat dry about 24 hours in between. The higher the humidity levels, the longer it takes for your stain to completely dry.
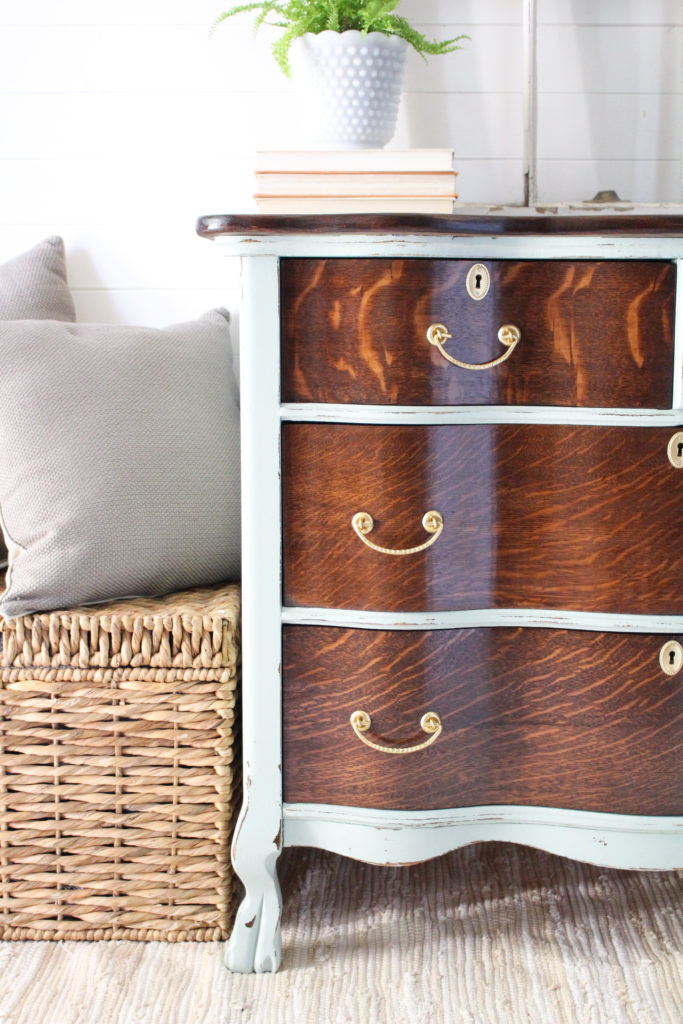
Since not all the escutcheons were on the piece when it was delivered to me, I had to add some new ones. The issue was that I needed to make them match the hardware. So I used Rub N Buff’s Metallic wax in Antique Gold to refinish the hardware. This stuff is awesome, but make sure to use it in a well ventilated area, and avoid applying too much for full coverage. I had to do several coats to get an even finish, and using my fingertips helped smooth it over instead of using a brush.
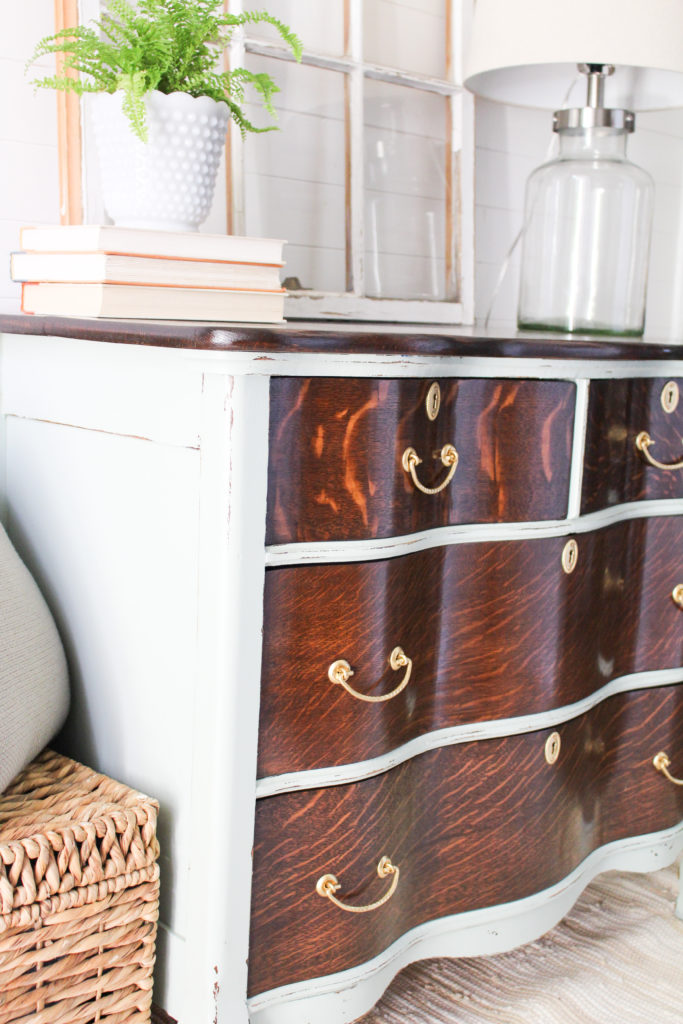
After I sprayed about 2 coats of Inglenook, I very lightly distressed to give the dresser some age. Then I coated just the painted part with three coats of General Finishes High Performance Top Coat in Satin. I try to keep water based paints with water based finishes and oil based poly on oil based stains. That way mixing mediums won’t cause any issues with adherence or durability. I have a system down so I’m always buying oil based and water based products, never just one or the other. For the drawers and top, I sealed them with three coats of Minwax Fast Drying Oil Based Polyurethane in Satin. My dry time for using this oil based poly is about 3-4 hours, and I always sand with 220 grit in between coats. Once the final coat is dry you will feel a solid, even smooth finish.
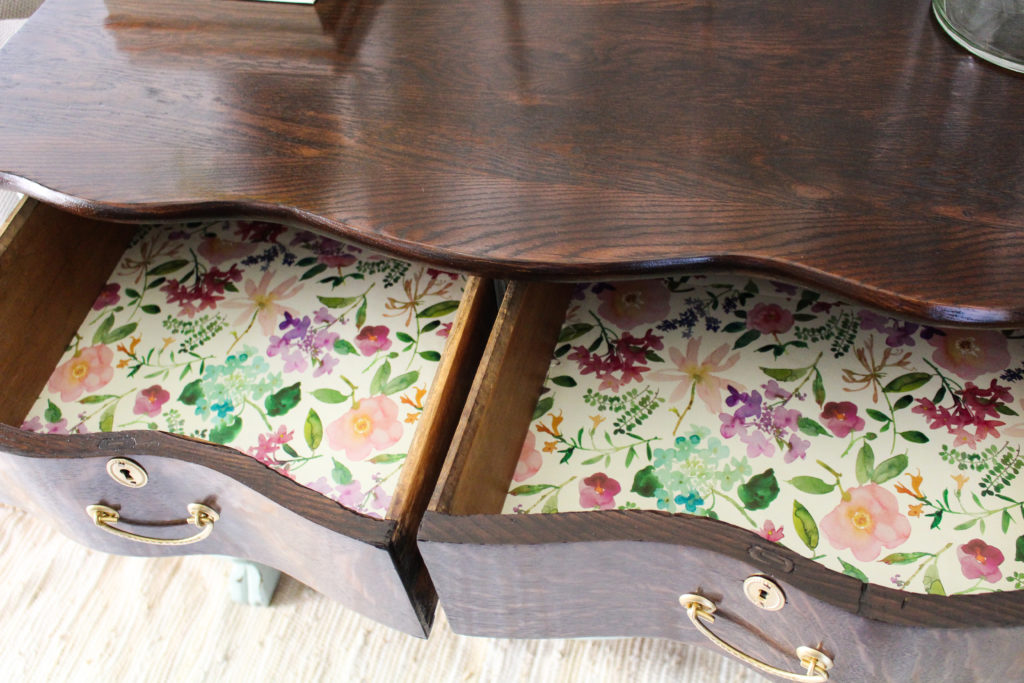
Lastly, the drawers! My favorite part! I found this flirty watercolor floral gift wrap at Home Goods and I couldn’t resist. Although the dresser is neutral and very grounded with the dark wood, the lovely colors in this paper just draw the greens and blues out from the paint. I may have to paint with Inglenook more often. It’s quickly becoming a favorite.



That is beautiful !! I love the contrast. It is a very unique piece. Good job ~!
Thank you for reading our blog Darlene!
Very pretty! Do you use spray adhesive and then top seal the paper in the drawers or just lay it down?
Hi Kim! I use a spray adhesive to stick the paper to the drawer. I leave some slack around the edges in case the paper ever needs to be changed out. 🙂