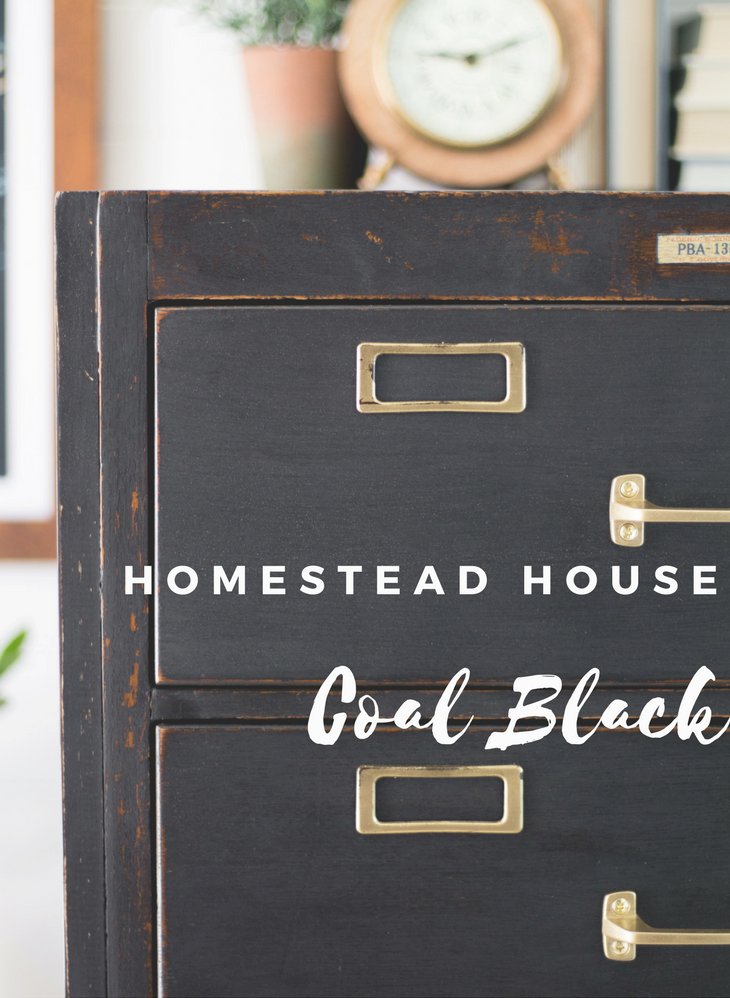
You may be wondering why you are reading this when I said that my last post would be…well my last. I have found that now with all our belongings in the house gone, all the cleaning and packing done…I have WAY too much time on my hands. I wanted to wait on showing you guys the end result for this piece since it has come a long way, but my boredom coupled with excitement led me to blog about our card catalog makeover using Homestead House Milk Paint in “Coal Black.”
*This post contains affiliate links.
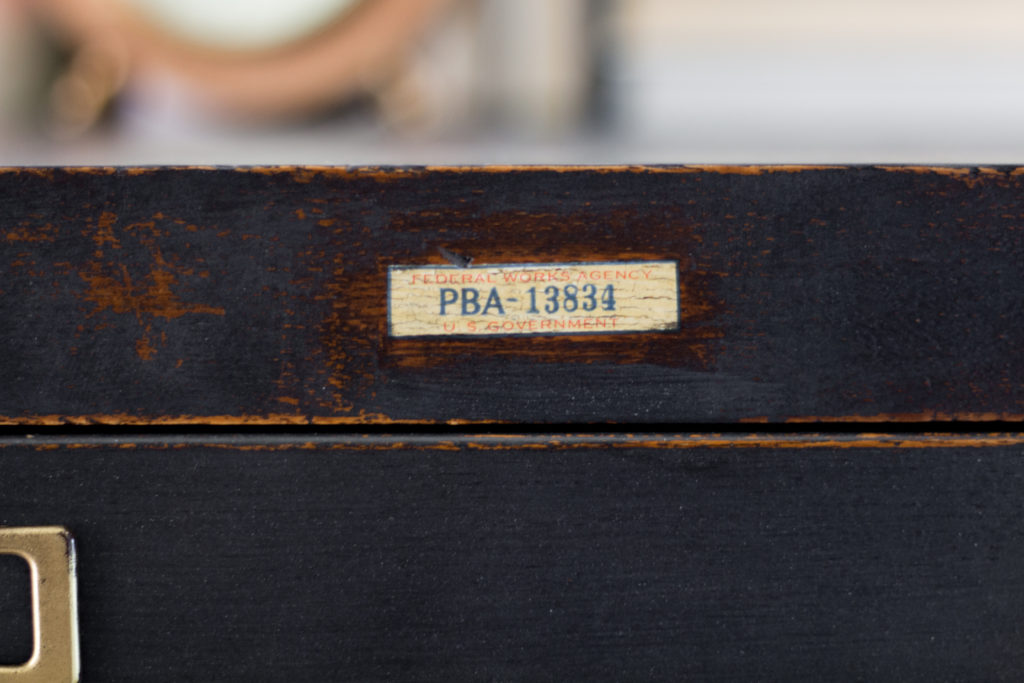
Fortunately, I have two before photos! Card Catalog or Wood File Cabinets are hard to come by in this area. ESPECIALLY, solid wood government pieces. But this piece needed some major work. I had no idea where to even start, but with a ton of help from Pinterest, I had an idea of how to fill the gaps.
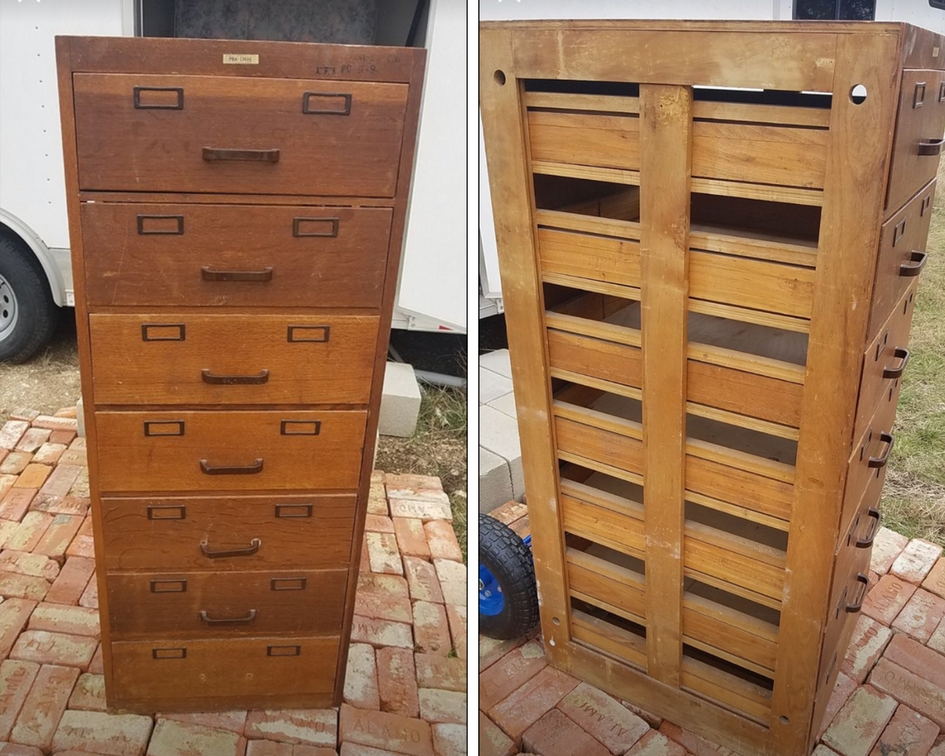
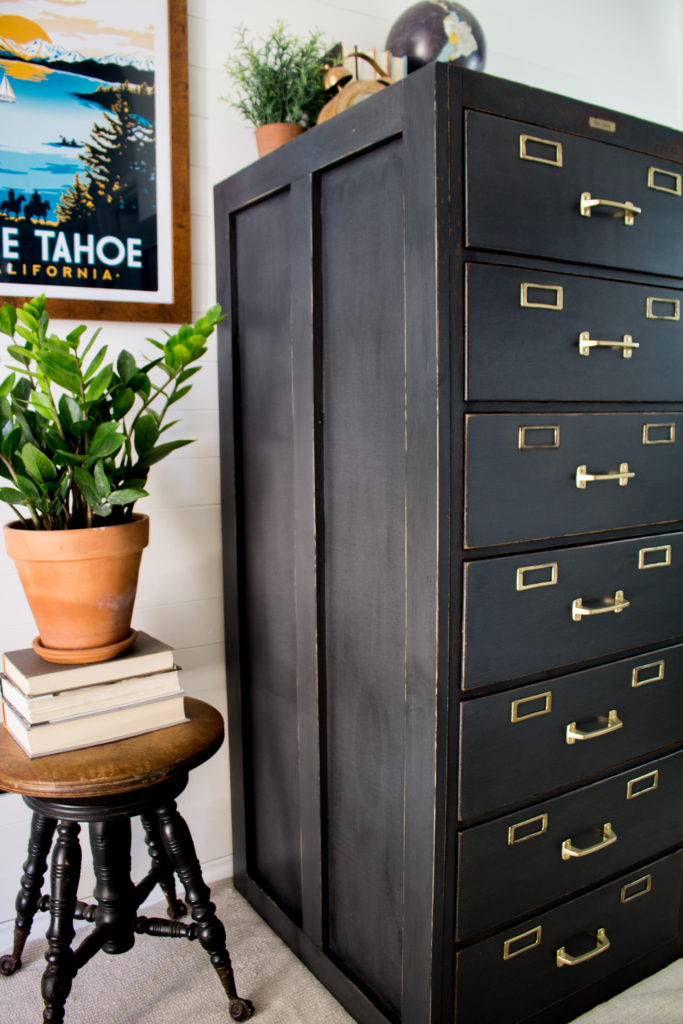
Our first step to repairing this project was rebuilding the side panels. A lot of my Instagram followers suggested I leave the sides as they were for a “de-constructed” look, but I will be keeping supplies and files in here that I don’t want lost. And I knew I wanted to give this a vintage look, so my choice was to rebuild the panels for a solid base. We used 1/4 in plywood to cover the largest area, and then used 1×4 whitewood boards to make the edging or moulding. We knew that they would be butting up against the original frame so the boards had to be completely straight and flush.
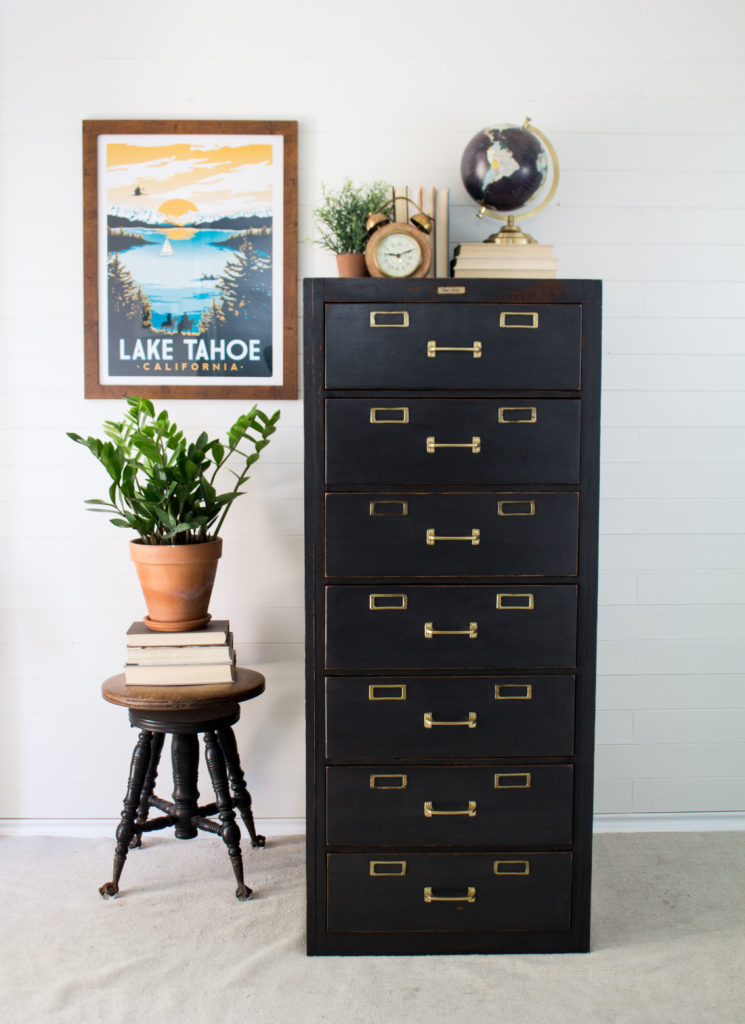
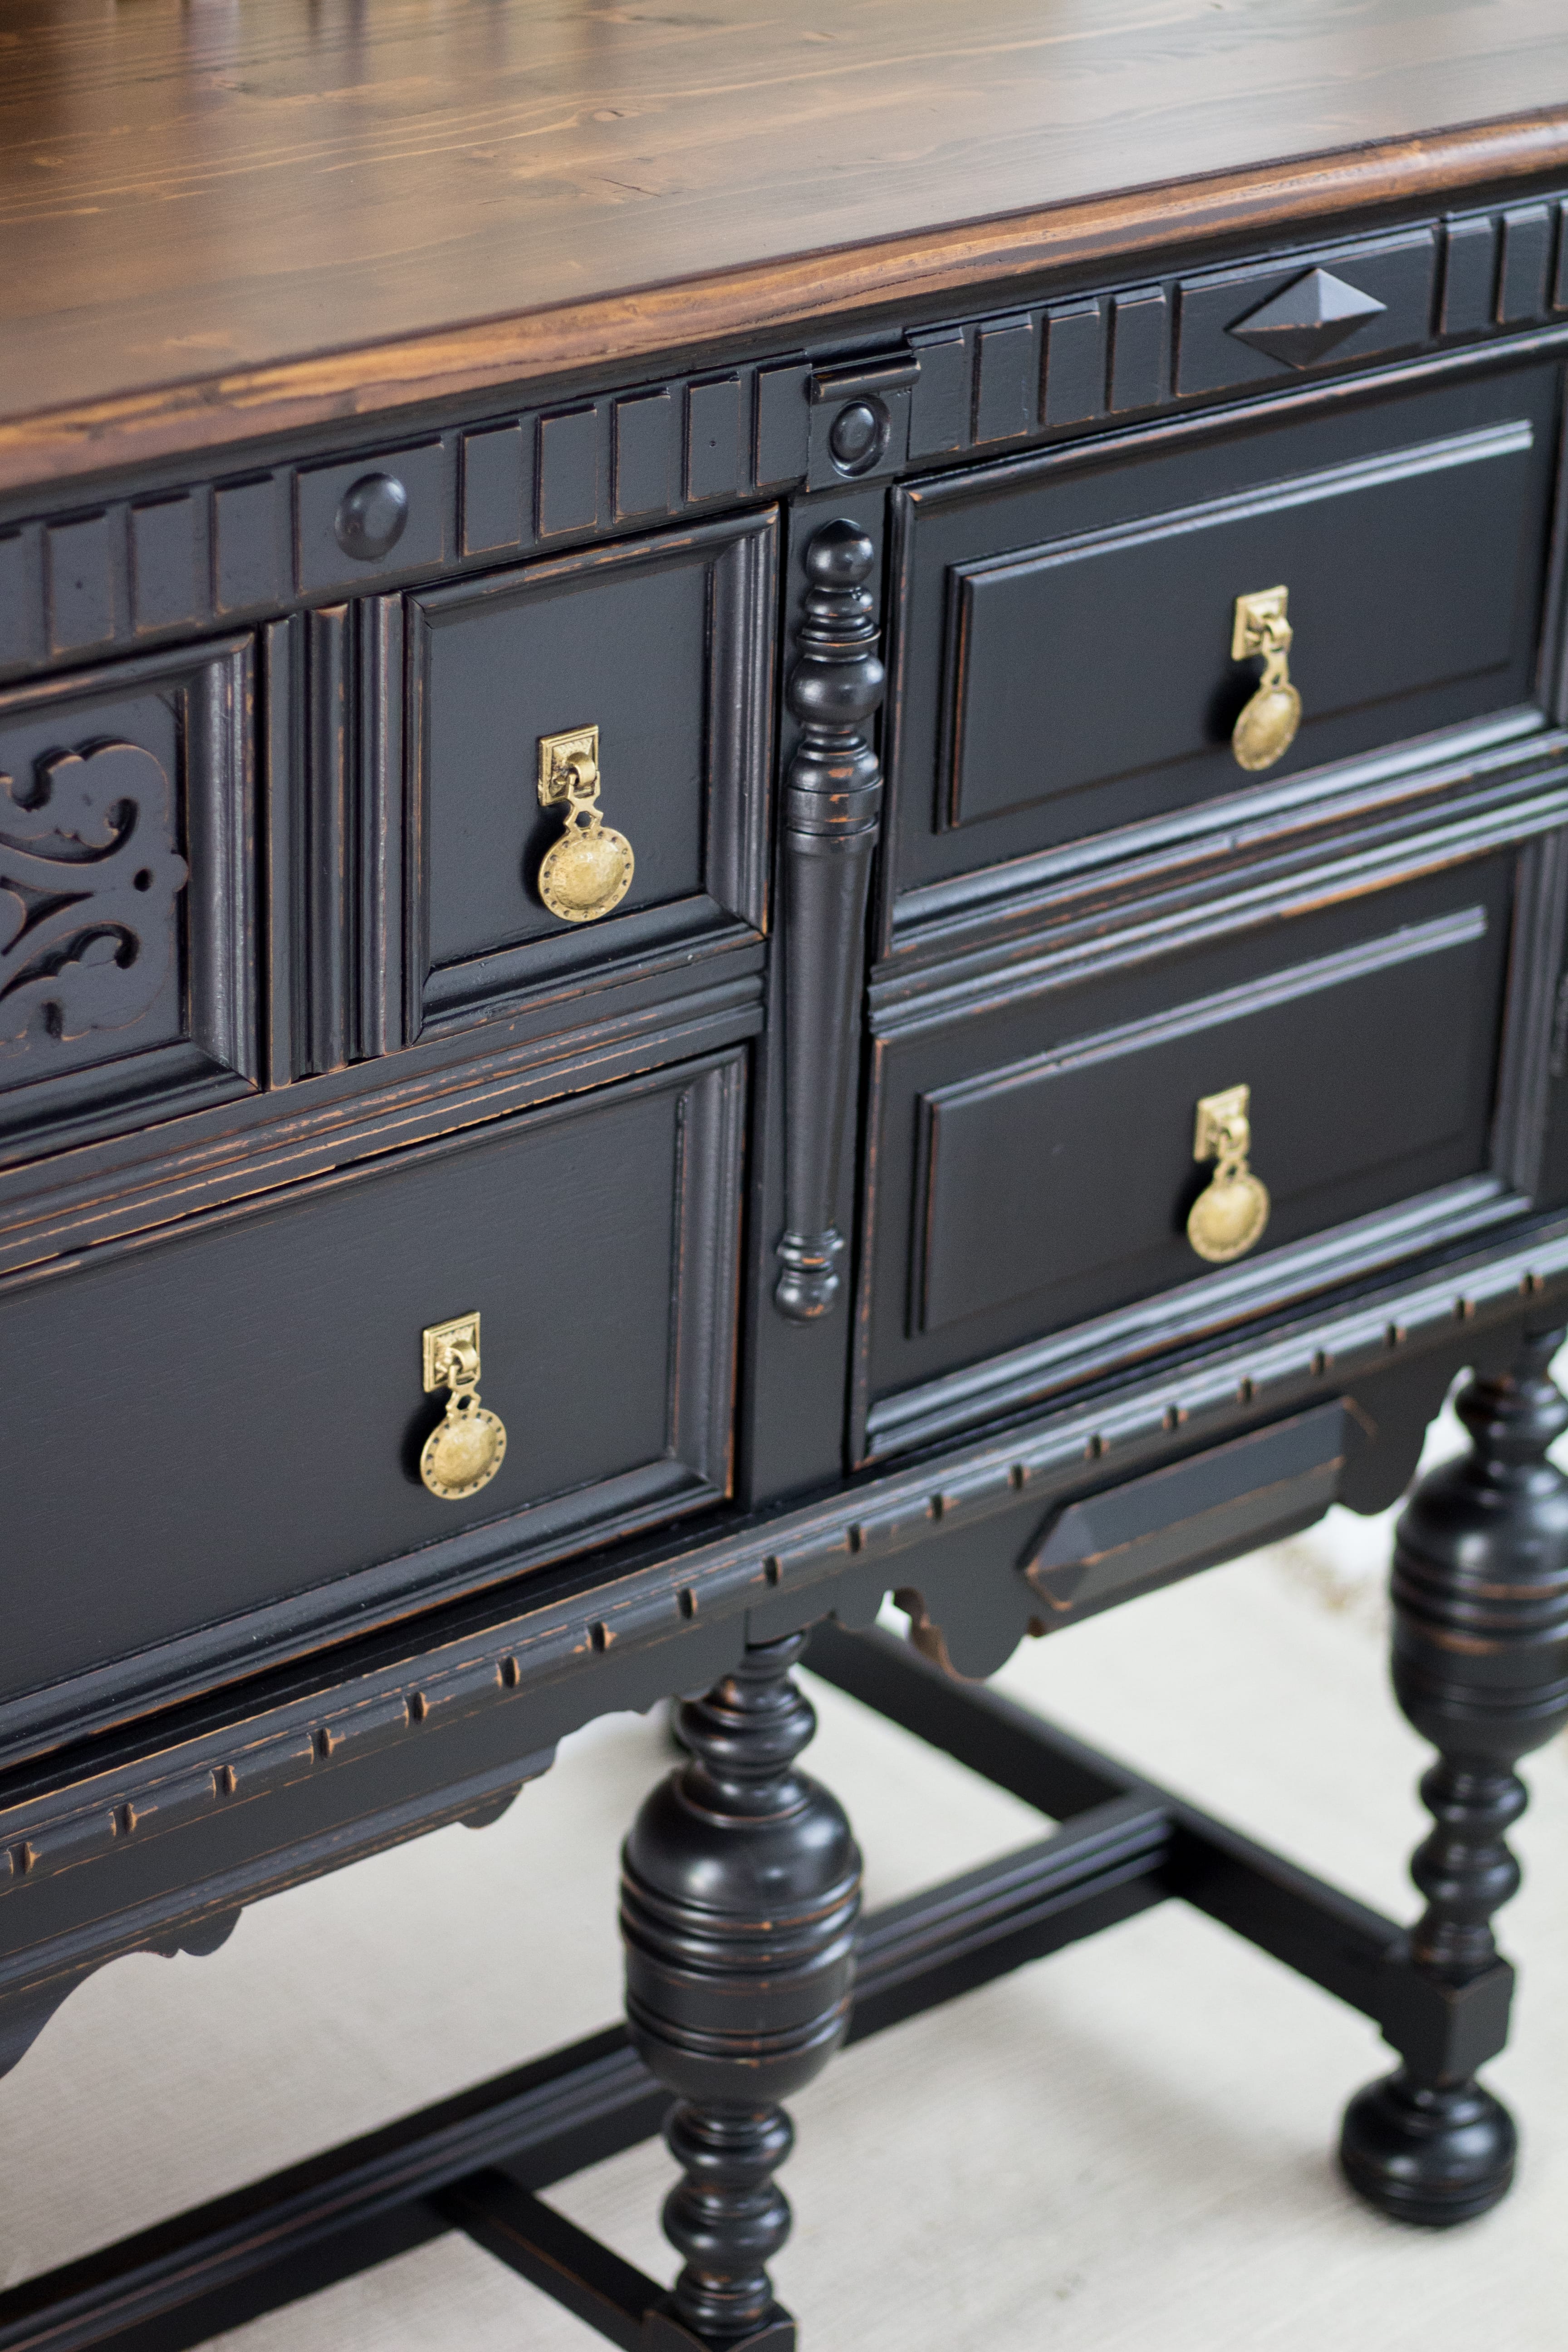
Now this piece looks complete! Since this was a mix of old and new wood, I had to stain the new wood to set a base for distressing. I used Varthane “Dark Walnut” to stain the new wood, and lightly glazed the drawer fronts with the stain just to make sure the new wood and old wood blended. Then I used sanding sealer to seal the stain in and hopefully encourage some chipping.
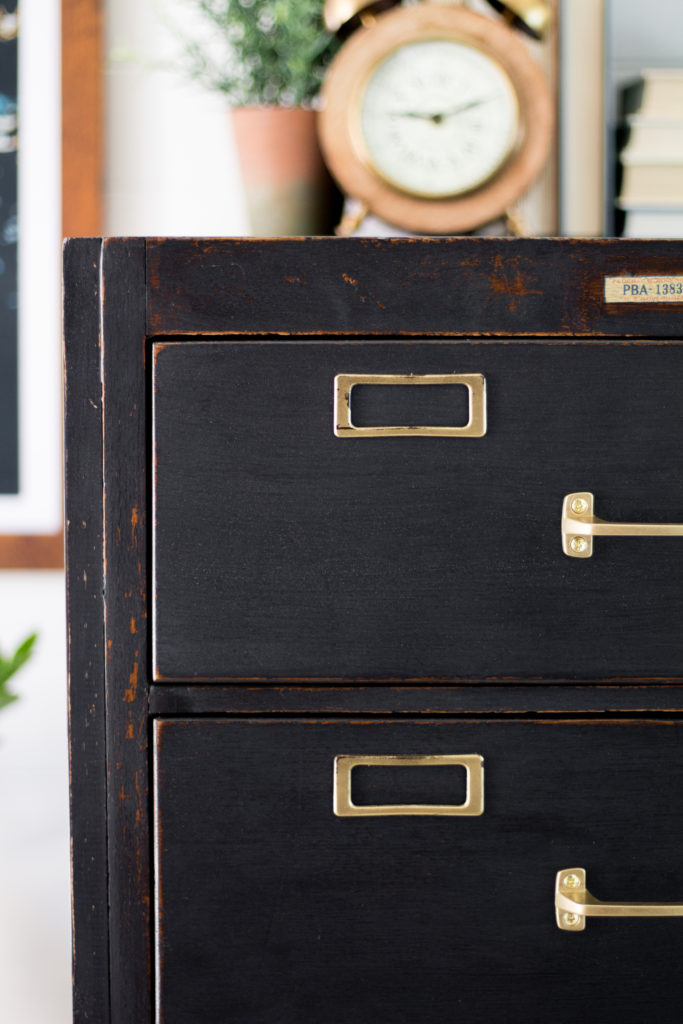
I then applied about three coats of Homestead House Milk Paint in “Coal Black.” This color reminded me a bit of a deeper graphite color before any sealer. It did have a washy look to it which was not the look I was going for. I wanted a deeper black versus chalkboard color, but I knew that could easily be remedied with my secret weapon.
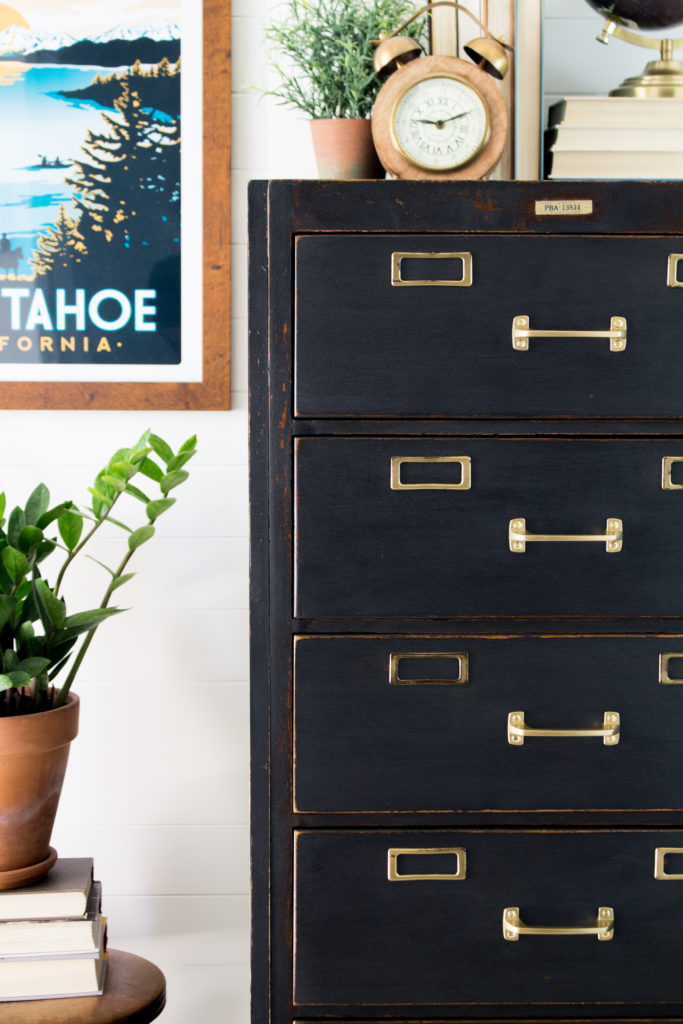
After a light sanding with 220 grit, not much chipping happened. But I was ok with that because really the intent of this piece was to make sure everything tied together and that it looks handsome and rustic all at the same time. I sealed the cabinet with General Finishes High Performance Top Coat in Satin for protection. But the poly only made the paint look even more washed out.
So I turned to my secret weapon, Fusion Beeswax Finish. This hemp oil/beeswax combo has saved my projects many times and after a good buffing, my black milk paint finish was deepened and looked just like I had hoped! I think the end result is something that I will love for many years to come!
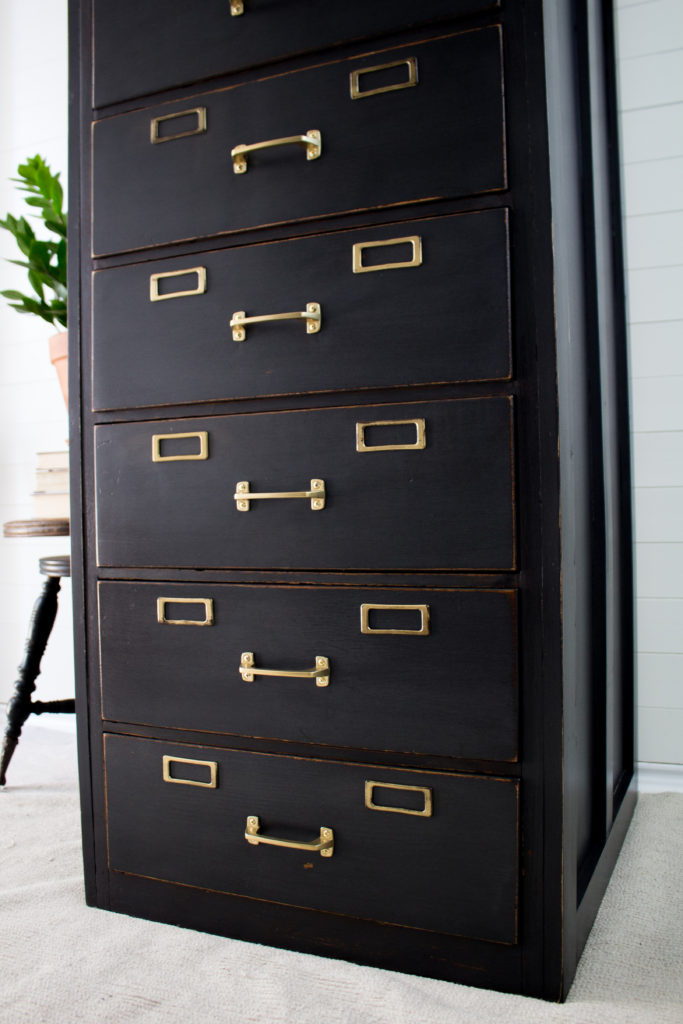
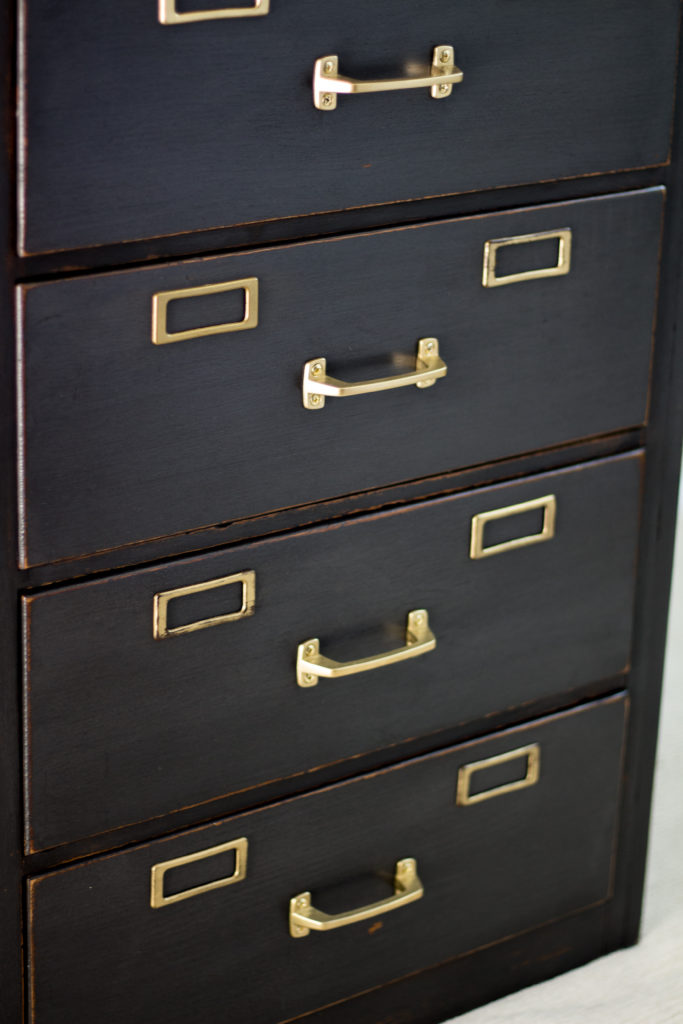
Now lets talk about that hardware! Since one of the original handles was missing. I had to find total replacements. I reached out to Derek from D. Lawless Hardware on acquiring some of these Satin Brass Window Sash handles because I knew they would be perfect. They were a bit smaller than the original handles so I had to fill the previous hardware holes with wood filler.
Next came matching the original label holders to the brass handles since they were clearly two different colors. I used Rustoleum “Brass” Spray Paint and it was nearly a perfect match. I did choose to lightly distress the label holders for an even more vintage look.
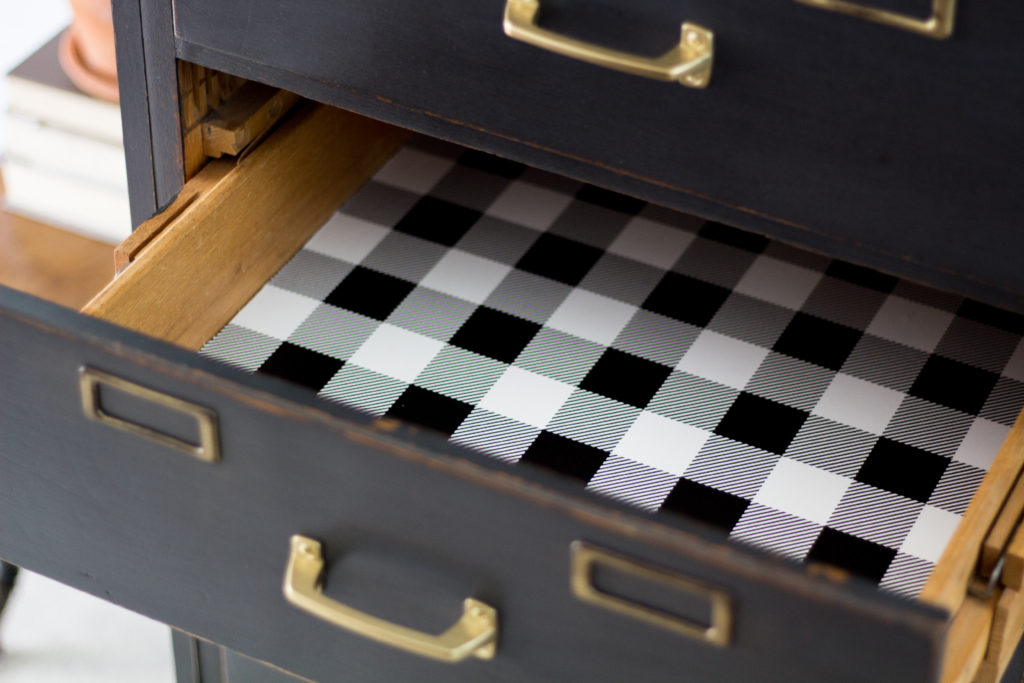
Lastly came the drawer liner. We had to replace all the drawer bottoms since the wood was warped. I used a buffalo check paper to line the drawers and to tie in with the black milk paint. Now this cabinet is ready for all my business documents, supplies and storage. I really love that all the hard work and patience we put into this piece is now one of my favorite projects ever!




What an amazing journey to get to the end state for this piece and project. The hard work and love and energy you put into this piece definitely shows! Can’t wait to see what’s next on your journey in the DIY furniture world!
Aww thanks Shellie! I did something different with this piece I never did before and I didn’t rush through it! I feel thats why it turned out just like I imagined! Looking forward to our new journey too!