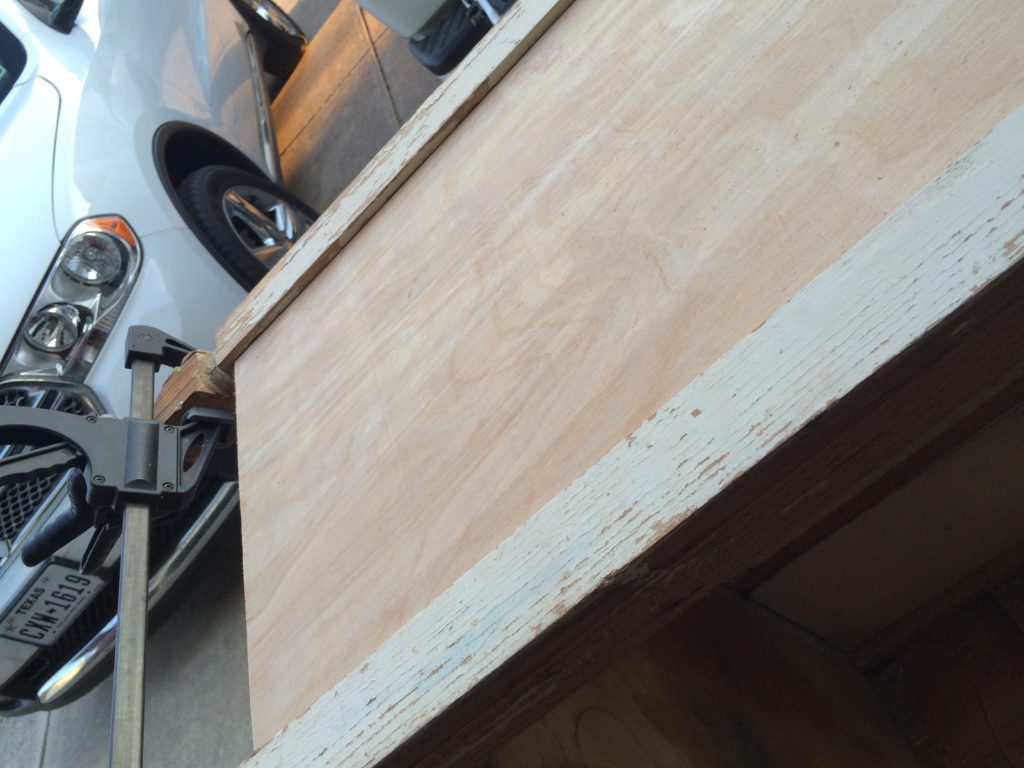
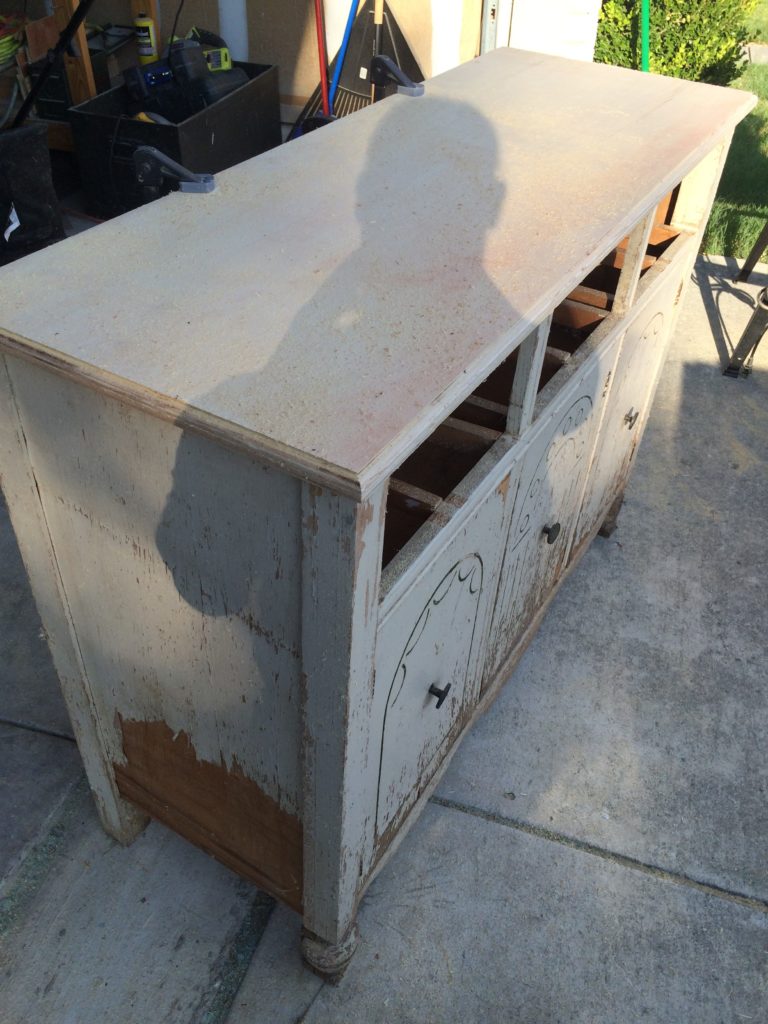
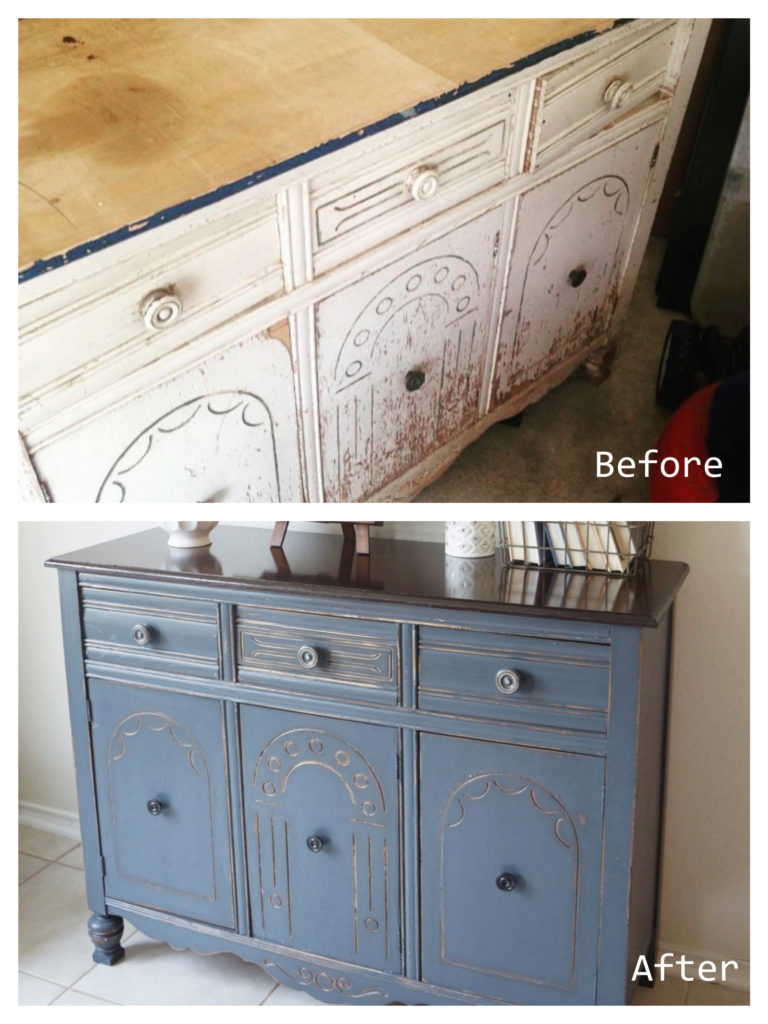
Here it is with a new top. You can see in this picture how bad the side panels really were. Jake routed out a new edge for the top and sanded it down.
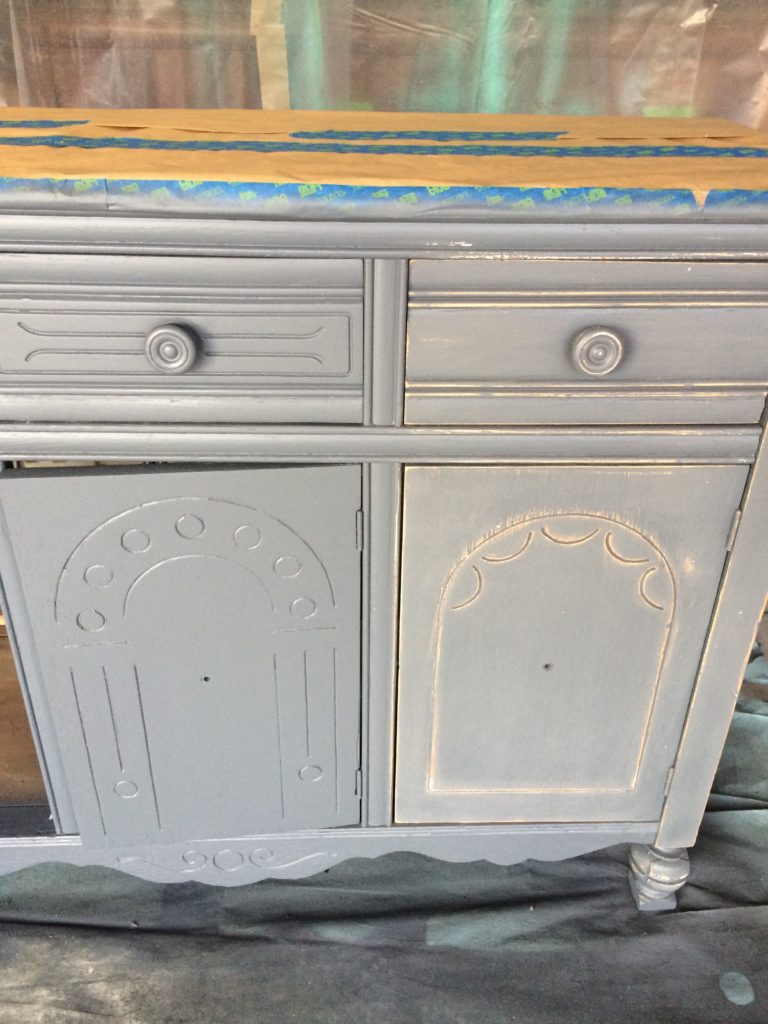
After sanding off all the chipping paint, we a laid down 2 coats of General Finishes Endure Sanding Sealer. I did this because no matter how much sanding we did, some areas where the veneer was removed, was still rough and rugged. we essentially had to build a layer of sanding sealer to make a level surface for the paint. After the sealer had dried, I sprayed on 3 coats of General Finishes Milk Paint in “Driftwood.” Then I distressed the detail. Here is the difference between a solid coat of General Finishes and after sanding.
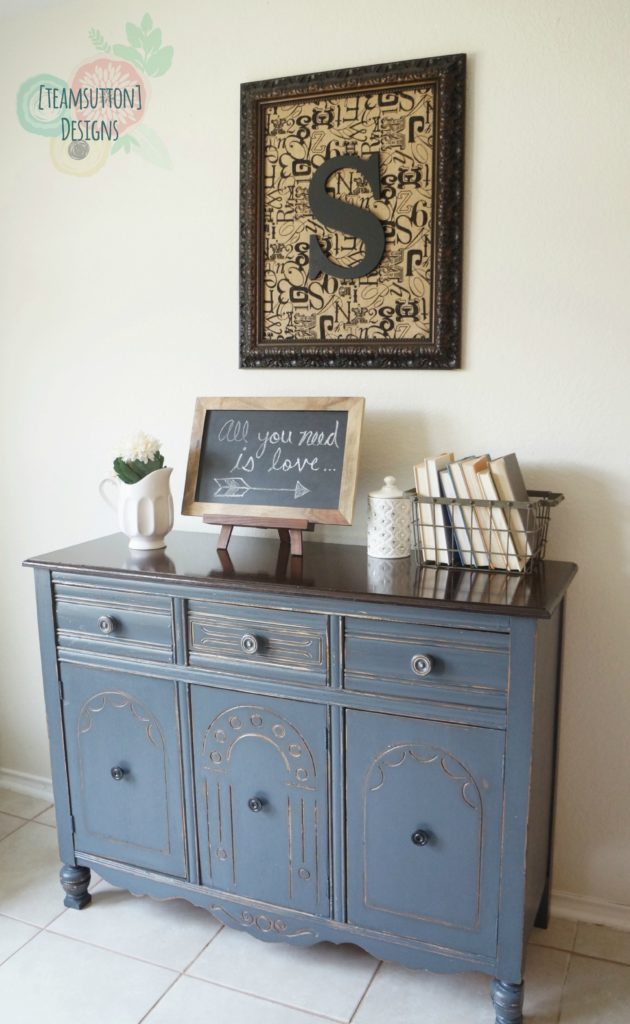
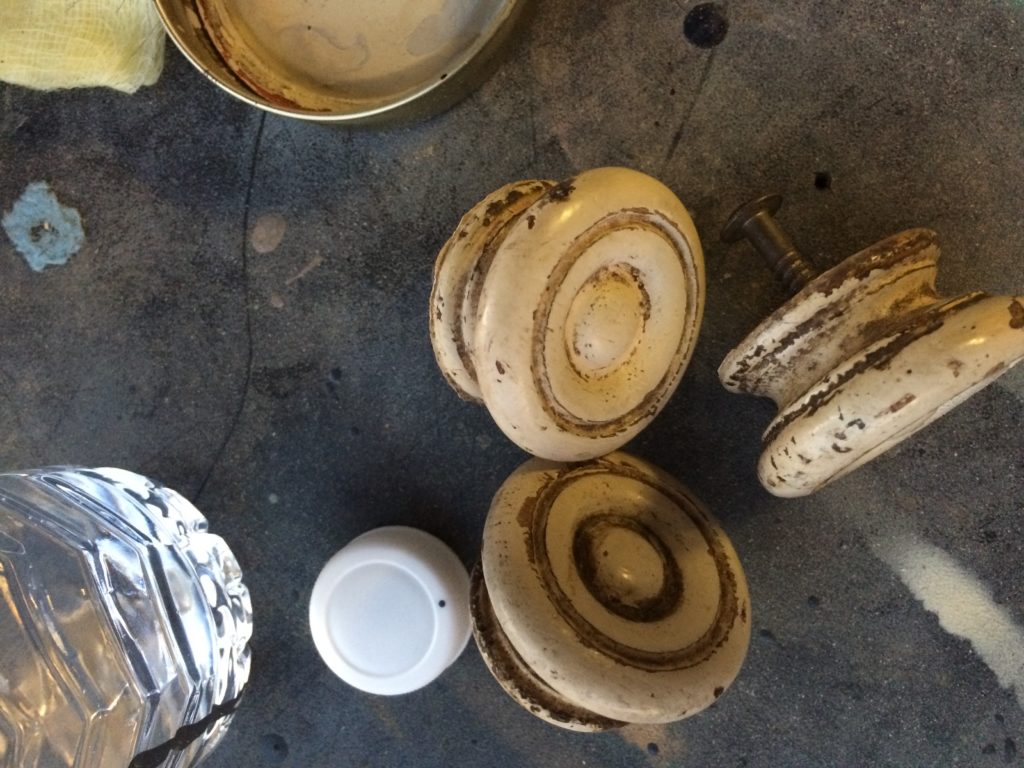
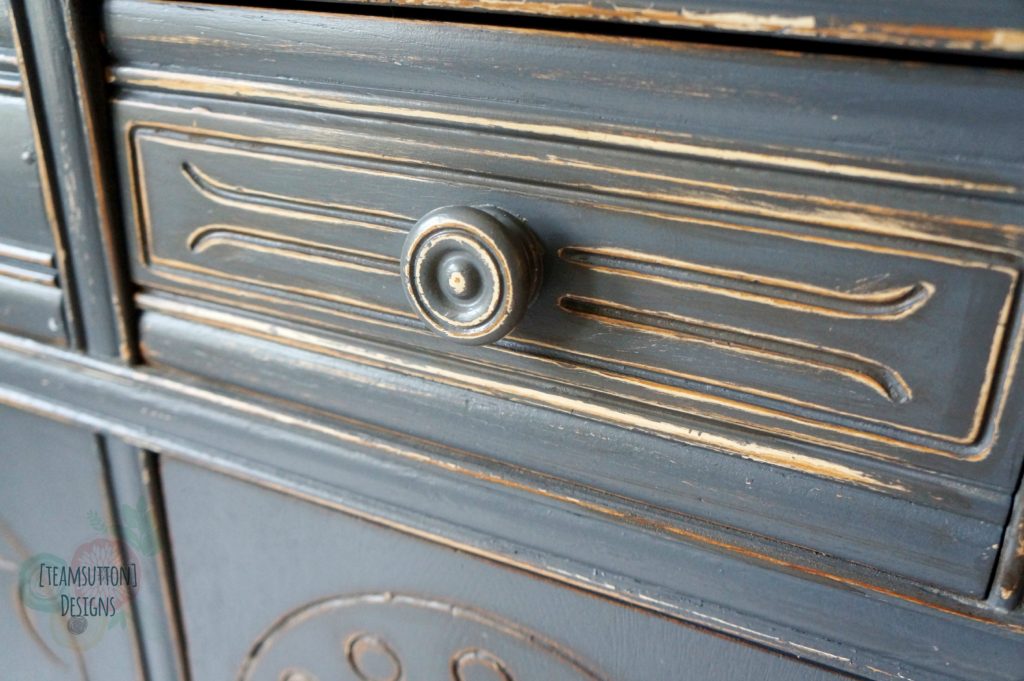
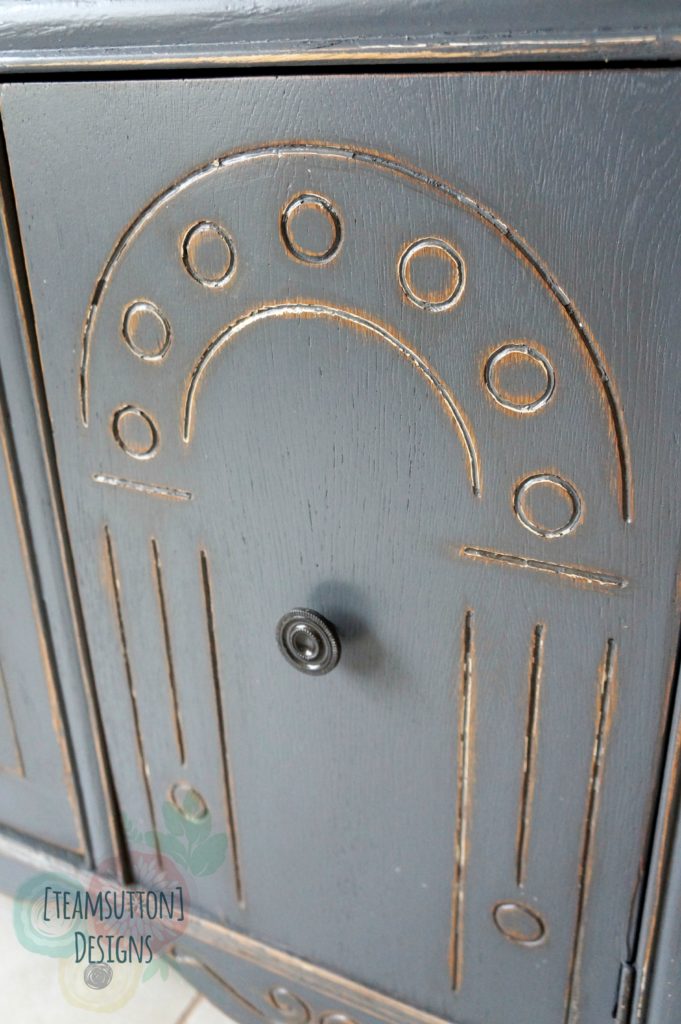
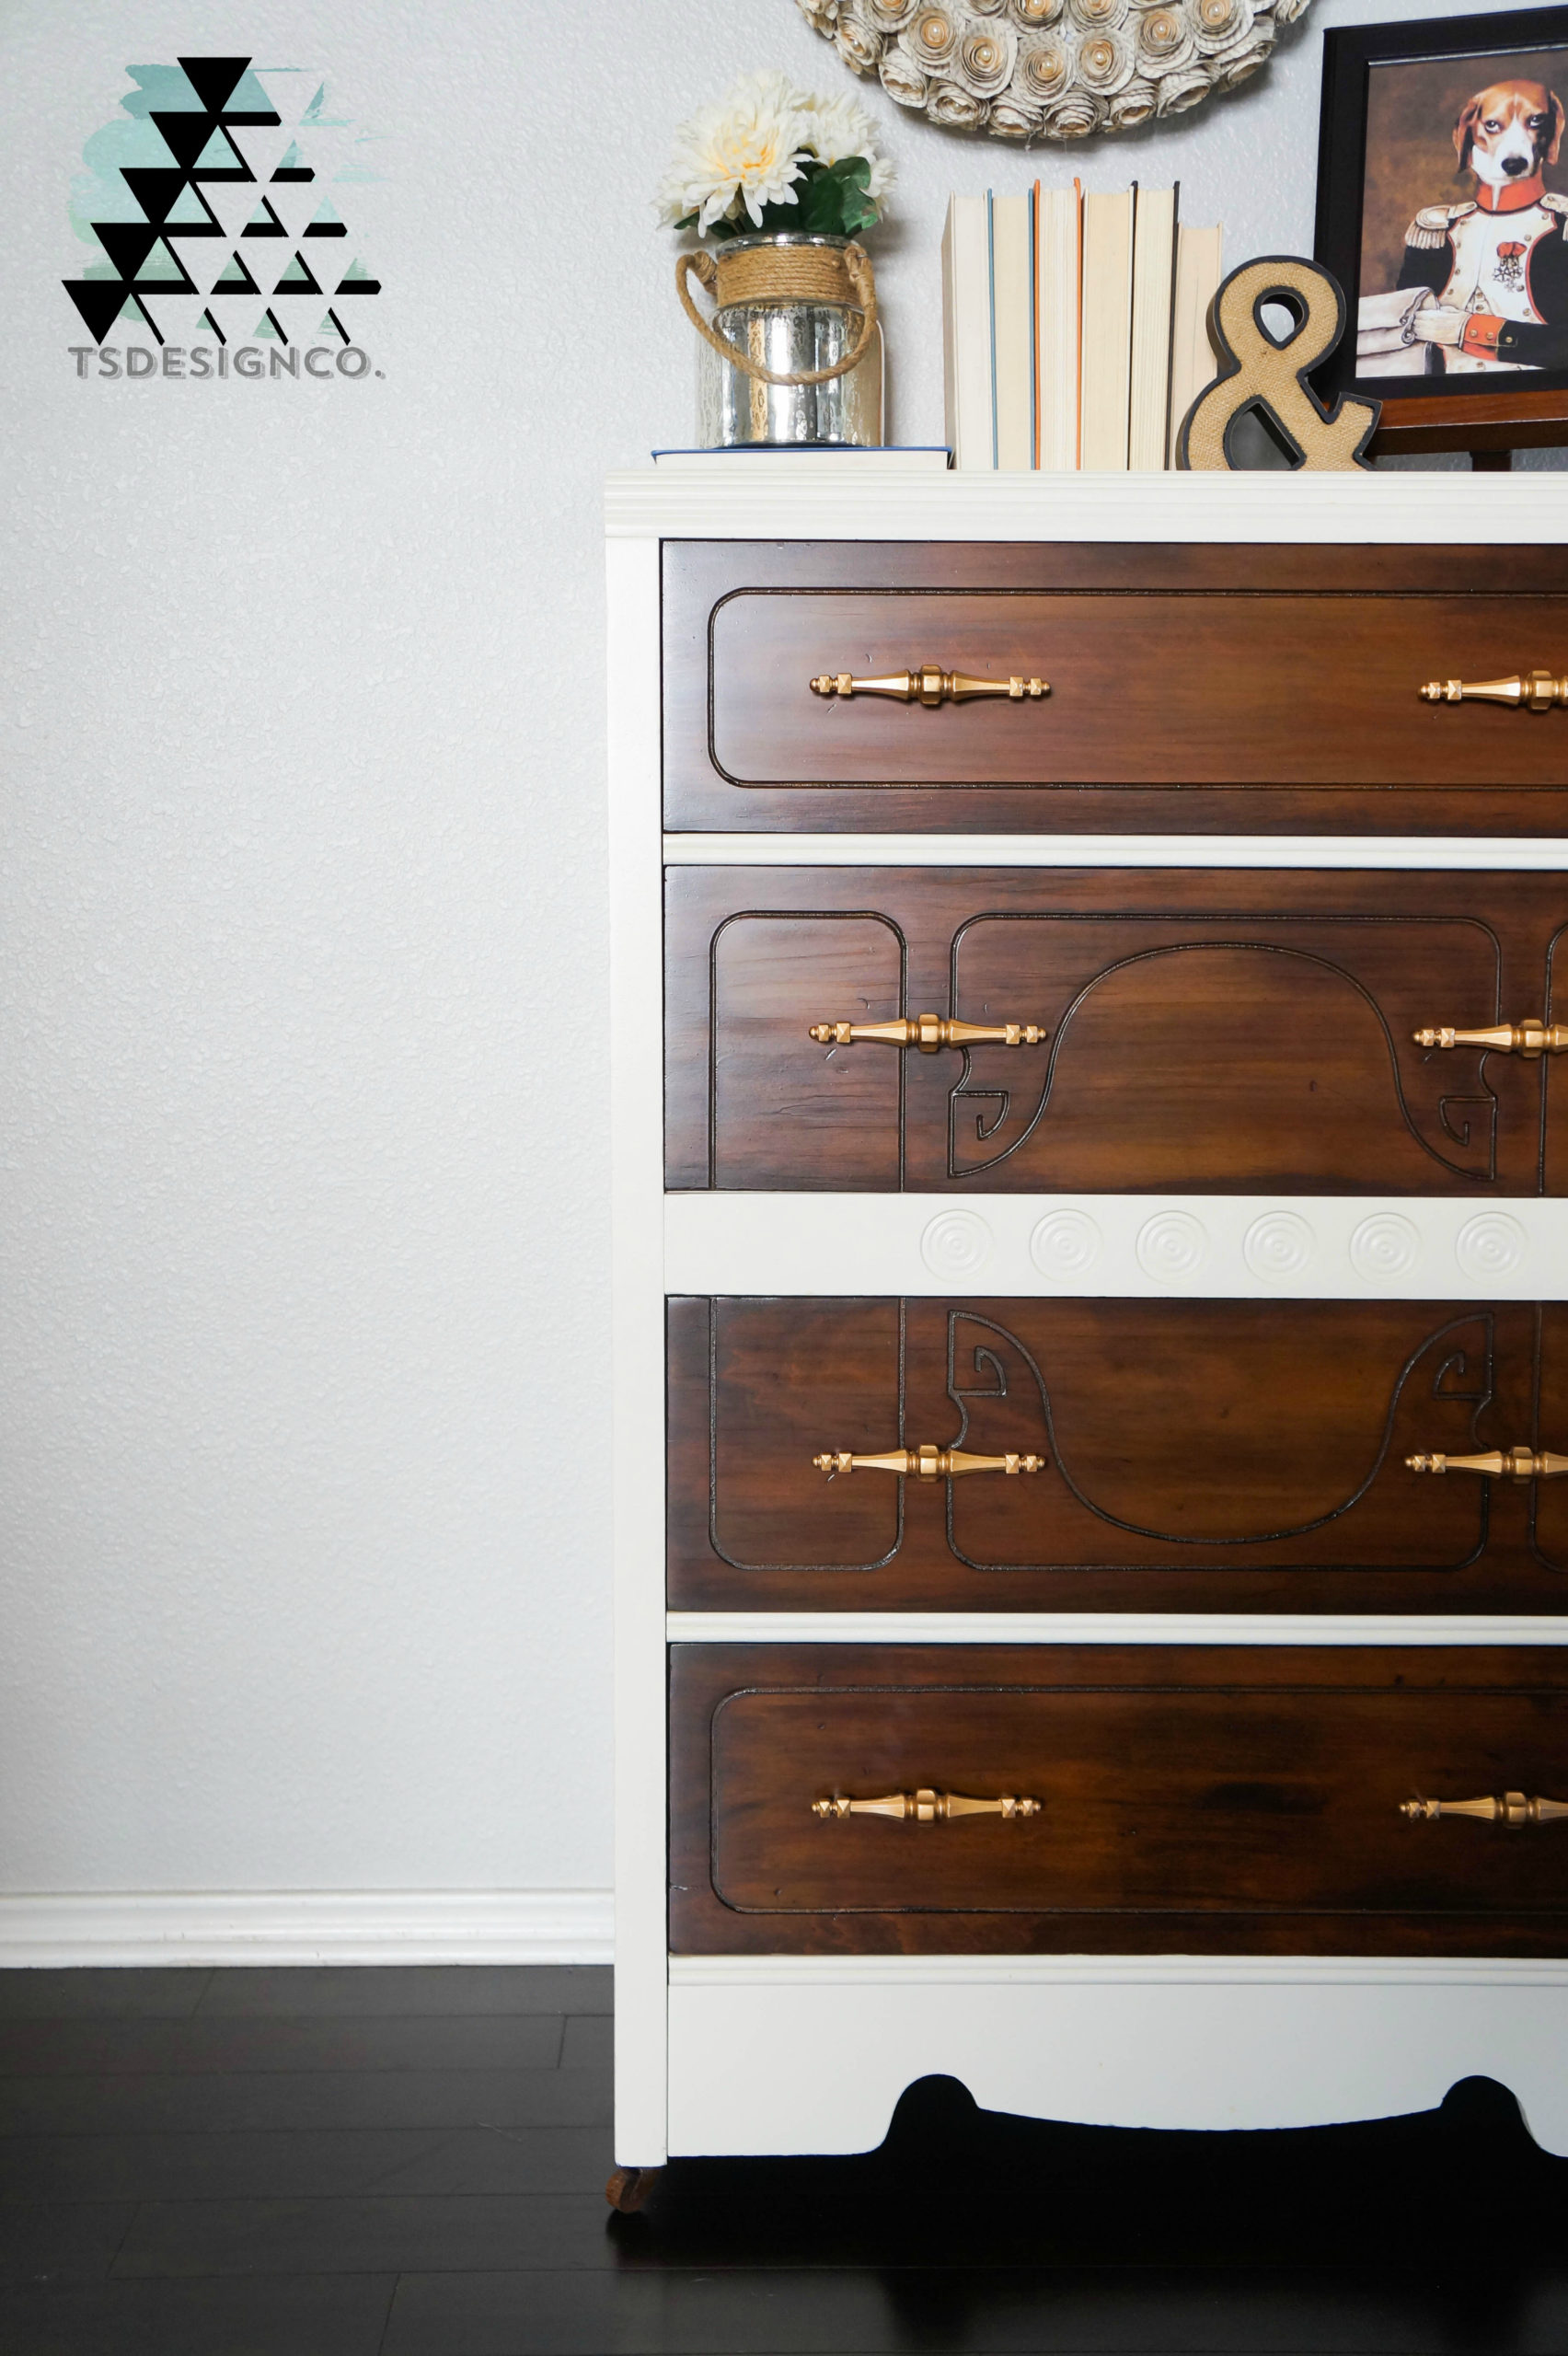
And here it is all done up! I went over the detail with Van Dyke Brown glaze just to give the distressed areas some depth and age.
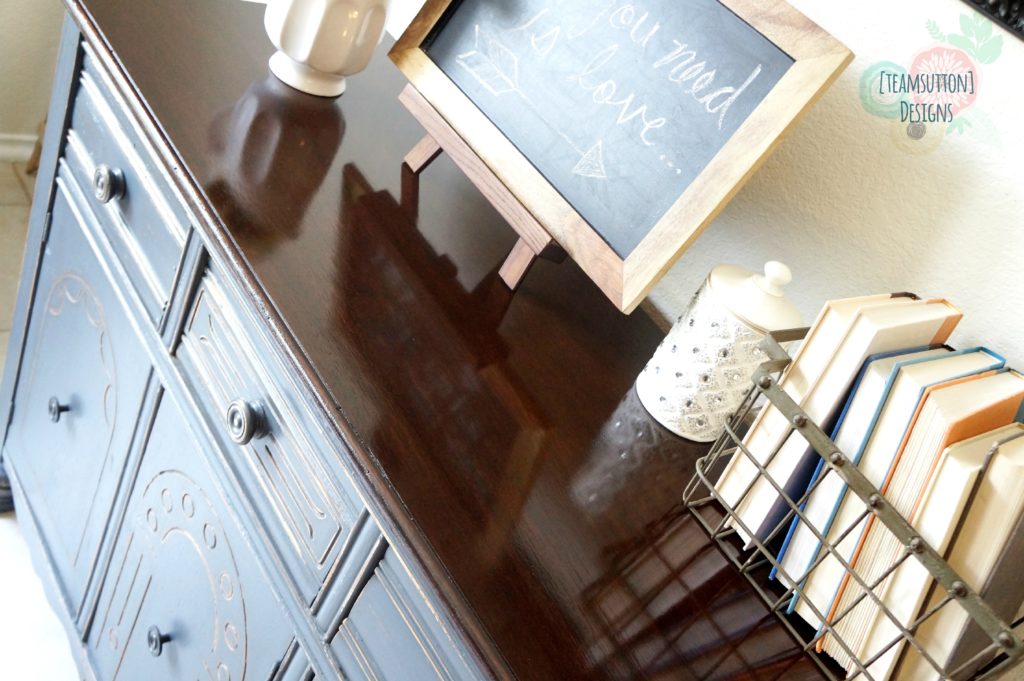
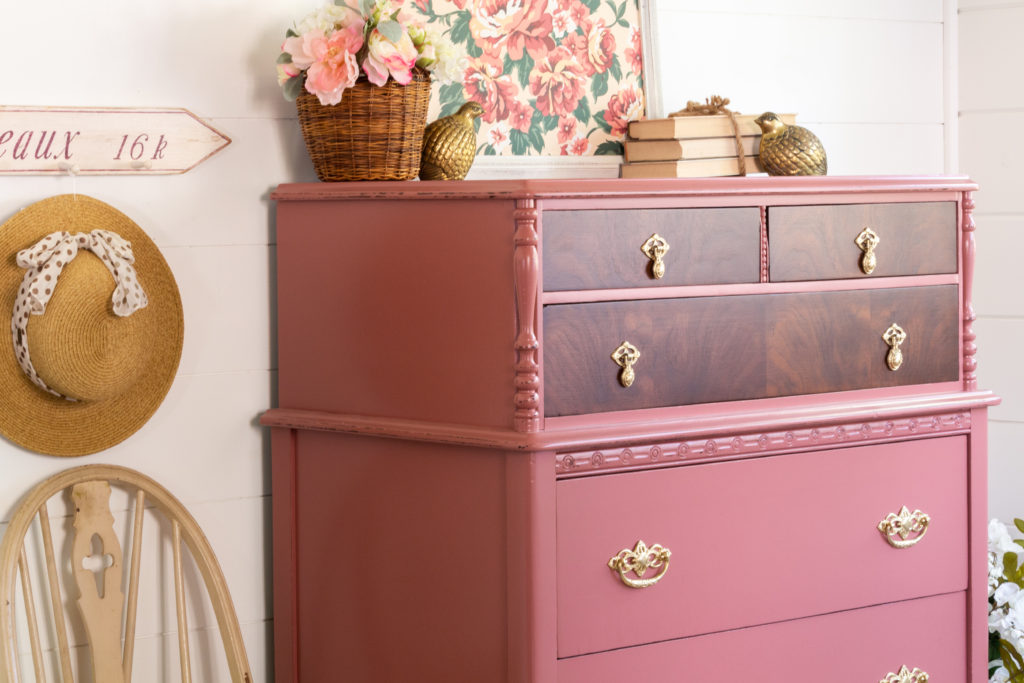
I stained the top in 2 coats of Java Gel and sealed in Semi-gloss poly. The base was sealed in Satin HPTC. I just love how a new shiny top looks on this!
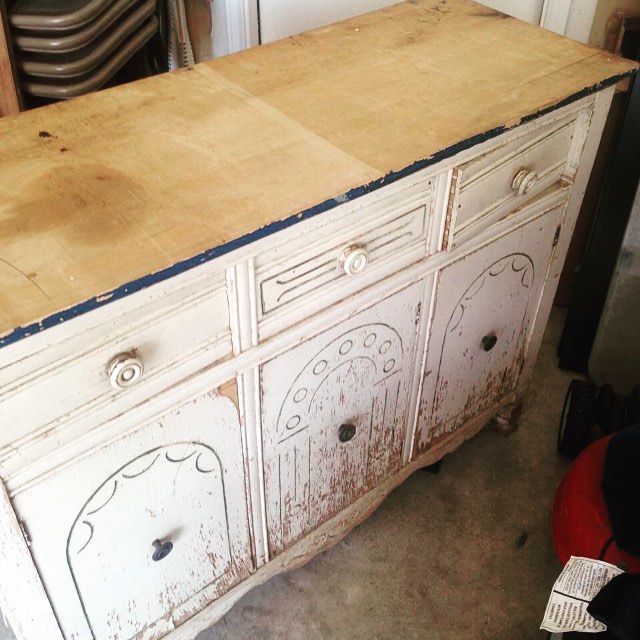
Love all the detail on this piece!
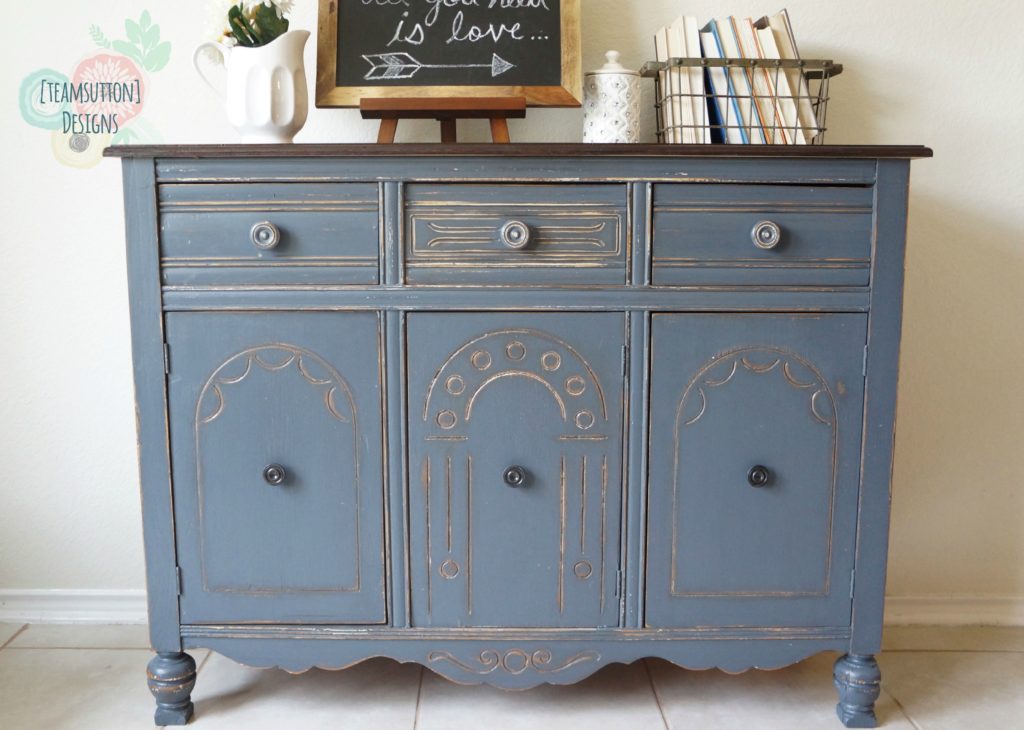
Just one last reminder of how far this baby came! Without a doubt this is the piece that needed the most work that we have ever done.


Leave a Reply