Hey everyone! I want to share with you how you can turn these cute vintage metal card catalogs into funky little end tables. I first bought this card catalog thinking, I’d have a project for it somewhere in mind, but it sat in my garage for quite a while before the little lightbulb went off in my head.
This post contains affiliate links.
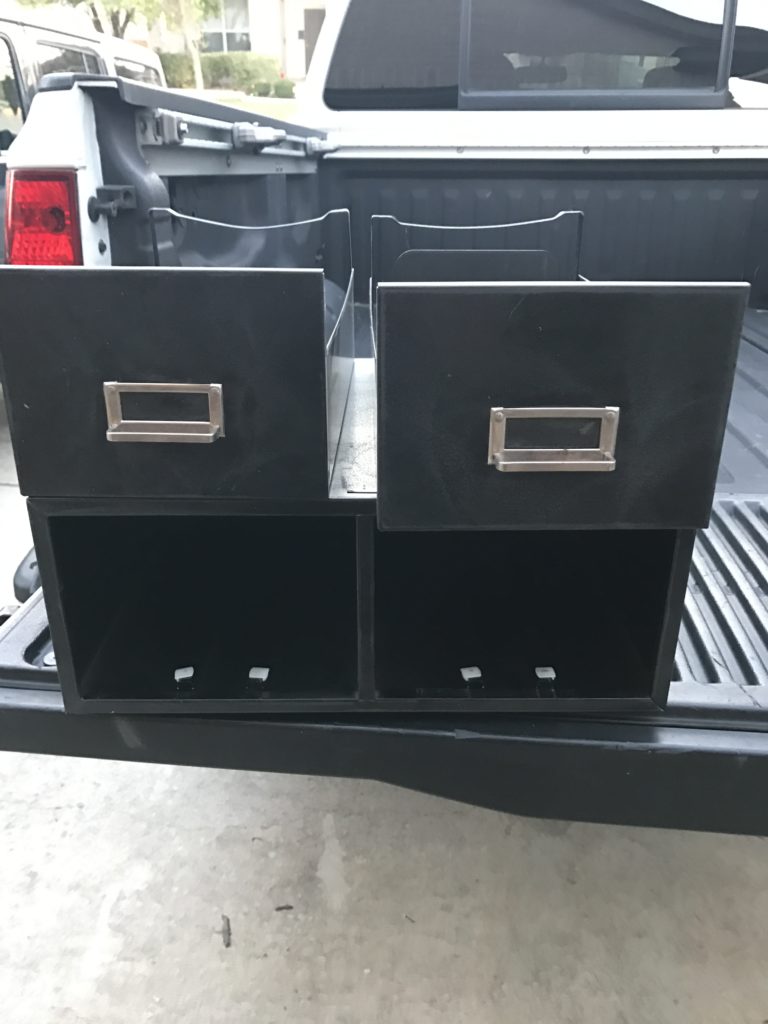
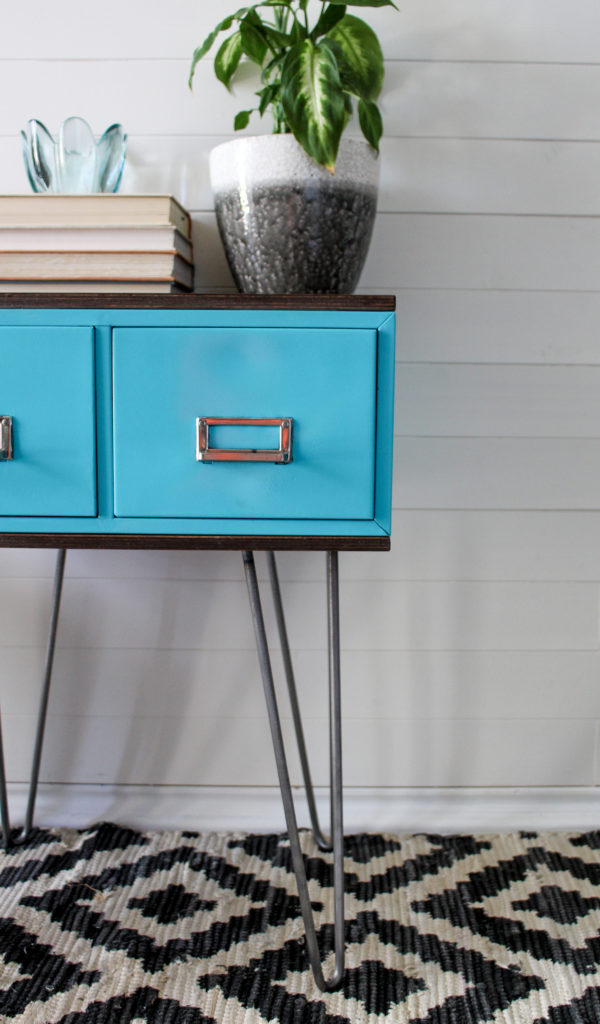
I wanted to definitely give this a funky look, but also keep it retro and fun. I knew I wanted to turn this into an end table of some sort but wanted it to also fit in as a nightstand. I decided to order some 17 inch hairpin legs from ModernUrbanMetals on Etsy. They arrived super quick so getting this project together was really a one day project (except waiting for paint to dry on metal).
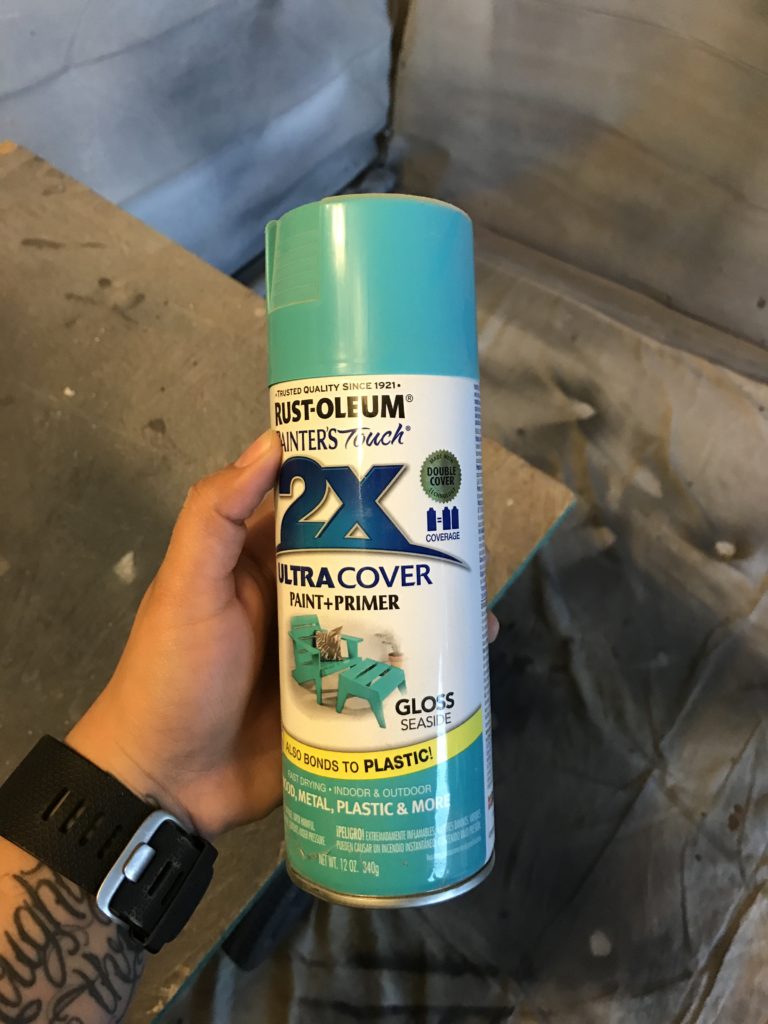
After taping around the hardware (since they were not removable), I chose Rustoleum’s Paint & Primer in One in Seaside Gloss. This is literally the most turquoise any paint can get. In the sample photo above, it looks like a green turquoise but on metal it was more of an aqua turquoise.
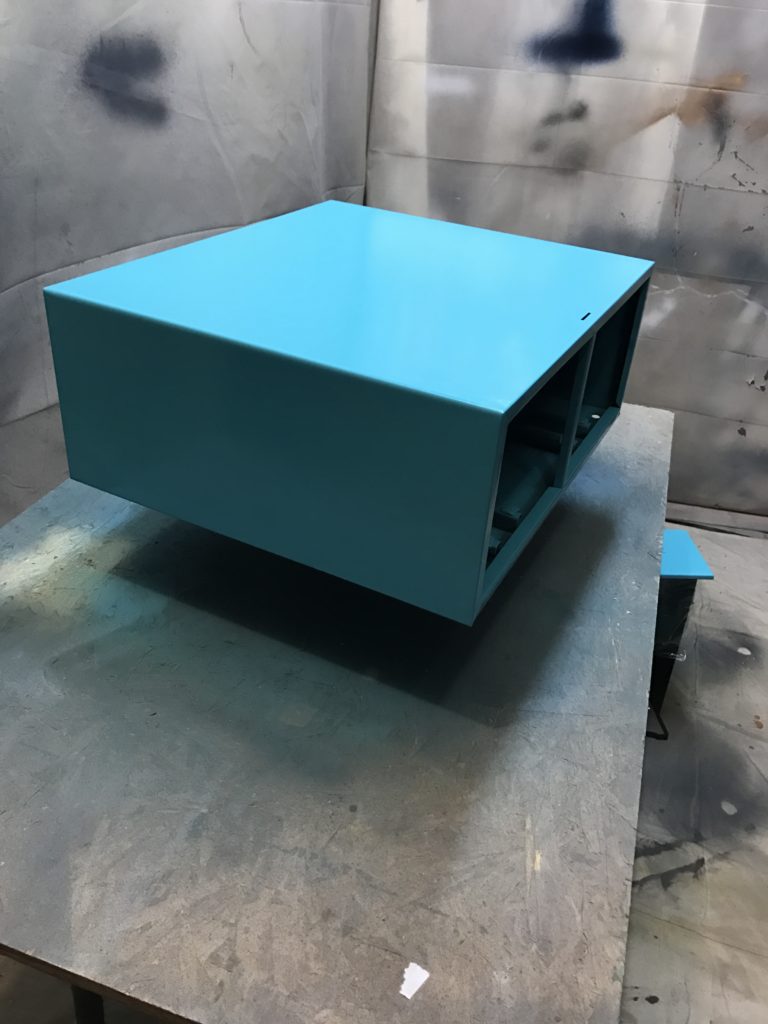
Please don’t mind the ugly spray booth and basic iPhone camera shots. I wanted to get “in-progress” photos since I rarely every do that, but since this is a semi-tutorial, it would be good for you to see my process since I had a lot of these very same questions when I went for this project. Above is what the base looked like after 4 or 5 thin coats of spray paint.
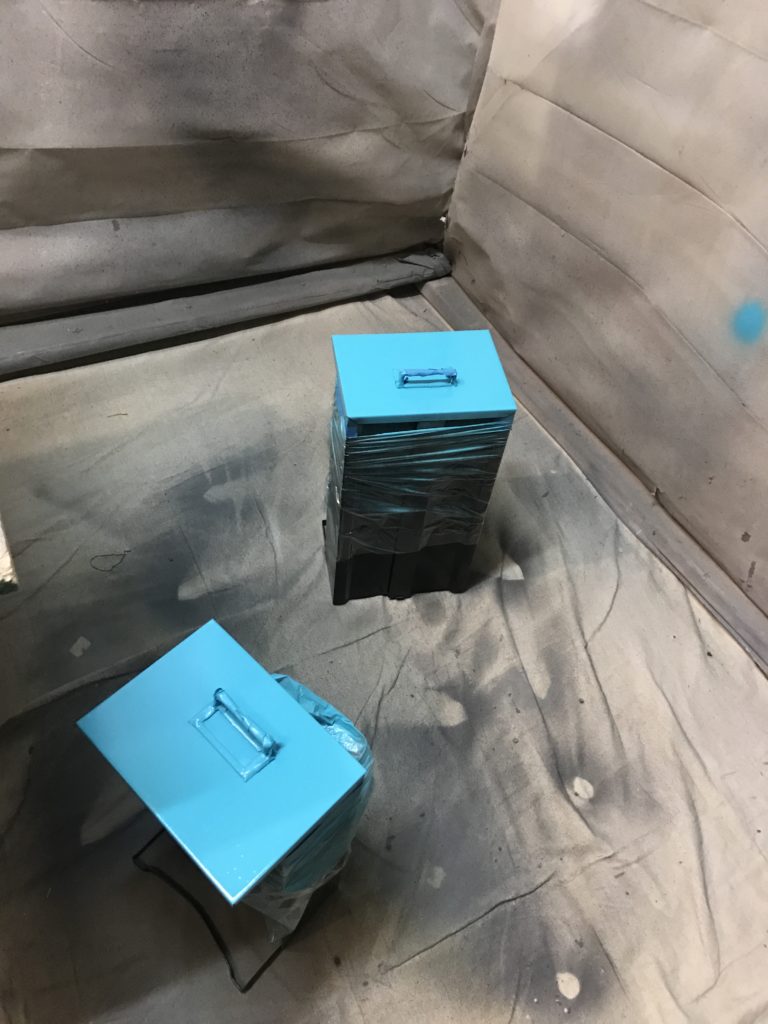
I used regular ceran wrap to wrap the drawer edges and keep them from overspray. I also used my favorite 3M Painter’s Tape to make sure my hardware lines were crisp and nothing seeped through.
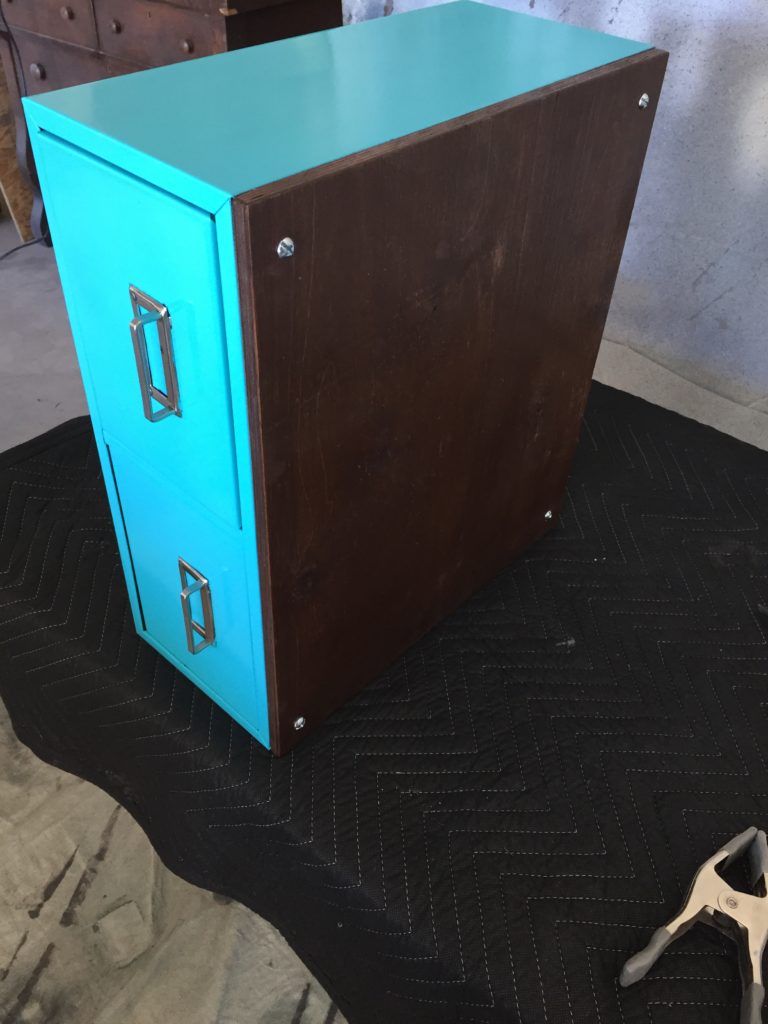
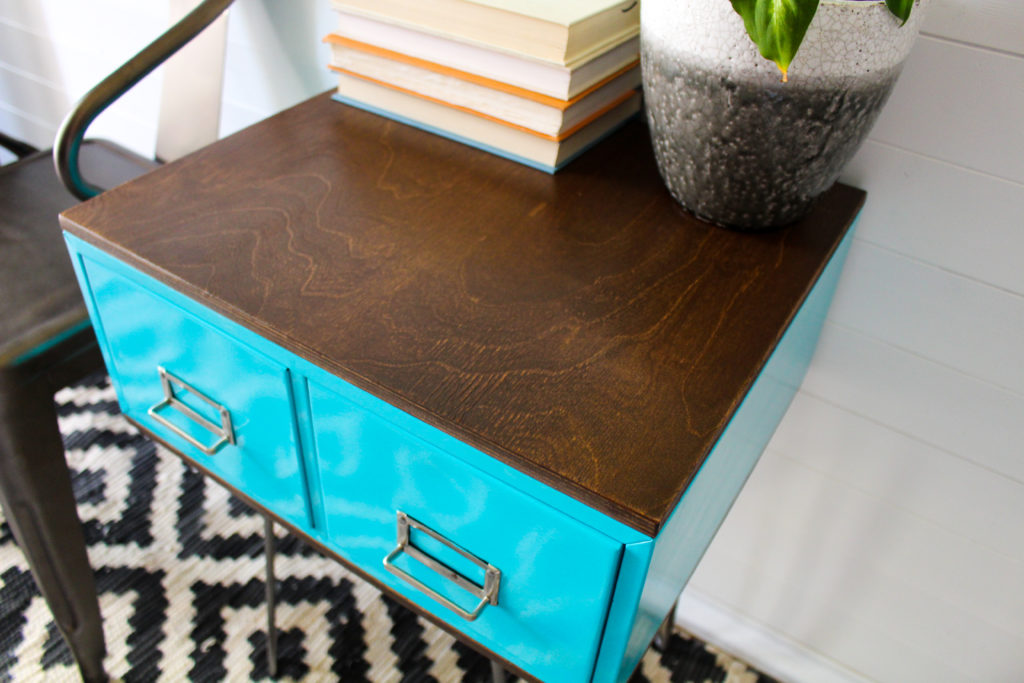
After the paint was dry to the touch, I stained a sheet of oak plywood in Rustoleum’s Dark Walnut Stain. We then secured it with small sheet metal screws from the bottom in. Now came time for the placement of legs.
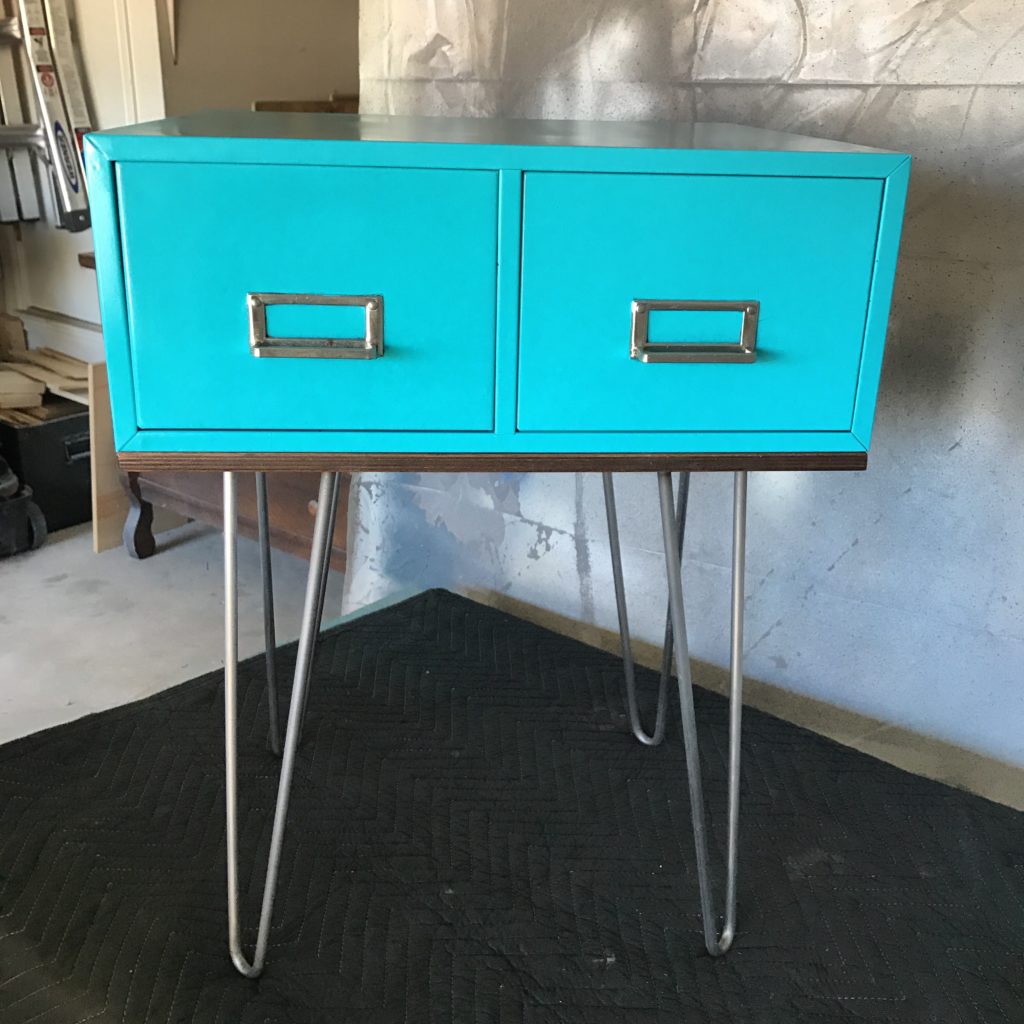
We attached the legs and flipped it over to look at our masterpiece. Thats when I saw the mess I made when I flipped it over. The pattern of my moving blanket had indented the pattern onto the paint…AND to top it off, I was out of paint. I was so frustrated at myself for not waiting for the paint to fully cure before attaching the legs. But fortunately for me, a client came by to pick up a separate piece and fell in love with it, purchased it and requested we add another sheet of wood to the top for durability to set her printer on. PROBLEM SOLVED!!!
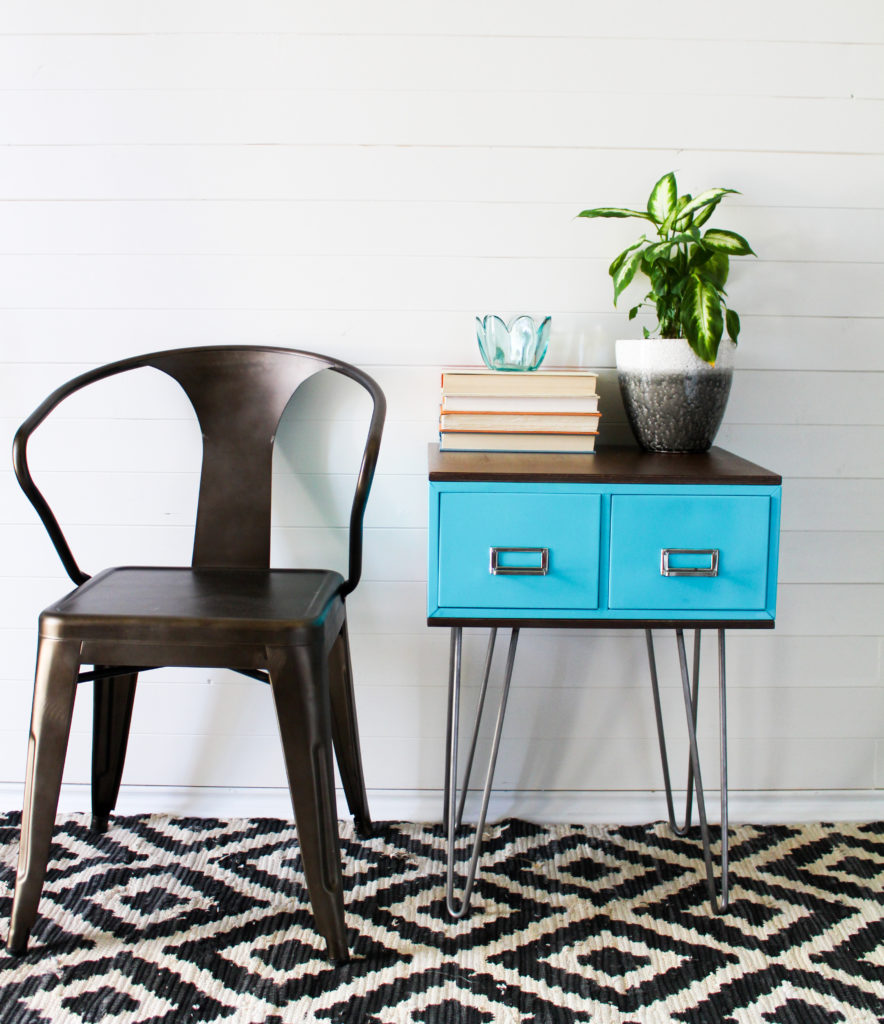
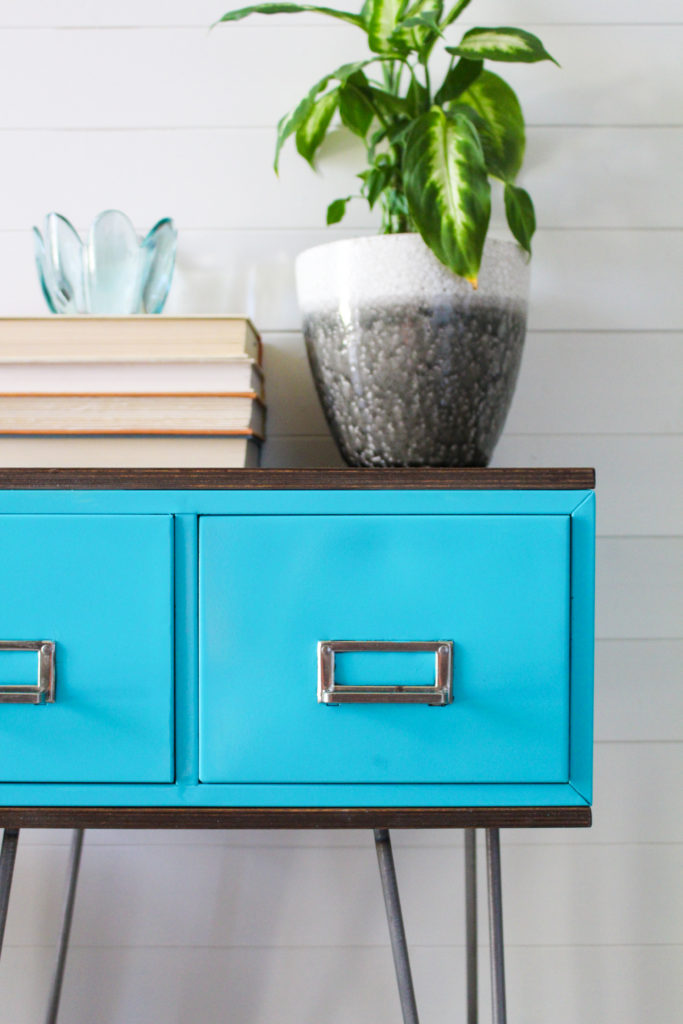
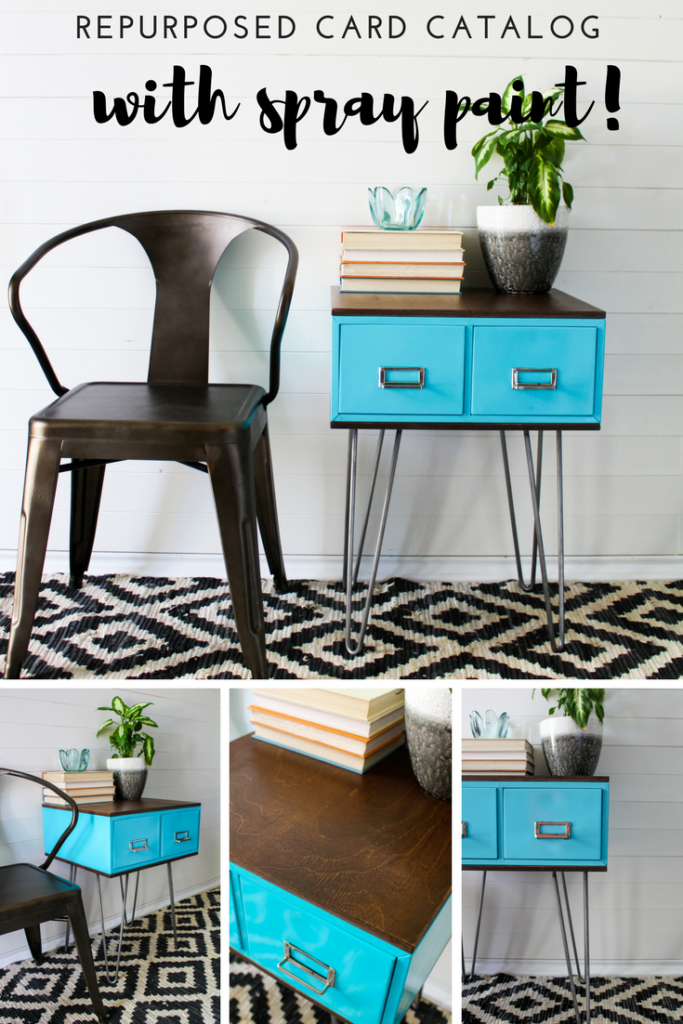
And here is the final product! I absolutely love how easy this project was and the transformation from a looked over thrift store item that is now a functional piece of furniture!
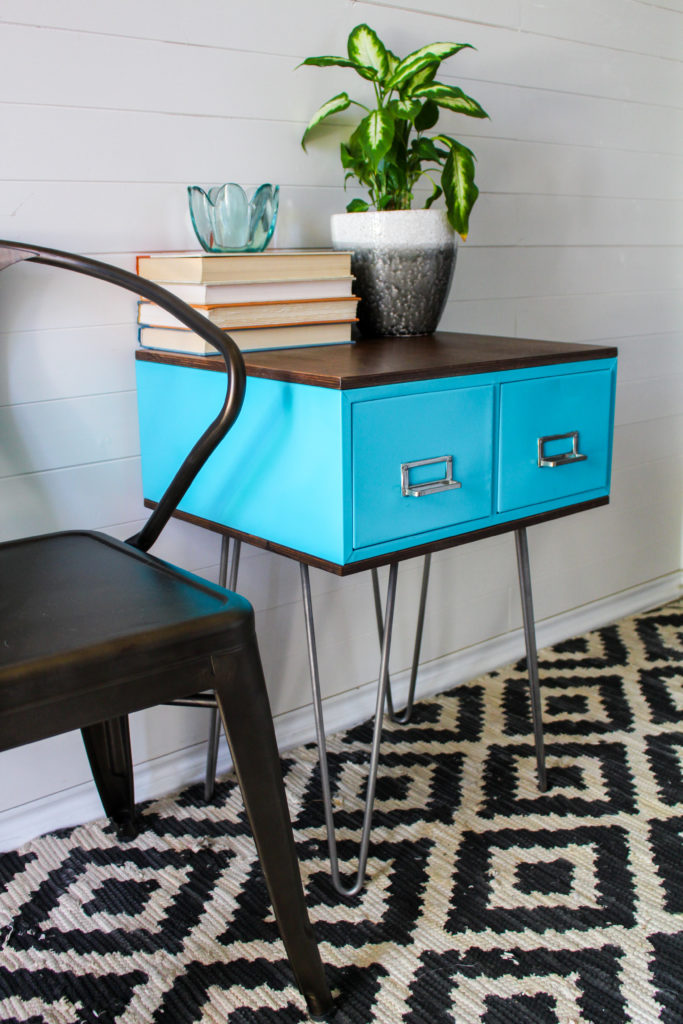
That’s it folks! Hopefully you loved this makeover as much as I did and won’t overlook these cool catalogs for the potential they have to be a funky new piece in anyone’s home!




How did you attach the wood to the top?
We flipped over the table, and used tiny sheet metal screws by hand. We did pre-drill some holes (this was tricky as a drill did not fit all the way in) and used a ratchet screw driver.