A few weeks ago, I had a client message me through Facebook asking me to match a piece for her that she had purchased from another furniture genius, Blanca of Llave Designs. The piece she wanted me to refinish for her was a seven drawer Dixie Campaigner. I’ve always dreamed of painting a Campaign piece but they are so rare here in this area, I could never find a piece in my price range. I was nervous as it was considering this was my first time painting a Campaigner, but now I had the added pressure of living up to Blanca’s gorgeous work.
Just so you know, this post contains affiliate links.
Taking off the hardware was a breeze…some of the campaign bracket holes were bored out so we had to fill all the holes with wood filler, as well as any dings and scratches. Since this piece was a laminate throughout the body and wood on the drawers, we had to prime with several coats of Zinsser Cover Stain. Since I am not spraying solvent based materials through any of my sprayers (yet), I chose to use the spray cans. This was not the most cost effective way to prime this piece, but I was trying to make life easy on myself and as much work as this piece needed, disposable spray cans seemed like the way to go.
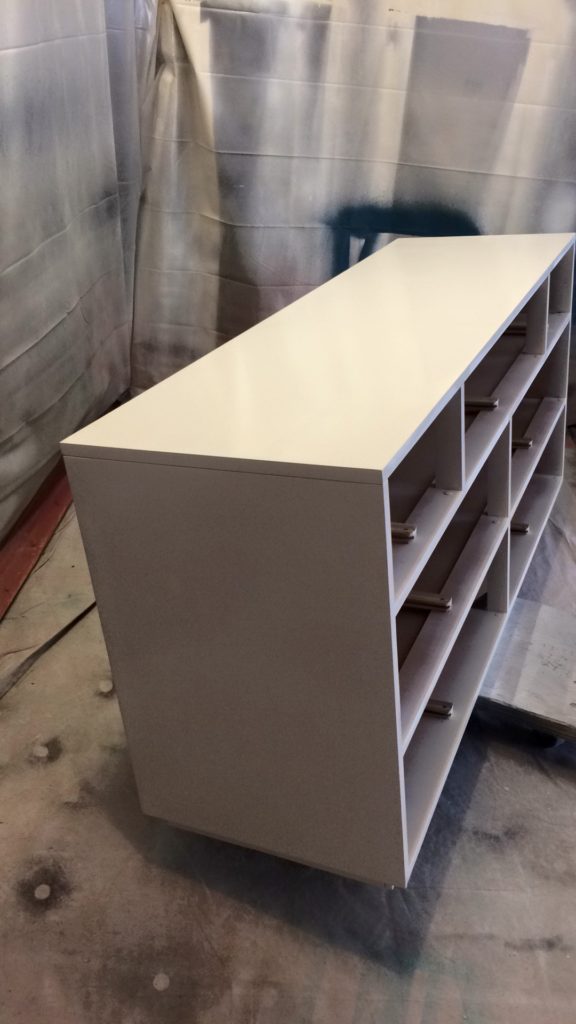
Here’s the dresser after it’s 2nd coat General Finishes “Antique White.” I was so excited that the paint went on easily, the weather was cooperating and things seemed to be going as planned. Little did I know this would be my most trying piece to date.
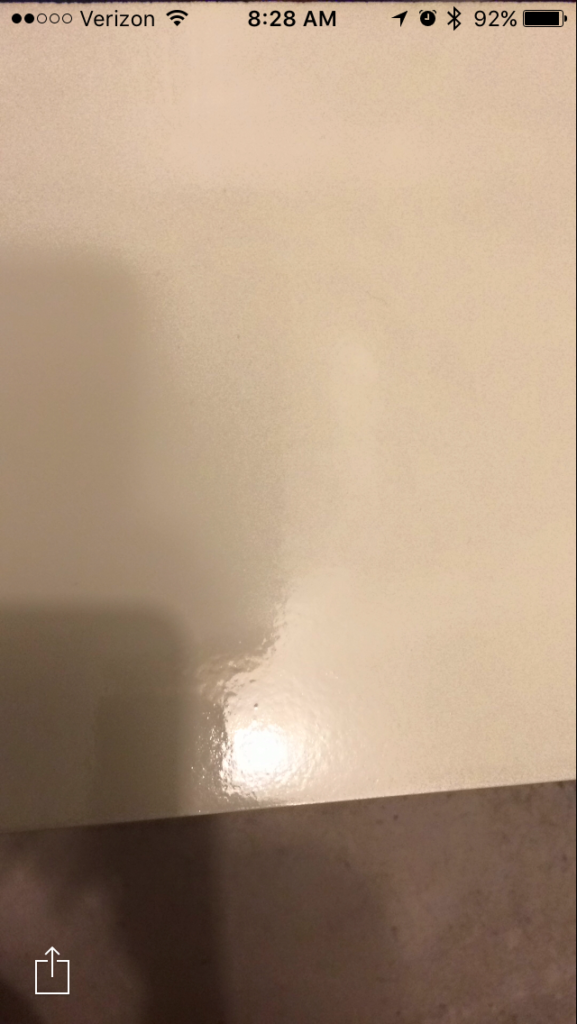
And this is what happened after my first coat of General Finishes Poly in Gloss. I’ve used Gloss poly only a handful of other times, but never had issues like this. This appears to be orange peel and pinholes in my finish. If you don’t know what orange peel is, I’d suggest heading over to furniture pro Christina from Phoenix Restoration’s blog, where she goes into depth about orange peel and the fix. My first instinct was to contact Blanca since she frequently sprays Gloss to see if she had this same issues. Turns out she did and sent an inquiry to General Finishes to see if this was a common issue that was being reported. Next, I consulted with Christina to find out how I could fix this. She recommended a Dual Action Sander and Micromesh kit.
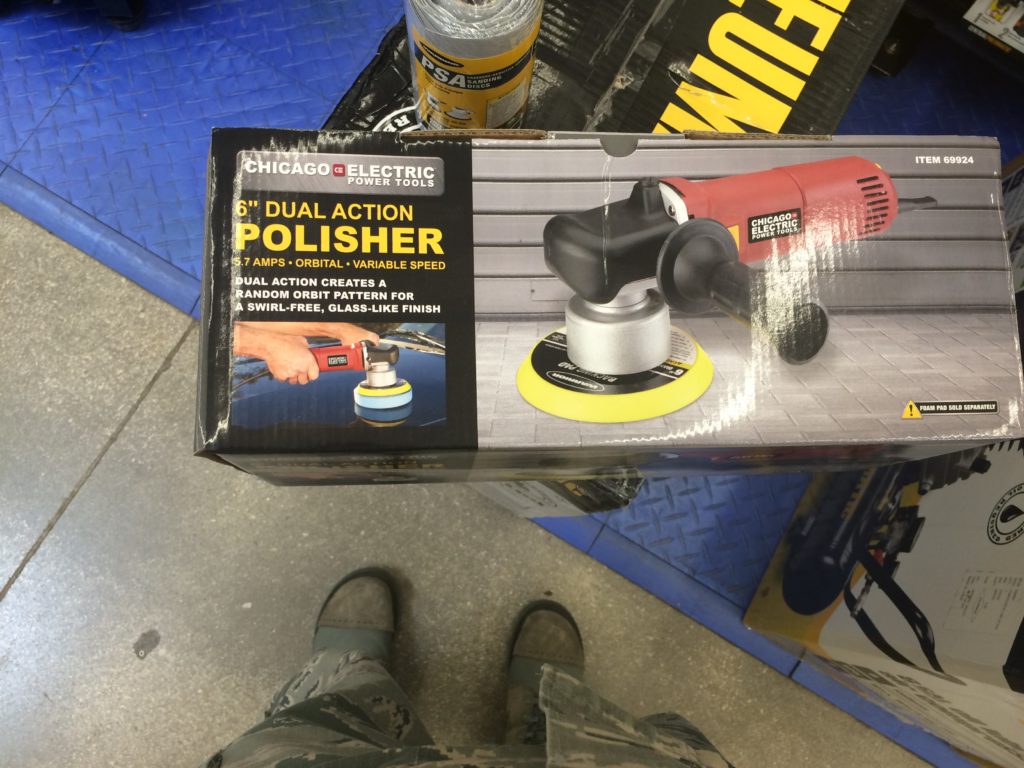
Now, if you’re a new to the high-gloss world like I am…Micromesh and dual action sander aren’t common tools you can pick up at your local craft store. In fact, the only places that had these tools were Harbor Freight, and Woodcraft which was clear across town from me. See those boots in that picture? That was me on my lunch break out of desperation to fix this finish, picking up this DA Polisher which also doubles as a sander. Next was ordering the micro mesh kit off of Amazon. I bought the two-for kit which came with two of each grit. But because Micromesh only comes in 5 inch disks, I ALSO had to buy the 5 inch replacement disk. If you plan on making this investment for yourself, please make sure to get the hook and loop backing, a.k.a velcro. There is a PSA (pressure sensitive adhesive) version which means it’s a giant sticker. You can get the supplies needed for this by clicking the links within the post. Oh by the way, I also paid for overnight shipping so I wouldn’t have to keep my client waiting, and because my nerves were fried from trying to figure this out.
So I sanded, re-applied the poly and had the same issue. This process went over and over about 6 times, of sanding back, repainting, and poly. It was an absolute nightmare. I even brought the drawers inside after poly to see if I could narrow the issue down to humidity. And I got the worst orange peel I had ever seen. Yikes!
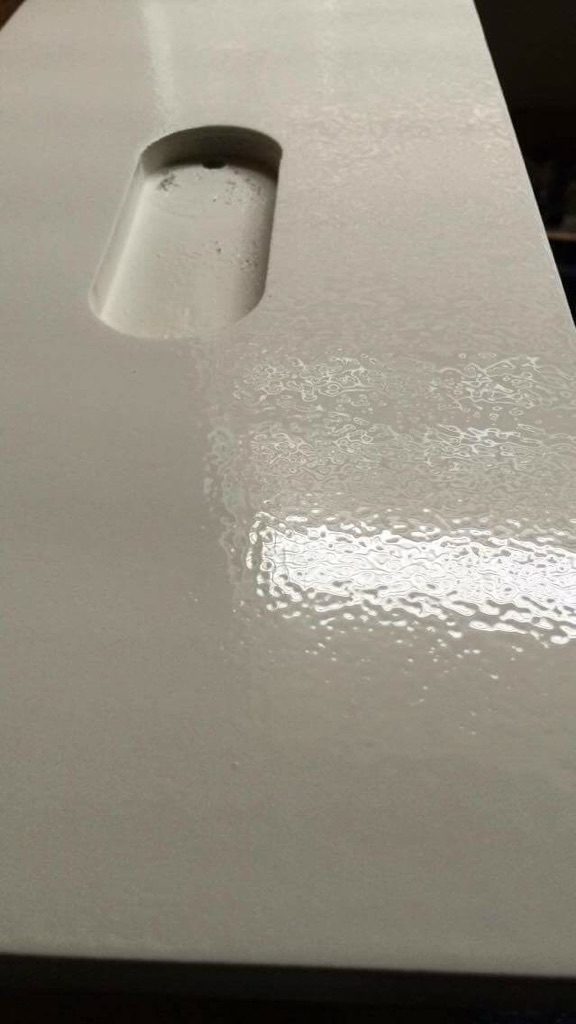
When General Finishes got back to me, they told me I needed a smaller needle for poly. I’ve never had issues spraying Satin or Semi-gloss with my gun, but for some reason, Gloss was a huge problem. I had already invested a huge amount of money into fixes for this dresser, so the needle had to wait.
Then my micro mesh kit arrived! At last…hopefully my prayers would be solved. I sprayed the top of a drawer with water per Christina’s directions and started with the lowest grit which was 1200.
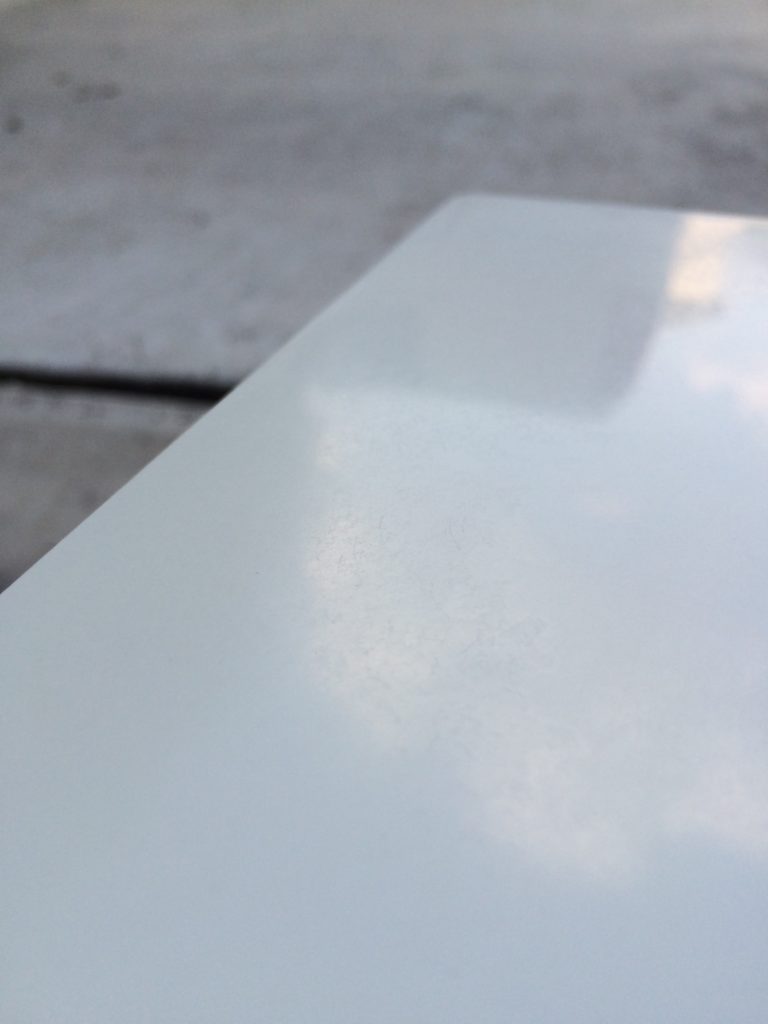
It looked really scary! It looked like I was doing more damage than I was helping it. There go my nerves again. But the higher the grit, the more the finish smoothed out.
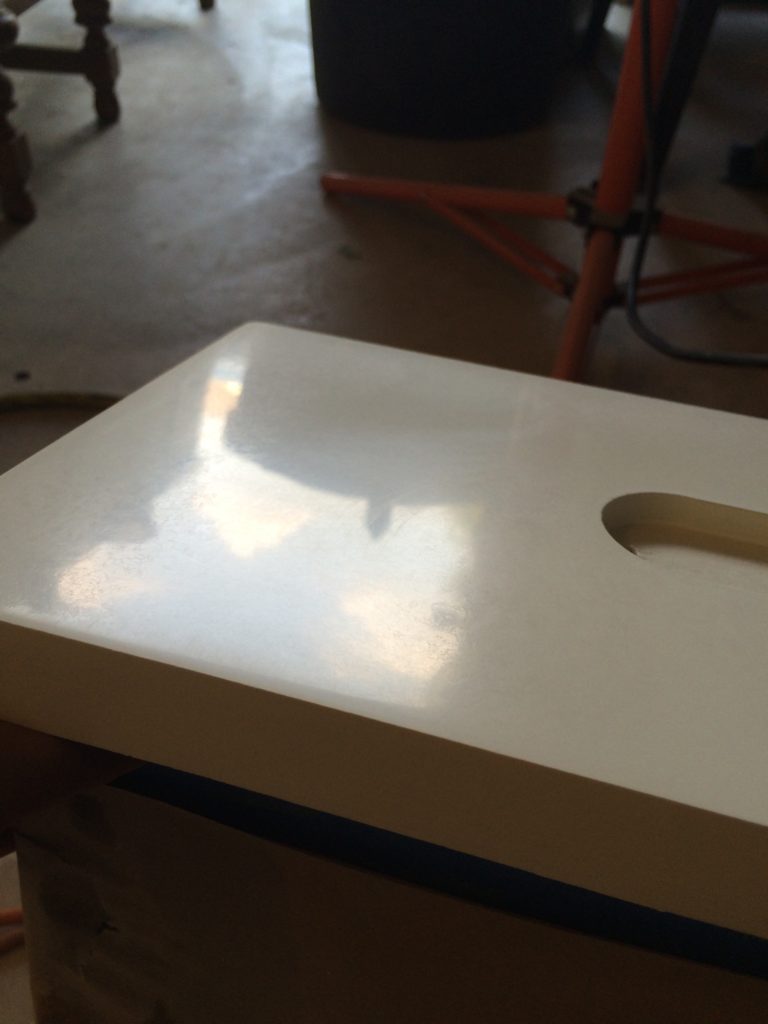
A good 45 minutes later, I ended up at 3200 grit. You can see already there is an incredible shine and it felt like glass running my hand over it. But at this point, I knew the layers of uncured paint and poly were the reason why I could still see scuffs. I also think I needed to start at a lower grit than what the micro mesh comes with…perhaps an 800 grit, but I didn’t have it on hand. So…the moral of the story is, yes I do believe it is possible to buff out a water based finish, but I think the piece needs to be cured and there needs to be an additional lubricant (other than water) for it to come close any oil based finish. I’m not sure if any of the polishing solvents Christina uses are compatible with water based finishes, but if I ever have the funds to experiment, I’ll give it a shot. Without it, the finish looks somewhat dry.
So re-sand. Re-paint. This time Poly by hand indoors.
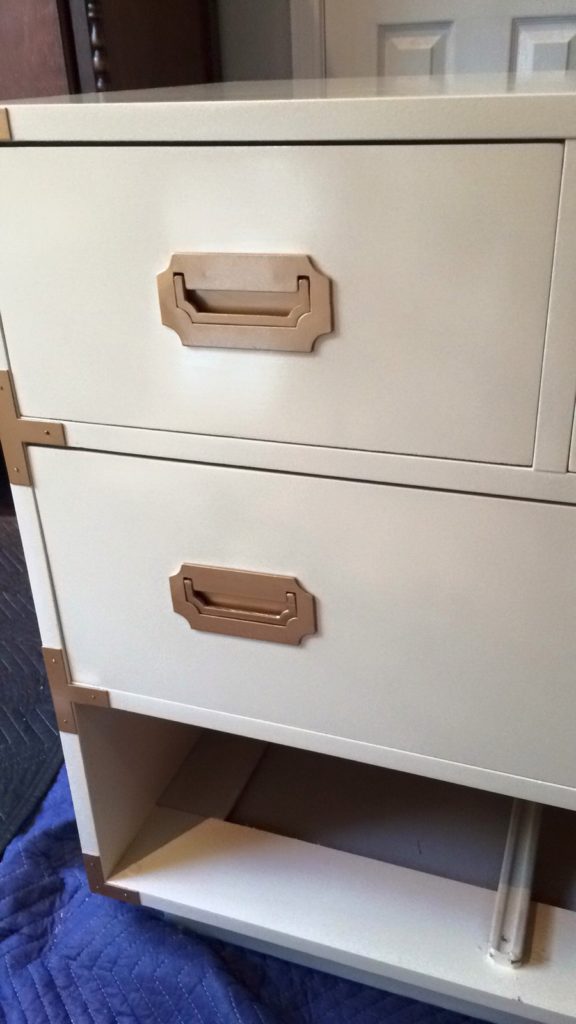
I’m not sure whats up with Gloss poly but Christina later had the same issues I did. So applying the poly by hand did help, especially in a more stable climate indoors. I spray painted the hardware with one of the many Rustoleum’s Gold shades. I used a Gloss lacquer to seal them and rubbed wax underneath the handles so the lacquer wouldn’t stick.
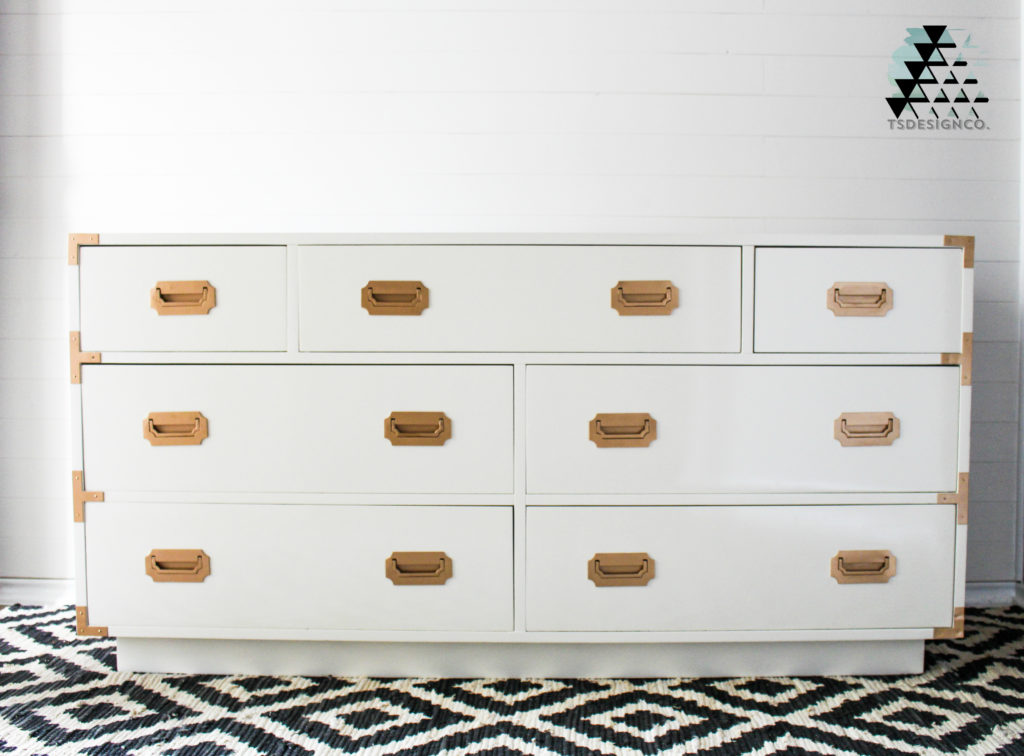
And here it is all done.
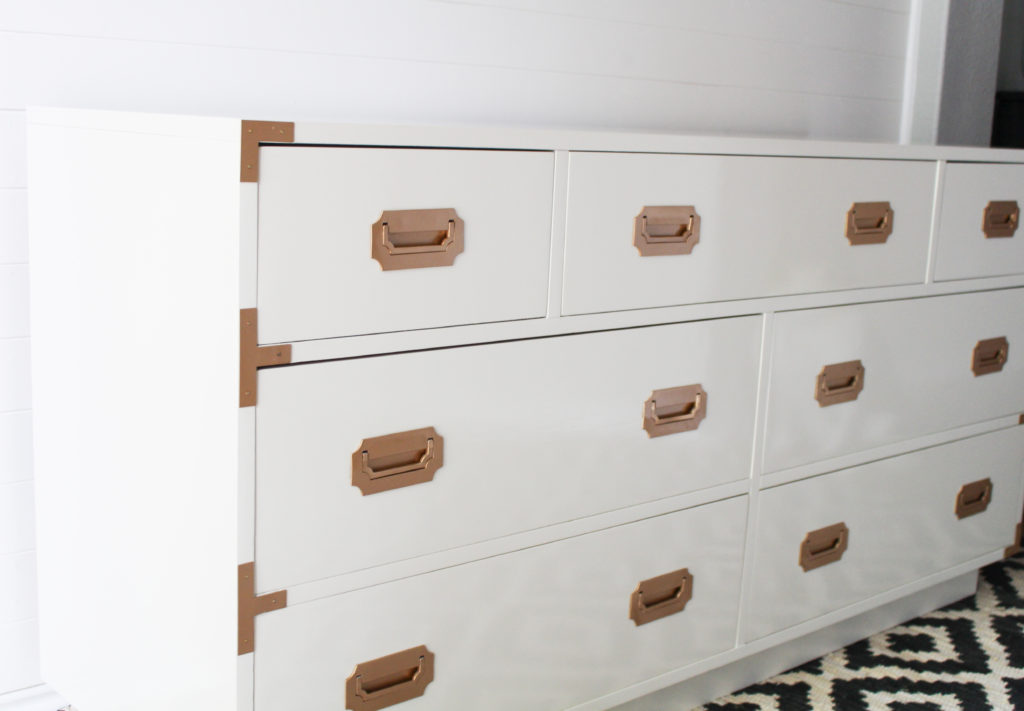


Overall the shine was my main concern. Once you see Christina’s, Kayla from Painted, and Sucheta from The Resplendent Crow’s work…the standards are impeccable. And no water based gloss comes close in my opinion, but the shine on this piece turned out beautifully, even applied by hand.

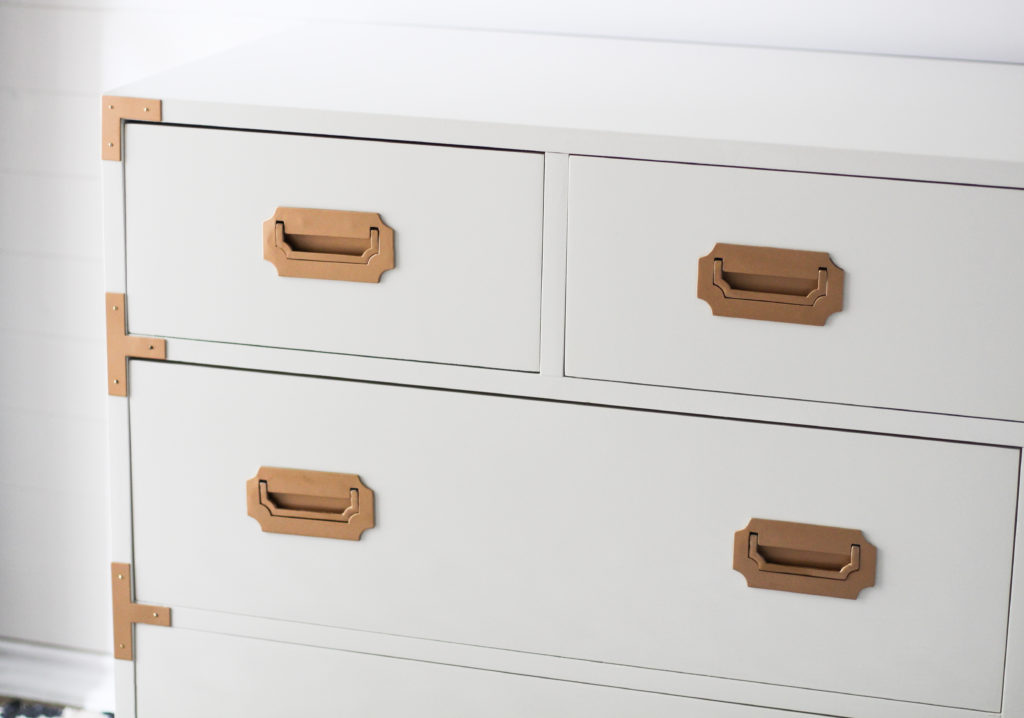
This hasn’t completely turned me off of Campaign style furniture. But next time I think I’ll start with something smaller that won’t make me pull my hair out. Hope you guys can learn a thing or two from my issues! Thanks to Christina for talking me off the ledge!

Linking up to Friday’s Furniture Fix #50!








Oh WOW. This is quite a story, but you surely did overcome all of your obstacles. The piece is absolutely beautiful. I hope to do a roundup later in the fall and have bookmarked this piece for inclusion. You are just totally amazing. Thanks so much for linking to Friday’s Furniture Fix. Susie from The Chelsea Project