It’s hard to believe we are in February already. I’m still recovering from Christmas and trying to shed a few Thanksgiving pounds. Now we have Valentine’s Day rolling around the corner (hello chocolate) and if I’m being honest, I’m not quite ready to let go of winter yet. You see, growing up in the Southwest, I experienced heat 10 out of 11 months of the year and it’s an understatement when I say I LOVE winter. I’m sure my feelings on that will change as my broken body gets older but there is something about the cold and snowy months that just feel cozy to me. I wish time would slow down and send one more snow day my way. In the meantime, keeping my house with that cozy, wintry vibe really is effortless when you have transitional decor that you can use for months.
*This post contains affiliate links.
This blog post is going to be short, but I’m going to include a few photos to entice you into clicking over to the Fusion Milk Paint website so you can see the step-by-step guide on how to makeover your furniture for the holidays (and after) and Ill include a supply list for you here as well! For now, take a look at the before shot:
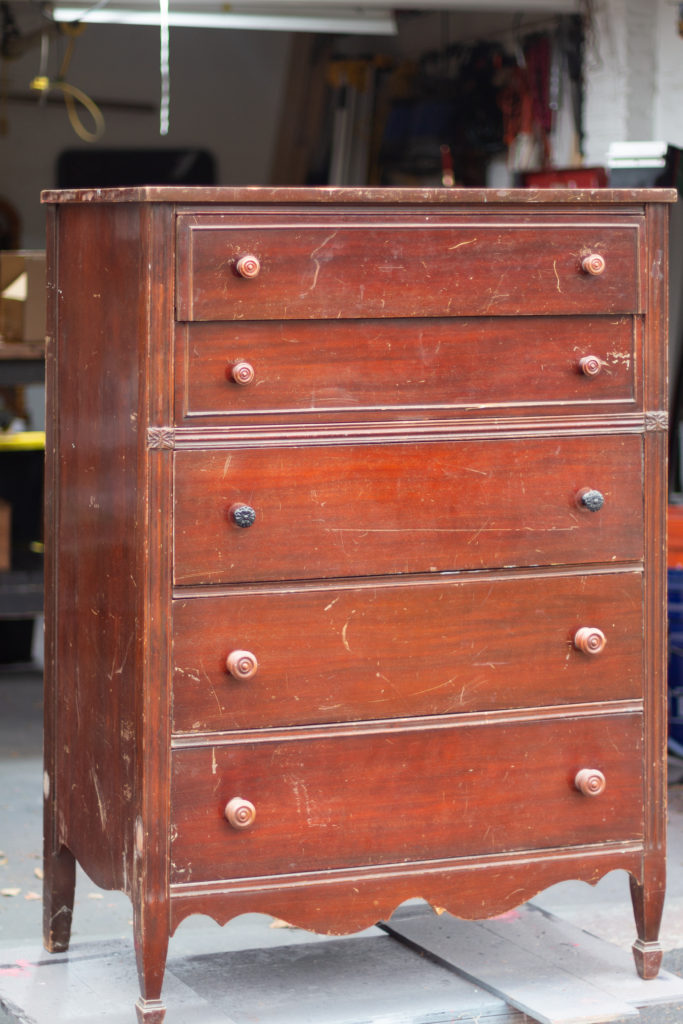
SUPPLY LIST
- TSP Alternative + Paper Towels
- Painter’s Tape
- Fusion Milk Paint “Sangria”
- Fusion Beeswax
- 150/220 Grit Sandpaper
- Staalmeester Round One Brush
- Fusion Mineral Paint “Antiquing Glaze”
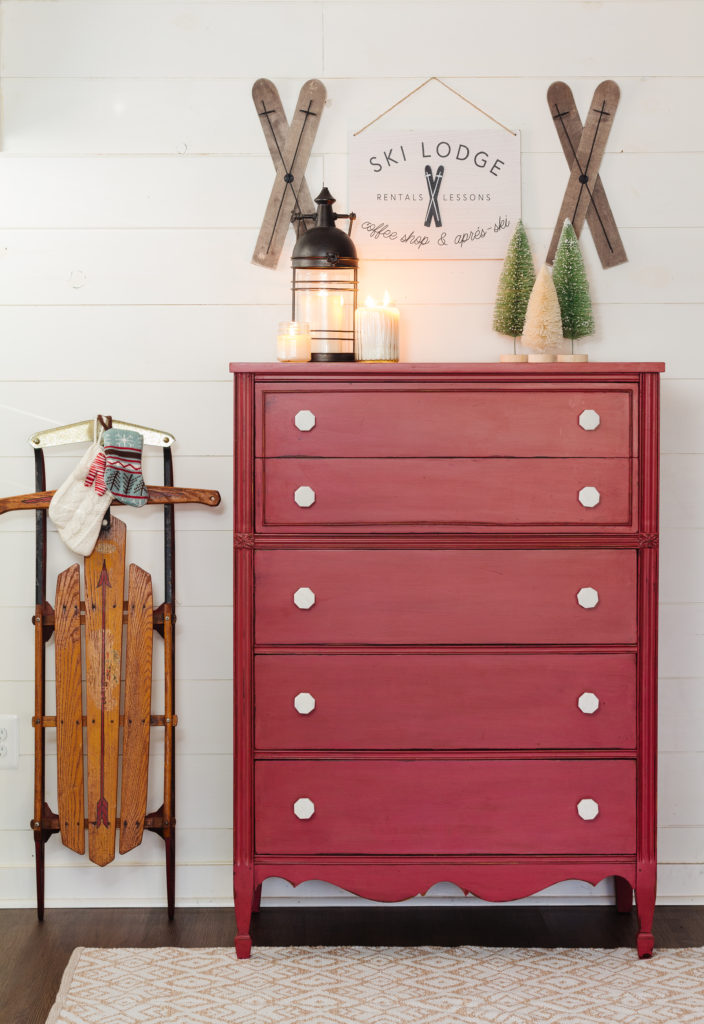
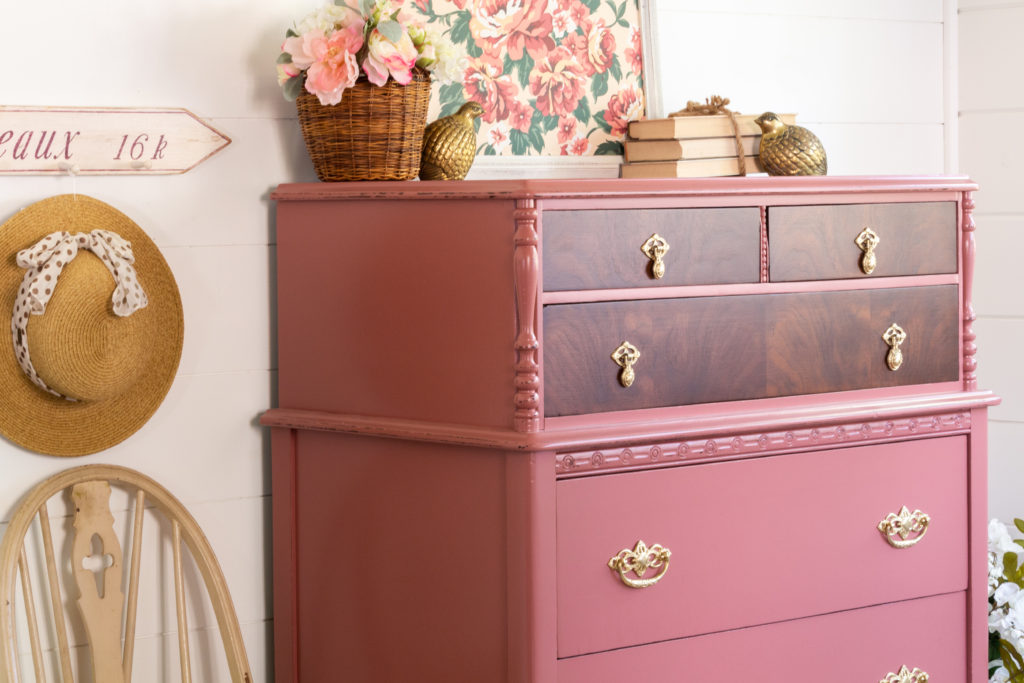
What a dramatic change right? This color isn’t your typical holiday color. What I love about this shade, “Sangria” is really how versatile it is. As you can see, it blends perfectly with holiday decor, and it transitions perfectly into spring and summer. You can even display this color in the fall paired with wood tones, and mustard yellows.
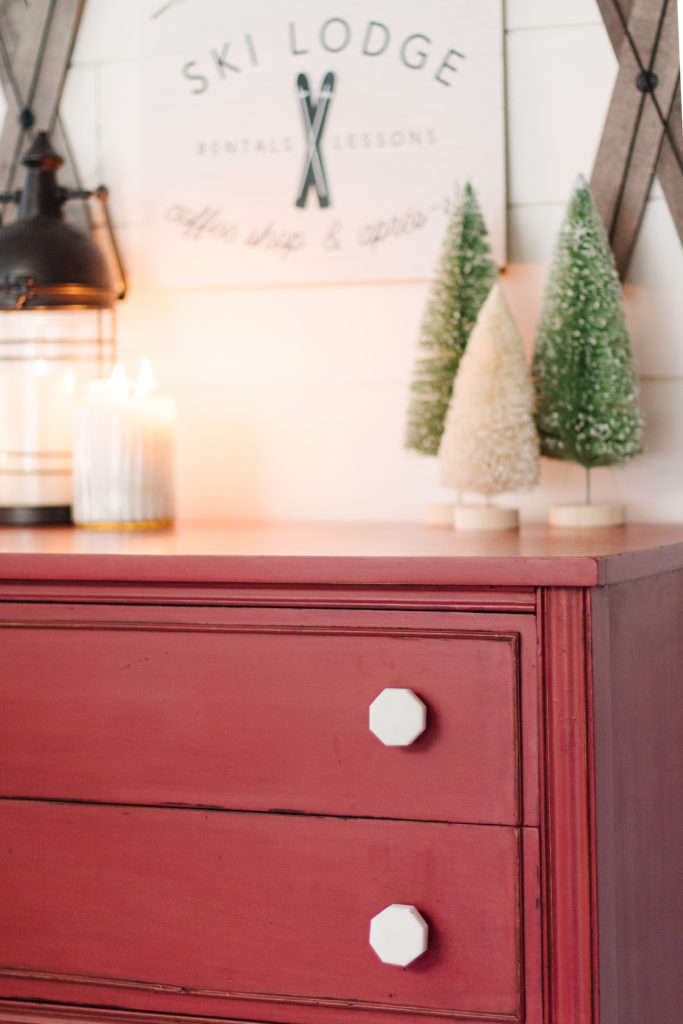
The antiquing glaze does an amazing job at bringing out all the details in an old gal like this dresser. It also “stains” the wood that you may have accidentally sanded through when distressing so it’s definitely something to keep in your tool kit.
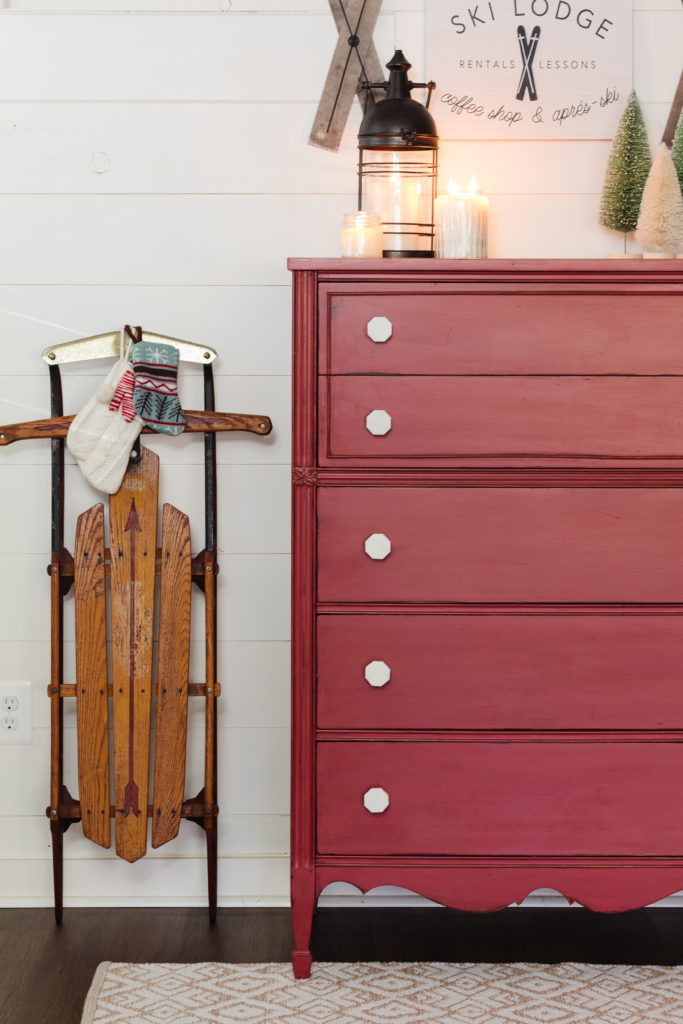
Now that you’ve gotten a sneak peek at this project, I’m going to send you over to the Fusion Mineral Paint blog for the full STEP-BY-STEP process and to see the entire transformation from start to finish!
>>>CLICK HERE TO GET TO THE BLOG!<<<



Leave a Reply