**This post contains affiliate links.
We’ve been busy trying to fix up some craigslist finds! So busy that in fact, our own home has been neglected on the interior design part! Now, I’m not sure if it’s normal for every DIY’er out there to have a house full of mixed and unmatching decor, a closet full of staging props (or unnecessary junk as my husband calls it), and a garage that looks like a Home Depot tornado blew through it, but I just described our house in a nutshell. We have so many “decorations” that have survived the years of many moves, souvenirs, and gifts from family, that we haven’t really decided how we want our house to be themed. It’s such a hard thing to do when we really don’t know if what we like now, is what we are going to like later.
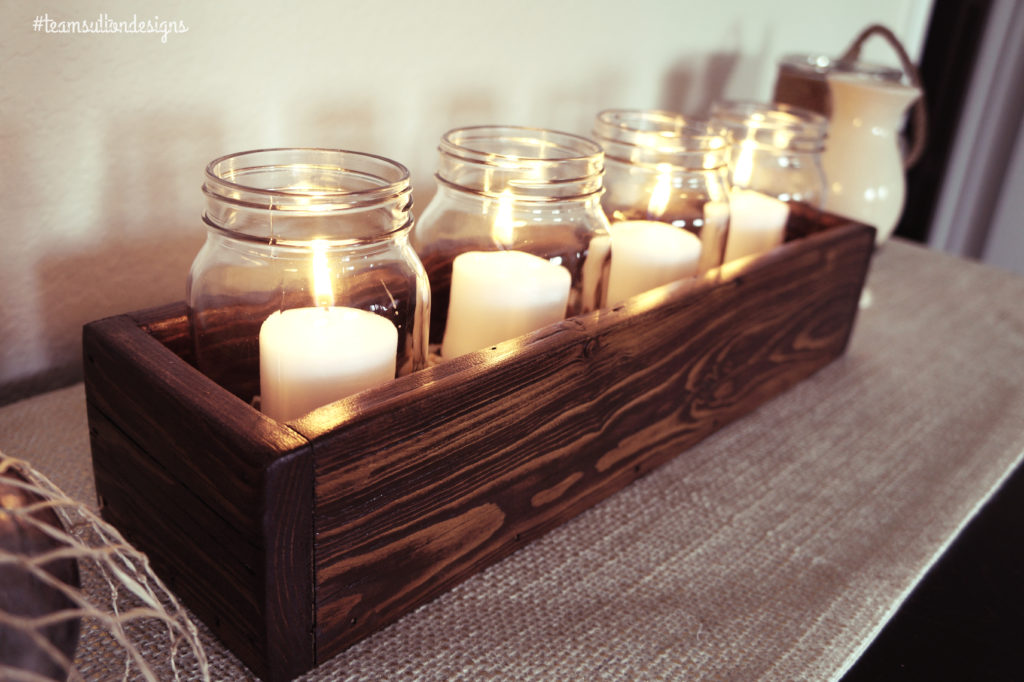
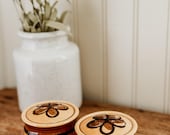
So we came to a decision that, if we keep things we make, or we (more like I) buy things I find, it would have to be “universal decor.” Meaning, things that can be intermingled here and there between bedrooms and colors. I think we are going to transition to a mix of modern meets rustic style home, but since we’re renting, we’re limited to our options. But we can start with things we can change. As small and simple as some decor may be, it can be the make or break of the room. I asked my husband to create a small wooden box to use as a centerpiece for a table, desk, nightstand or accent table. I love the look of candles, especially in the fall so my idea was to sand it down without taking some of the distress marks since we used reclaimed wood. I stained it a gorgeous “Dark Walnut,” by Rustoleum and gave it a few coats of semi-gloss poly.
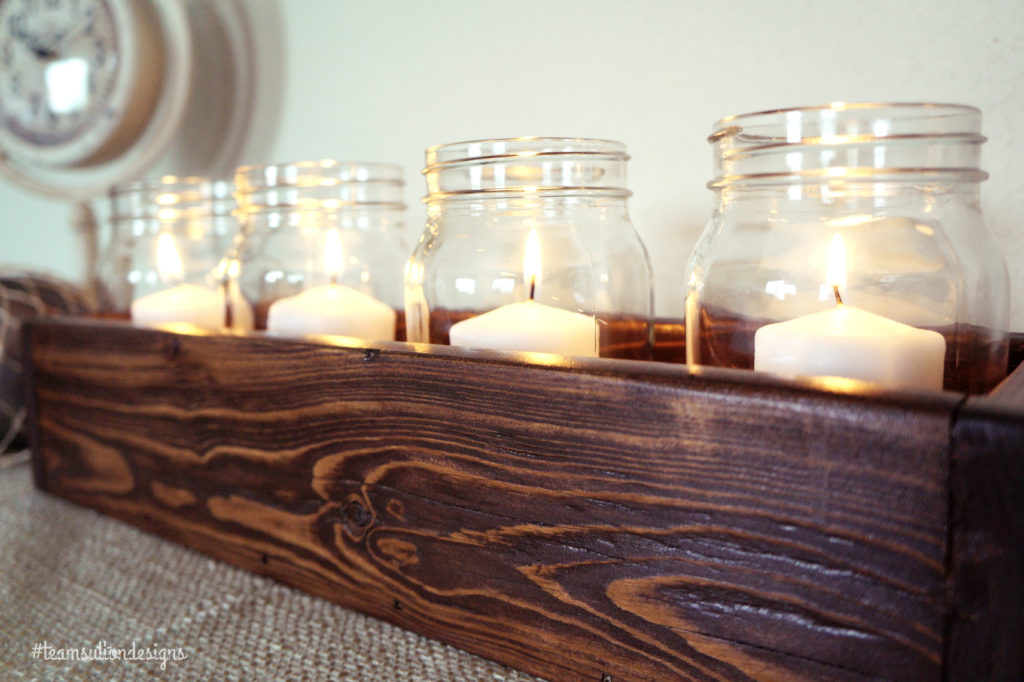
You can see the natural distress marks in the wood! I love that! Then I used plain mason jars with no company embossing on it so it gave the appearance of an actual candleholder. Since these are standard size mason jars, I had to find candles that were small enough to fit the opening of the jar, but big enough to be seen when lit. So instead of tea lights, I used votive sized candles. They were still too low to the bottom of the jar so I used plant rocks to set the candles on and provide the perfect height for the flame. And wha-la! A simple, unique lighting centerpiece! Timeless for all decor and “change-of-mind” couples!
The other thing we had worked on this weekend, was something for our family. My husband and I are newly weds, and we are horrible at taking pictures together. I don’t know if it’s because we both are camera shy, or because we just simply don’t make it a priority, but I wanted something for us that didn’t require the pressure of perfect hair and makeup. So I asked Jake to kreg jig some pieces of leftover wood we had in our garage. After a horrible stenciling experience I had with another piece, I was skeptical in using stencils again…ever. But since my main issue was paint bleed-through, I just decided to change my painting method. Instead I went and purchased an acrylic paint pen from Michael’s and traced my letters. I was adamant about straight lines! And it turned out better than I expected.
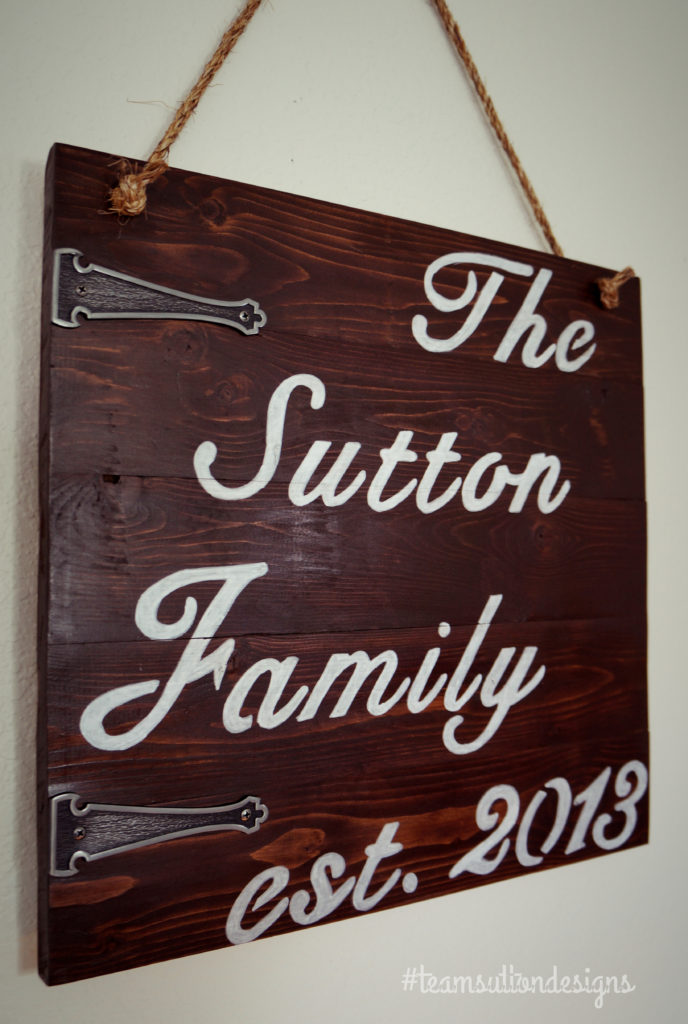
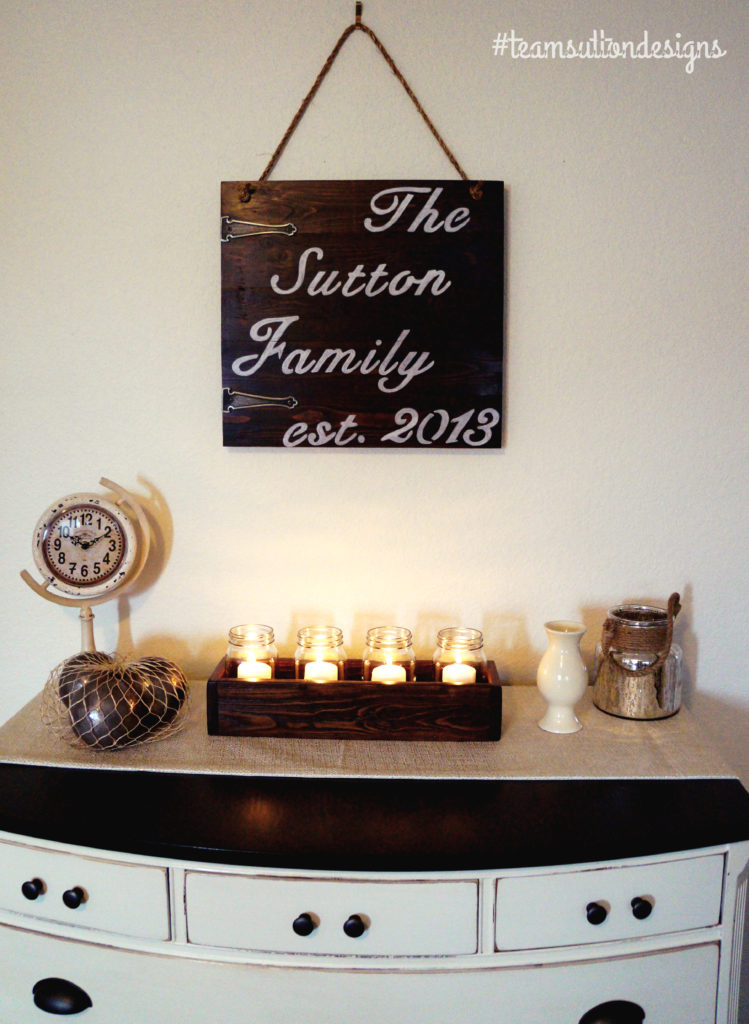
So the final touches were added, (two coats of semi-gloss poly, manila rope, and faux fence hinges and our family piece was done! This is a piece we can always have in our home wherever the military decides to take us. It’s also a reminder that even though our marriage is still blossoming, it’s good to look back on something that reminds you where and when you started. This is now our permanent family fixture. Below you will see the set up we have when we combine our weekend projects! Simple decor goes a long way, especially when they are handcrafted!
Well, we hope you enjoyed our first post! We’re hoping to expand our reach and our business through social media, so if you like what you see, share it!



Leave a Reply