I’ve been posting a lot more frequently on my Instagram Stories about my processes and just general information about prep. Most of you like that I have been doing step by step updates on finishes too so I thought I’d walk you guys through how I got this French Country look on this cabinet using a BRAND NEW Country Chic Paint product, their “Limestone Glaze.”
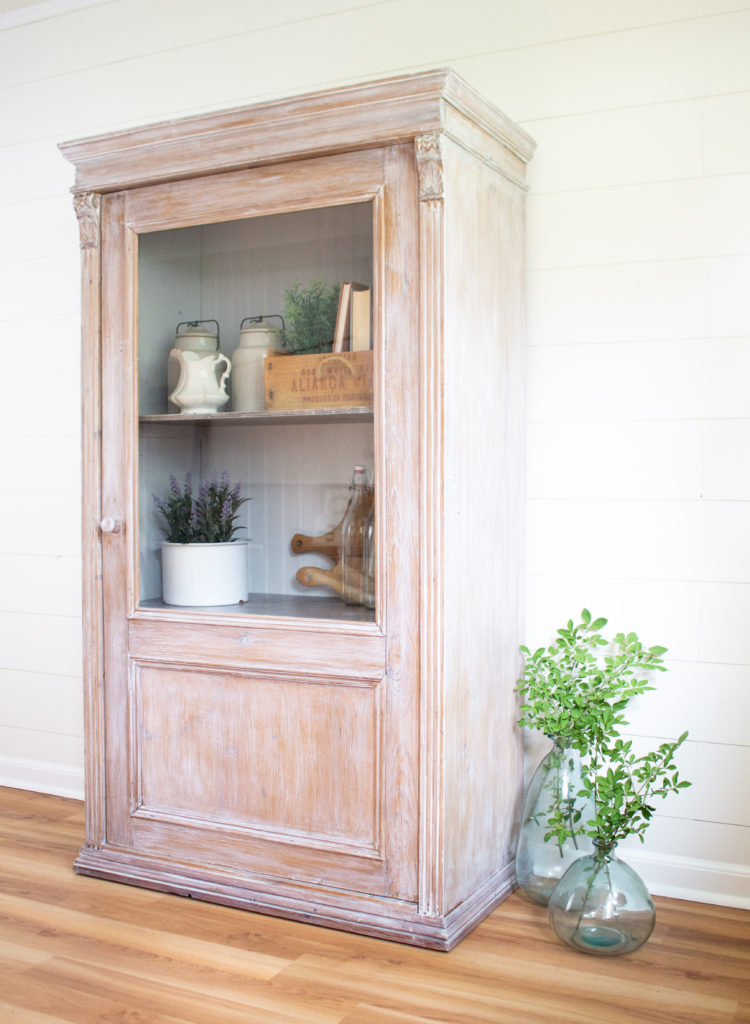
We purchased this cabinet from a neighbor here in Virginia. He told us it was brought back with him from England, but the dealer there had imported it from Sweden. I love that somewhere in Scandinavia, this gorgeous hutch was put together and has seen so many parts of the world over the years. But it needed some help and it goes without saying there was a lot of prep work to be done. Here is what we did to prep:
Cabinet Prep:
- Removed broken shelves and back board.
- Deep vacuum using our skinny nozzle tool and Shop Vac.
- Remove bun feet (they were not level and causing the cabinet to tilt).
- Wipe down with Mineral Spirits and scrubby sponge.
- Deep scrubbing with Krud Kutter, hot water and scrubby sponge.
- Scuff sanding with 180 grit paper.
- Wipe with tack cloth.
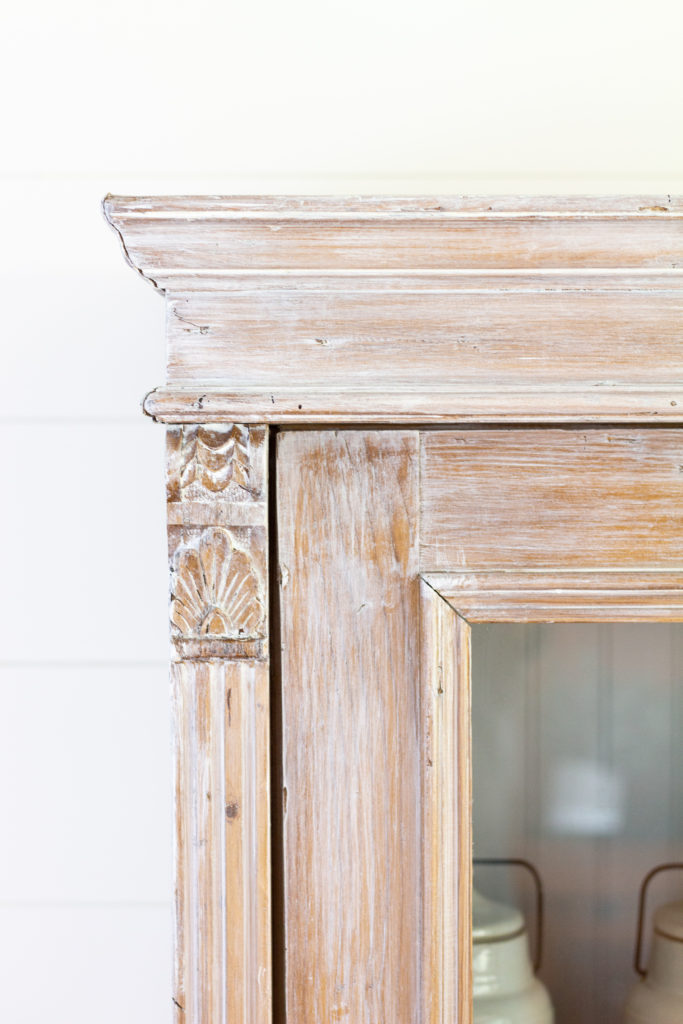
The next step was fairly simple. I knew I wanted a washed/limed look but not so much that it washed out the color of the wood, but enough to bring through the warmth of the pine and highlight all those pretty details that were subtle, yet stunning. Simple moulding and carved tiny corbels just make this glaze pop!
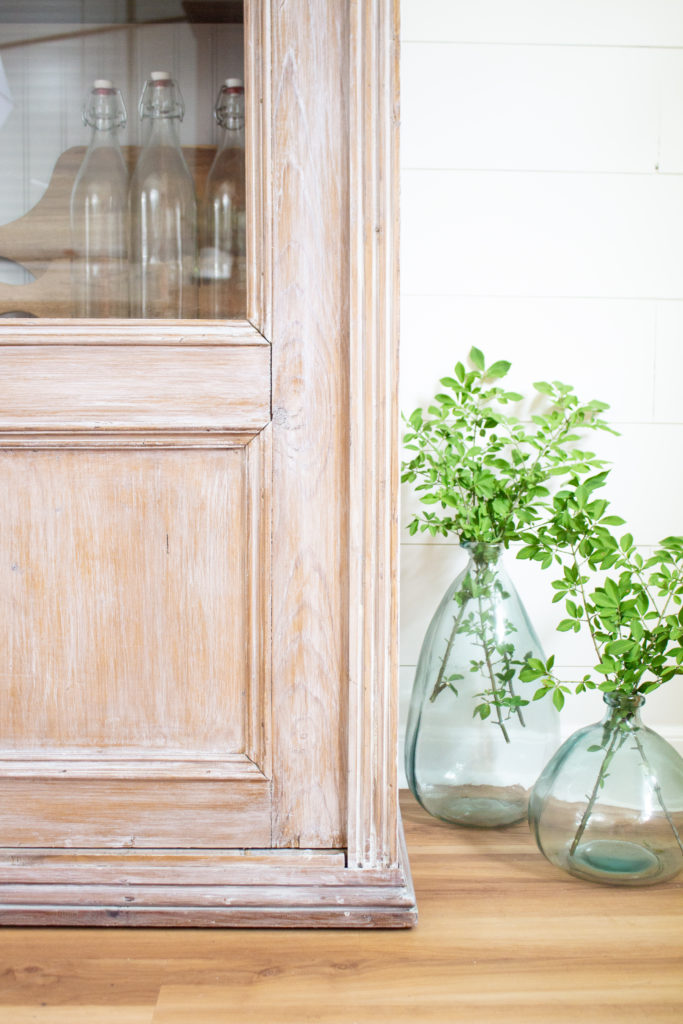
To get this look, I applied about 4 coats of CCP’s Limestone Glaze, letting it dry slightly before wiping it back. The glaze itself is very thin with the pigment but I wanted a heavy coating, so it took multiple coats. The trick is making sure you let the coats COMPLETELY dry before applying the next one, otherwise it will lift the previous coat.
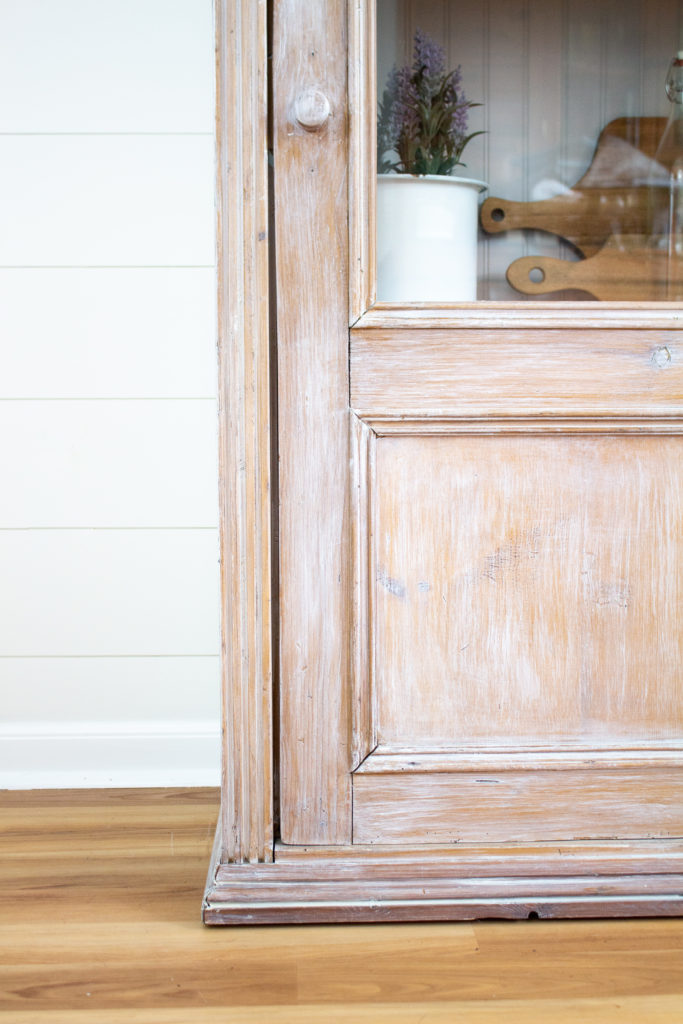
For the larger flat surfaces, I used a 2 inch chip brush to mimic the long grain. I also used it to dry brush some of the areas for more coverage and left the highlights with a light glaze. I really love how this glaze just sits in all the crevices and makes all these edges stand out!
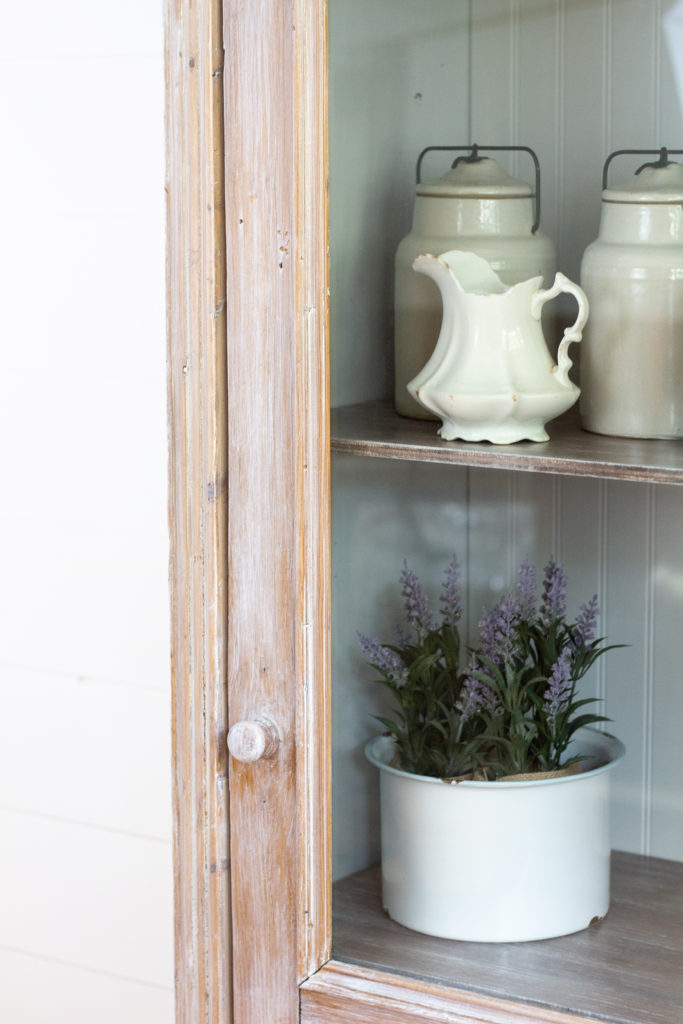
Finally, I sealed using Miss Mustard Seed’s Lavender wax. This cabinet had a bit of a musty smell to it when we got it so the Lavender scent really helps to combat that while it airs out. MMS wax is very simple and easy to used and it wipes back so easy. I’ve played with a lot of waxes in my time, and MMS wax is one of my top 3 to use.
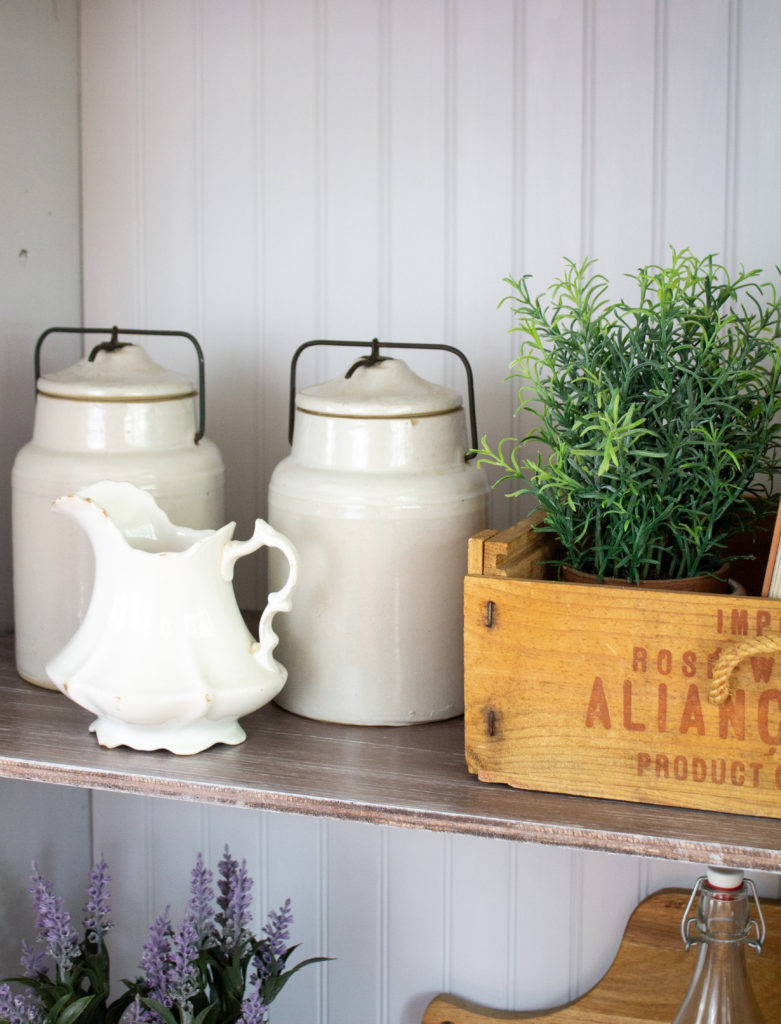
We ended up replacing the backboard with a headboard sheet we got from Home Depot. This was definitely a simple way to add some classic country chic flare to this cabinet. We built new shelves and mimicked the liming on them to help tie in to the outside and break up the white.
Overall I’m stoked about the final result. This glaze definitely helped me take this cabinet to the next level and I hope it finds a special place in a new home soon. To get your hands on some of this glaze, all you have to do it click RIGHT HERE!
More inspiration using these glazes, is also hitting all the social media stands. Click here to see more projects using the new glaze!






Just stunning! Love the way it turned out 🙂
Thank you Sandra! I love the finish on this so much!