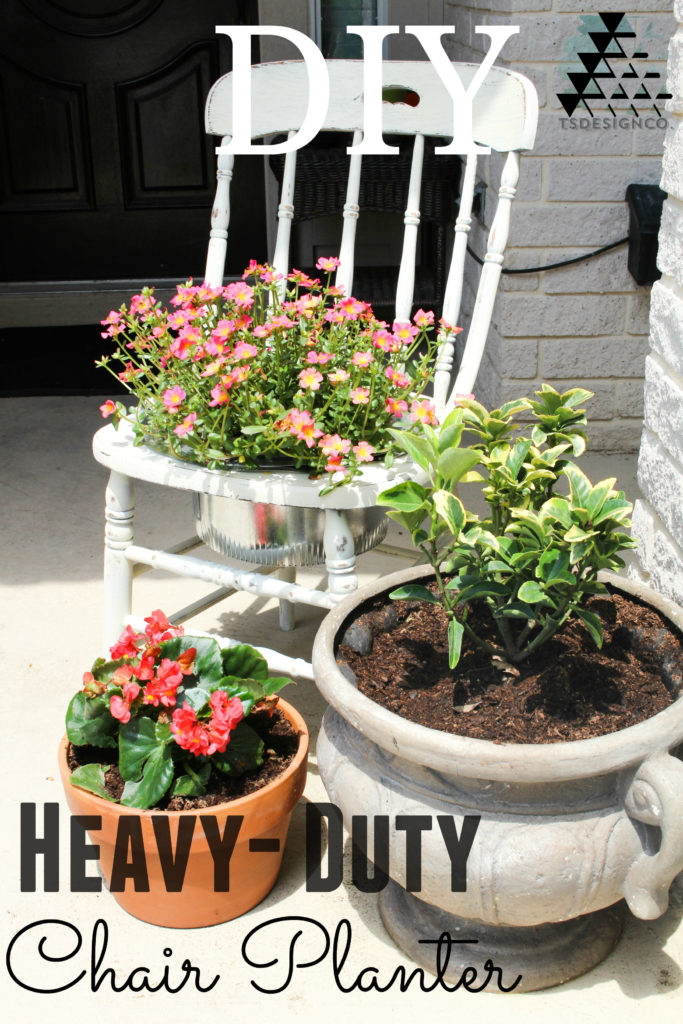
Right off the bat I’m going to confess and say that I am a Pinterest addict. I am on there searching endless tutorials throughout every minute of downtime I have (which is usually lunch breaks, the few minutes of peace my toddler gives me, and right before bed). I love that there is a category for everything you can think of, and if I was more organized I’d probably have a board for every aspect of my life. But one of the first tutorials I ever saw on Pinterest was that of a chair repurposed into a planter/ice chest that I knew I’d love to have one day if I ever found the right chair.
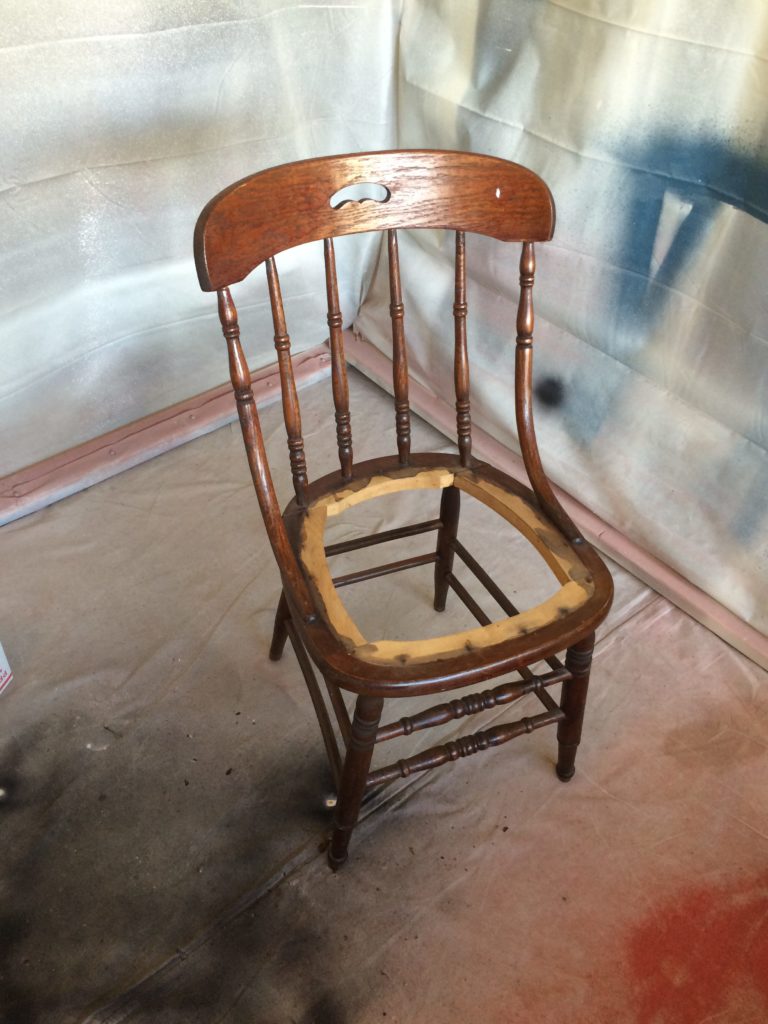
A few months back, my husband and I were doing our usual Sunday afternoon neighborhood drive-bye’s and spotted this seatless chair next to a garbage can. Right away, Jake went through his usual 12 step denial process in which he told me multiple times it was junk and probably going to fall apart and there was nothing I could do with it. But I live for junk and there was nothing really wrong with this chair other than it had no seat. So I scooped it up and into the back of the garage it went.
**This post contains affiliate links.**
At first I thought I could just paint it and give it a new seat. But the seat of this chair was just an awkward form and for something free…too much effort would have been put into it to get anything out of it. Then I had an ah-ha moment while I was at Wal-mart and passed the galvanized buckets. This chair would be perfect for a planter. So onto Pinterest I went.
A lot of the tutorials used a stapled burlap or coco coir liner that you would find in deck planters. This tutorial by SEW CAROLINE just got me so motivated and I began trying to find a planter that would fit. As it turns out, most metal ones were too big for this seat so I had to get creative. I also wanted whatever I made to last a while. I know the coco coir liners tend to degrade after a while, especially with heavy usage. So off to the hardware store I went.
I walked through every aisle until I found this 10 inch airtight adhesive duct take off from Lowe’s for about $8 bucks.
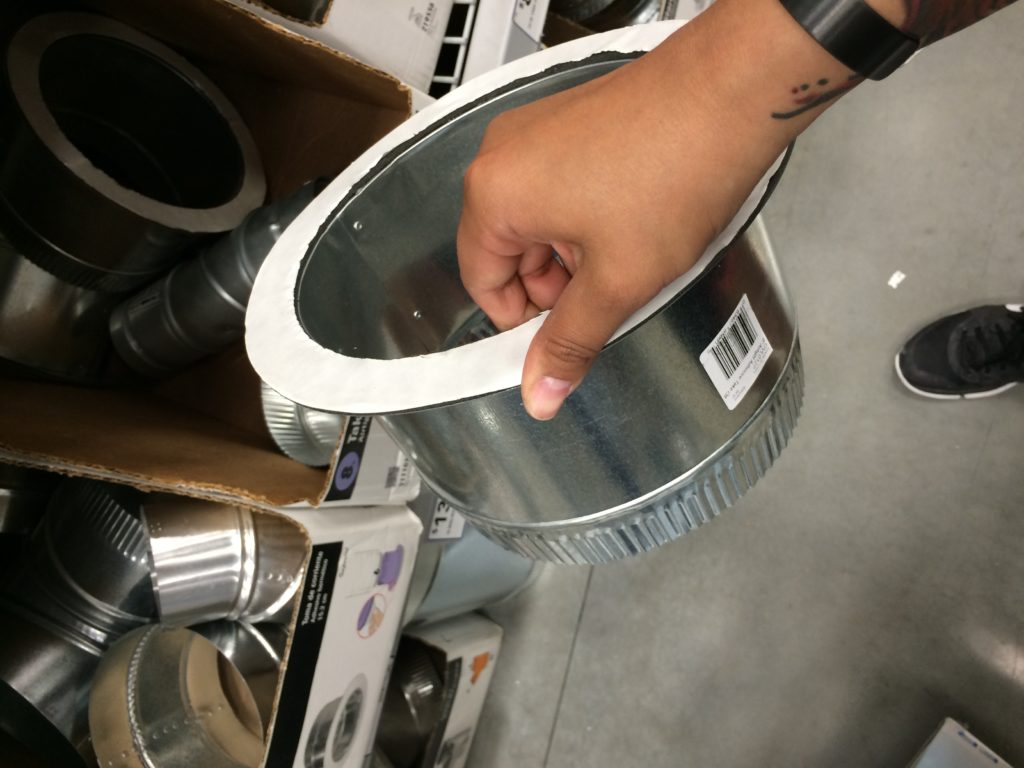
When I brought it home, it fit through the drop in, but there were gaps where the awkward corners were and I was so sure it would fit, I bought a pretty hanging plant that sat perfectly in the take off. So instead of returning the plant and take off for a larger one, I settled for a single sheet of galvanized steel to cut out a larger ring. All I had to do was trace the outer ring of the bottom of the takeoff and cut out a circle with wire cutters.
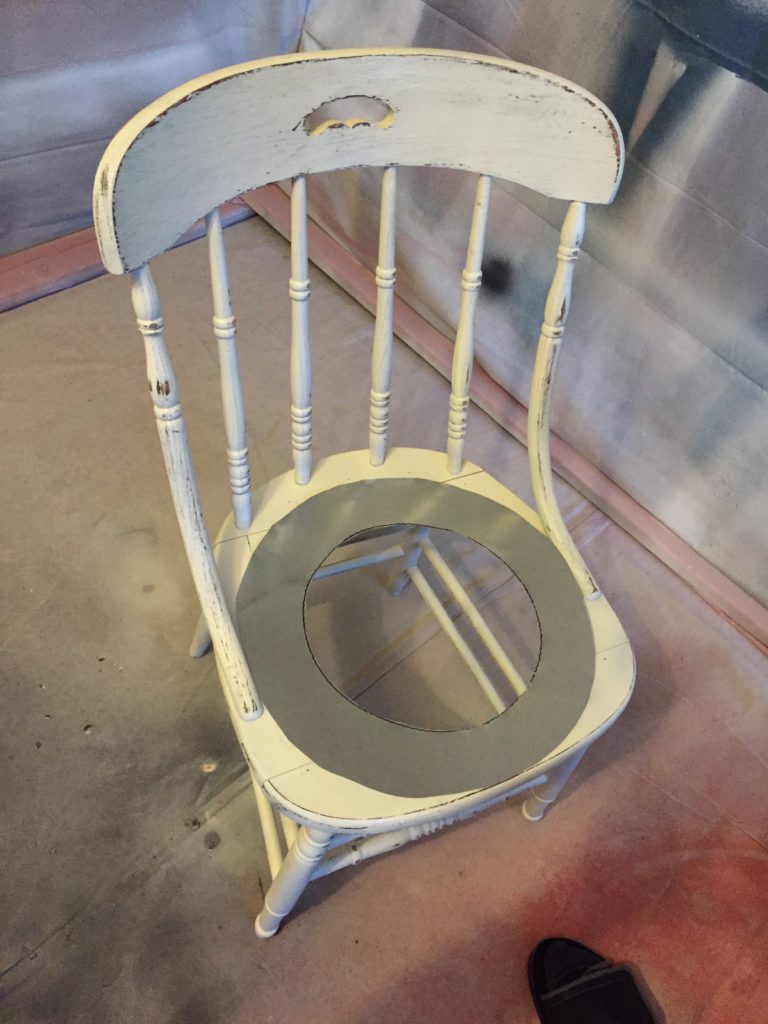
Here is what the cutout from the sheet looked like. Oh and by the way I had already spray painted the chair white and distressed it.
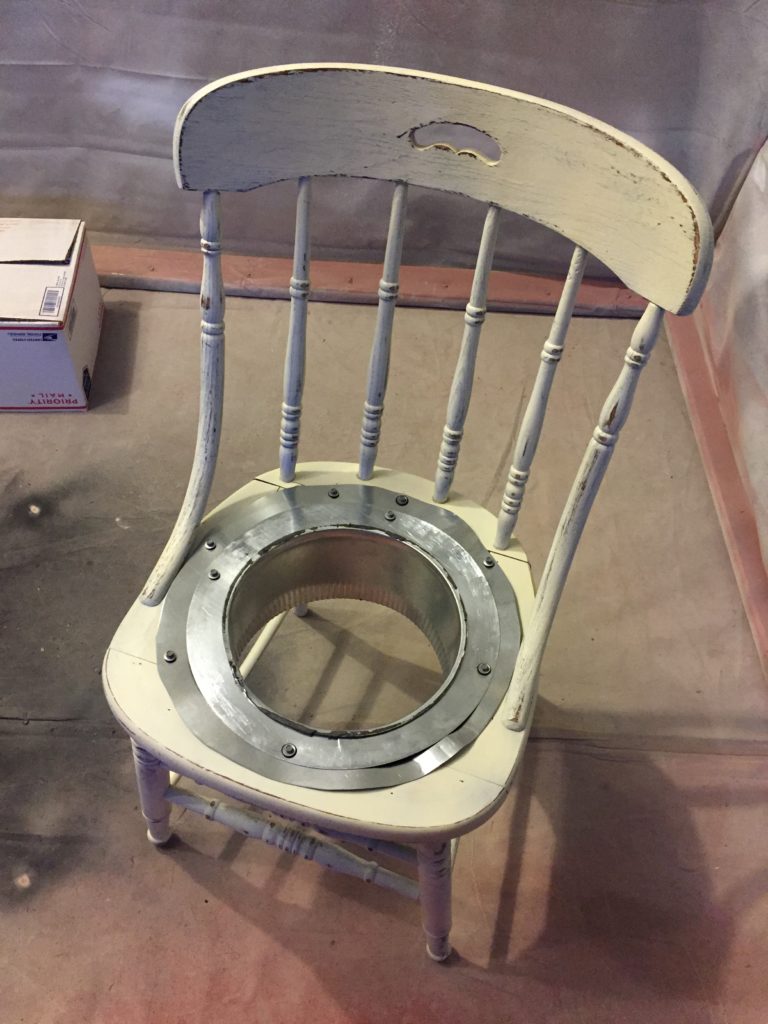
I used some sheet metal screws to secure both the ring cut out and the take off to the chair. I made sure to use extra screws where the folding of the sheet metal seemed to bow up. At this point the planter was pretty much done. All it needed was the pretty plant.

Our front porch was looking pretty bare, so it was the perfect spot for this chippy chair.
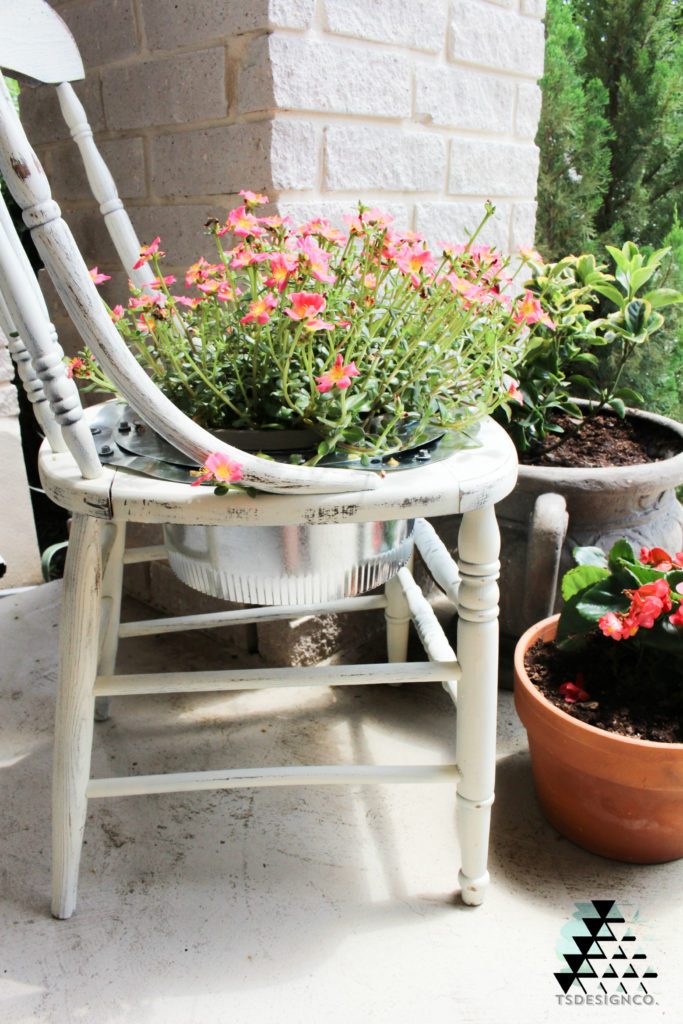
If you have a terrible time keeping flowers alive like I do, this chair planter is for you. When your flowers die (and I hope they don’t), all you have to do is remove the pot and replace it with a fresh set. This eliminates the messy soil removal from the traditional burlap or coco liner, especially if you used staples to set it. The galvanized steel will hold up against rain, wind, hail…whatever your area gets and if you decide not to use flowers, you can also just drop in a bucket of ice and your favorite drinks to make a mini ice chest.
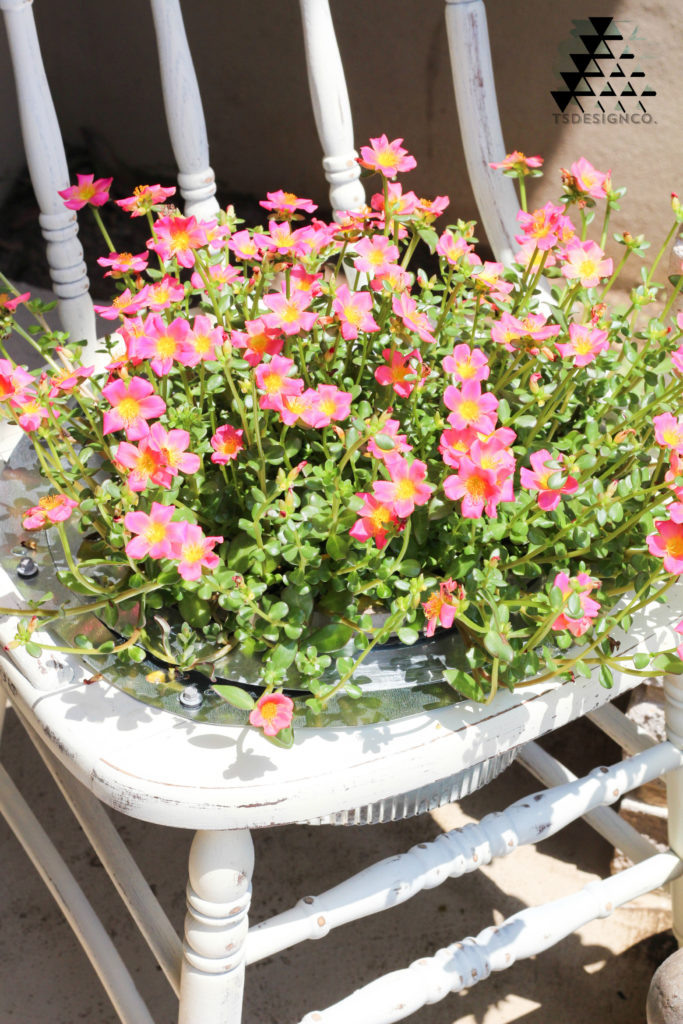
Although this method requires a little more work and money than the traditional chair planter, it’s so versatile and heavy duty that you can keep it around for years. All together I probably spent less than $20 dollars total including the plant for this pretty front porch planter.
Hope you guys can get some use out of this tutorial. I’m hoping that it gets several pins on Pinterest so feel free to pin your favorite photo! Thanks for stopping by!
Linking up to Friday’s Furniture Fix #44!





How clever! This is just the sweetest little addition to your porch. Love the crisp white color, too. Thanks so much for linking to Friday’s Furniture fix.
Thank you Susie! I couldn’t just let this chair go into the dumpster. Now it looks so pretty on my porch!