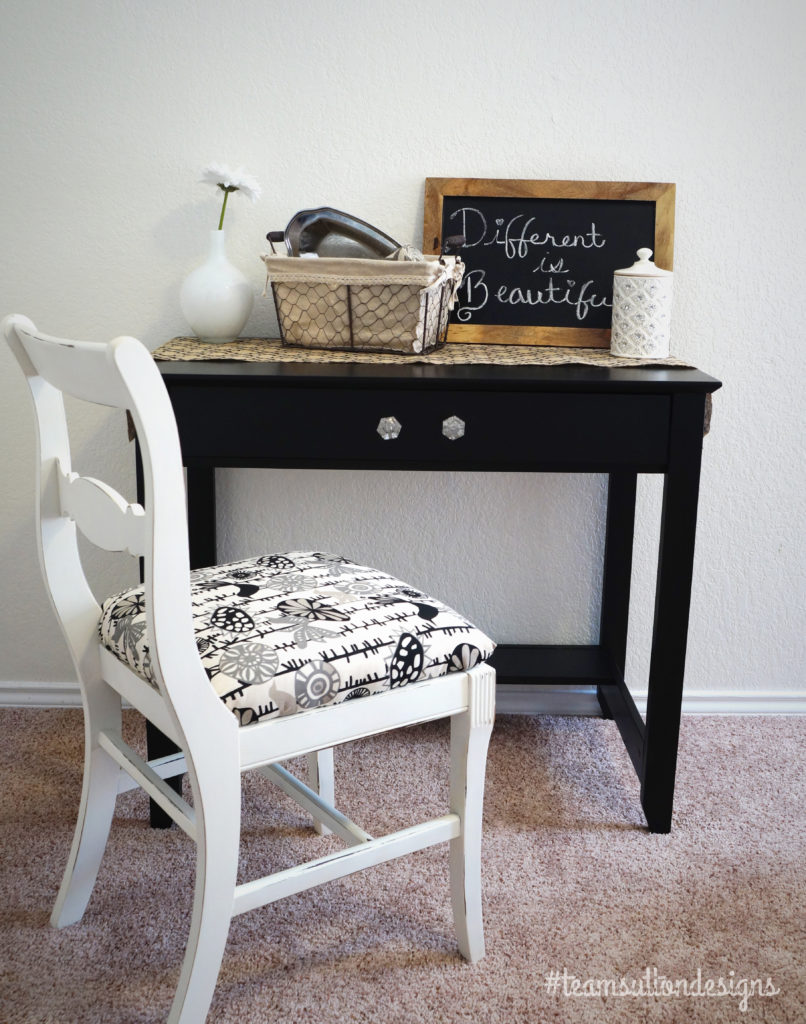
Have you ever looked at a chair, foot stool, ottoman, or bench and thought, “man…I really wish I didn’t have to put my butt on that old wood!” OK…..not really, but upholstery can make a tired, ugly piece look refreshing in your home. In today’s post, I’m going to show you a simple way to upholster a chair, if all your furniture needs is a little update. Now please keep in mind, I am not a professional, but in my recent days as a DIY’er…I’ve learned to see what works and what doesnt. Again, I am no professional, but you don’t have to be either and you dont have to shell out your hard earned money on labor at an upholstery shop!
**This post contains affiliate links.**
Here are some things you will need:
Fabric of your choice (1/2 yard per standard size chair)
2″ high density foam (size will vary on your chair/ I used poly foam brand)
Staple gun and staples
Tacky glue
Sharpie
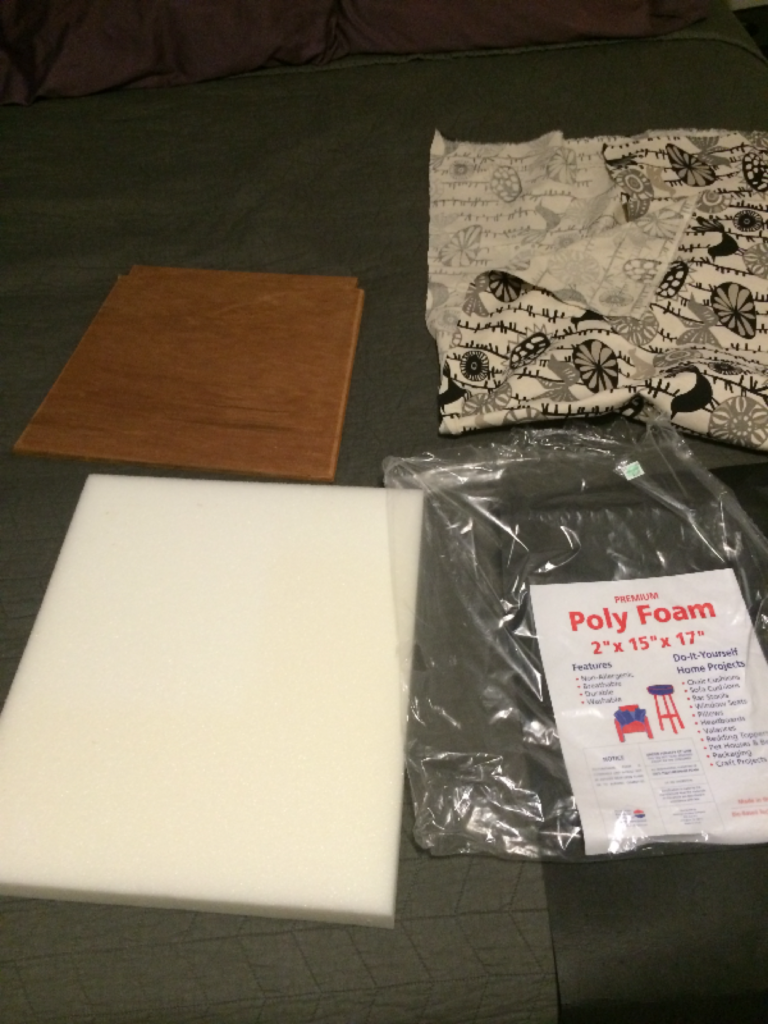
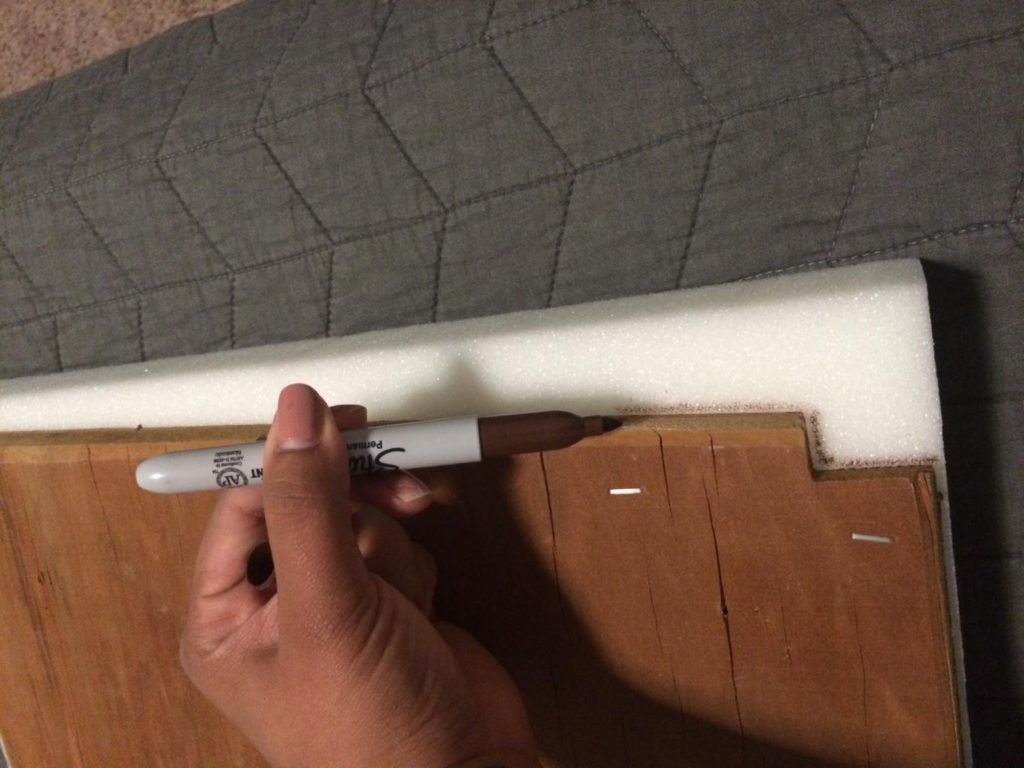
Then you will need to trace your chair seat to your foam so you get an accurate size.
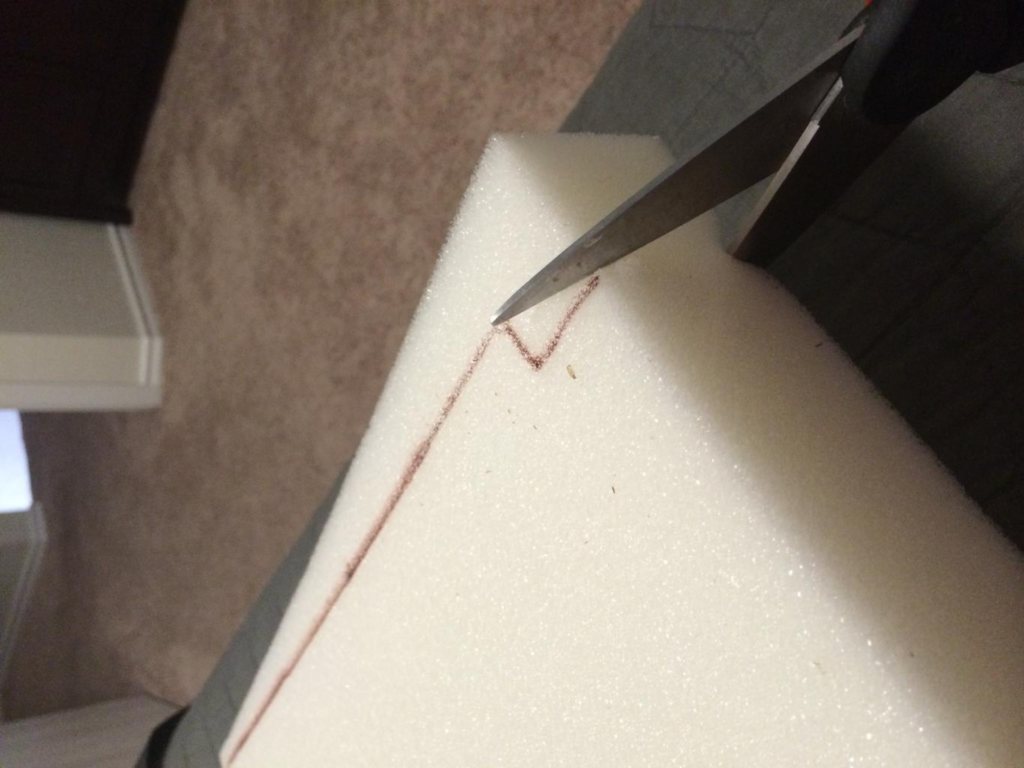
After you have traced your seat, cut it down to size. Don’t worry about having clean edges. Your foam batting will take care of that.
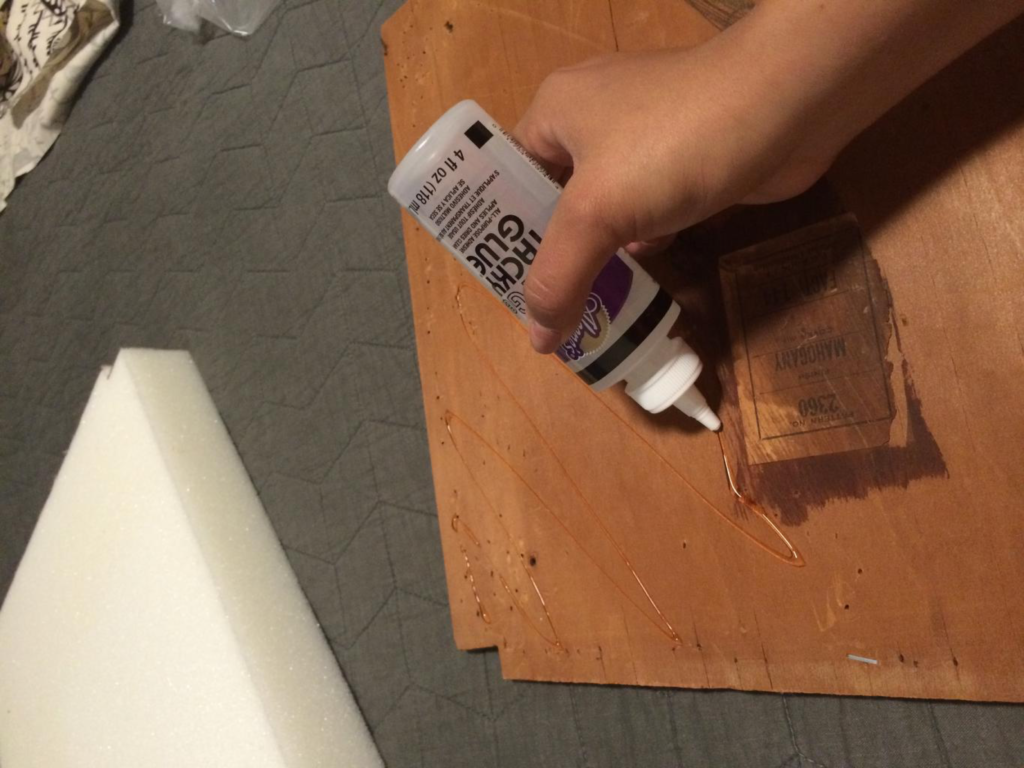
After your foam has been cut to size, add a substantial amount of tacky glue to the seat of the chair. Then let it dry for atleast an hour before handling. TIP: Don’t add your tacky glue to the foam. The foam can absorb the glue during application and not propely adhere to the seat, or soak up too much of it that your foam will harden!
After your seat has dried, then roll out your quilt batting and cut it to size. TIP: Only use what you need to staple to the wood. Excess batting can offset the size of your pillow top and make it difficult for you to add your fabric.
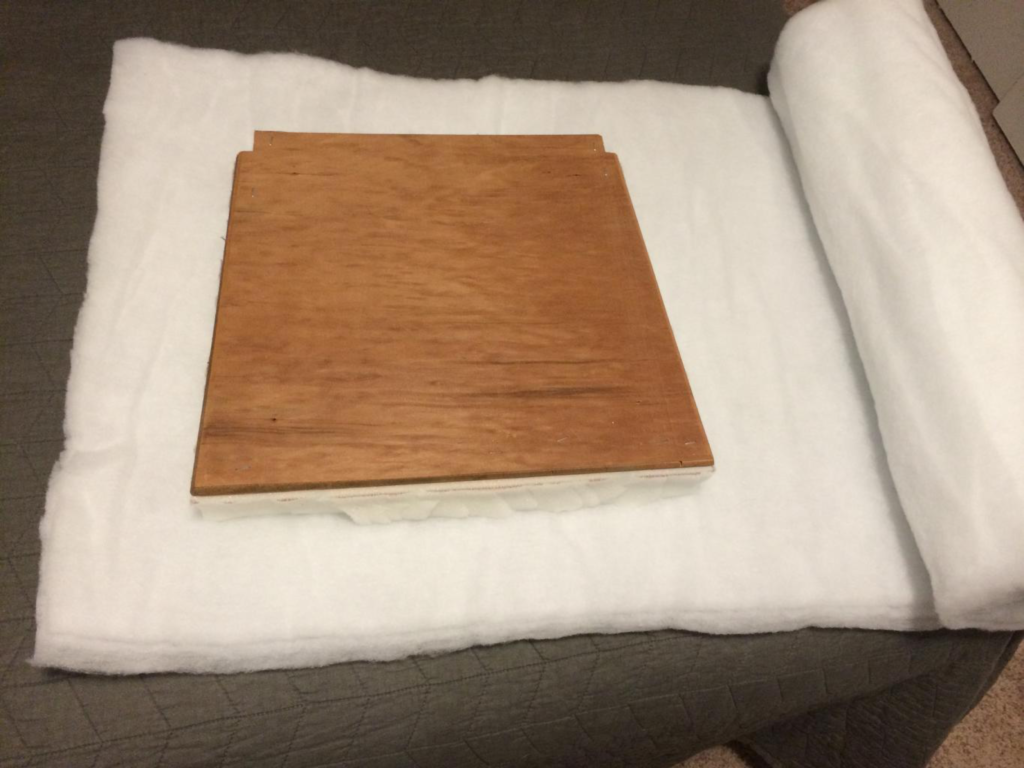
Only cut enough batting to cover your wood about 1 inch on the reverse side, on all sides. Trim the excess before stapling if you have to.
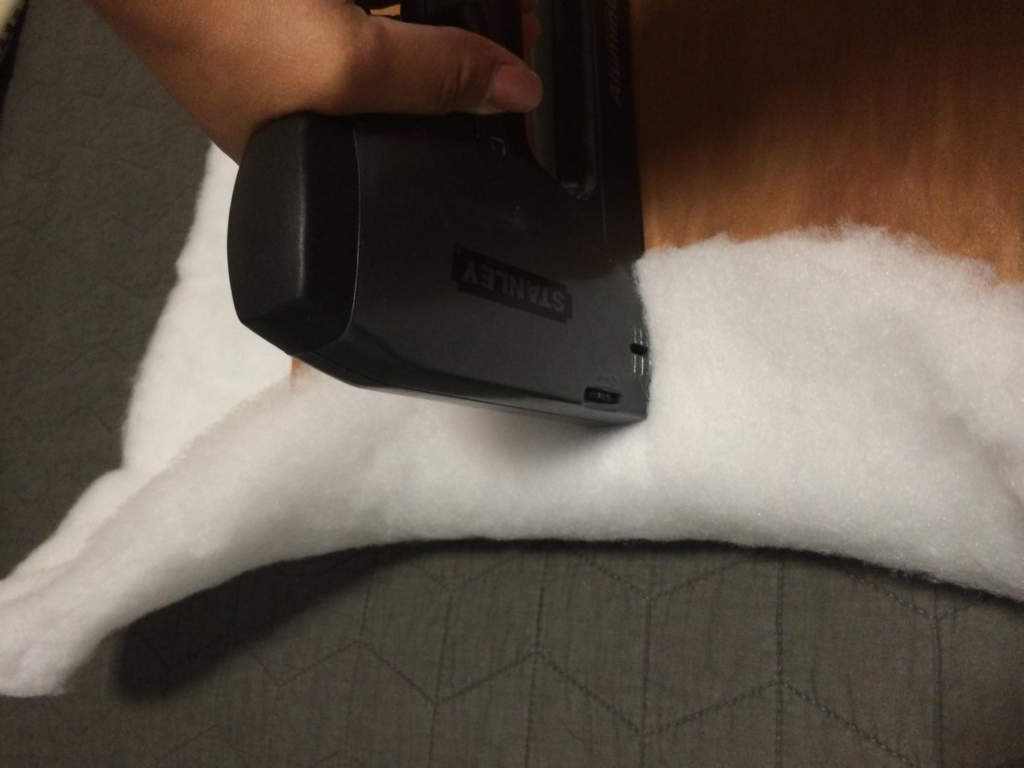
Then start stapling! TIP: If you start in the center (3 staples) and pull the batting taught across the other side and staple in the center , you will have even pull across all sides. This will prevent you fabric from looking frumpy and balled up.
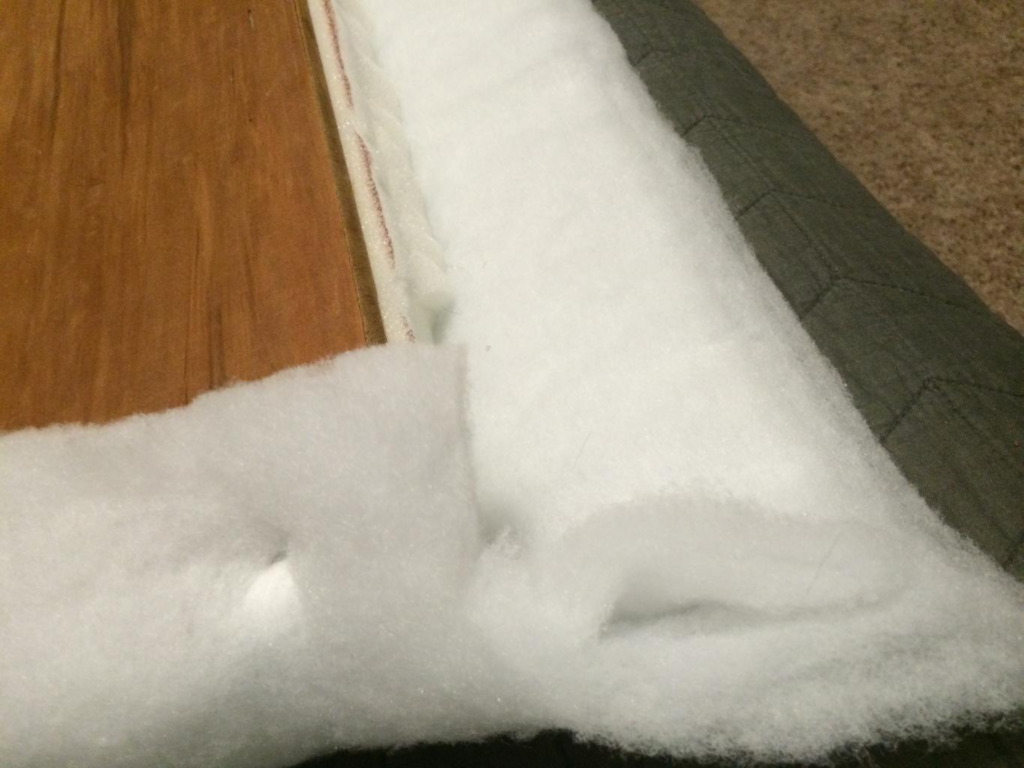
After all the sides have been stapled, you should have excess fabric in the corner areas. Cut out a square on the side you will fold over so you are not stapling over fabric. In the picture above, the fabric on the right will be pulled over the fabric on the left.
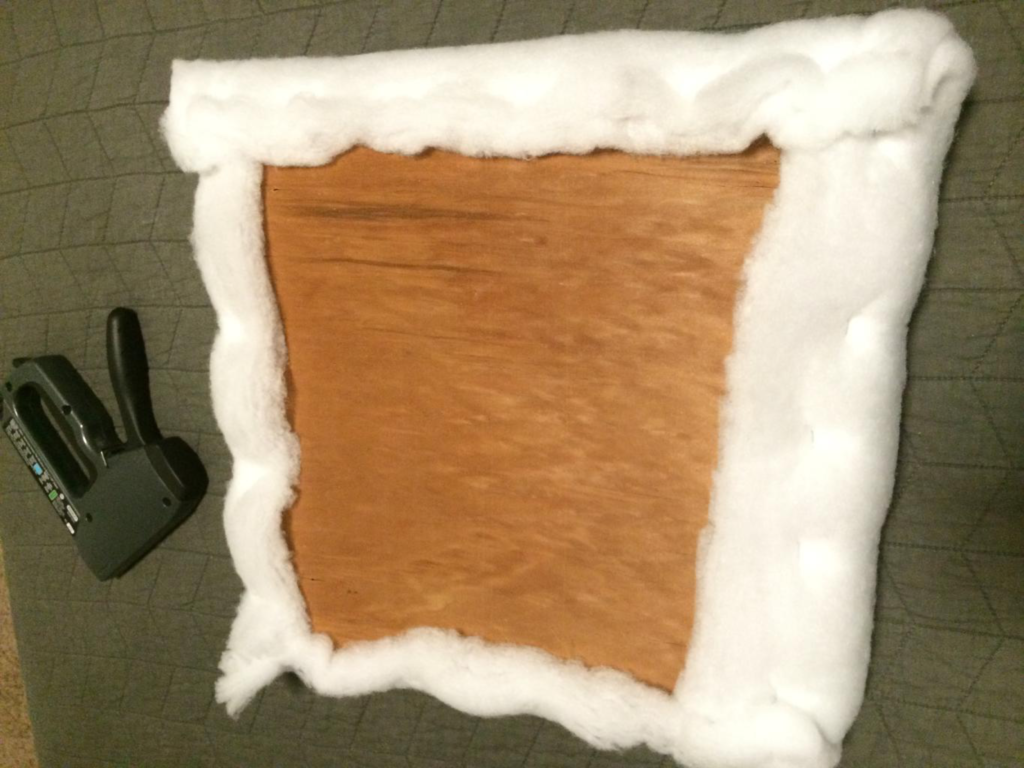
Your seat should like the above picture when your batting has been applied.
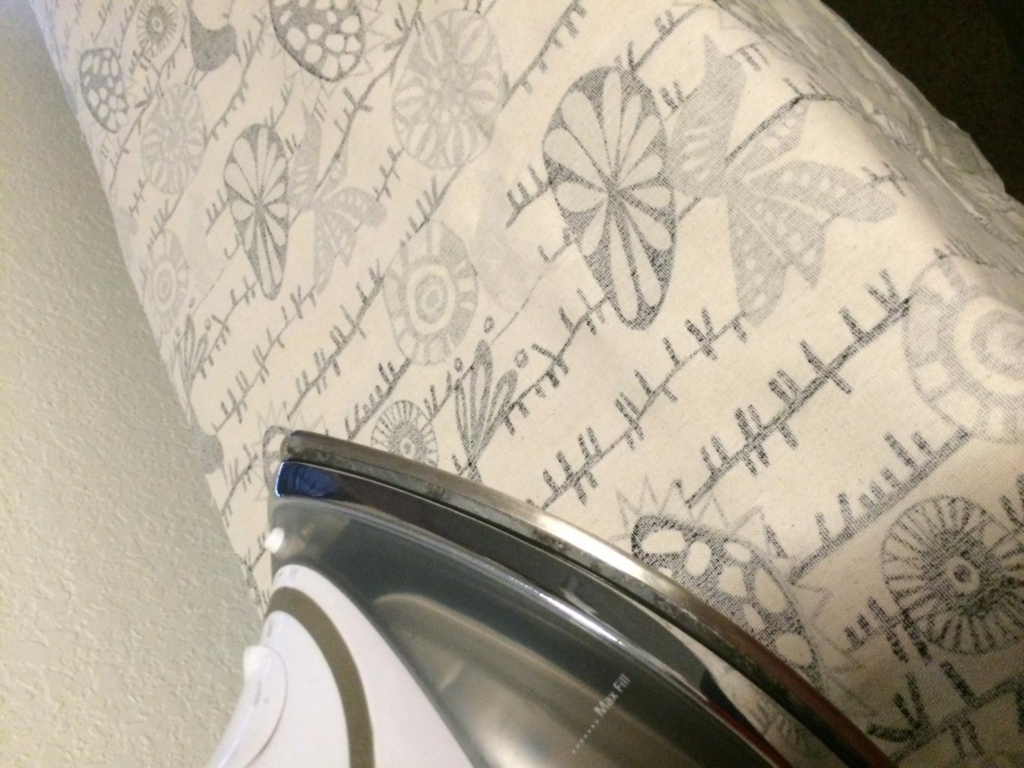
Now it’s time for your fabric. If you’re like me, my fabric sits in my closet until I can get around to the project giving it time to develop wrinkles. This can be taken care of by ironing on a low setting on the reverse side of your fabric. Ironig on the reverse side, prevents any graphic ink or dye, from melting and applying to your iron. You can steam a little if you have stubborn wrinkles, but wait until your fabric is dry to apply.
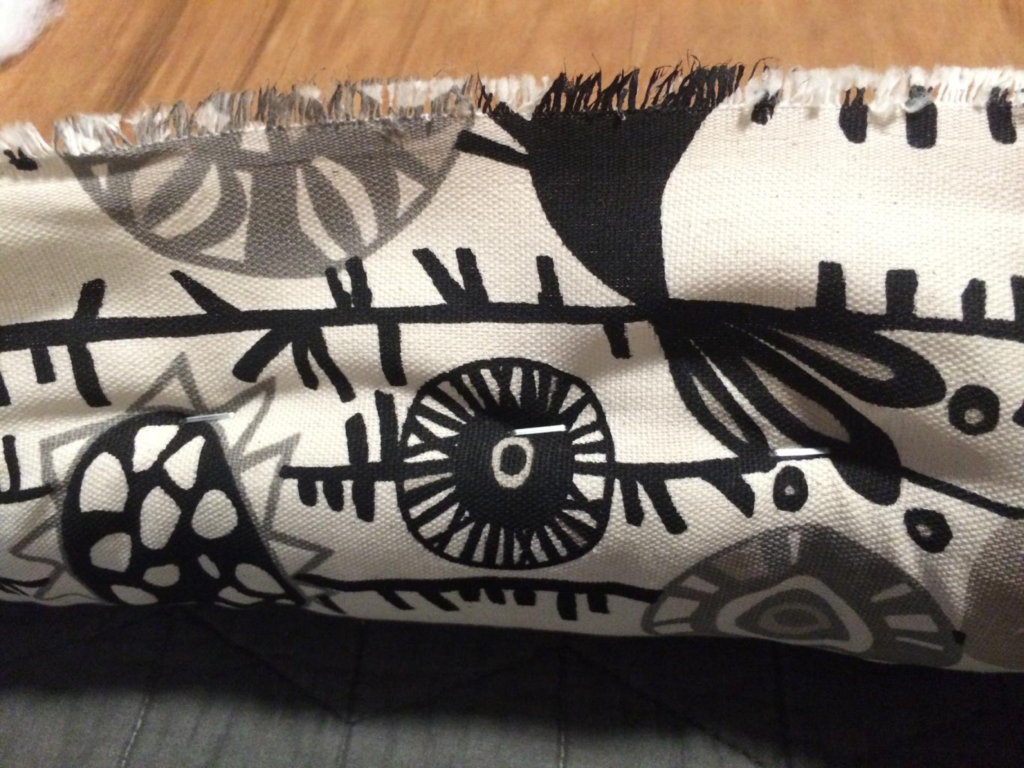
You’ll want to use the same technique on the fabric as you did on the batting to ensure a smooth and wrinkle free cushion. Start stapling in the center of one side, then pull the fabric taught across the other and staple in the center. For ever direction you move in stapling on one side of the seat, do the same on the other.
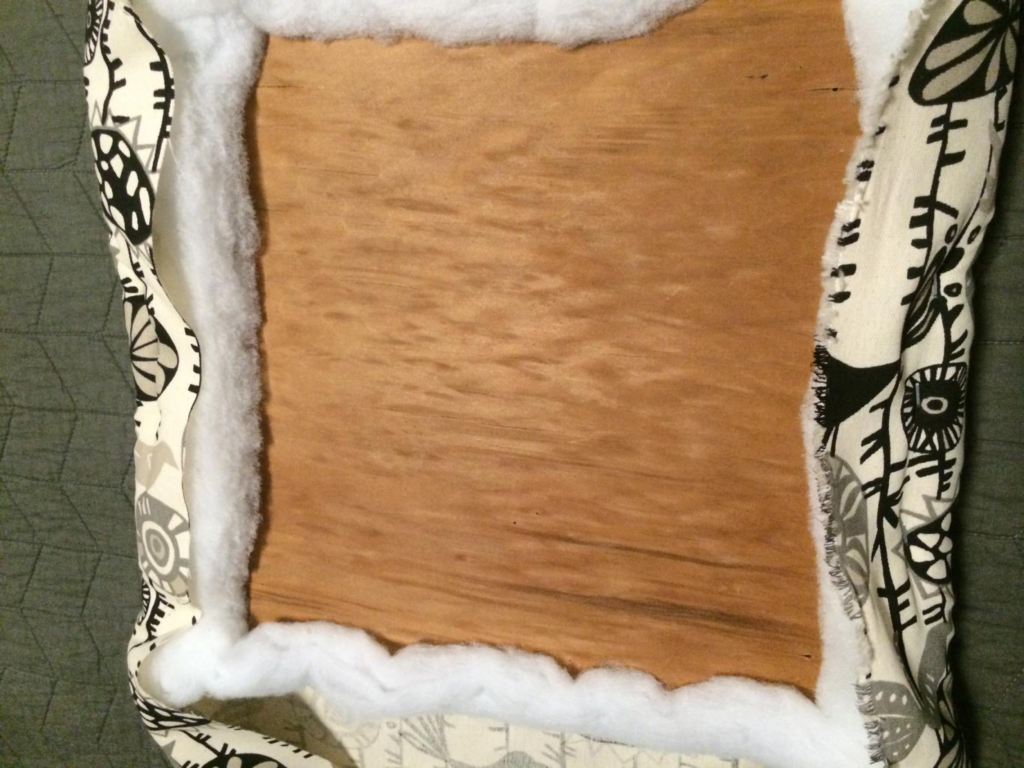
You’ll see in the picture above that both sides have been stapled, and now it’s time to do the top and bottom. This is where your corners will come into play. If you do not want to have wrinkly and loose corners, follow the instructions below!
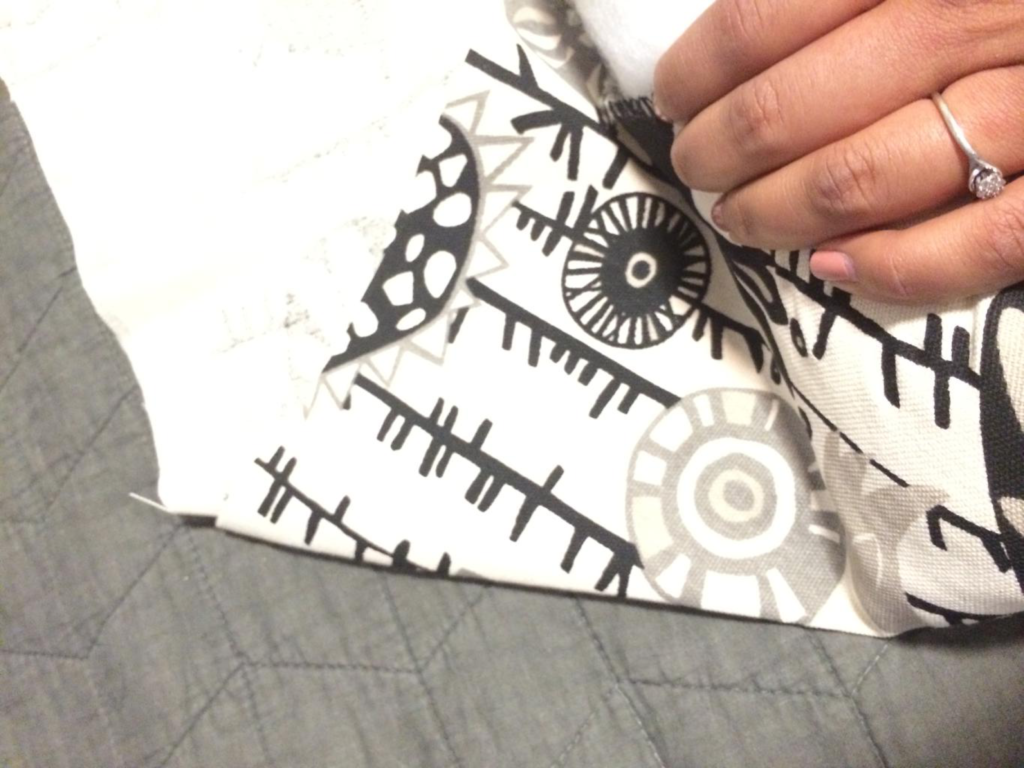
Ensure your fabric on the sides is stapled all the way to the edge. When you get to the top, fold the corners inward (picture above) like wrapping a gift. Then putt the edge of the fabric downward and staple across the seam. You should have a 45 degree angle seam if done correctly (pictured below).
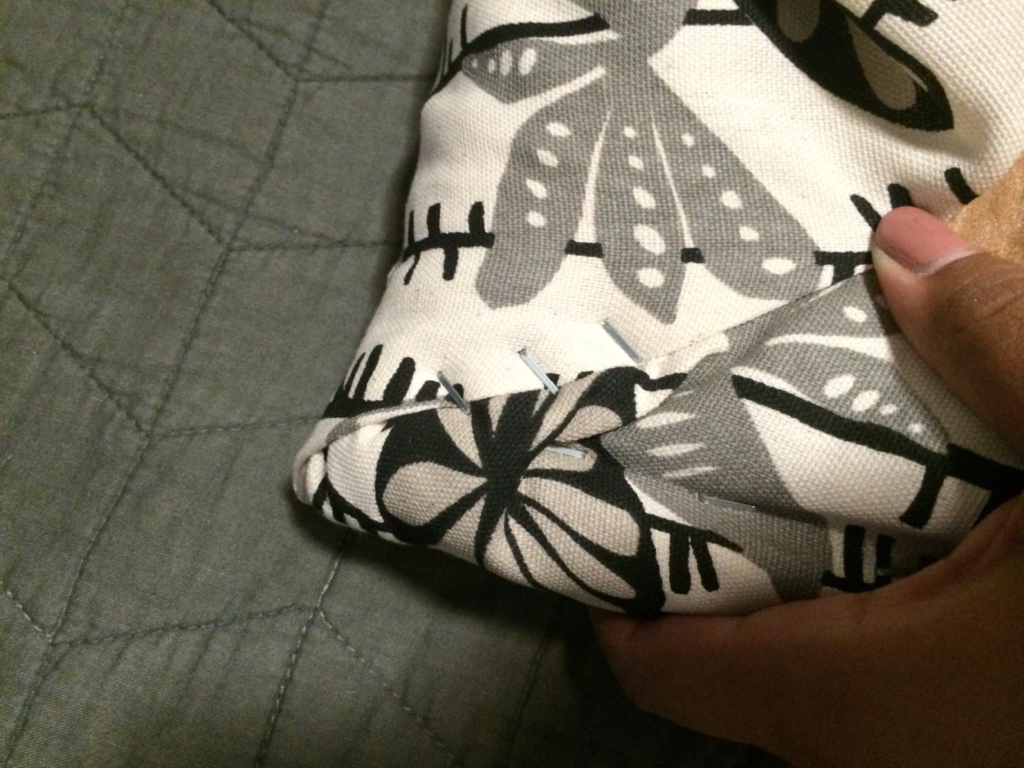
Make sure to keep your fabric tight (might even need another person to help). Take the extra time to play with your fabric to get the wrinkles out if you must, but this again prevents your cushion from looking odd.
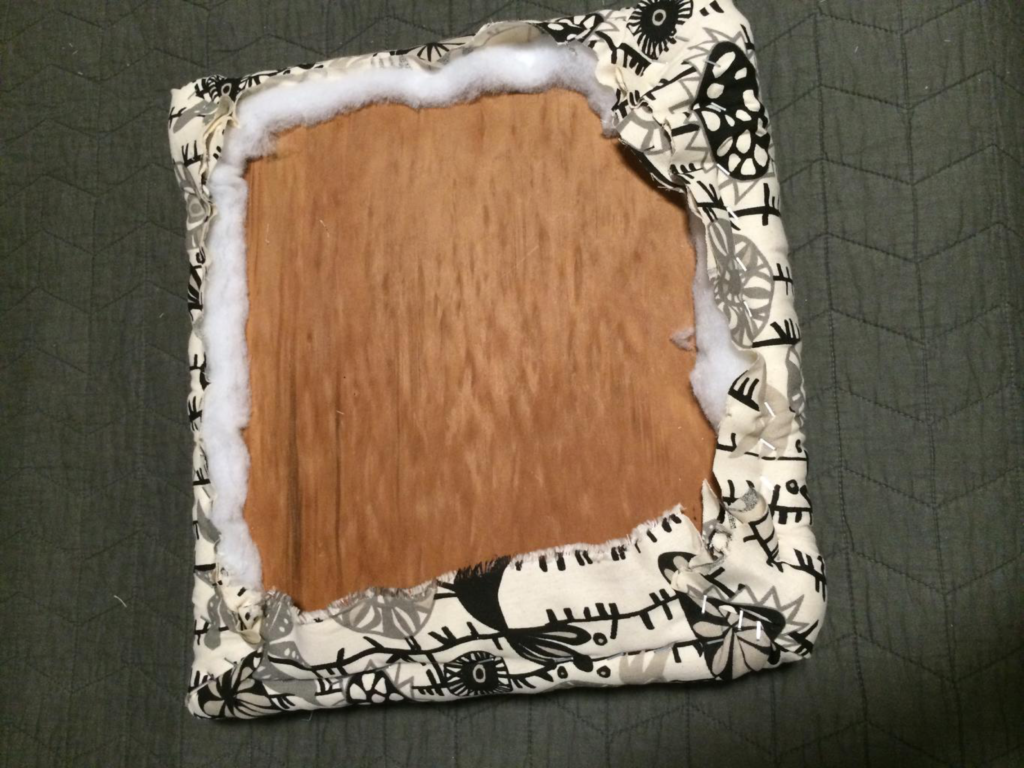
Then trim all the excess fabric off the seat (I know it doesnt look pretty), and cut your dustcover to size. TIP: Adding a dustcover prevents your fabric from hanging loose and looking like unprofessional. The extra touch adds alot to the piece.
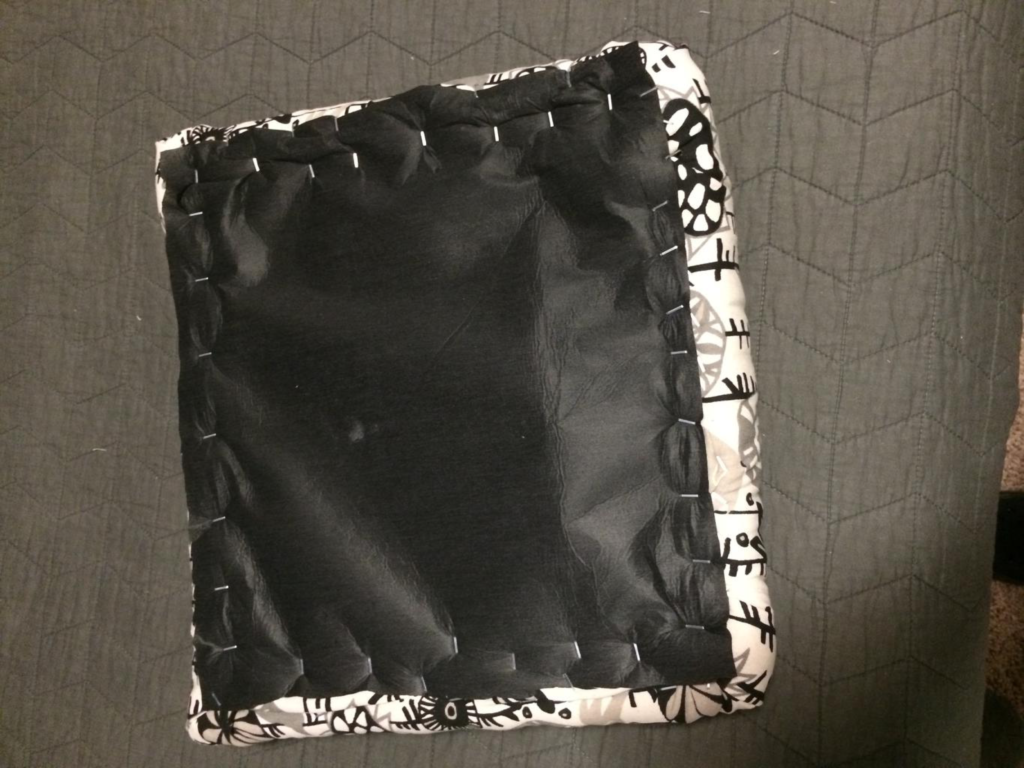
Then staple your dustcover on and wha-laaaaa! You’ve upholstered your chair! All that’s left to do is screw the seat back into the chair and you’re finished!
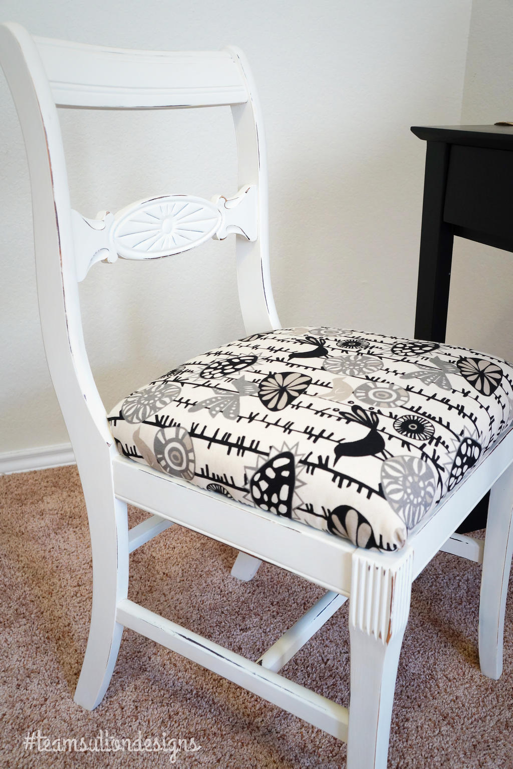
Congratulations if this is your first piece of DIY upholstery! While we know everyone has their own techniques and this may not necessarily be how everyone reupholsters chair seats, this is what works for us. Hope this helped!





Leave a Reply