The answer to this blog is to simply use Fusion Mineral Paint. I have sworn by, and will continue to swear by using Fusion Mineral Paint products in all my projects whether they are furniture or home-reno related. The thought to some might be scary using non-specific paints to update your home but the truth is, when you have a good, high quality product it doesn’t matter that your paint doesn’t say “for brick only,” or for “tile only” etc. What matters is that you do the prep work and the paint will do the rest. For this project, I am going to show you how I updated the fireplace surround in my old home (in Alexandria). It made quite the difference!
*This post contain affiliate links. I receive a small commission for any purchases you make from my links. Please help continue to support bringing projects and posts like this by using the links in my blog post.
Let’s take a look at the before photo. I will warn you that it isn’t pretty and a whitewash over the grey paint made it look more like a dusty blue wash. Yikes!

Nothing special about this right? I mean it looks just okaaayyy, but I wanted something that was eye-catching and looked modern. To get the brick ready for paint, I wanted to make sure my paint had a solid surface to stick to. I started by first taking coarse brush and scraping away and loose dirt, debris or carbon build up. The brush I used is linked in the supply list below. I loved using it to clean up the firebox as well.

After you scrape all that stuff off, definitely take a shop vac to remove all of that from the surface. You will do an even better job if your vacuum has a brush attachment. After that you are ready for paint! Some will recommend using a primer made for masonry, but I can tell you from personal experience that Fusion has superior bonding abilities and I have successfully painted and had fires without any issues.
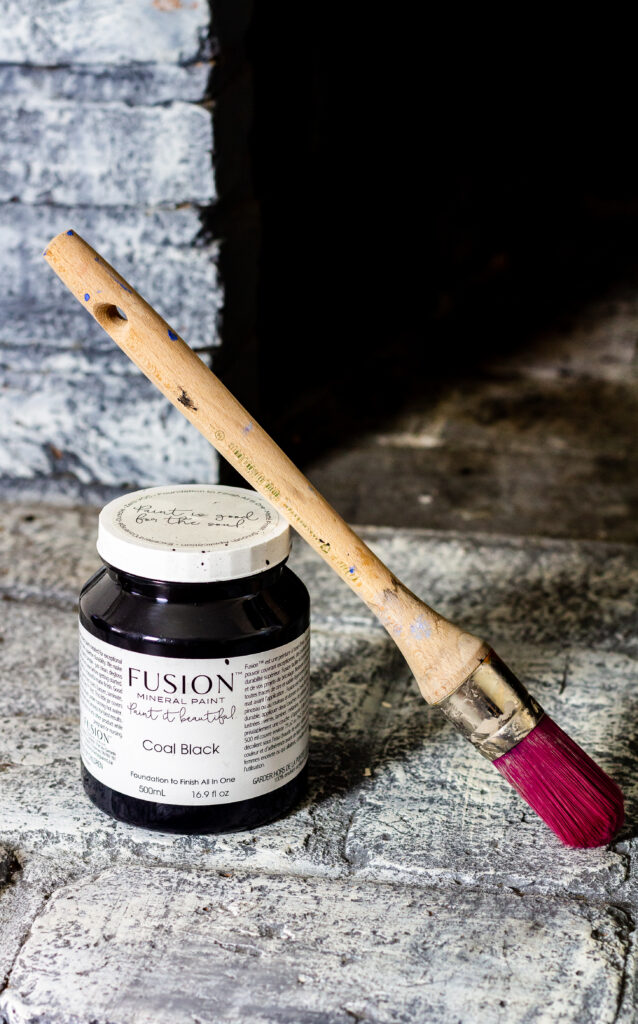
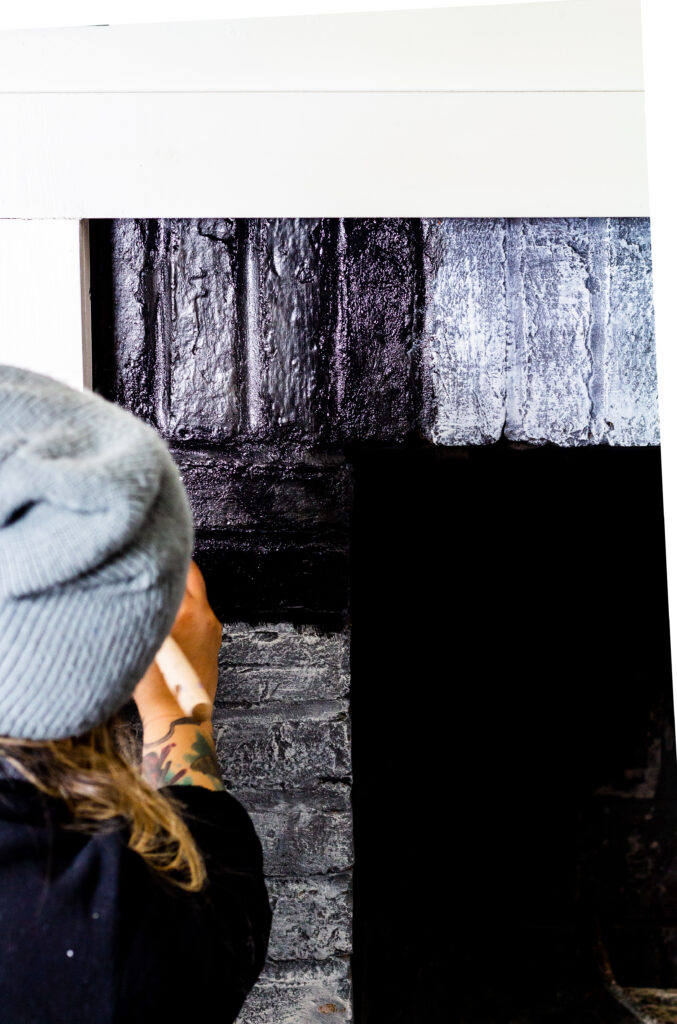
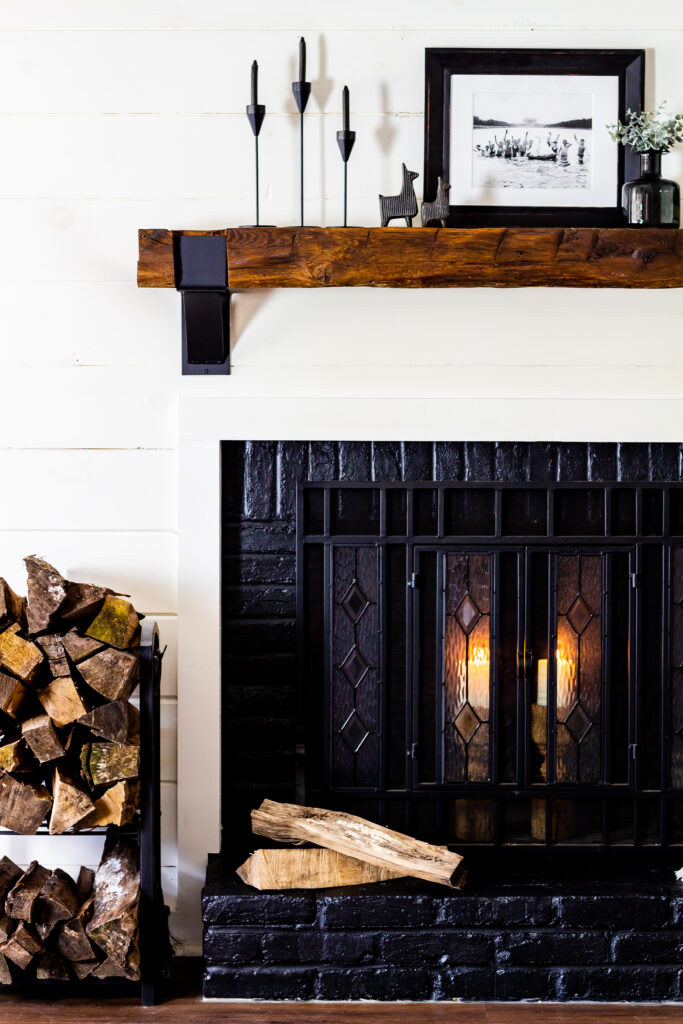
I picked Fusion Mineral Paint’s “Coal Black” because it’s a beautiful rich blackest black. It doesn’t have any purple or blue undertones to it and with the built in topcoat, you have a bit of a matte sheen that doesn’t highlight the porousness of the brick. I used a Staalmester Round One synthetic brush and got full coverage with 2 coats. You could also use a roller for this project but I like to get into all the nooks and crannies and that’s difficult to do with a roller.
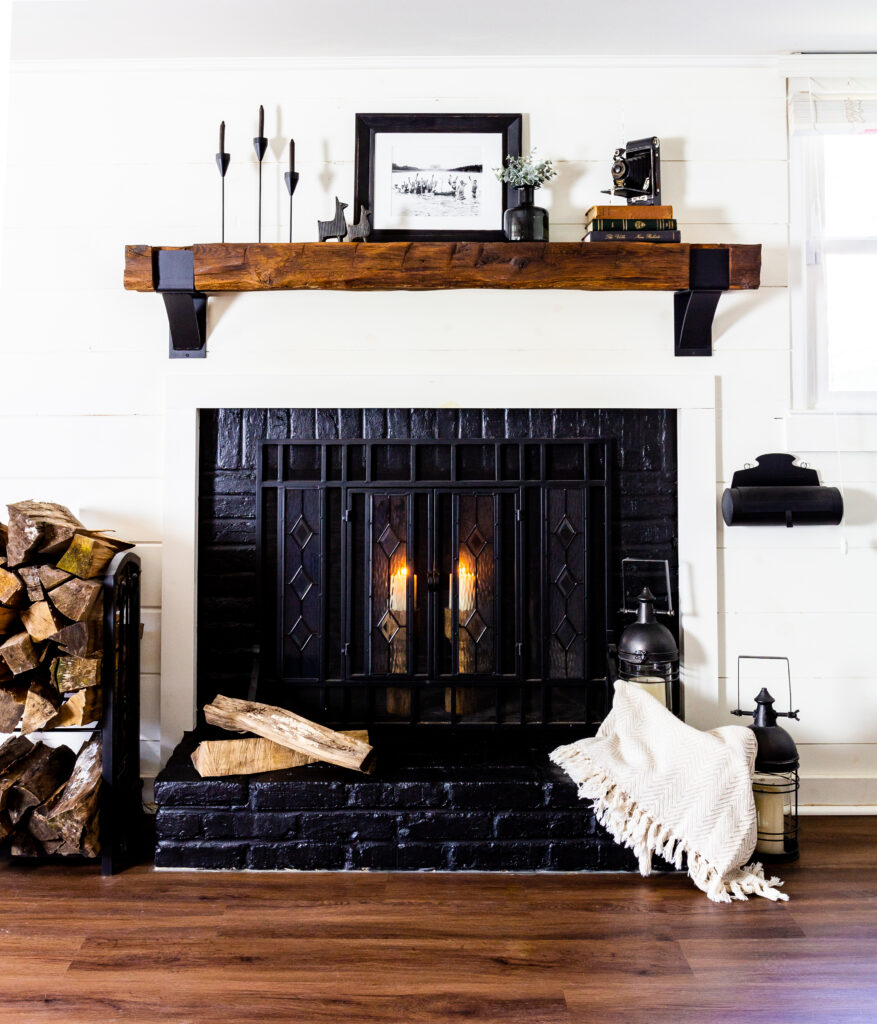
TA-DA! It looks like a brand new fireplace! I am always stunned by how much of a transformation these projects can have with little bit of paint! Now it’s sleek and modern but still has all the character we love about older homes.
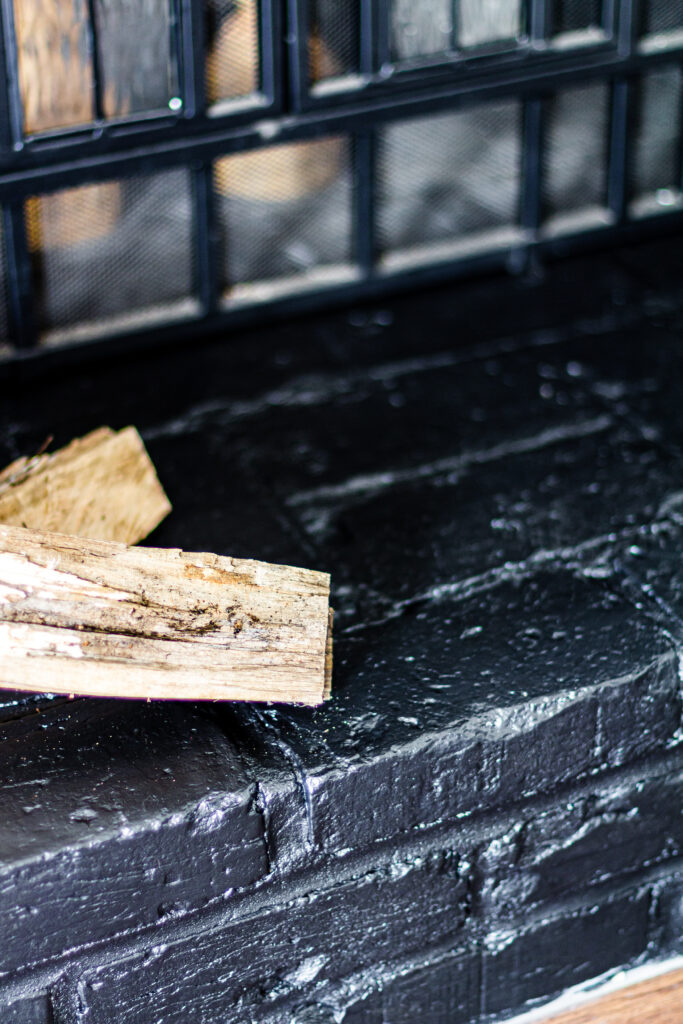
No topcoat is necessary for this project. Two coats of paint gave me a beautiful finish and you can see how the light reflects off the paint giving you a tad bit of sheen.
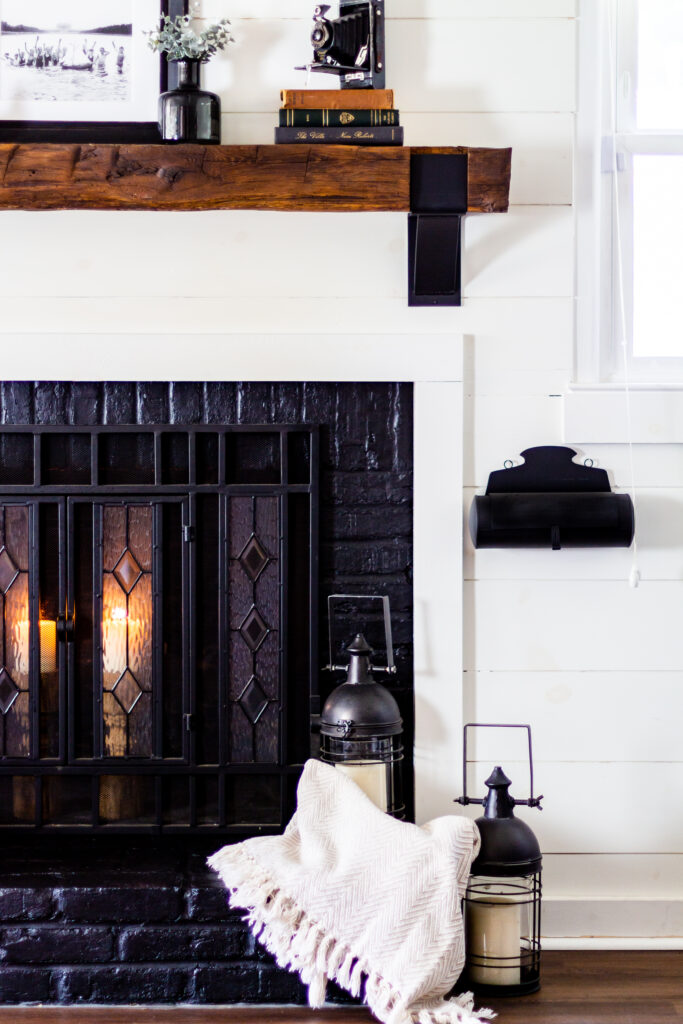
Trust me when I say that the prep work and the materials goes a long way in your project. I personally hate spending hours upon hours fixing mistakes that could have been rectified the first time and I’d much rather invest the extra time relaxing and enjoying this beautiful fireplace. I don’t believe that I could have gotten a great and LASTING finish with any other paint other than Fusion. Chalk paint is chalky.. and latex paints are made for walls. Fusion is a well rounded product for all surfaces so its one I will continue to recommend over and over again.
Below is a list of supplies used for this product! Don’t forget to use my Fusion Mineral Paint affiliate code for a discount on your order
DISCOUNT CODE: driftwoodhomefmp
SUPPLY LIST
- Coarse Scrub Brush
- Shop Vac with Brush Attachment
- Staalmester Round One Brush
- Fusion Mineral Paint “Coal Black”







Leave a Reply