We don’t all get to live in charming houses with lots of character and original details. If you’re the average home buyer, chances are you are living in something builder grade, something old (but not old enough to be charming), or a real fixer upper (like a total gut job). For me, living in a 60’s split level home has been challenging to renovate. Sometimes the flow of the house feels off and decorating is definitely a head scratcher. But if there is one thing I have learned about my super square house is that there is no shortage of potential, especially when it’s easier to add versus remove. So what is the best way you can add that vintage character into your home? A DIY Faux Mantel.
*This post contains affiliate links.
Although this blog post is short, I’m going include a supply list for you and send you over to the Homestead House Milk Paint blog where you can get the STEP-BY-STEP tutorial on how to recreate this exact look for your home. I will however, include a few shots for you, so you can see how easy it is to add such a statement piece to any blank wall in your home!
Check out the BEFORE photo. This piece was found on Facebook Marketplace for $120. I wanted a mantel that had clean straight lines with some raised detail and trim but nothing too fancy.

I have to say, I impressed myself when you consider the stunning transformation in the AFTER shot:
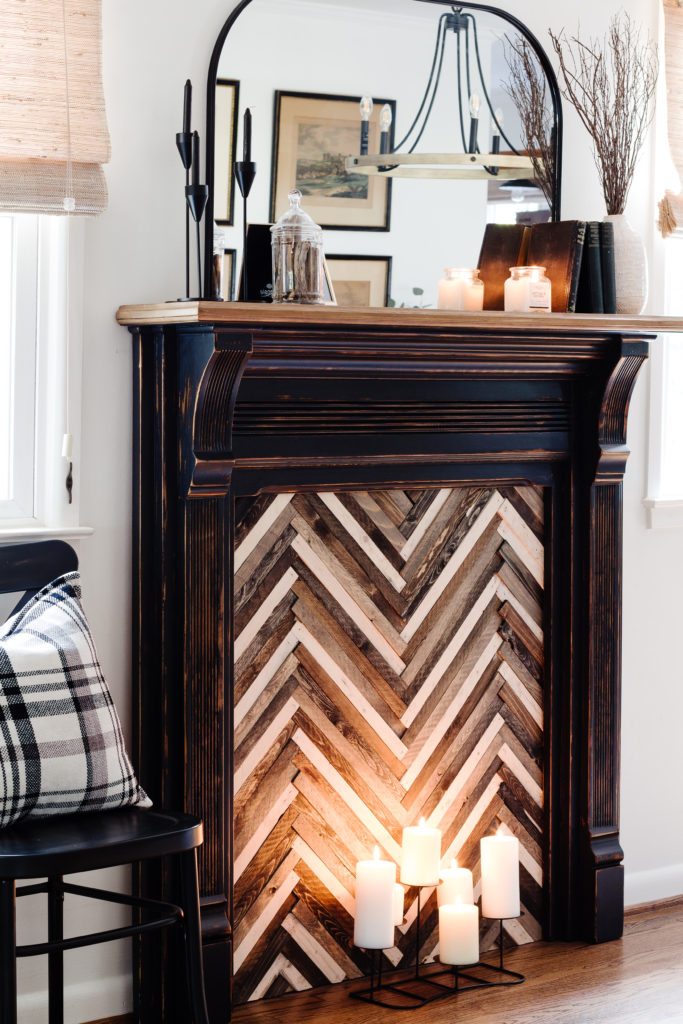
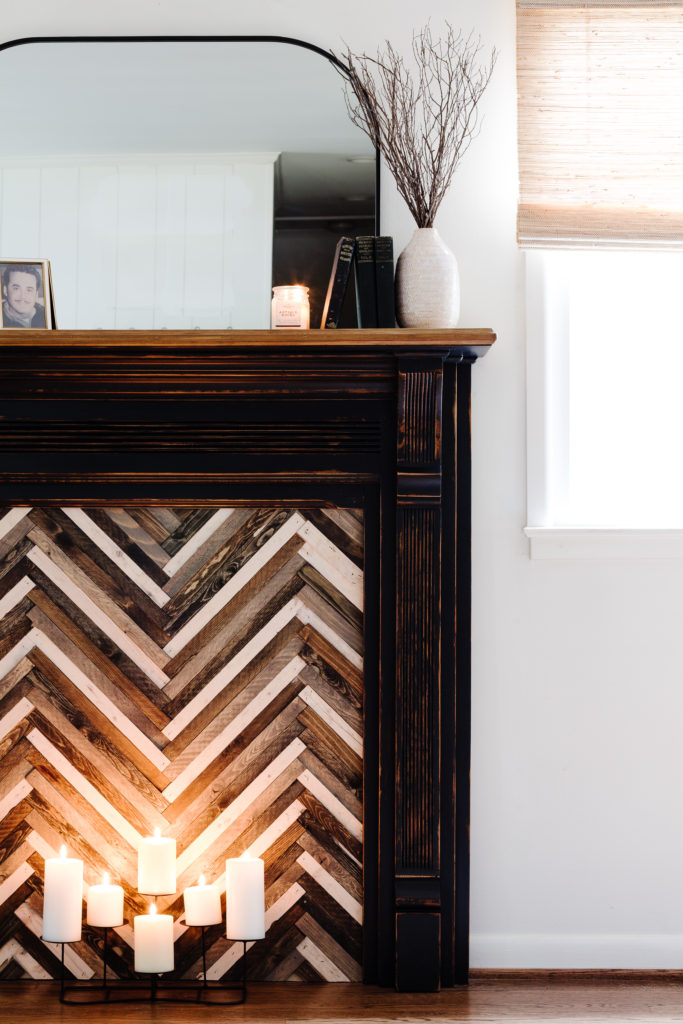
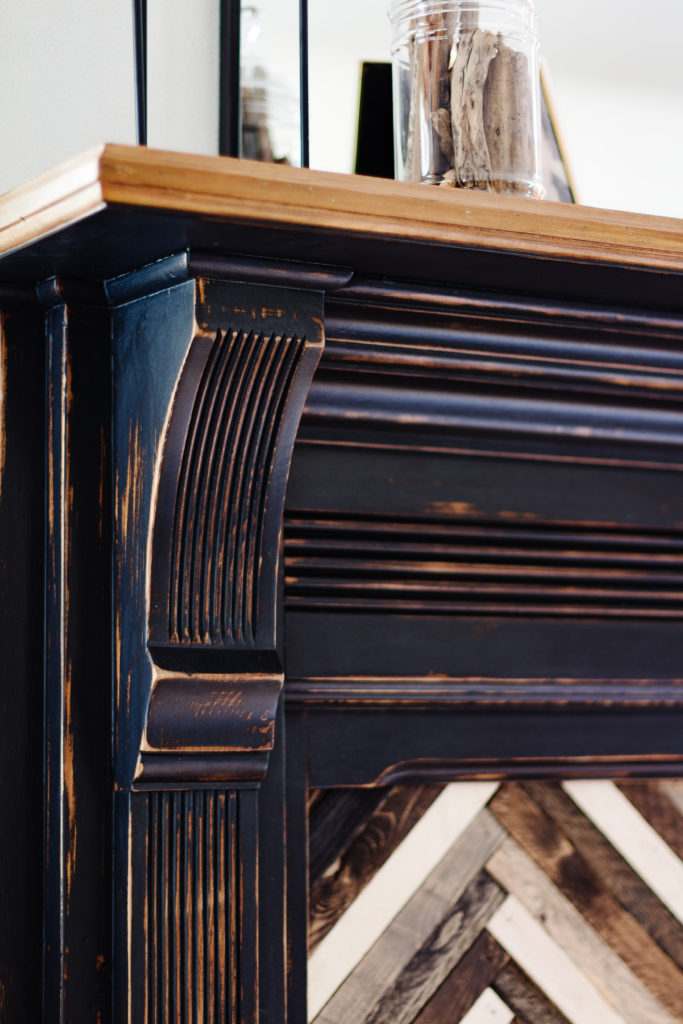
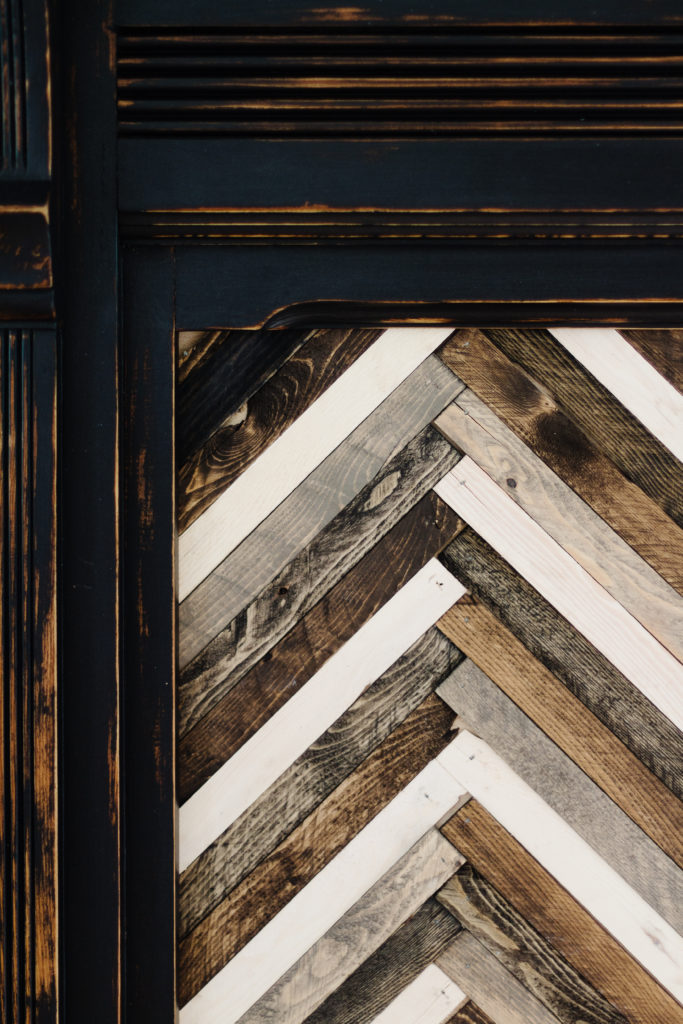
The mantel is almost completely unrecognizable. While the distressing and deep black milk paint provides an authentically aged finish, the rustic wood herringbone backboard is no doubt the star of the show. And you know what? I made it for less than $50!
Take a look at some closeups to see what you can do with a little bit of milk paint, a little bit of stain, and whole lot of creativity(and patience).
Supply List
- Mantel of your choice (prebuilt or DIY)
- Fusion TSP Alternative + Wiping Cloths
- Homestead House Milk Paint Coal Black
- Fusion Beeswax Finish + Wax Brush
- SFO – Cappuccino, Driftwood, White and Ebony
- Electric Sander with 120-180 scuff pads/paper
- Painter’s Tape
- Foam Brush
- Staalmeester Brush
- Buffing Cloths
- ½ inch plywood cut to size of your opening
- Long and short Door Shims
- Wood Glue or Nails ( to adhere shims to plywood)
Or click HERE to get to my Amazon Shop Where you can find it all in one section!
And now to see the entire process STEP-BY-STEP, hop on over to the Homestead House Blog and see the entire transformation from start to finish!
>>>CLICK HERE TO GET TO THE BLOG!<<<






Leave a Reply