It’s no secret that custom carpentry is EXPENSIVE! Add in the current inflated cost of lumber and you can kiss your dream cabinets goodbye. This will inevitably lead you to buying a cheap piece of furniture to fill your space that you’ll end up hating anyway, so you might as well shell out the big bucks for the cabinets of your dreams right? The truth is you can get the custom built-in’s you’ve always wanted on a smaller, more affordable budget simply by taking some measurements and getting creative.
Since I’ve moved into this home in 2018, this space has always been a challenge for me. I use it often for my business but no matter how I set it up, I’m always left with half the room empty. The layout is just not ideal for comfortable living that doubles as a staging area for my furniture.
*This post contains affiliate links. I receive a small commission based on the purchases made from these links which helps to fund my small business and blog.
I will place a supply list at the end of the blog post so you can see what products I used! Ill also do my best to link any decor that might still be available for purchase!
Here is what the room looked like when I moved in (original owner’s furniture and decor):
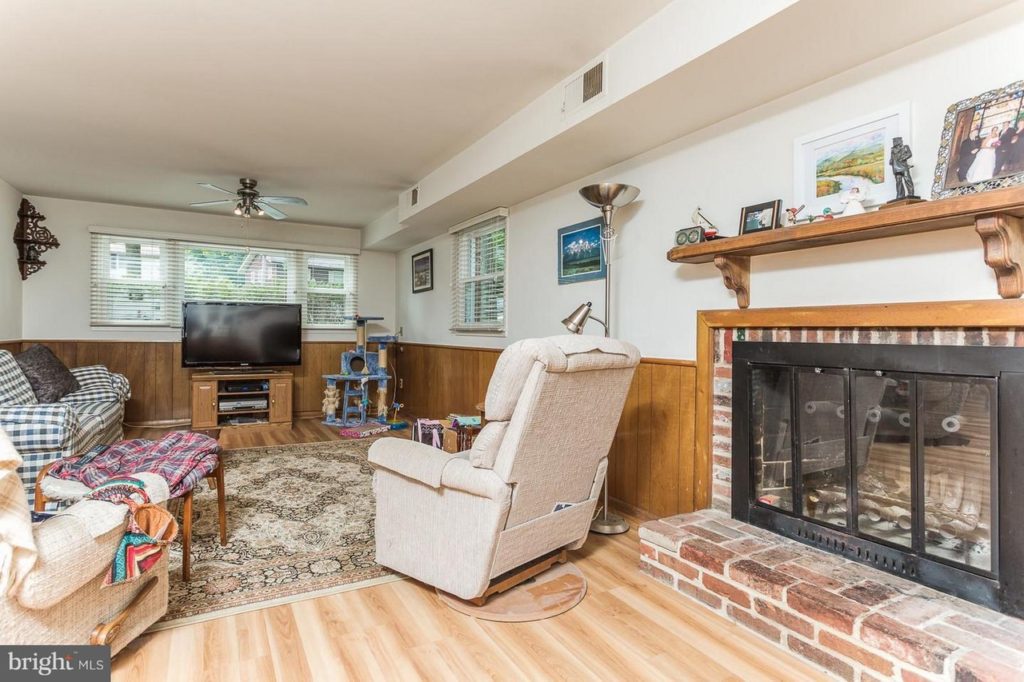
Since this photo, a few updates have been made. The floors were replaced with a darker LifeProof LVP Flooring. The walls have been shiplapped and painted white and the fireplace has been given an update. More photos and blog posts to follow on that, but I decided that the far right wall (since it’s the largest) would be perfect for a built in entertainment center that doubled as storage. The only sacrifice would be finding another place to stage my furniture. The light coming from the windows was why I chose that space to stage but I would just have to get better at using my camera and invest in some lighting.
So here is a better photo of the wall and where I had planned to build the built-ins:

I didn’t want to spend a ton of time driving back and forth to salvage stores looking for a set of lowers that would fit against this wall, so I opted to purchase THREE of THESE free-standing kitchen pantry cabinets and placed them side by side. You’ll want to measure your space and find cabinets that work for the area you pick and if you’re lucky you can get them cheaper at a re-store or donation center!

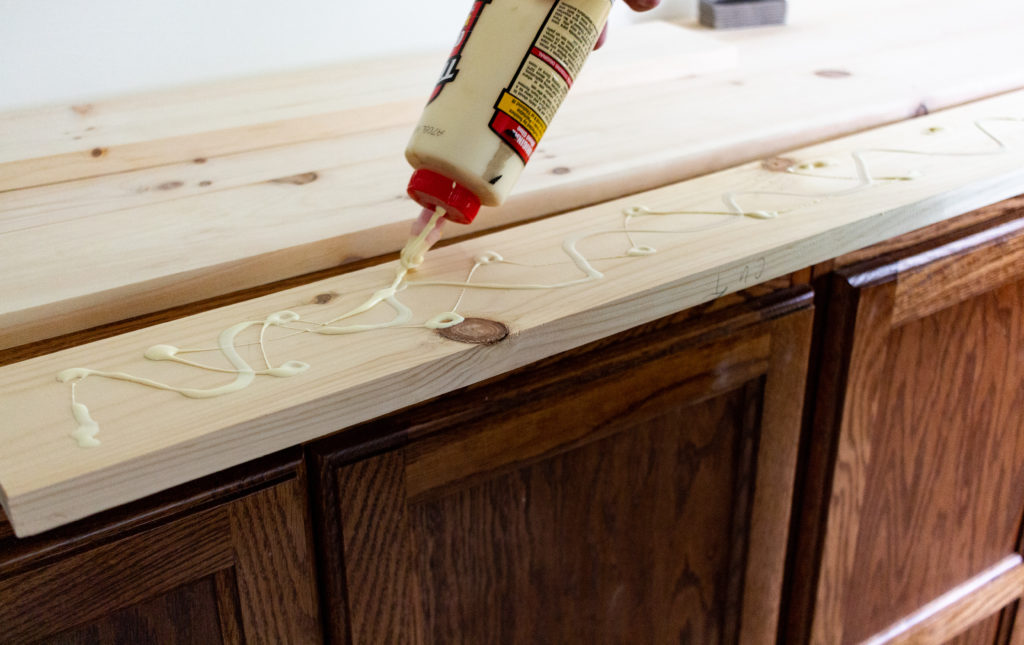
Once the cabinets were in place, they were screwed into the wall as anchors and then bolted together using bolts and wing nuts to keep them together. The best way to hide the seams in the top between cabinets is to build a brand new top over it. I used 1×4 boards in a staggered pattern, glued and nailed into place and trimmed out the edge with 1×2.
Next, was time for paint and finishes! I blogged about the entire process from start to finish over on the Fusion Mineral Paint blog which you can find >> HERE<<. This blog gives you more in-depth photos and details and shows you exactly how I prepped, painted and finished the cabinets. You do not want to miss this blog!
After the cabinets were finished, I decided to add a few shelves with brackets to dress up the wall and now the space was FINISHED!
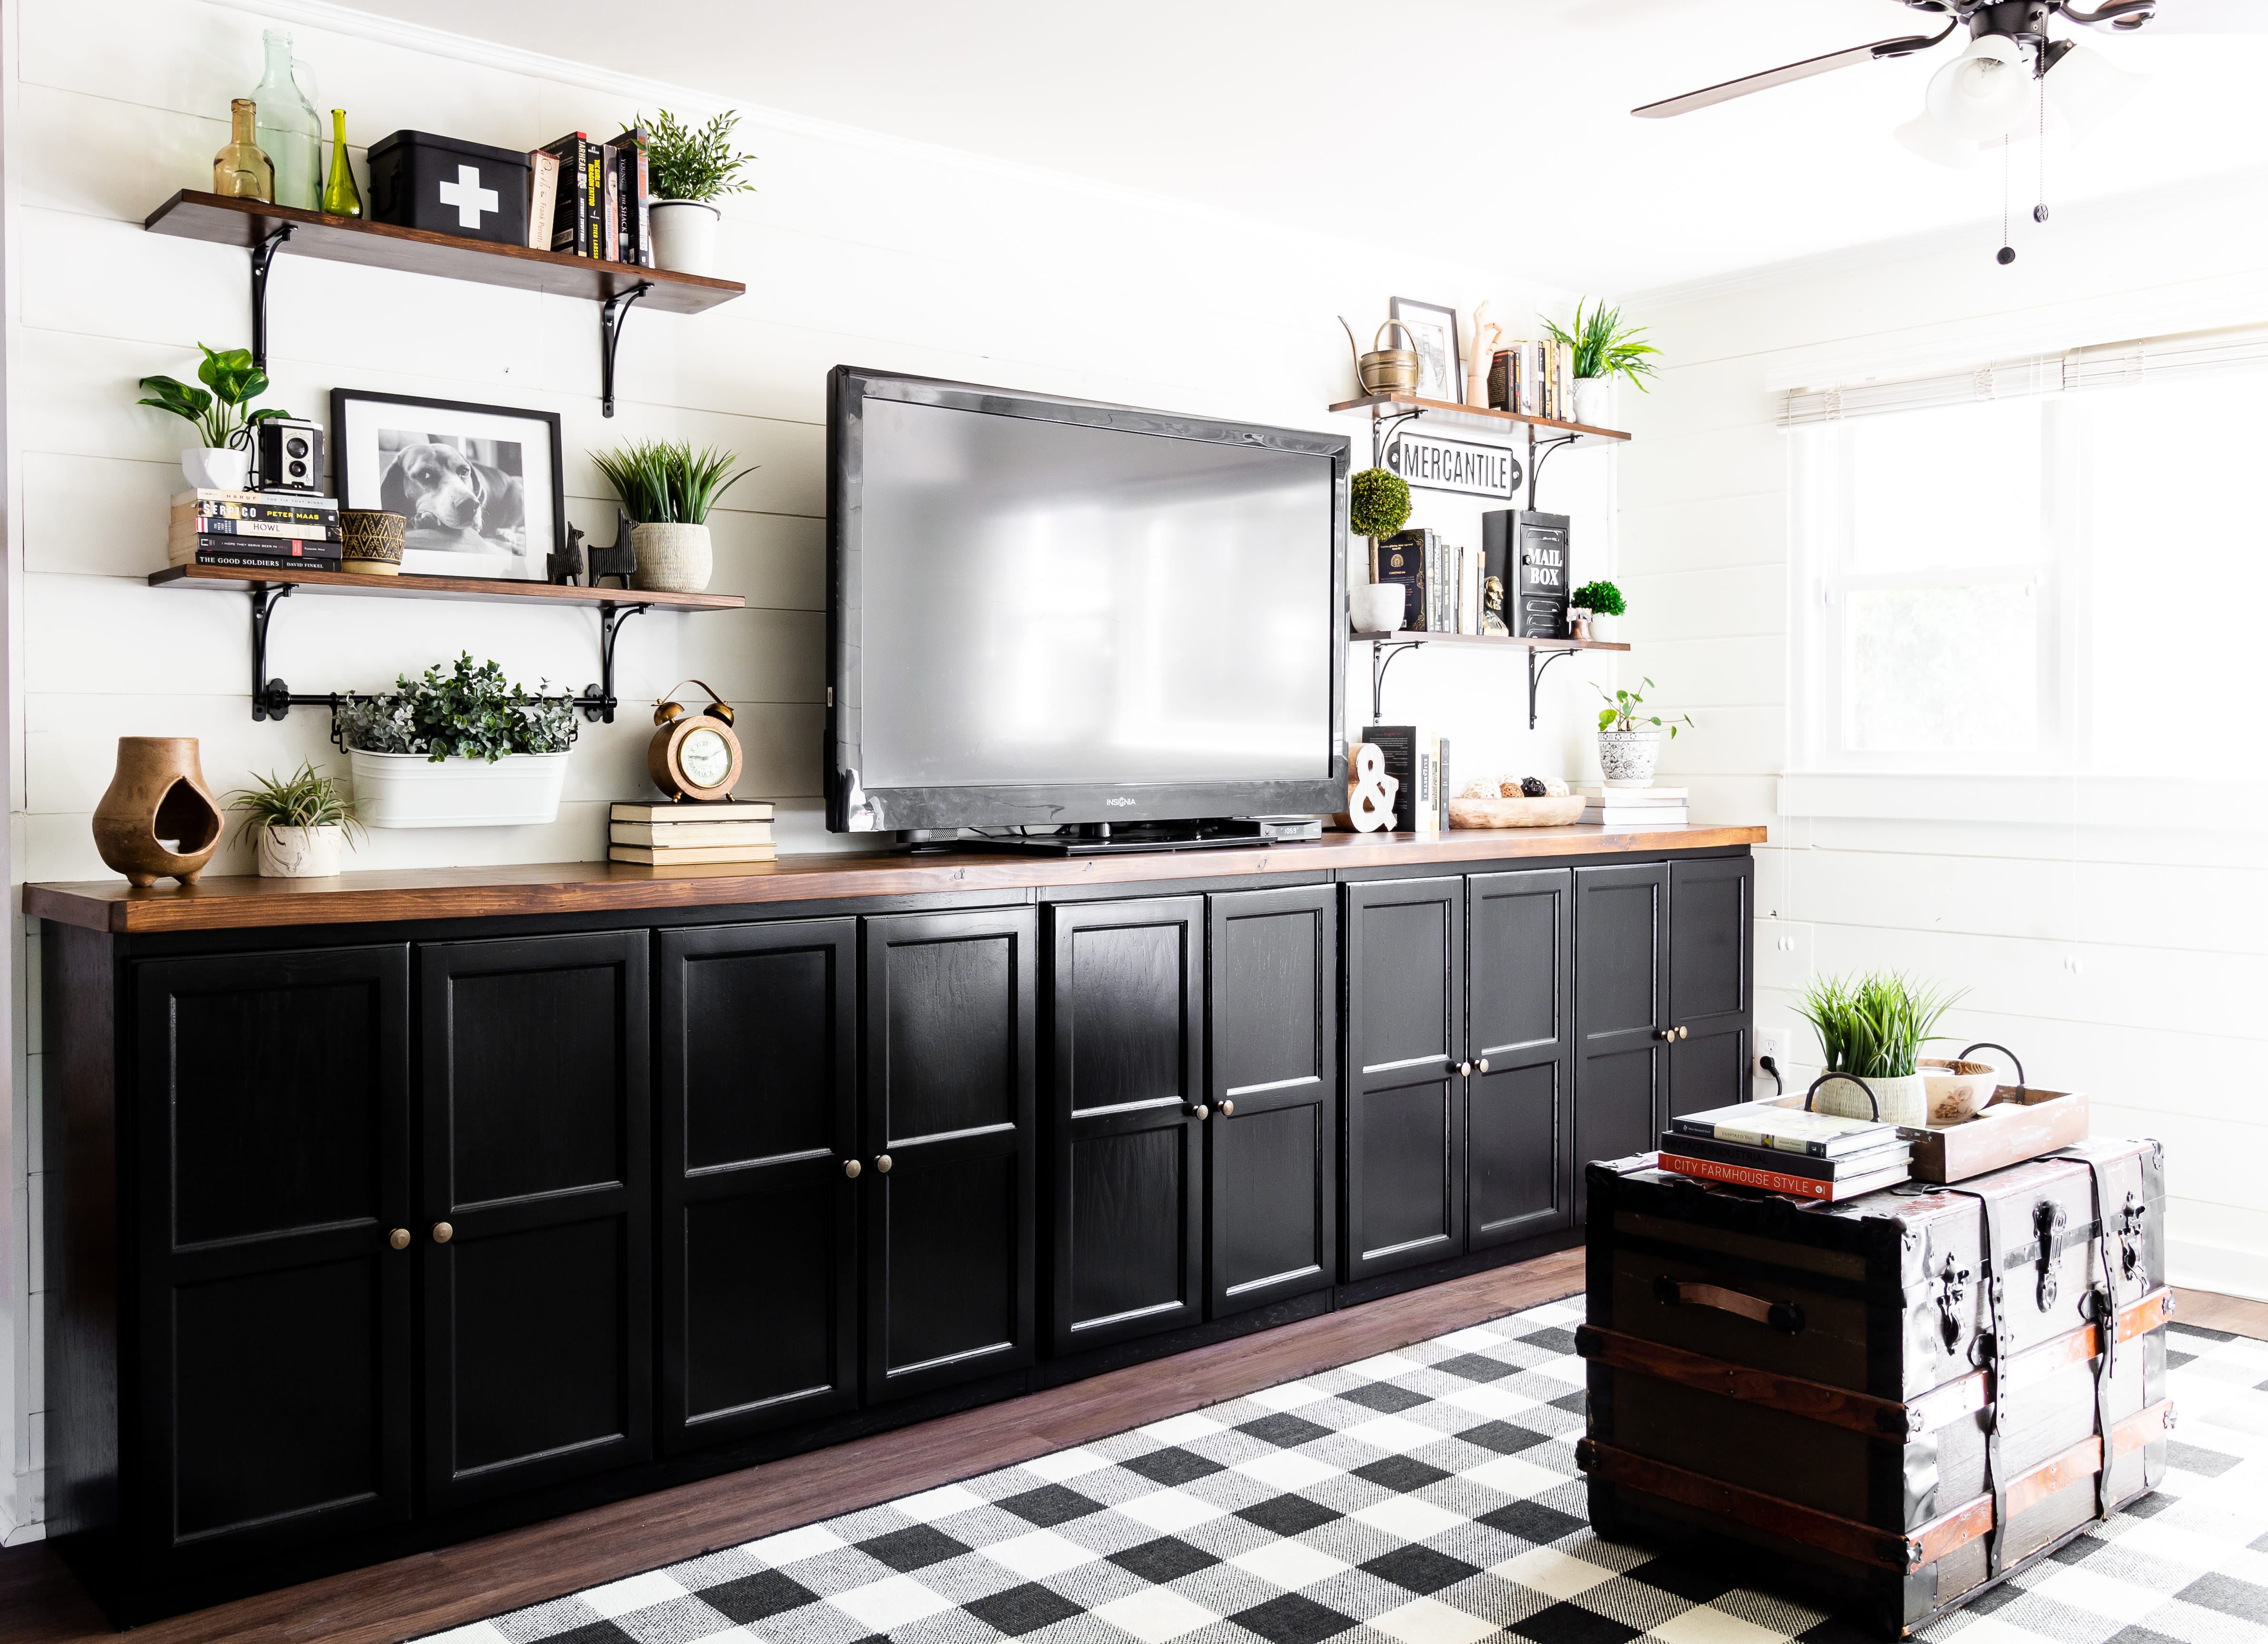
I truly love all the natural light those windows bring in, which is why originally this was my staging wall, but this fits the space so much better. By nature, I am attracted to monochromatic schemes so black is my favorite color to anchor rooms with.
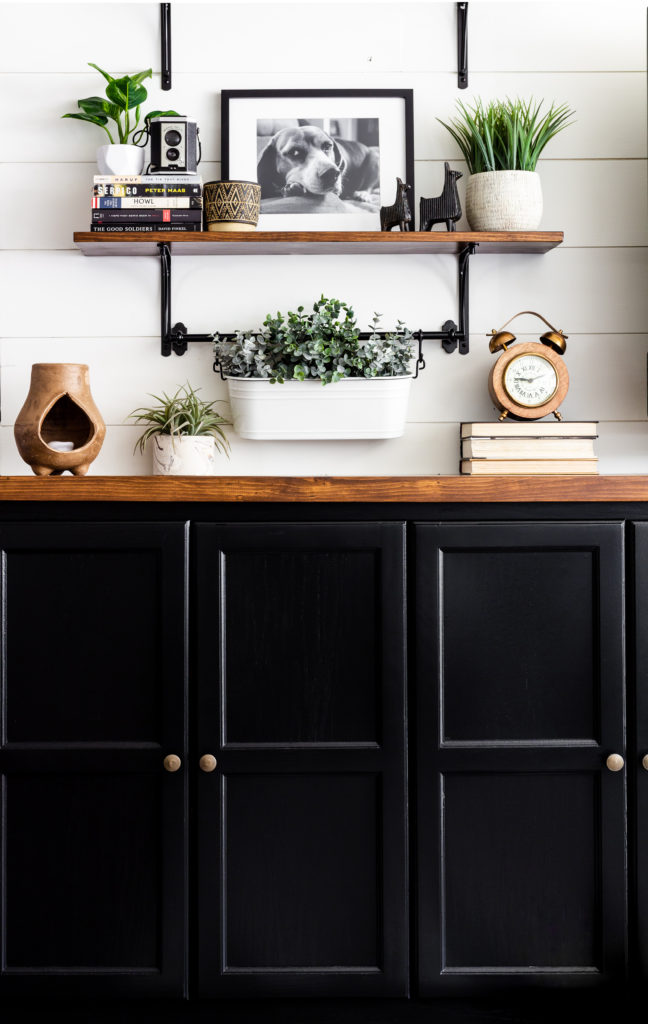
Wood elements are also my favorite to pair with black. Add in a touch of brass and greenery and my space is perfect. I love all the storage these cabinets provide and now I feel as though the space is way more family friendly.
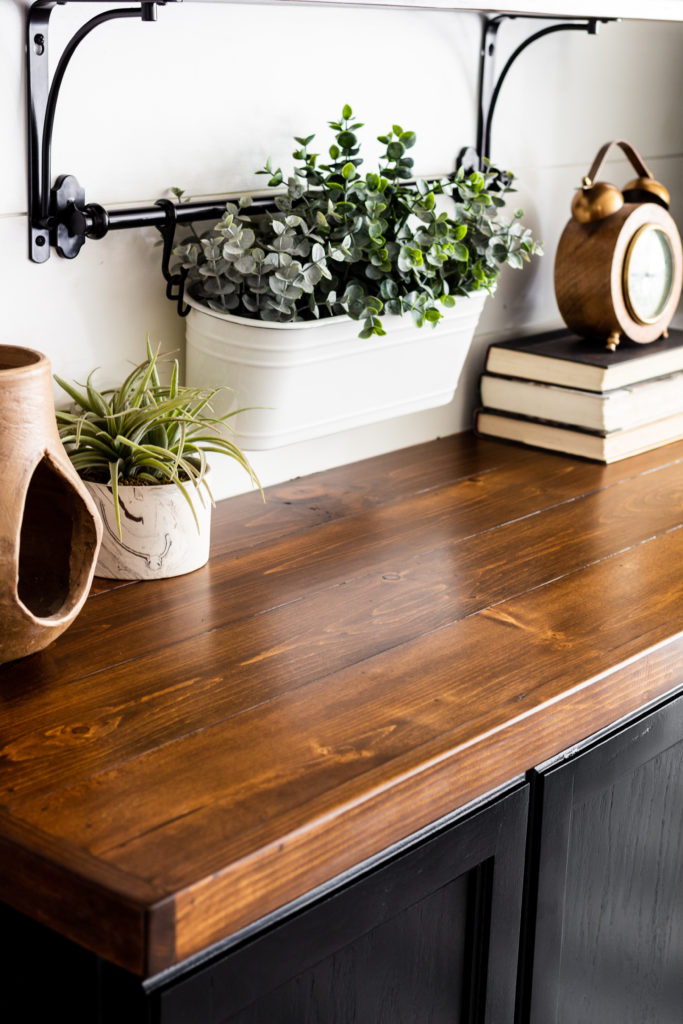
Really loving the contrast of the wood on black. It helps to blend a lot of my vintage and modern decor and lets me switch out what I want whenever I feel the need for a refresh.
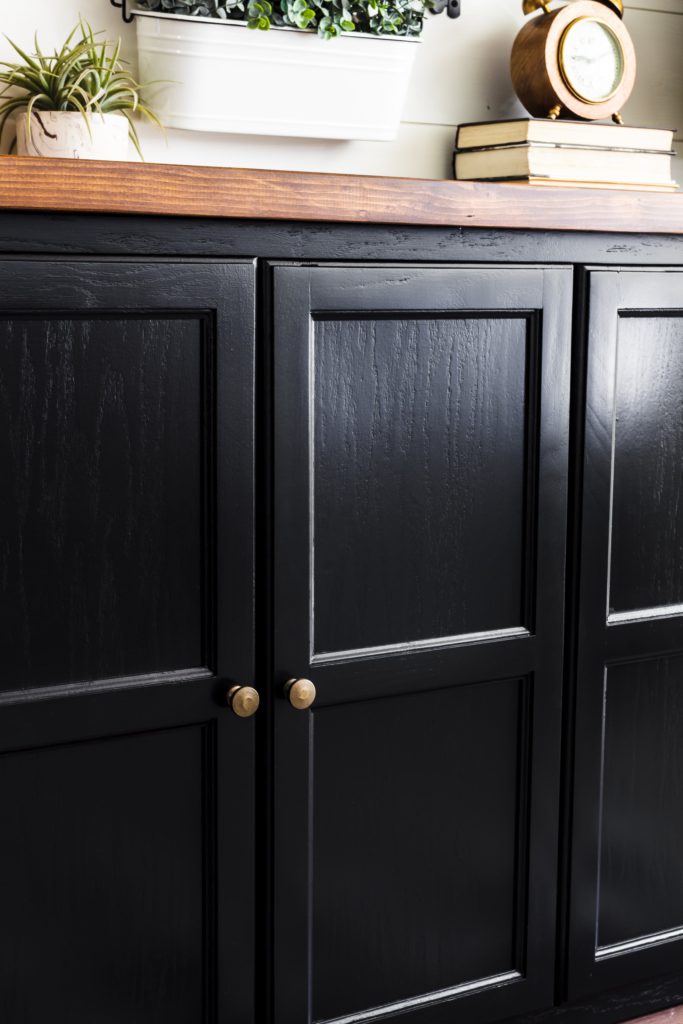
I bet you thought it was impossible to get such a unique built-in space in under $1000 didn’t you? To be honest, between the items I had to purchase and the items I had on hand, I’d only spent around $650, which was mostly on the cabinets themselves. Not to shabby when you see the final outcome.
As promised, below is a supply list of things you’ll need for a similar project.
Supply List:
- Measuring Tape
- Wood Glue
- Nail Gun
- Painter’s Tape
- 1×4 Wood Planks
- 1×2 Wood Trim
- SFO Cappuccino to Stain
- Fusion TSP & Cleaning Rags
- Fusion Sanding Pads
- Microfiber Roller
- Staalmeester One Detail Brush
- Fusion Mineral Paint in Coal Black
I’ve also included a shopping list to the home decor in the photo. While some items are vintage, I’ve linked similar items that would also work well in the space!
Click here to get to the Amazon Shopping List!







Leave a Reply