When I start taking on custom work, I find that every now and then I get lucky and have a client who keeps me busy with projects. This time is no different and I’m glad that I decided to open our workshop up to our local neighborhood otherwise I would have never found this client who shares the same love of rustic furniture with a bit of color. She had been looking for a desk for her daughter and this one came up in my app. I knew it would be perfect to grow into, and the final color choice was “Elegance” by Country Chic Paint.
*This post contains affiliate links.

It looked a little square around the edges and definitely heavy with the brown stain but a little bit of paint could fix that right up. I needed to get started with prep so here is list of products used and my process for prepping pieces:
The Prep
- Remove hardware and drawers from base.
- De-bugged using Raid Bedbug Insecticide.
- Stripped Top with Citristrip and cleaned residue with Mineral Spirits.
- Scuffsanded based and drawers with 150 grit sanding pad.
- Orbital Sanded top with various grits ranging from 120, 150 to 180.
- Vacuum with ShopVac.
- Cleaned using Simple Green, hot water and scrubby sponges.
- Wipedown with Mineral Spirits.
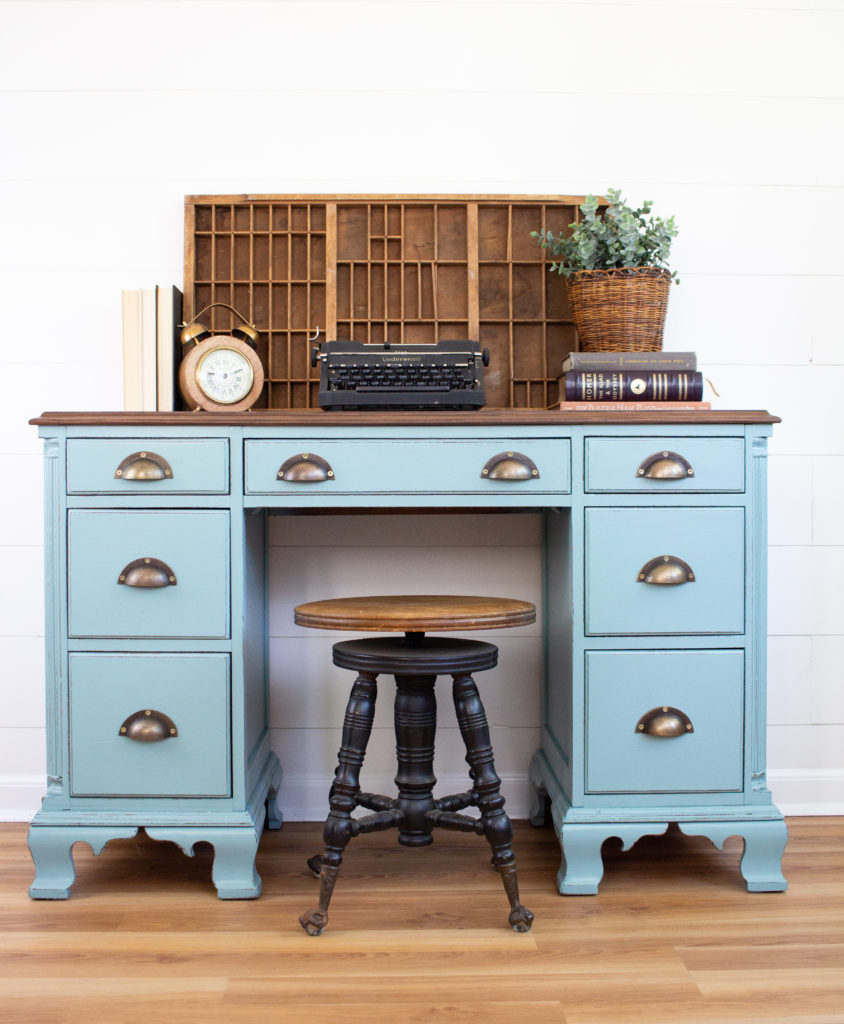
Prep is always the most important thing for your pieces and two steps people often skip (or don’t know about) is de-bugging and sanding. When you “pick” your pieces from different places whether it be another person’s house, or a flea market, the last thing you want to do is brining any unknowns into your home. Thats why I always debug. Sanding of course is obvious. To get a butter smooth finish and ensure your paint lasts for years, sanding is a necessary part of your prep.
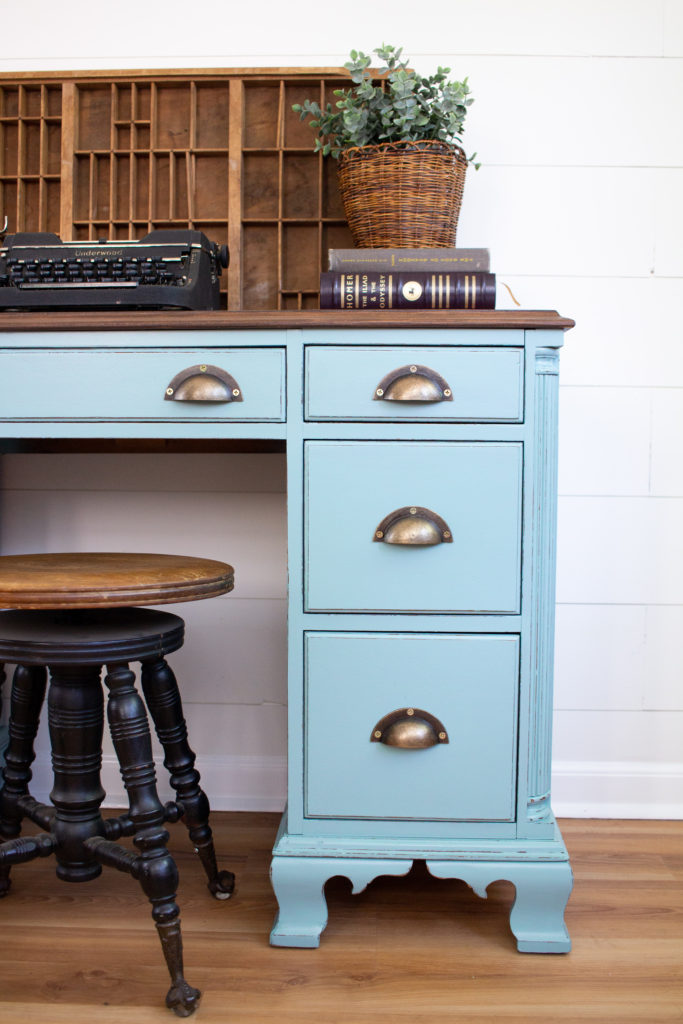
My client chose Country Chic Paint “Elegance” for her daughter’s desk. I’ve used this color many times before on my projects and it’s a lovely shade of blue with a few hints of green. Looking back on my old photos using this color, I find so many variations of the shade. It appears more pale and blue on lighter colored furniture like pine and birch, and darker with green undertones on rich woods like dark oak and mahogany. Either way, it’s gorgeous! I sprayed 3 coats of Elegance and lightly distressed.
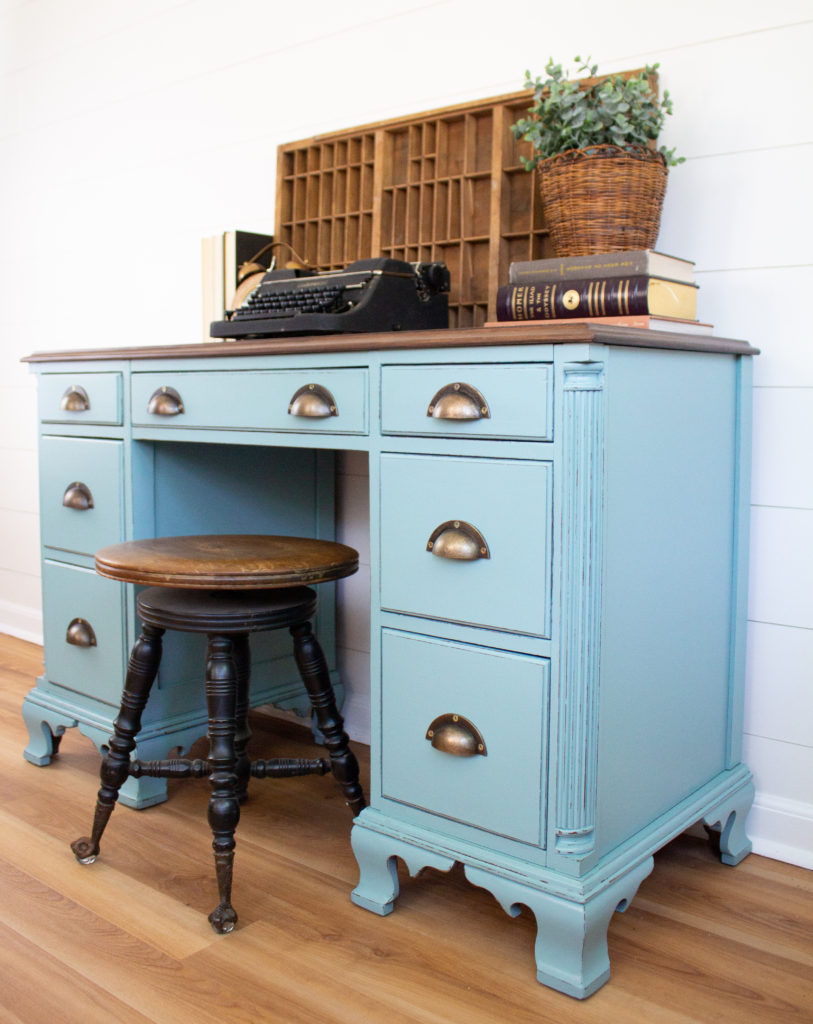
This piece was fairly large and had lots of flat surfaces to cover. Surprisingly, I didn’t have to treat for any bleed through at all, even though this was mahogany. The distressing adds a lot of character to this piece and helps it feel more cozy and warm, and I’m glad that my client’s daughter can use this for her books and supplies and maybe later on as her vanity for her beauty routine.
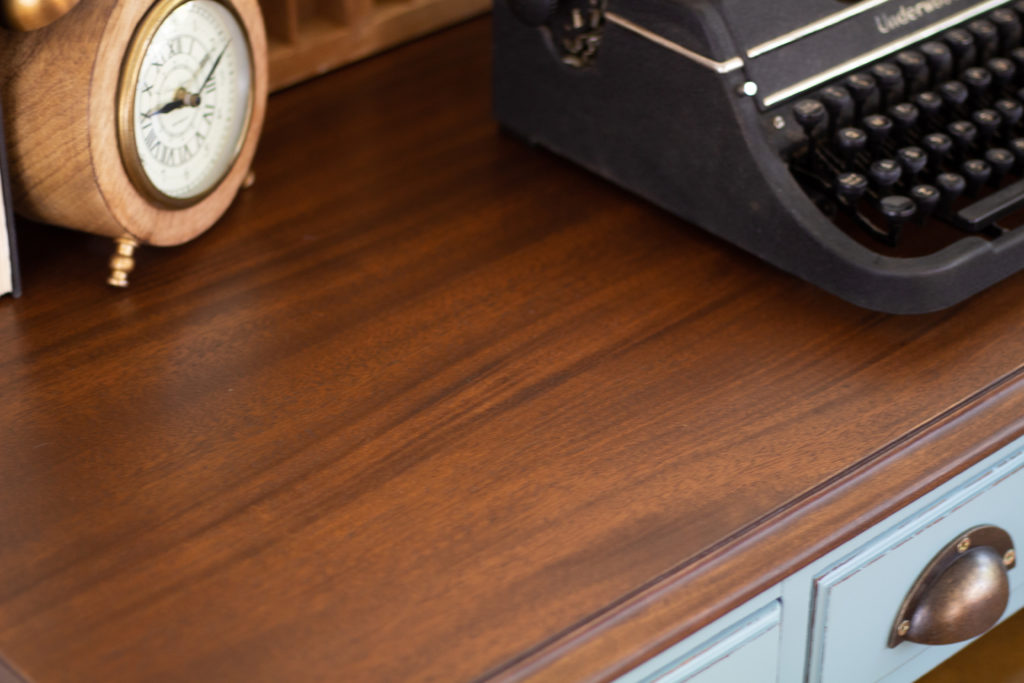
The top had a lot of character to it as well. I chose to stain it with Varathane’s “Dark Walnut” stain because I needed something fast drying and even in pigment. This is one of my go-to stains, especially when using a water based topcoat.
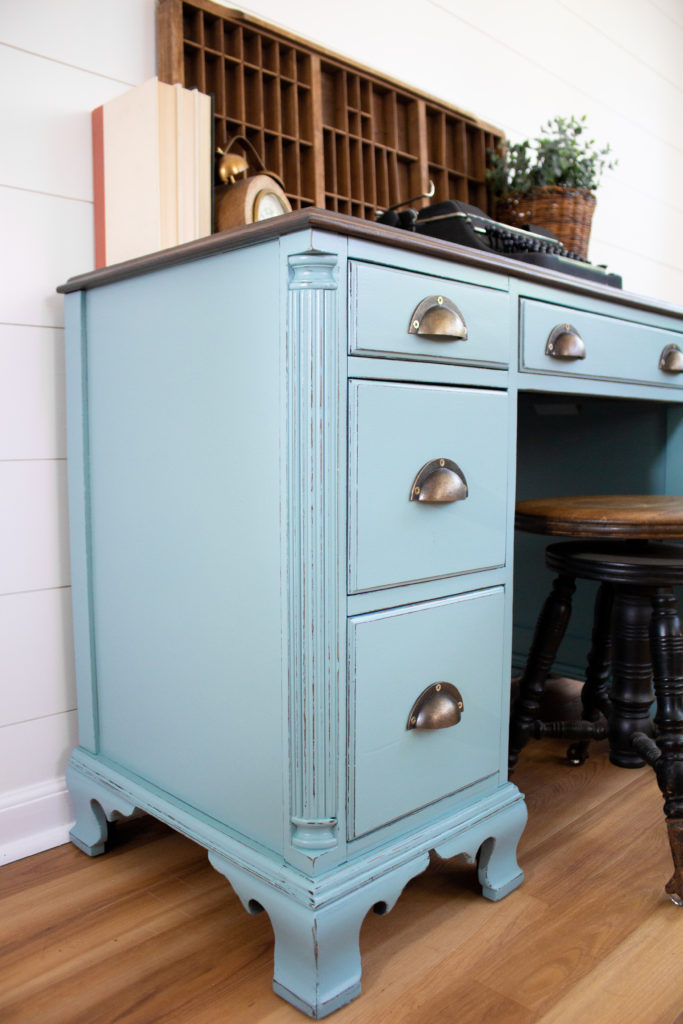
I sprayed three coats of Varathane Crystal Clear Polyurethane in “Satin” after 24 hours of letting the paint and stain dry. This poly is proving to be just as tough and durable as many others that are twice as expensive. The trick is finding a place that retails it in your local store. Here in VA, it is tough to track down.
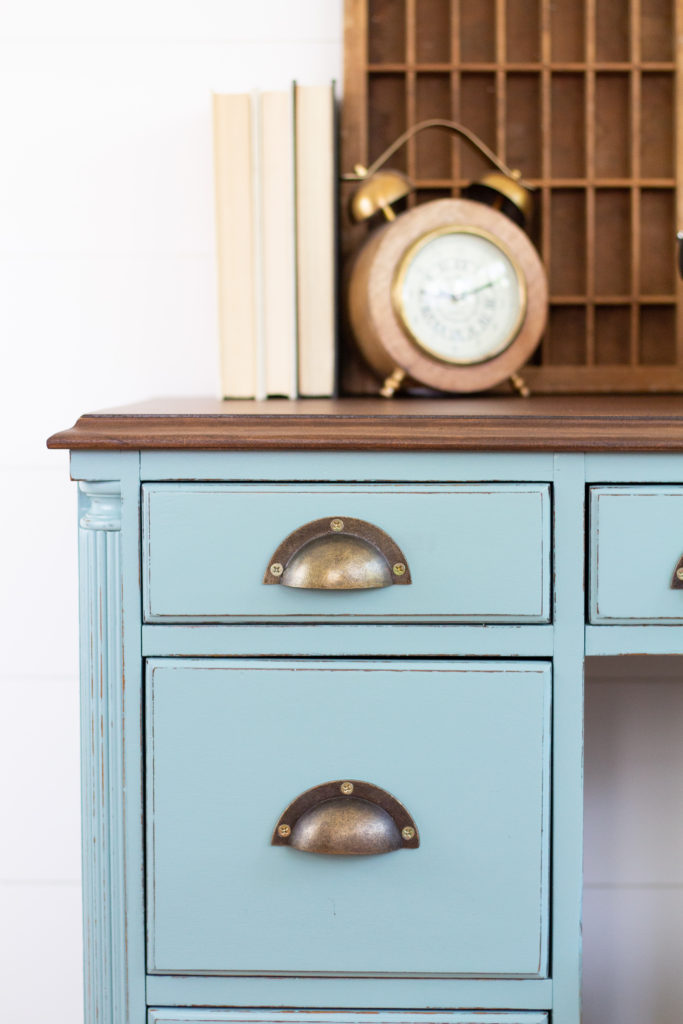
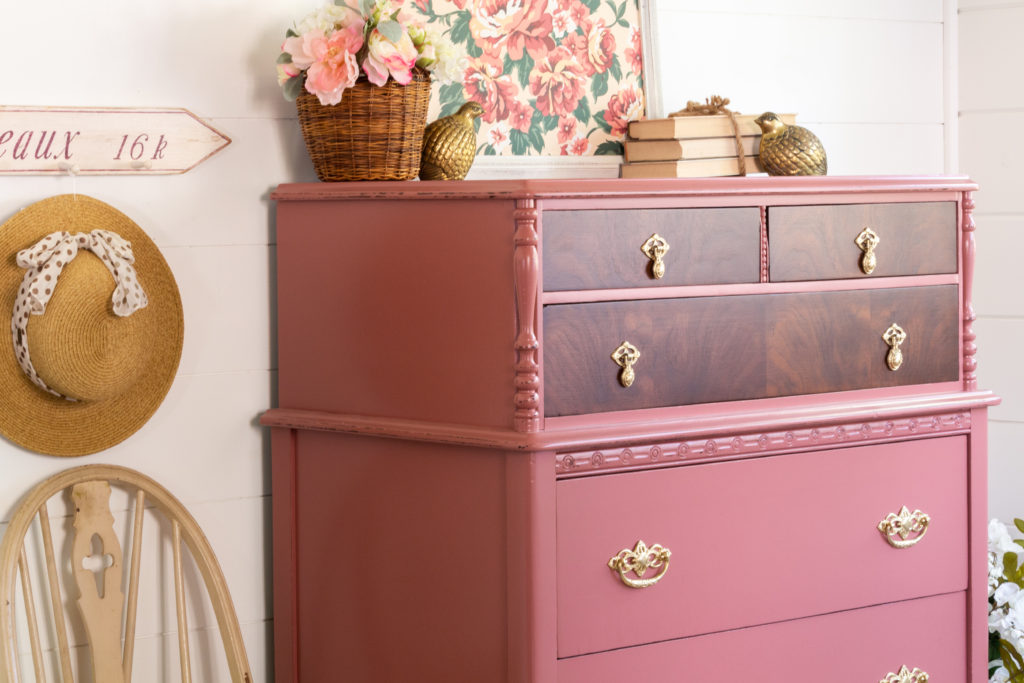
These brass pulls have also become a staple in my inventory. I never get tired of them on classic pieces like this desk, especially paired with gorgeous colors. Im actually headed to go stock up again today!
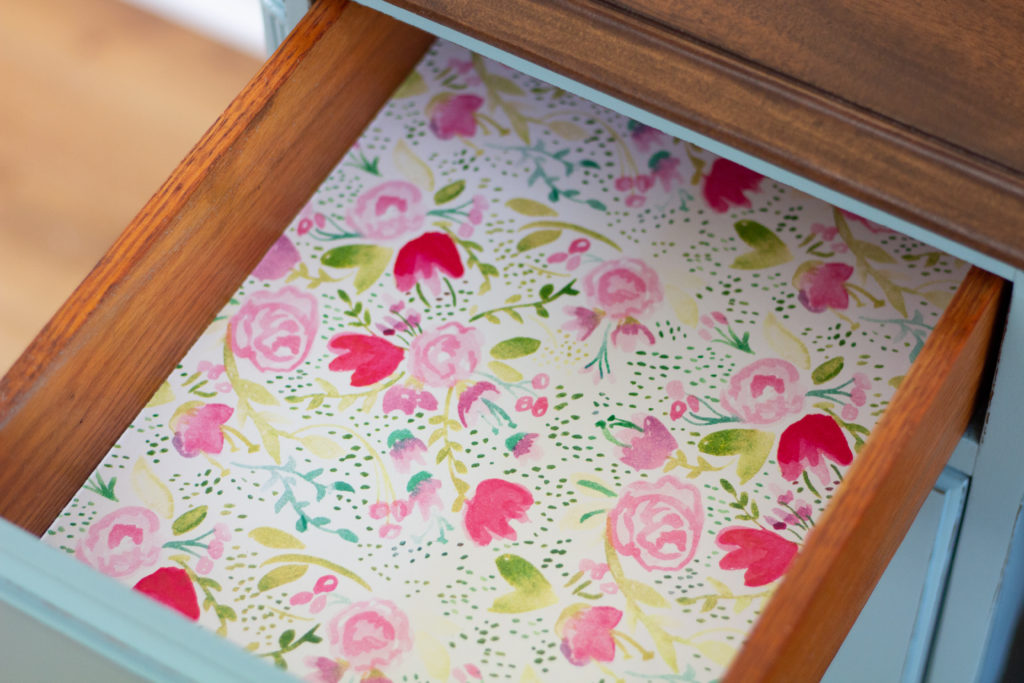
You all know I love my paper too. This seemed like the perfect touch to top off with this color and I know my client’s daughter is going to be head over heels for it too! If you love this color, stop by CCP’s website and order some for yourself! You can also message me for a discount code!
And of course for more inspiration, make sure to follow their Instagram page and check out all the lovely work from fellow furniture artists!







The price is fabulous. I love all your info. Was wondering where do you go for those fabulous pulls?
Hi Gail! I got these pulls at Hobby Lobby!