Since we started getting our home ready to go up on the market, I figured that it would be a good time to stop procrastinating on some home projects that always seemed to make the bottom of the “to-do” list. One piece in particular was our rustic coffee table that we picked up from a thrift store years ago. Mind you, this piece matched nothing in our home, was a pretty blah orange stain and I just bought it because we needed a coffee table and it had basic “farmhouse bones.” This is what it looked like before.
*This post contains affiliate links.
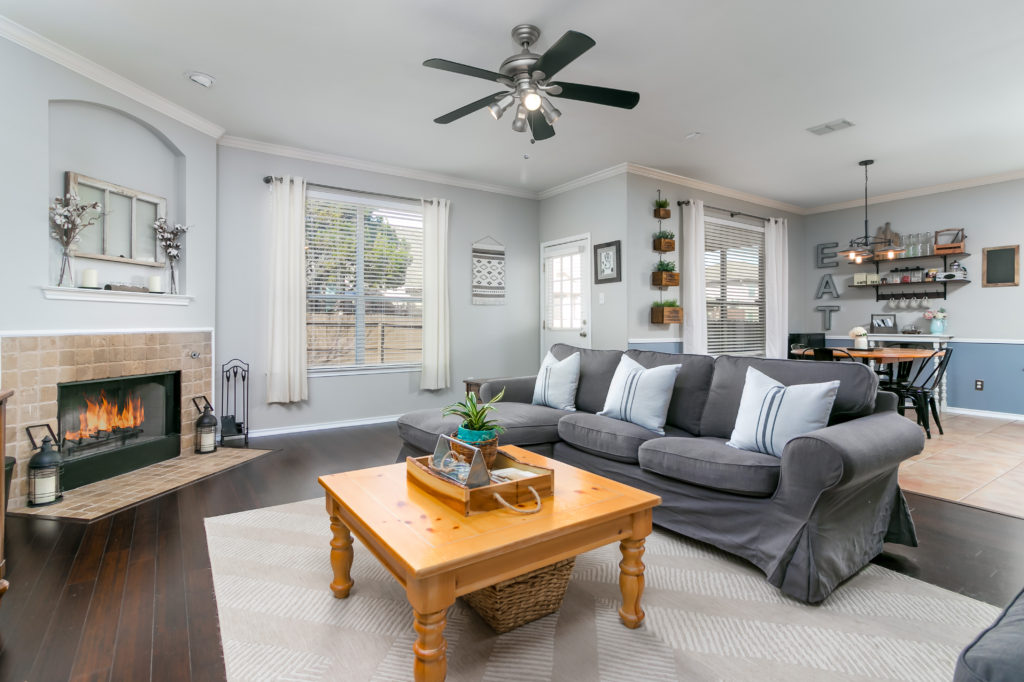
Doesn’t this photo look fancy? Our real estate photographer here in San Antonio did an amazing job making our house look so good! He did have some pretty fancy equipment too, so my makeover photos don’t even compare, but you get the idea. This coffee table is pretty common, nothing special about it and I’m sure hundreds of other people have this table in their home too. Nothing against those that like this finish on this table, but I couldn’t stand it anymore and it needed a refresh. So off to Country Chic Paint’s website I went to find a perfect color.
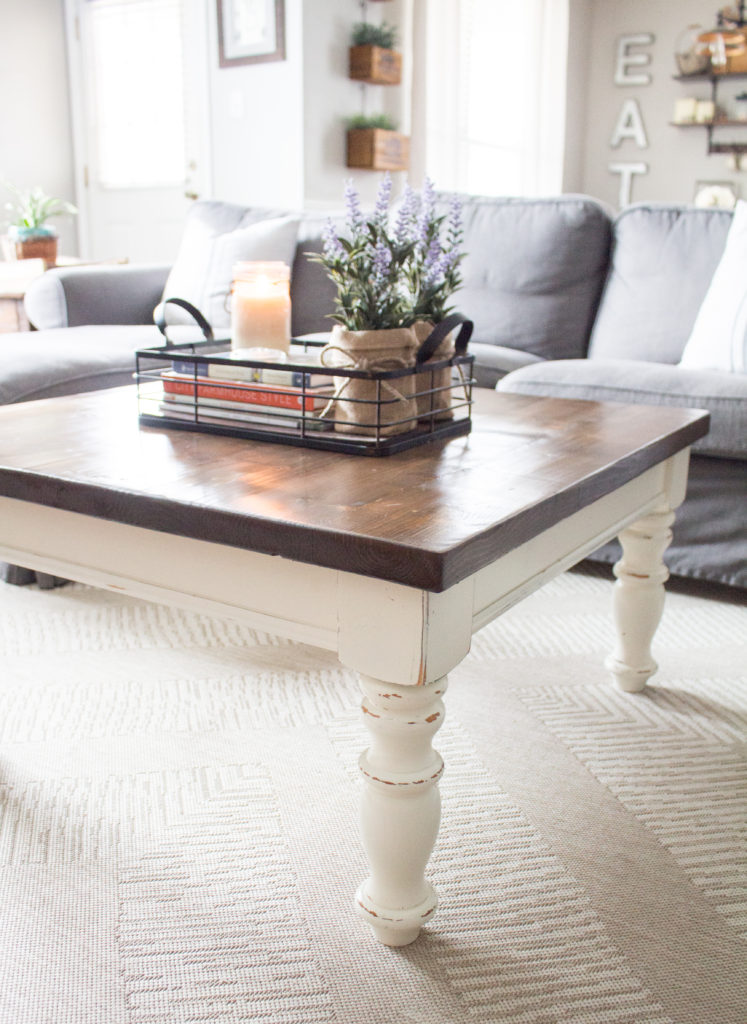
We removed the original top because it was a pine veneer over pressboard. I’ve always loved the plank look so we decided that this would match our dining room table perfectly. The base of the table is solid pine so that made it easy. I lightly sanded the base with 150 grit paper, just enough to give it some tooth. Next came a light wipe down with Krud Kutter Cleaner to clean up all the dust and remove any grime I may have missed during sanding.
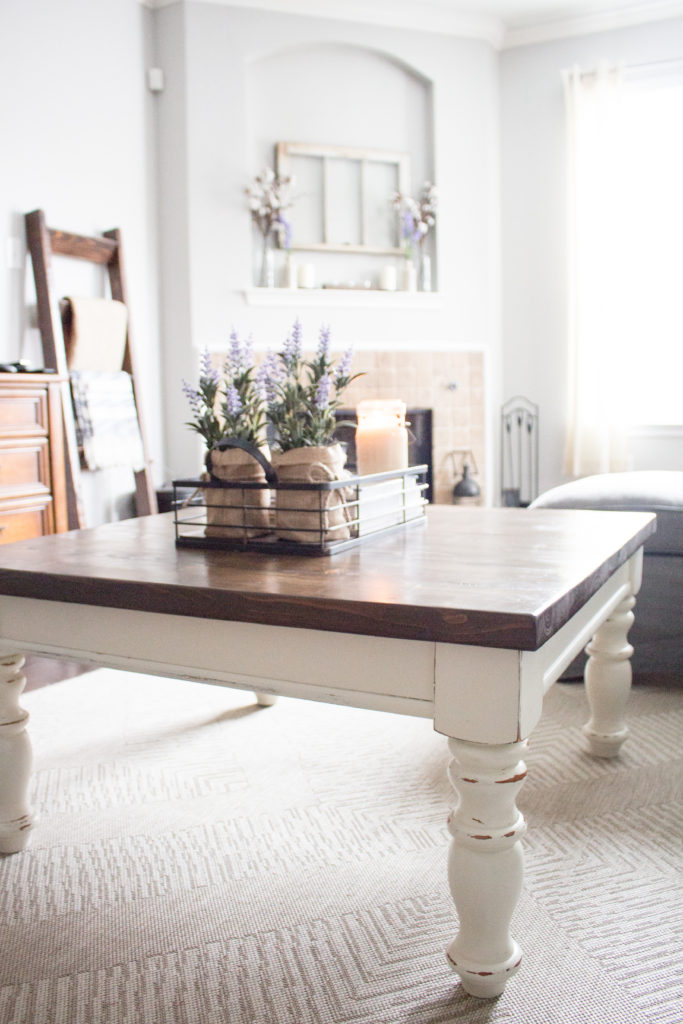
I sprayed about four coats of Country Chic Paint’s “Vanilla Frosting,” and sealed with their Clear Coat. This color is a very pretty white with some vanilla undertones. Of course of all the colors I could have picked, it ended up being white with stained wood. A friend once told me that me and stained wood are like “peanut butter and chocolate,” but honestly, who doesn’t love peanut butter and chocolate together or separate?! 🙂
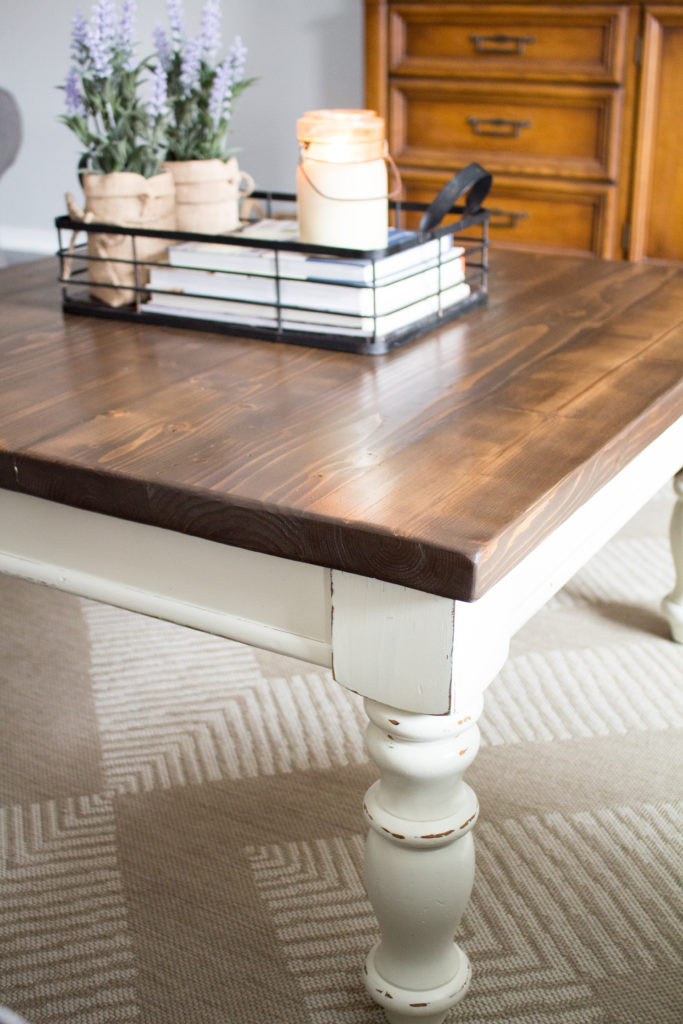
For the top, my husband cut down and biscuit jointed 2×6’s together. After it had set for about 48 hours, I flipped over the top and sealed the bottom with sanding sealer.
TIP: I have learned to do this anytime I replace a wood top to keep the wood from separating. Wood tends to expand and retract based on the conditions of the home. Higher humidity and heat will always trigger wood movement, so adding a sanding sealer to the bottom, will keep the wood sealed and limit it’s movement. Adding sanding sealer will also save you time and money down the road if the wood movement is extreme.
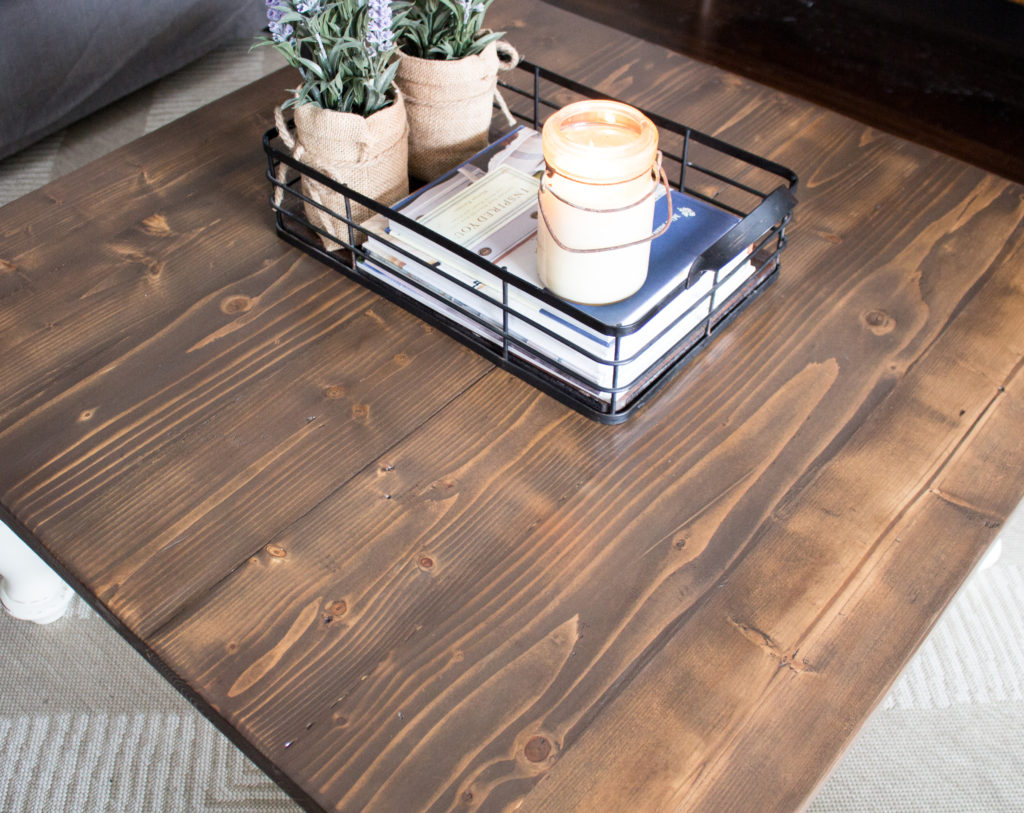
I stained the top in one coat of Varthane’s “Briarsmoke” and one coat of “Dark Walnut.” I used this mix because the Briarsmoke adds a grey element to the wood, keeping it from being to dark, while the Dark Walnut adds some depth and warmth. I love the mix of these two stains together and it adds a more rustic feel than using each of the stains alone. Then I sealed the top with Minwax Fast Drying Oil Based Polyurethane in Satin. I chose an oil based stain for the top because it is superior to water based in protection. My son literally jumps off this thing on daily basis, will have matchbox car races, and loves to throw all his toys on it. I needed something that will outlast his hyper activity.

Applying this polyurethane in particular is super easy and it really is my preference for stained wood. I just use a 2 inch foam brush and sand in between coats with fine grit paper. If you think the finish is too shiny for your tastes, it actually tends to tone down over time and use. Buffing out the last coat with sandpaper and applying a wax is good way to also tone down the sheen.

This was a pretty simple makeover and the end result is a customized coffee table that is so different from it’s original state. Maybe later on down the line, we will have time to build a coffee table that will house more storage but for now, I think this suits our home just perfectly.
For more inspiration on styles and colors, I highly recommend visiting Country Chic Paint’s Facebook page. You can also check out some reviews on their products and see if perhaps you find something that inspires you!







This is a very beautiful piece. And thank you for your staining techniques. It definitely will help me with all of my future wood projects.
Hi Miss Linda! Hope you found something useful out of it! Im debating on making videos on staining so let me know if you think that would be helpful!