I’ve been really anxious for fall to come around early this year. It could be that Texas heat and humidity has become unbearable and it’s getting old, or it’s because there is something special about the time of year when the leave start changing and the air gets cooler that just comforts you. I’m ready for hoodies, fires, hot coffee and pumpkin pie. Is anyone else with me?
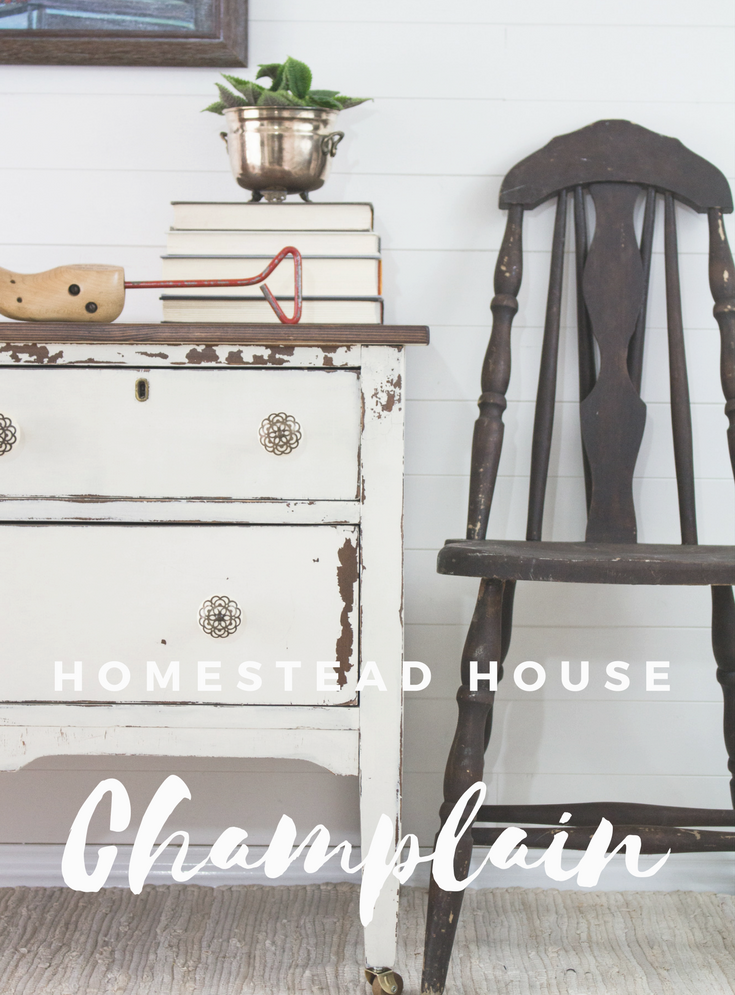
One of the other things I love about fall is that you can see the season definitely begin to inspire the avid furniture painter. I love bold and bright statement colors, but moody colors are my favorite. My IG feed starts to fill with grays, whites, blacks and deep blues and it’s so much fun to see how these neutral colors can be used in a variety of ways. So to channel my inner fall a few weeks early, I’m gonna blog about this cute lowboy that sat in my spare room for a while that got a huge makeover with some Homestead House Milk Paint in the color “Champlain.”
This post contains affiliate links and was sponsored by Homestead House Paint Company. However, I absolutely love these products, stand by their quality and would rave about them regardless 😉
This little table sat in our spare room unpainted for over a year. I had planned to get to it eventually, but couldn’t quite settle on a design. I figured I could pick a color last minute and it would look great. My plan was to remove the veneer from the top and stain the wood, but the wood was too damaged to salvage.
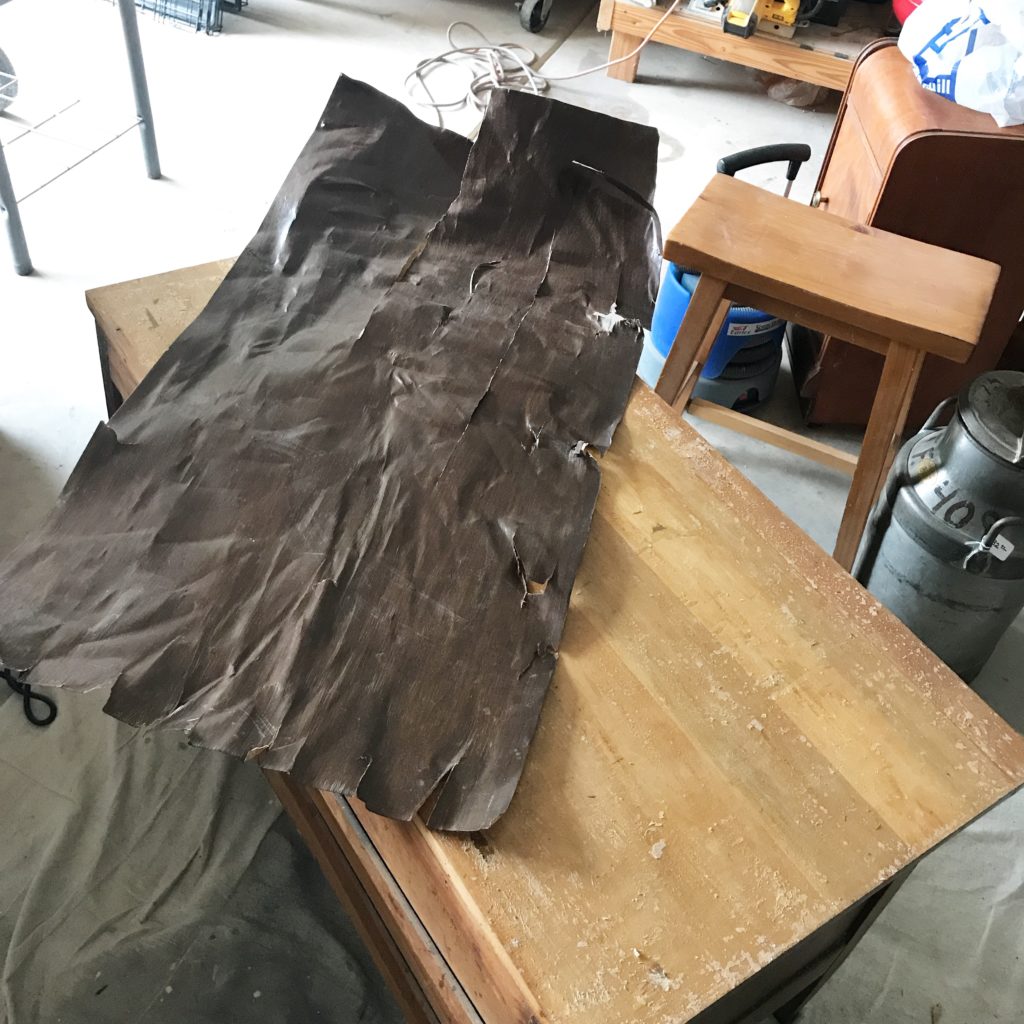
It took me a good hour to get this veneer off. Heck, I was even able to get the whole sheet off intact. I was really excited about seeing the plank wood underneath but no amount of sanding was able to fix the warping of the wood. It had to go, so our next option was to build something similar to our plank top dresser for a really rustic look.
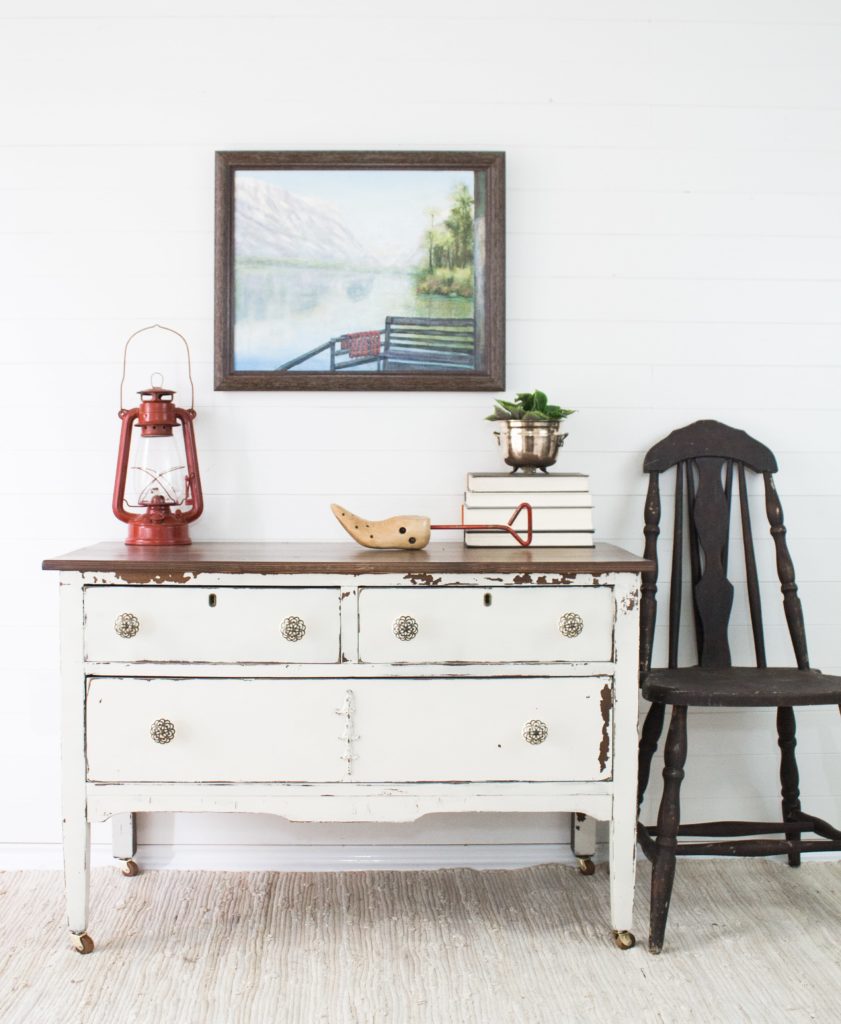
I mixed up HHMP in the color ” Champlain.” It took a total of three coats to get full coverage. I really like this color of milk paint because it isn’t a stark white, rather it has a yellow undertone to it for a true antique white. Fusion Mineral Paint also carries this color in their acrylic line.
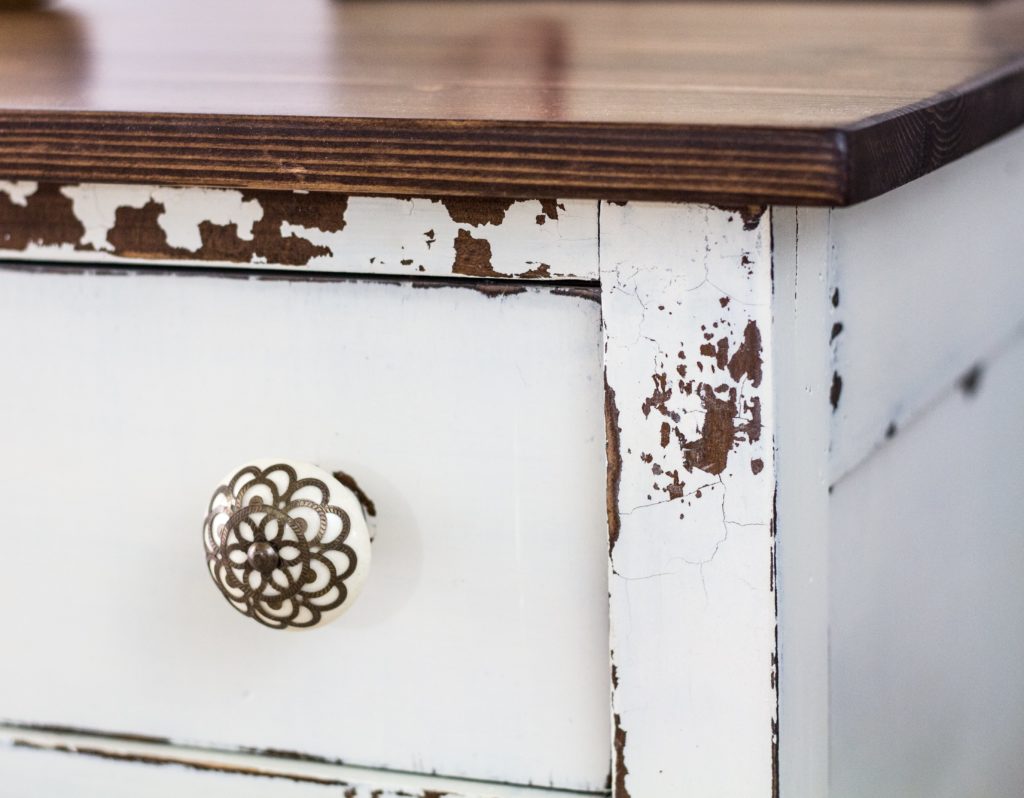
The chipping and crazing on this piece is truly authentic. I didn’t do any prep other than a good cleaning, so it’s really up to the milk paint to find it’s look in the end. I sanded with 220 grit sandpaper to smooth out the milk paint and remove any flaking. I find that with light colors, it is necessary to keep tack cloths around to ensure all the dust from sanding is lifted. Other wise you risk yellowing and dust particles showing in your finish. With darker colors, you can use compressed air to remove dust particles before sealing.
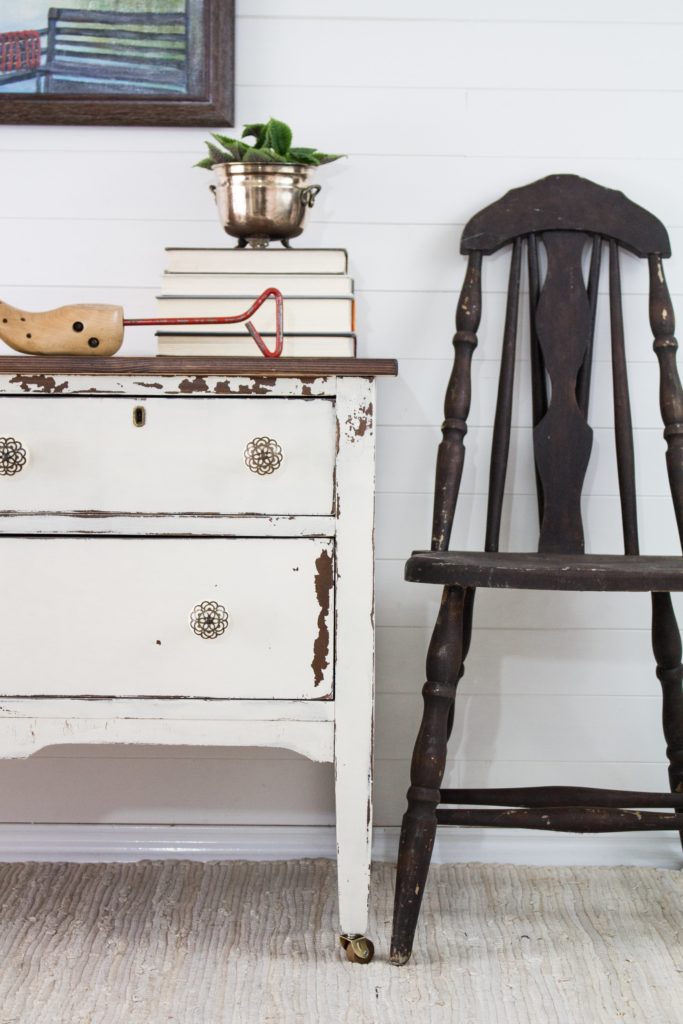
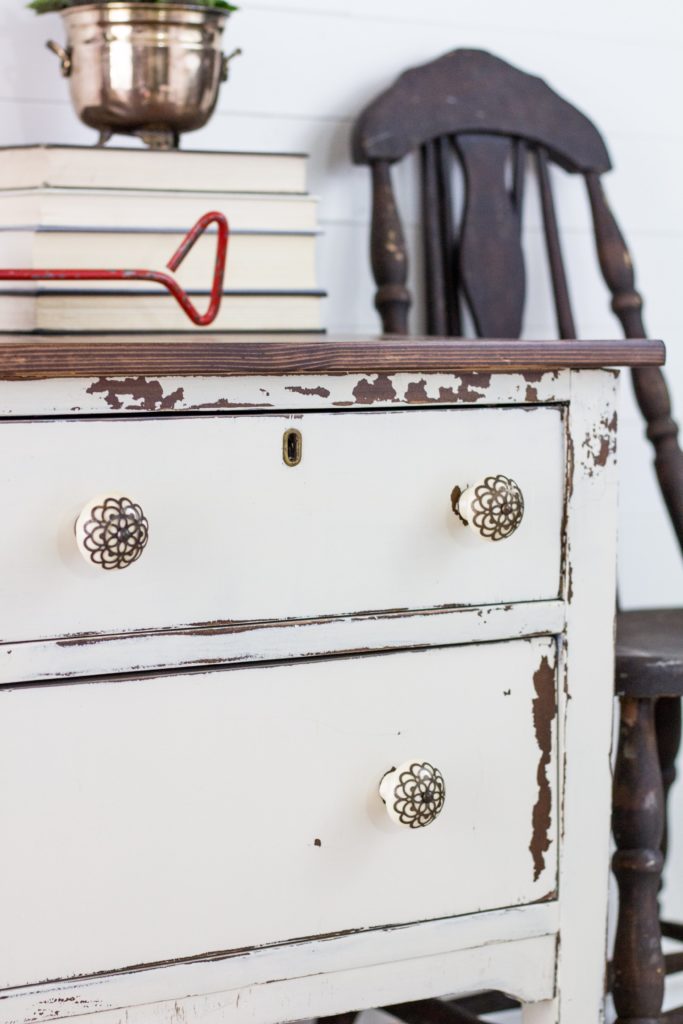
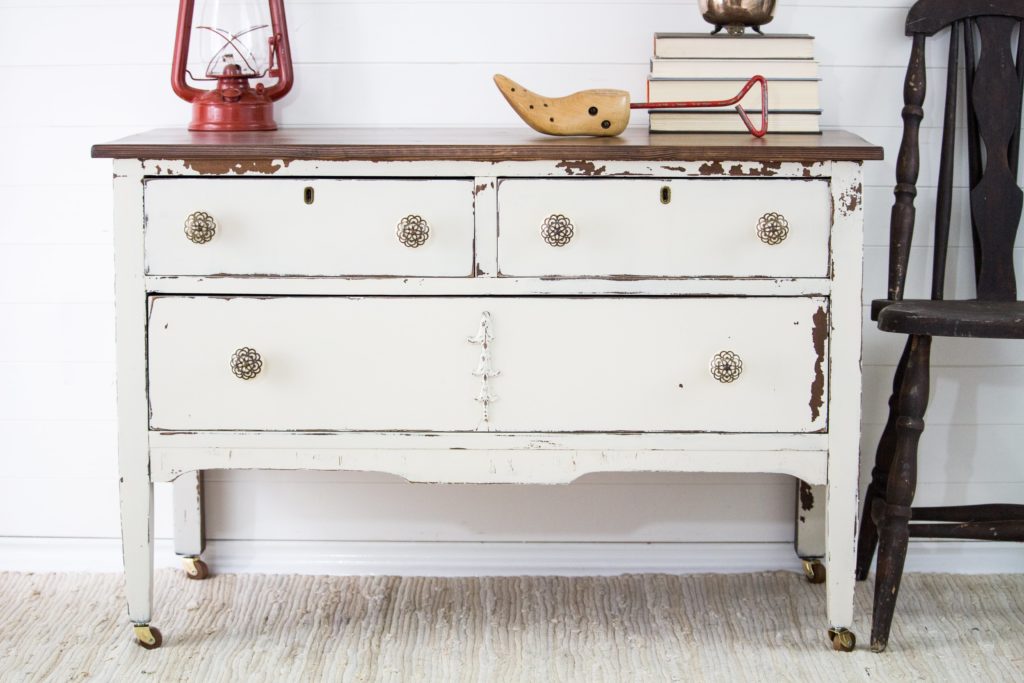
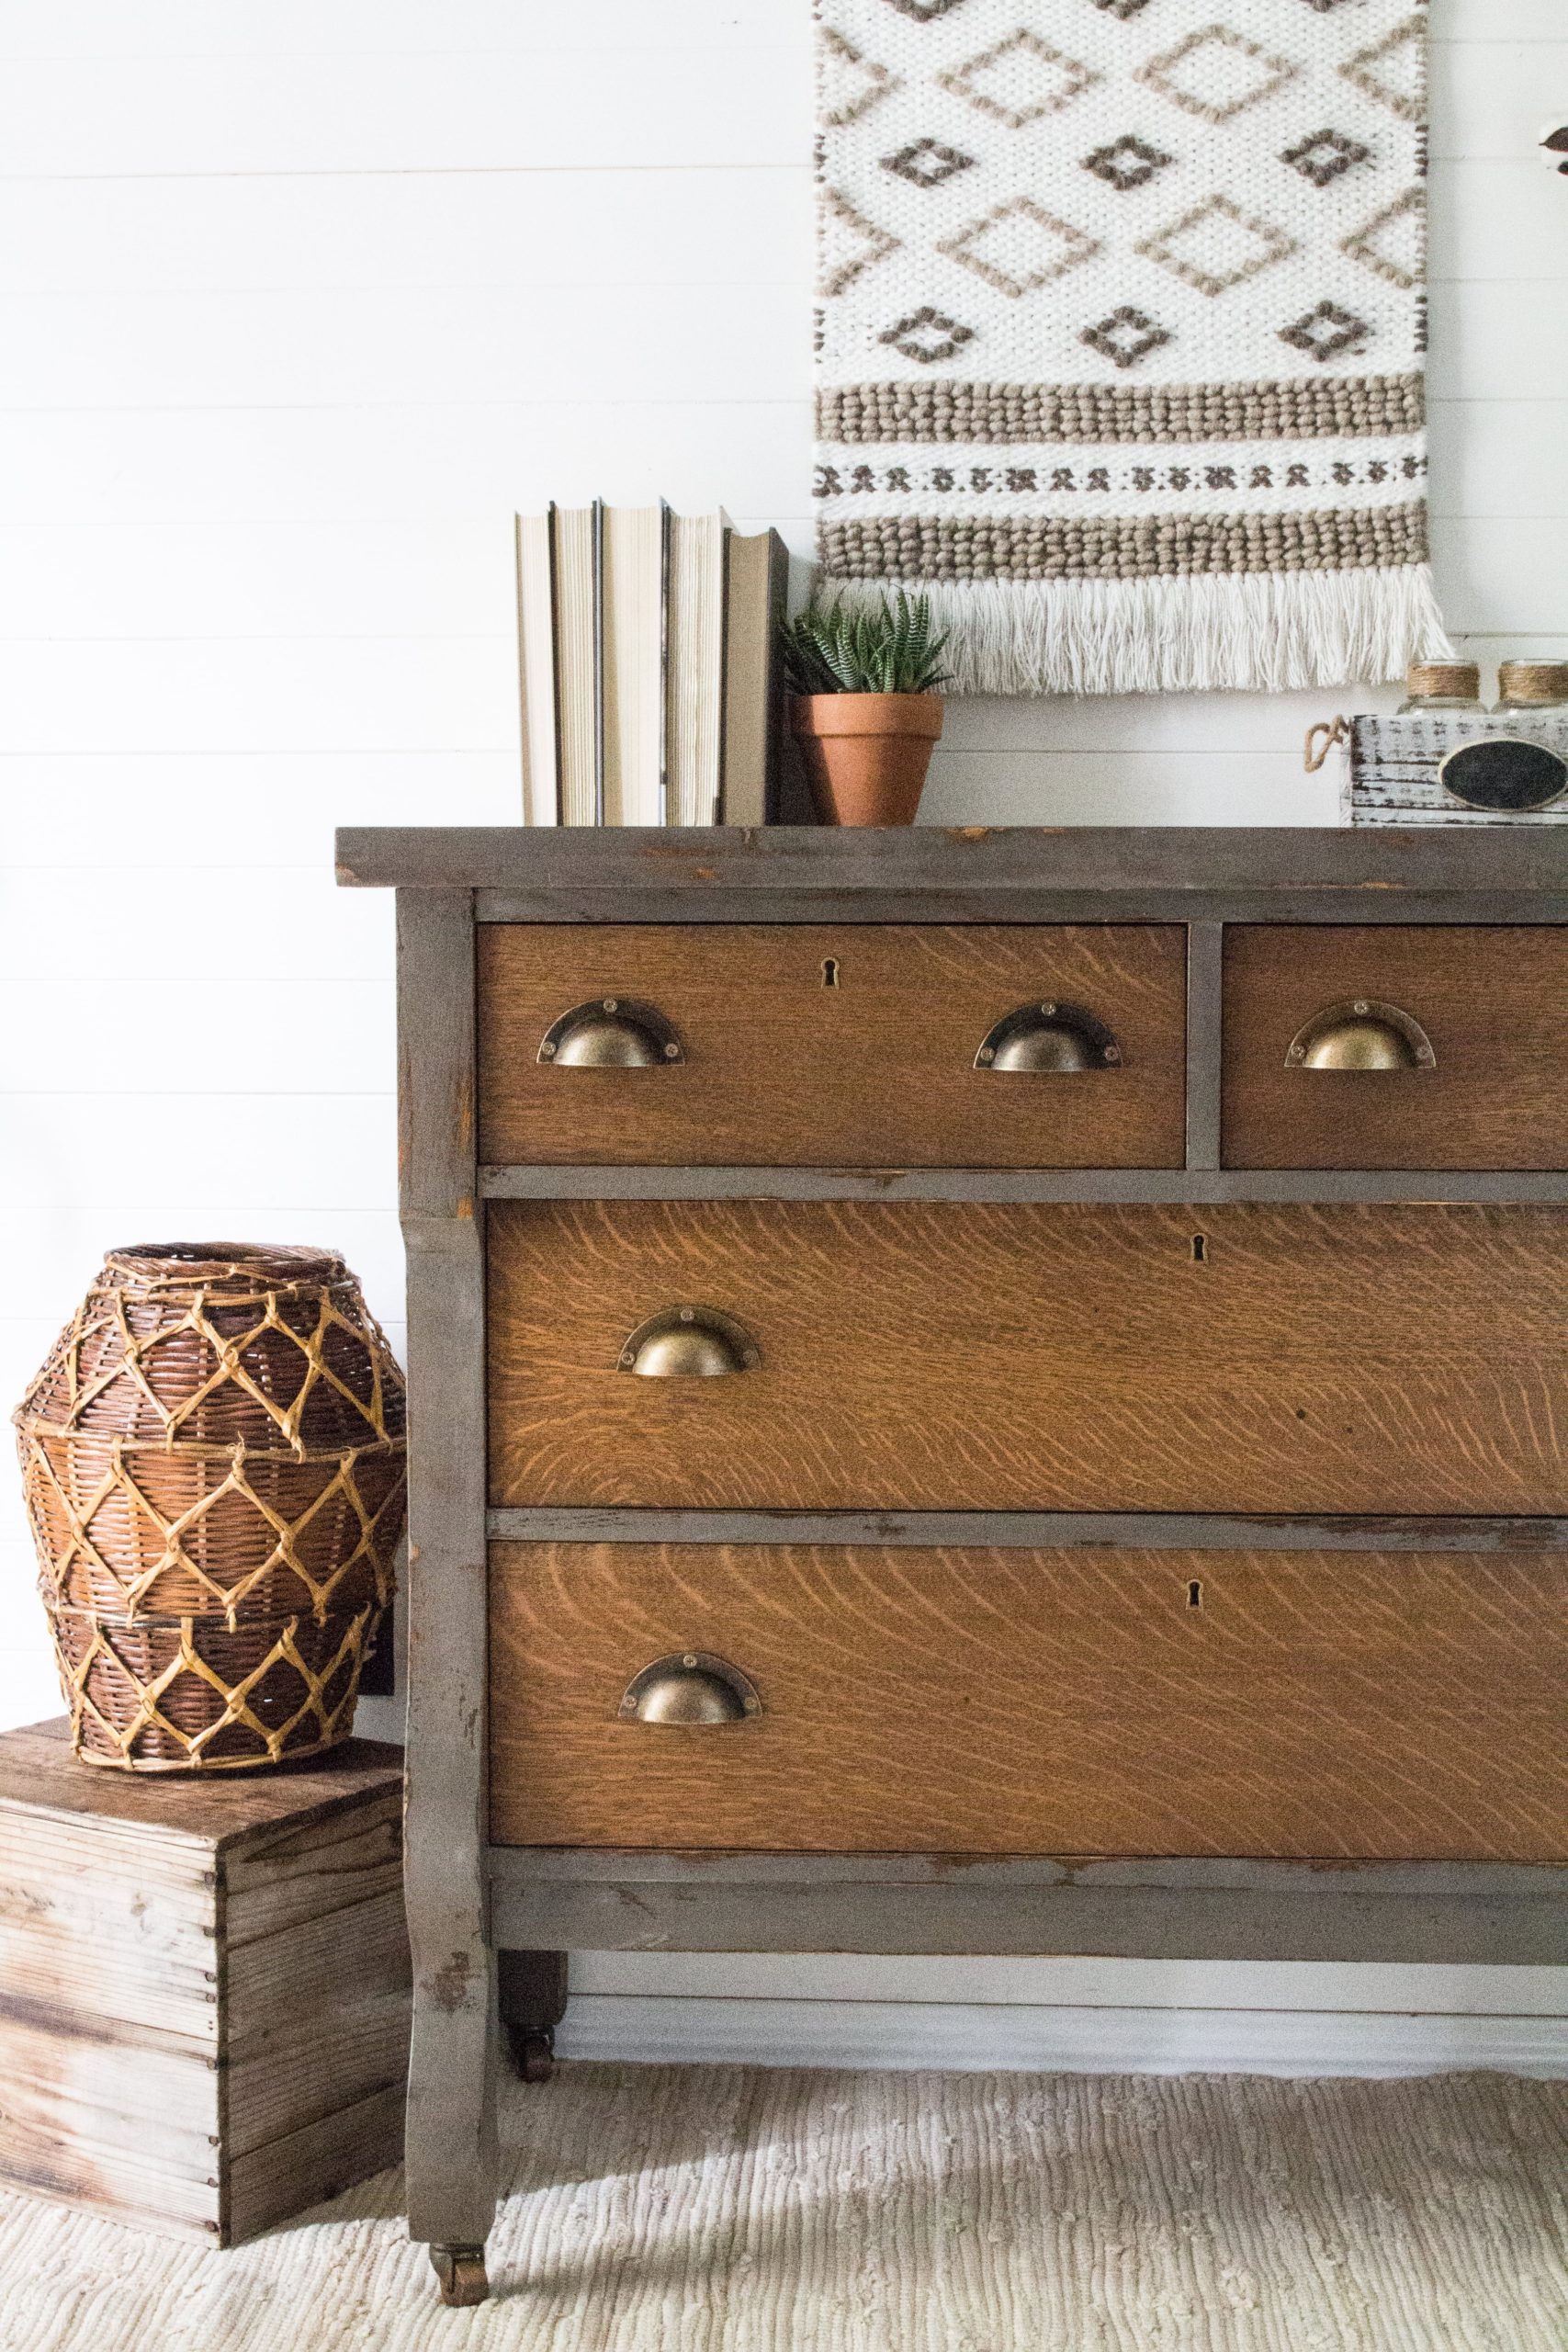
I really love how this lowboy has the perfect amount of chipping. It is rustic and it definitely has a farmhouse flare but it isn’t overdone. To ensure no further flaking, I seal pieces that chip quite a bit with a Satin Polyurethane coating. If your piece continues to chip after applying a topcoat, you can easily fix it by using a fine grit sandpaper and applying another coat of poly or clear wax.
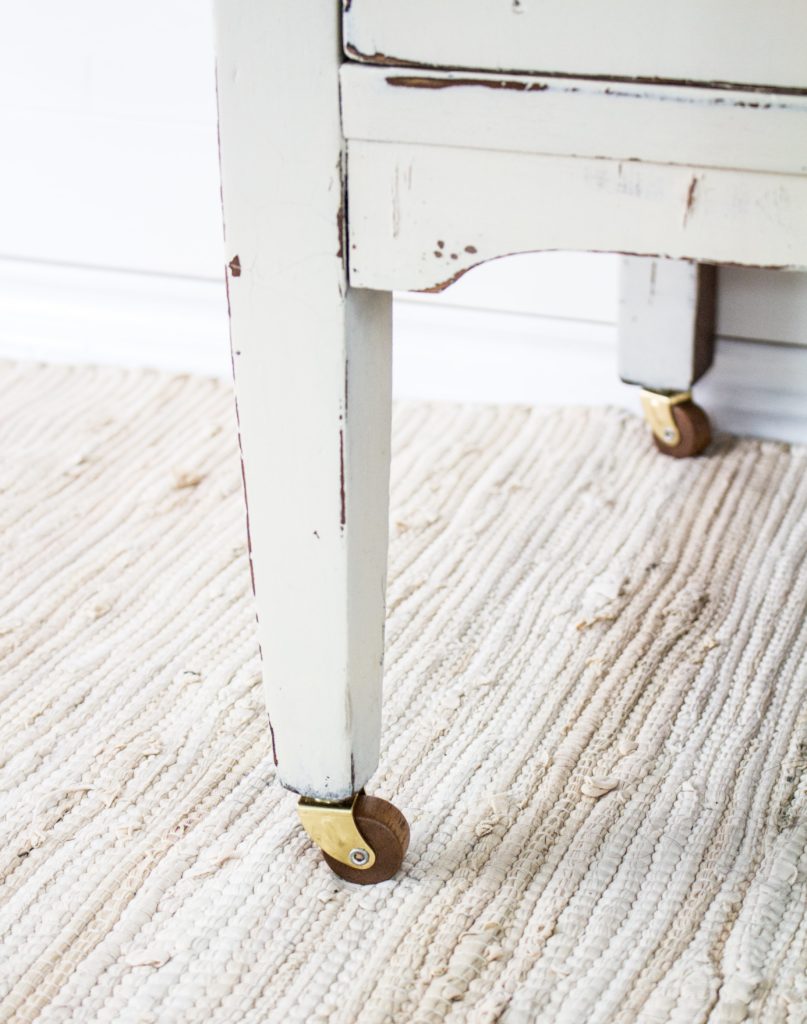
These casters were sent to me by D. Lawless Hardware. This is the place to go for vintage reproduction hardware. Their selection is amazing and I can attest to the quality of these wood casters. They definitely make your rolling furniture feel smooth.
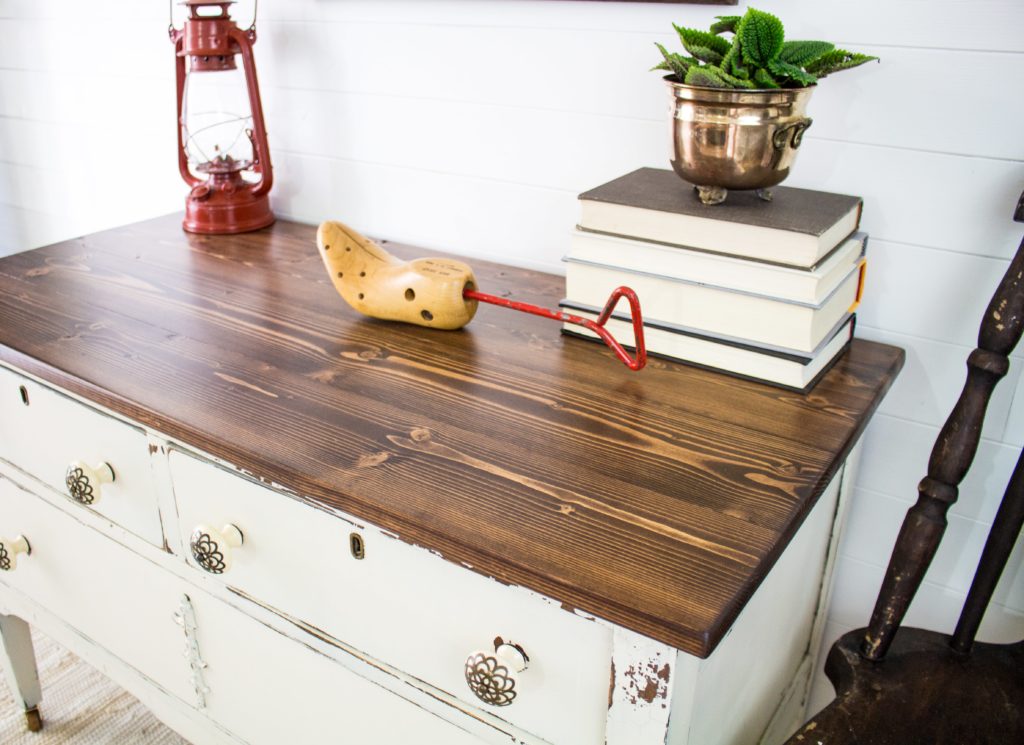
Look how lovely this plank wood top turned out! Im so happy we decided to go this route because even though this wood is new, the stain just brings out character from the grain, ties into the original finish underneath the milk paint and with the bronze tips of the knobs. It makes this piece FARMHOUSE for sure. We applied only one coat of Rustoleum’s Dark Walnut Stain and sealed with two coats of Minwax Satin Poly.
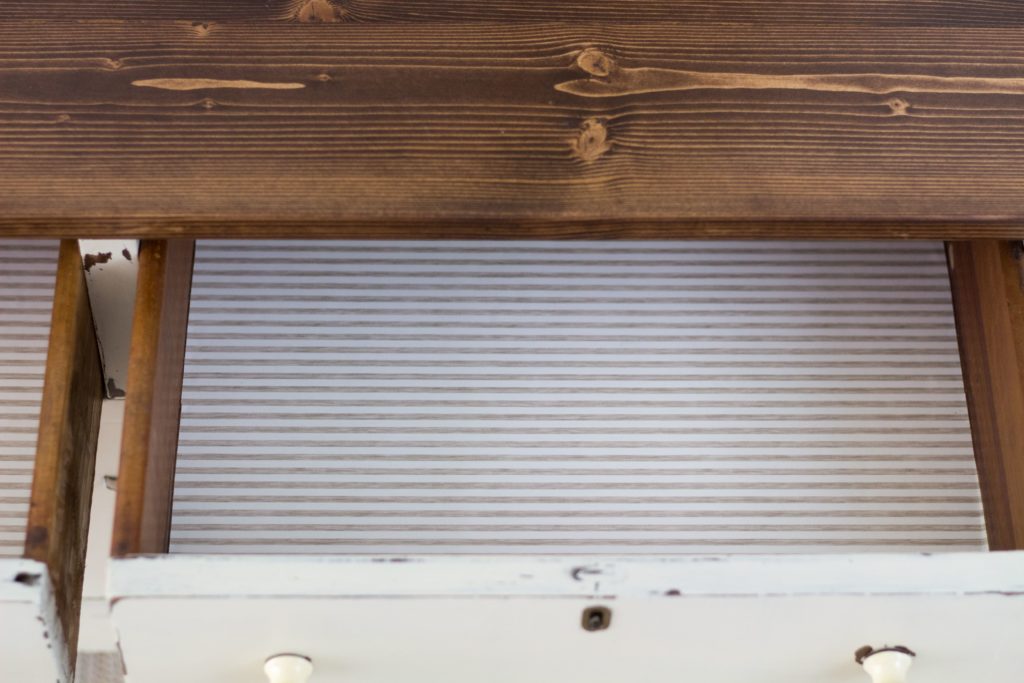
The only thing left to top off the farmhouse feel was to line the drawers with a cream and tan ticking stripe paper. I really love that this piece got a much needed makeover and in the end went to a great home with another one of our pieces. What was your favorite part about this makeover?
Unit next time…





Lovely piece! How did you attach the top piece of wood onto the existing top?
Hi Cat! We actually just replace the entire top.When you replace an existing top we just screw through the existing holes. Or we make new ones if the old ones are not sturdy enough to provide a tight grip. It really is quite easy.