It’s very rare that I have any time to paint furniture for myself. In fact, the last year has been so busy for us that I had to schedule some time on my own calendar to do a piece for myself. I also cannot seem to decide which buffet will look best in our house and we have literally gone through four different buffets in our dining room. Im pretty sure that as each new buffet spends time in my workshop, it will end up in my dining room anyway, whether it’s permanently or until the right buyer comes along. Either way, it’s safe to say…I have a thing for buffets (just like most furniture painters out there).
This post contains affiliate links.
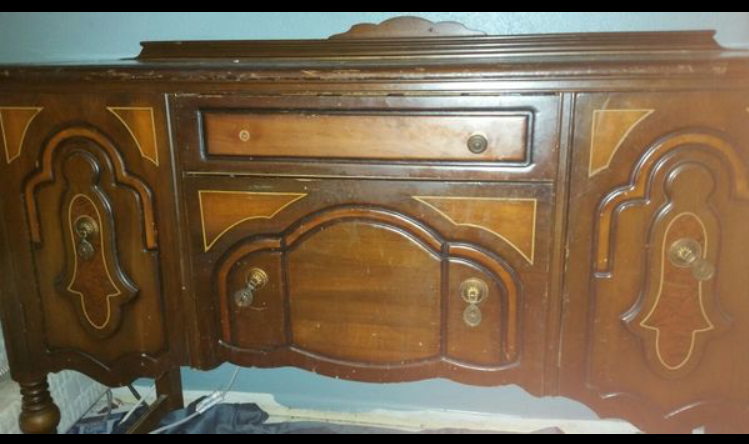
This is the before photo of the buffet we decided to keep (currently) for our dining room. I haven’t gotten around to focusing on decorating one room since we have moved in so for now, the focus is on our dining room. Our walls have been repainted white, so I still wanted something light and bright for this piece, just not plain old white.
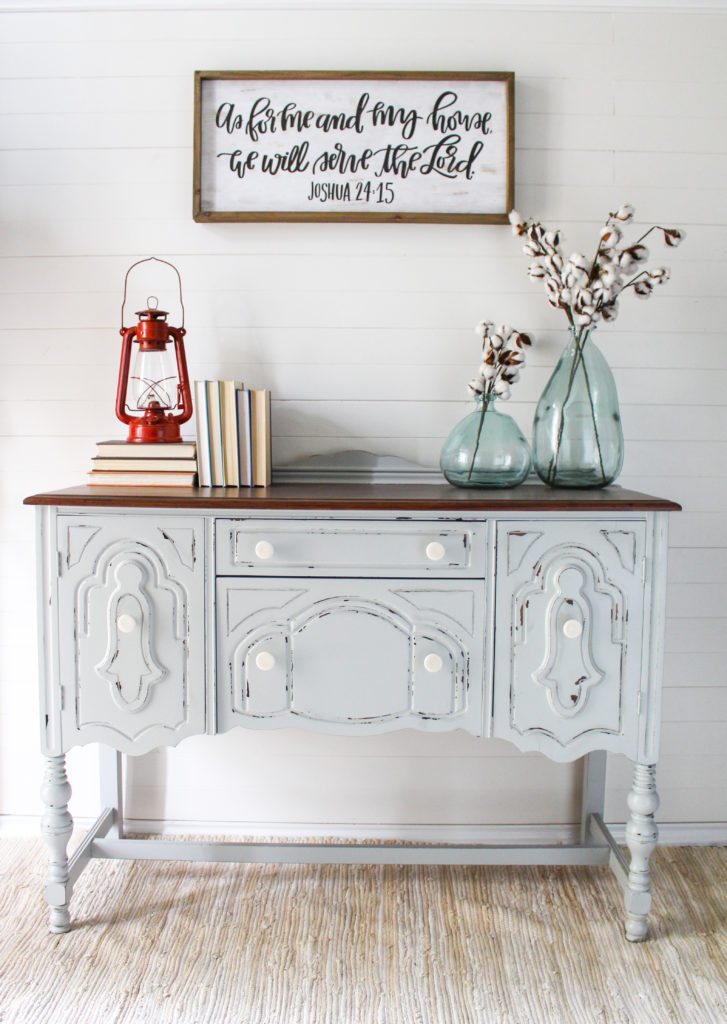
The Prep
Fusion Mineral Paint has definitely become my go-to paint of choice. It is so easy to work with and putting it through a sprayer means my pieces take no time at all. I do have to spend more time on prep because the paint levels so smoothly, you can see the furniture’s character through the paint. For our buffet, I was ok with that, but made sure to lightly sand with 220 grit paper to make sure the paint would adhere. Since I knew I wanted a chippy and distressed look, I used the same technique on this piece using Shellac as I did in this tutorial in my Bedford Dresser blog post. There was some bleed through from the previous finish so I had to do multiple layers of shellac.
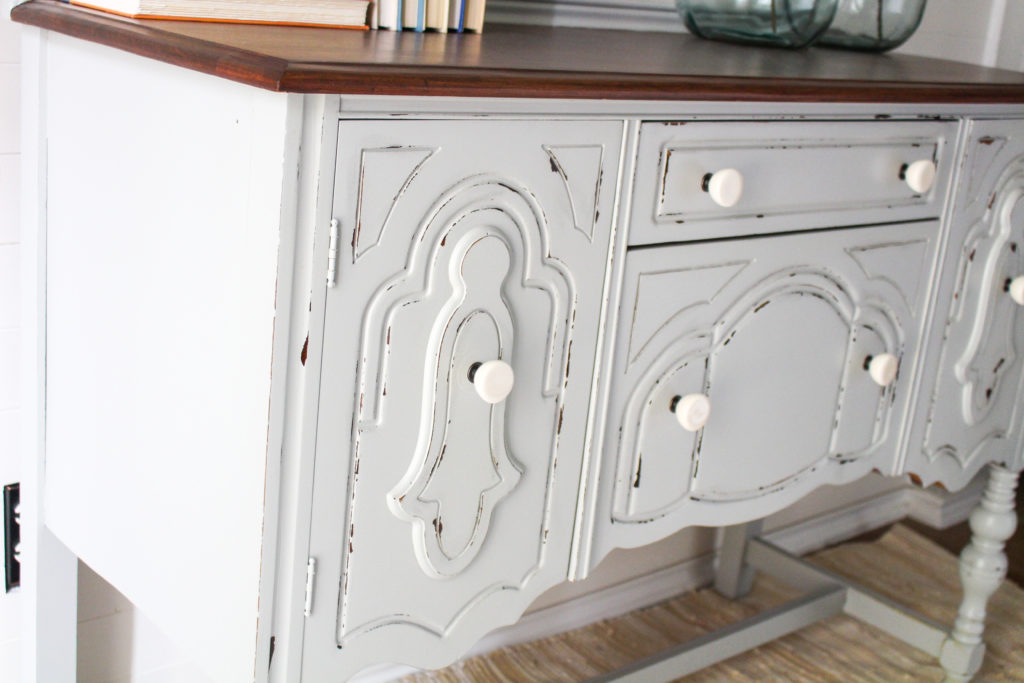
The Look
I sprayed three coats of Fusion’s “Pebble” from the Michael Penney Collection. This gray is a very soft and cool gray that looks blue or white in some lights. After the last coat was dry to the touch, I used my orbital sander with 320 grit to go over the flat spots to smooth out any specks, and over the raised edges where I wanted distressing and chipping to be prominent. The shellac underneath the paint allowed the raised areas to chip more easily than some of the flat parts. After distressing was finished, I sealed with three coats of General Finishes High Performance Top Coat in Satin. This is by far the most durable top coat I have used for furniture.
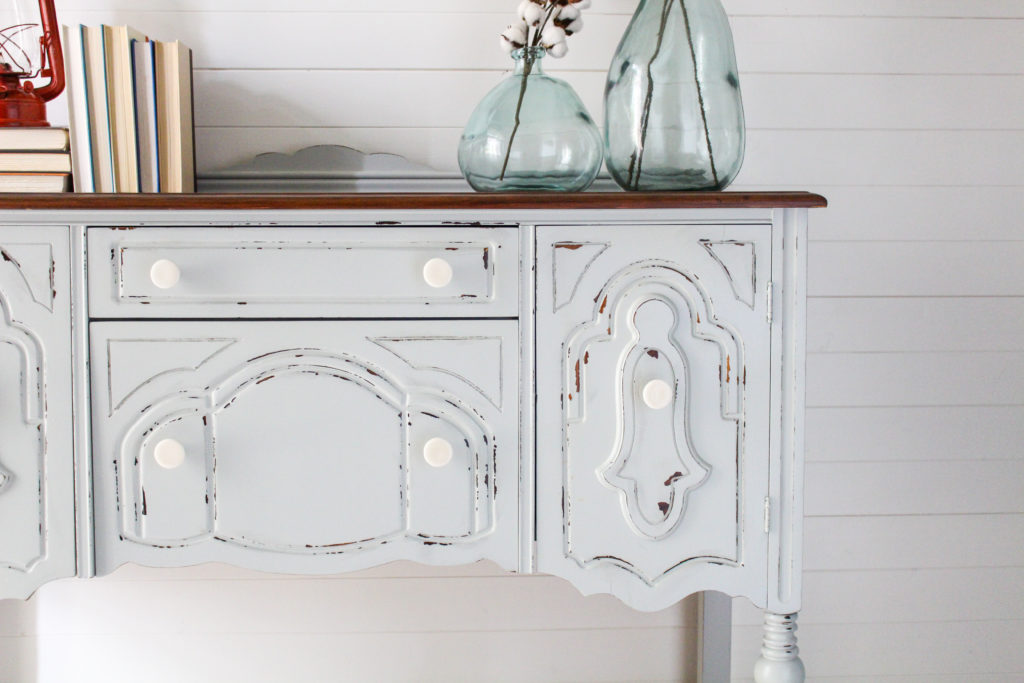
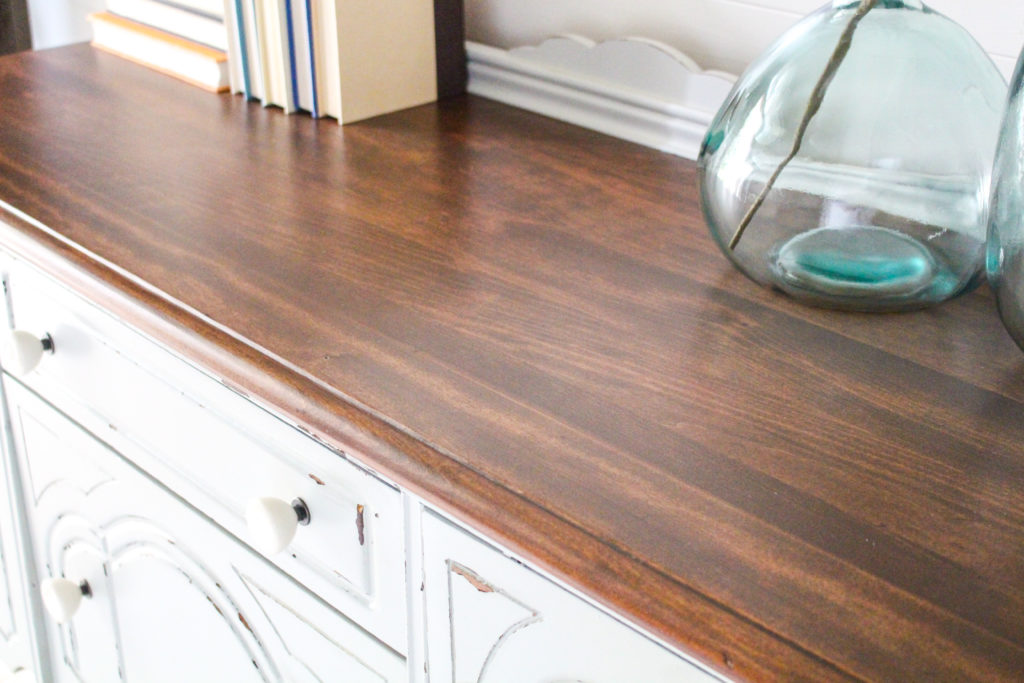
The Top
For me, tops are kind of like a different part of the same buffet that should be highlighted, especially if you intend to stain it. If you think about it, aside from the front of the buffet, the tops are the second most visible and most used parts of the buffet. Therefore, the consideration that should be taken into account when it comes to prepping and finishing is just as important, especially if you decide to leave it unpainted. So for this piece, I stripped the previous finish and sanded away years of marks, scratches and dings. I go through different grits starting at 120 and finishing at 220 to make sure the wood grain is immaculate. I made a custom mixed stain using Rustoleum’s American Walnut and Dark Walnut to give it a richer, warmer tone.
Finishing Touches
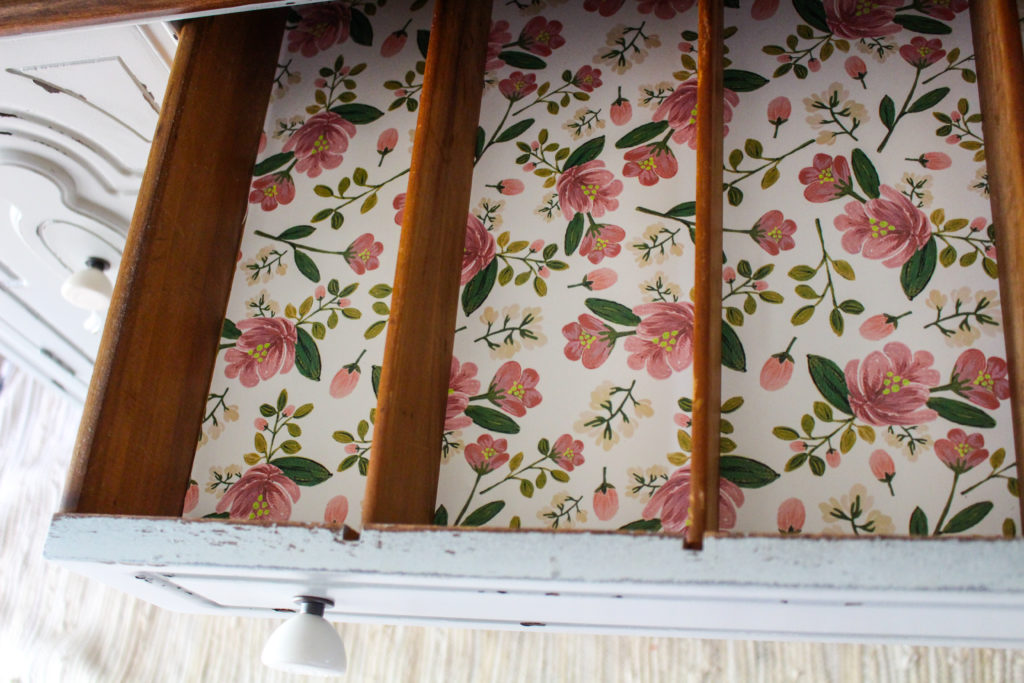
I ordered this pretty spring blossom paper from Spoonflower. I don’t even know the name of the artist or the title, but I came across an ad for it on Facebook and I knew that it would definitely be paired perfectly with this buffet.
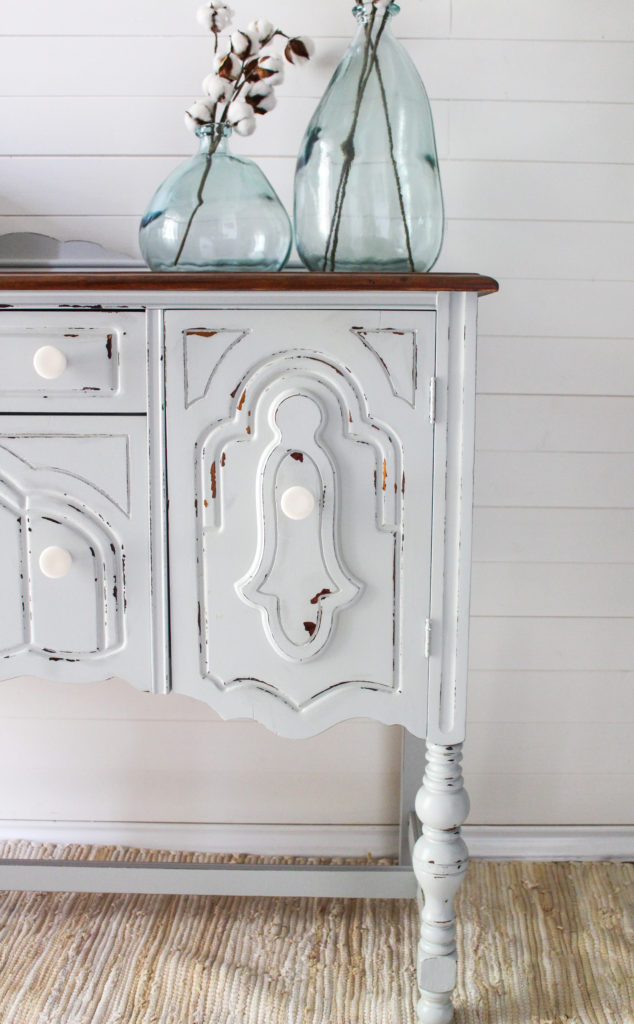
The knobs are just plain white, tulip style knobs I got from the clearance section at Target. I love round white knobs and they go with just about any kind of furniture you can think of. I got these in a pack of 10 for something like $5 so the deal was also too good to pass up.
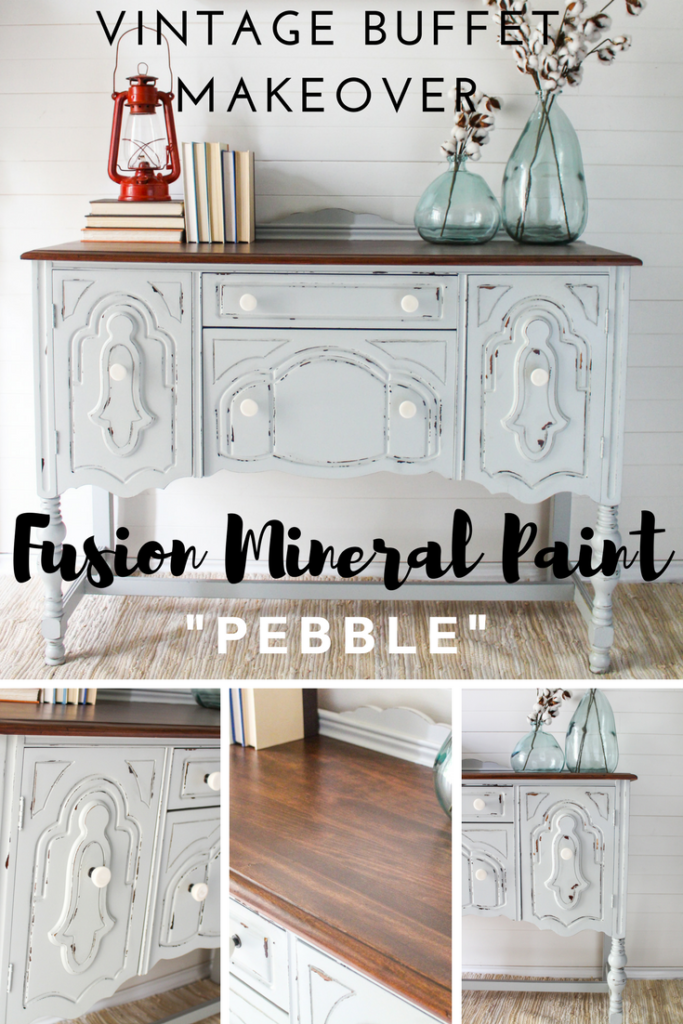
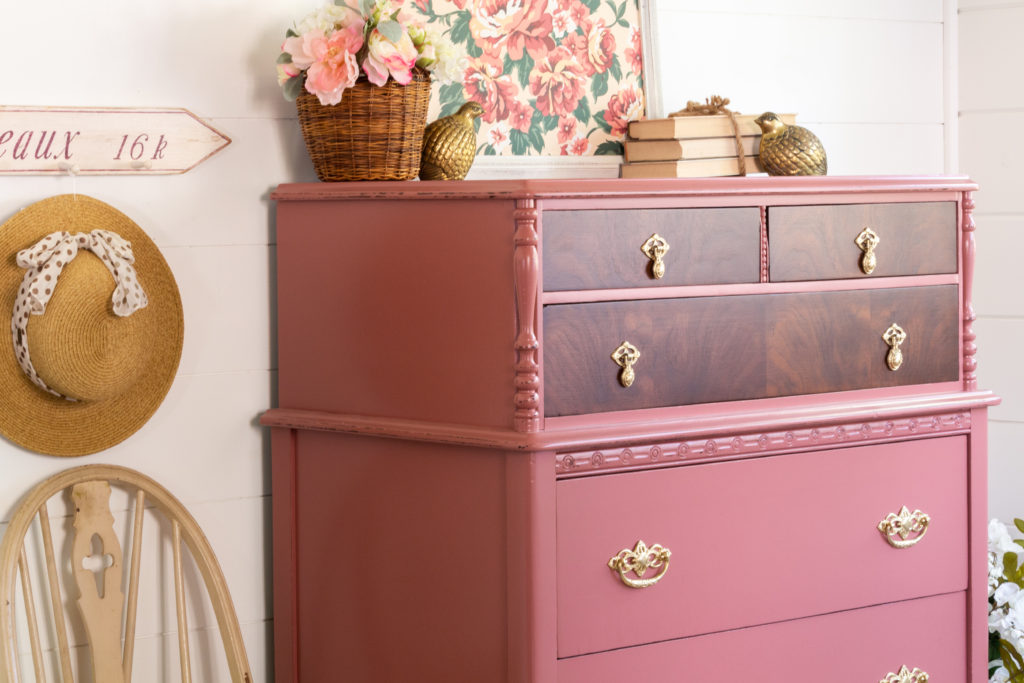
Loving the way this buffet turned out? Be sure to pin these photos to help share the details of how this pretty buffet got it’s makeover!




Absolutely love this one, Crystal!!
Thank you Carrie! <3