Ok…I’ll admit. I’m a sucker for primitive pieces. If you have ever been antiquing and looking for a piece of furniture that just screams literally handmade, chances are you were searching for primitive style furniture. If you don’t know what the definition of “primitive” is in relation to furniture, one way to describe it is a piece of furniture that was made without modern tools. No drills, no electric saws nor planers…everything was literally done by hand. Primitive furniture also refers to furniture made before the era of mass production, which means these pieces are very old, very rustic and built to last.
This little desk was brought to brought to me from a repeat client who was pulling together a rustic industrial look for her son.
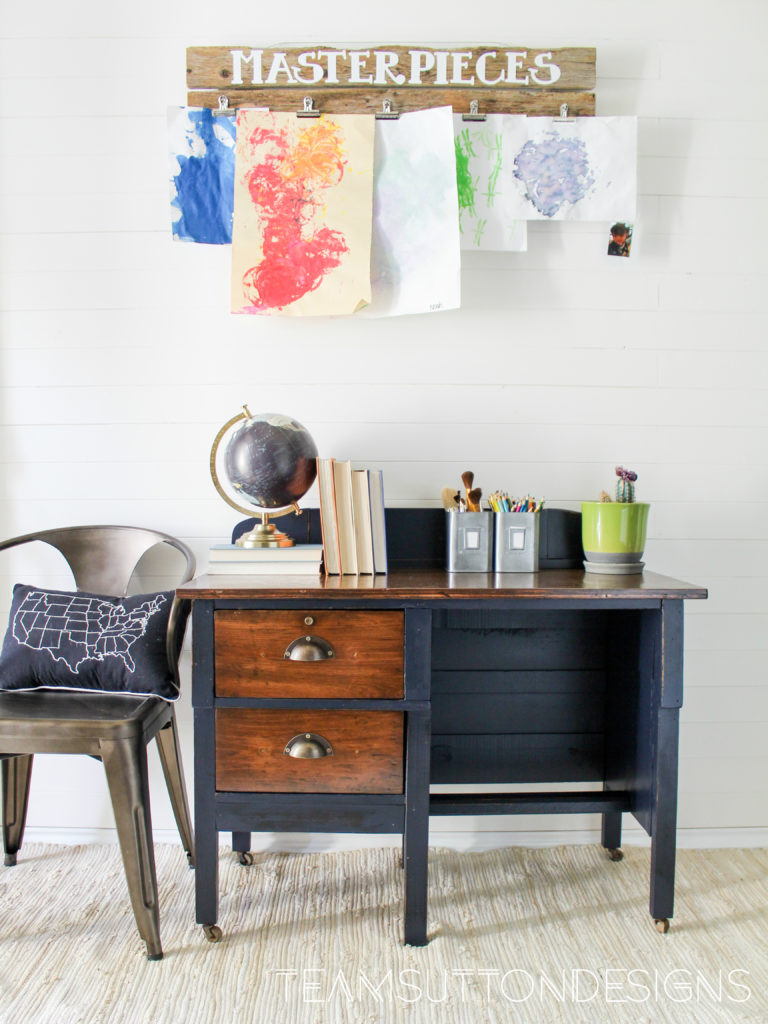
The first clue that this piece was primitive, was the way the top was attached. The original top was bowing and the planks were separating, so it was obvious a new top was needed. The backsplash was also attached with extremely large screws, fastened with a brace.
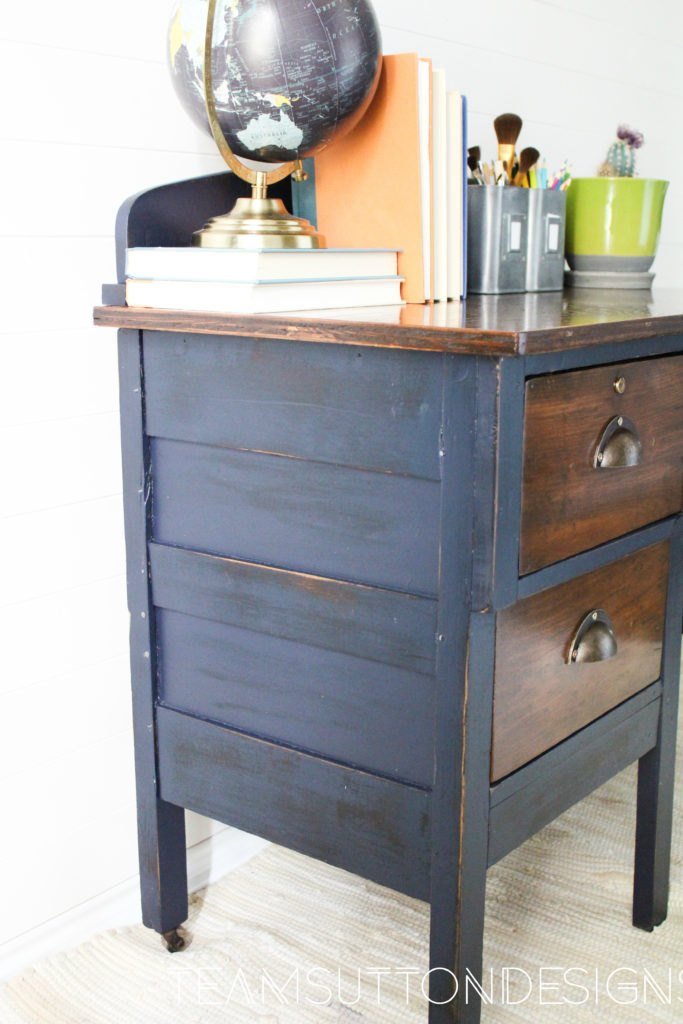
Additionally, some of the side supports on the external and internal surface were falling apart, but just needed re-nailing. Pulling out those 2 inch nails from the support pieces was another dead giveaway of it’s era. The nails resembled more railroad spikes than they did furniture nails. The desk had been previously painted black, so all it needed was two coats of General Finishes Coastal Blue Paint, some distressing with my orbital sander and two coats of General Finished HPTC in Satin to seal.
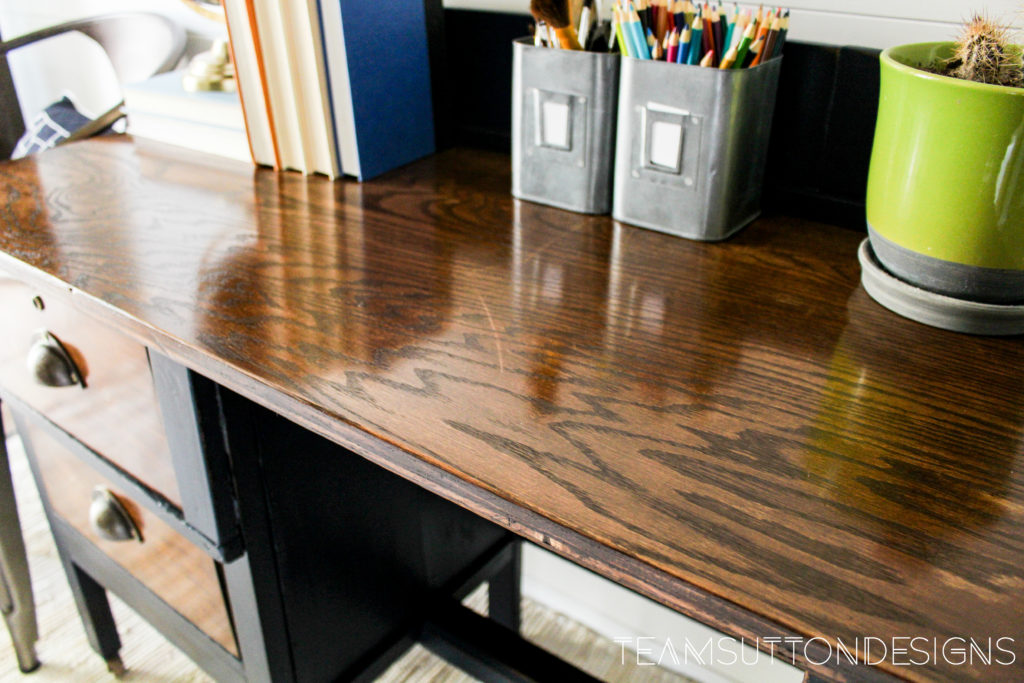
Replacing the top was really simple. It may seem like a daunting task if you have never done it before, but really all you need is a drill and some flexibility. I had my local hardware store cut down a sheet of oak plywood to the size of the original top. After I placed it where it was ready to sit, I used the palm of my hand to put pressure on the top and avoid it moving during the attachment process. Then I used counterforce from the drill to push the screws in upward and make the first attachment. If you are attempting this on your own piece and feel like you haven’t quite got it as secure as you need it to be, just lay your piece on it’s back and try again from a different angle.
I smoothed out the edges with an orbital sander, added couple coats of Rustoleum’s Dark Walnut stain, and two coats of Minwax Oil Based Poly and the top is good to go (after a few days of curing of course).
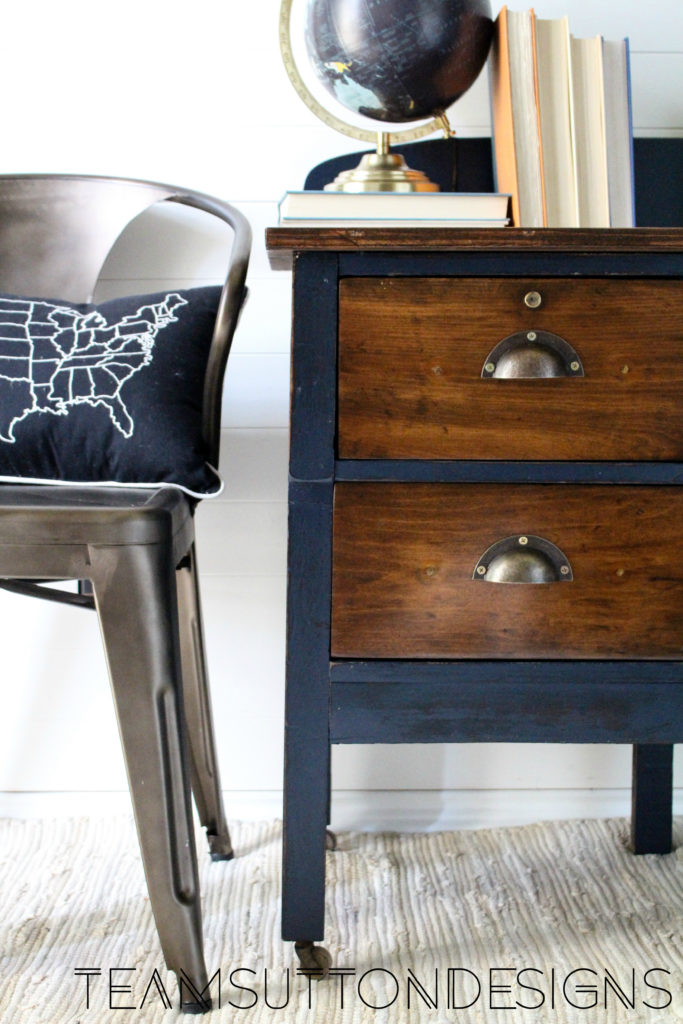
The drawers are all original wood and took the same stain. I matched her hardware to the Rustic Industrial Boy’s Dresser in Little Lamb I did for her to coordinate but not be too matchy-matchy.
I think the casters were added at a later date, because looking at them, their installation was a little too “new” for this piece. But ultimately, this desk went to a very happy little boy who has a piece of history that has now been customized just for him!




Leave a Reply