Don’t you just love when you think a piece of furniture is going to be a quick and easy project? I feel like the one’s that usually “look” like all they need is some sanding and paint, usually end up being the ones that do you in.
This post contains affiliate links.
I found this cute little dresser on offerup. From the looks of it, there was absolutely nothing wrong with it. It even had original hardware and casters and at some point a mirror, but nothing major.
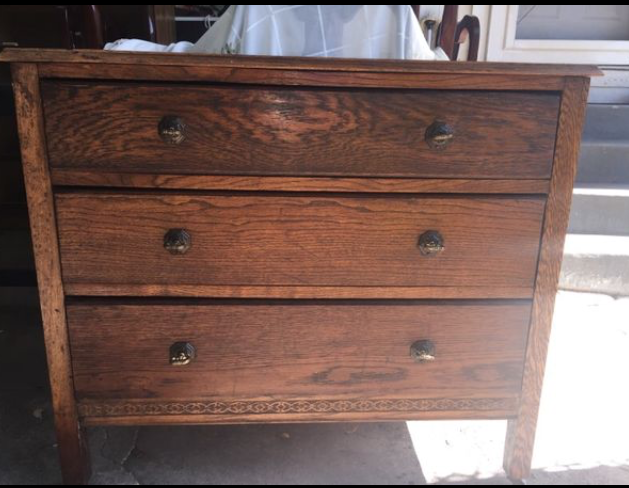
The top had some cut-outs towards the back where there was some DIY mirror brackets, so my plan was to trim the overhang (and the cut-outs) off and make the back part flush with the dresser. Well considering this was my first time ever using a circular saw, lets just say it wasn’t the best idea and forced me to remove the dang top completely and start over from scratch.
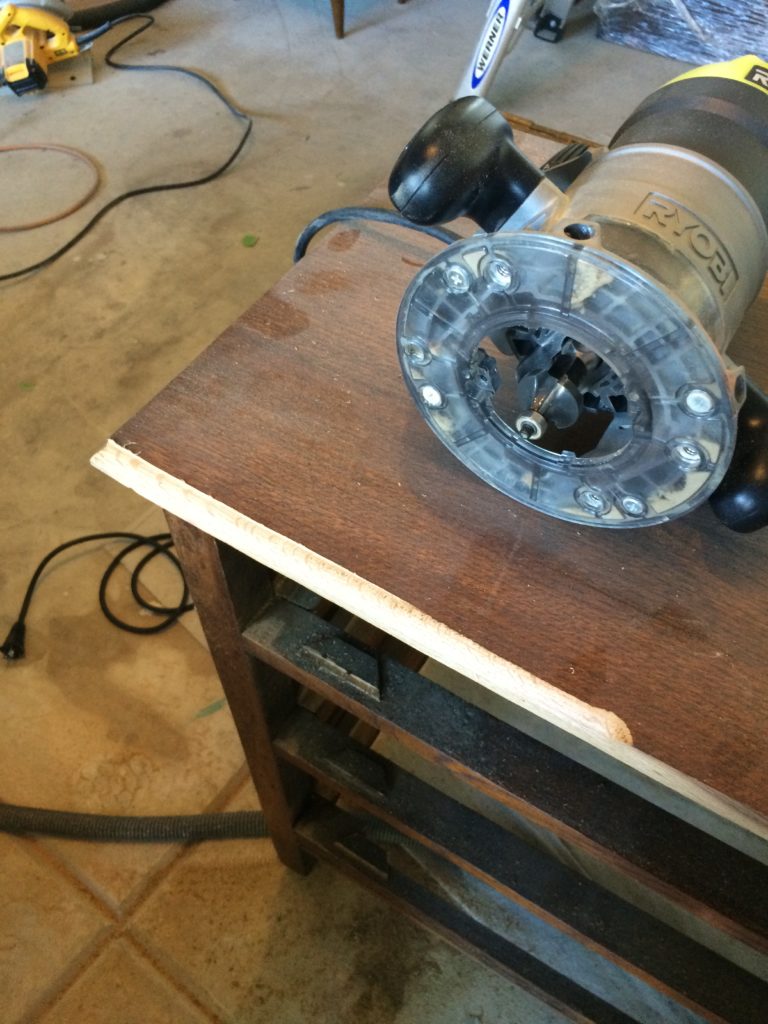
So I went to Lowe’s and had a furniture ready piece of birch plywood cut down to size for me. I knew I was going to have to route it, so I practiced on the old top first before routing the new top. This was also my first time using a router, but it was easier than I thought it was going to be. As easy as flip the switch on, make contact with wood, and keep an even steady pace and pressure.
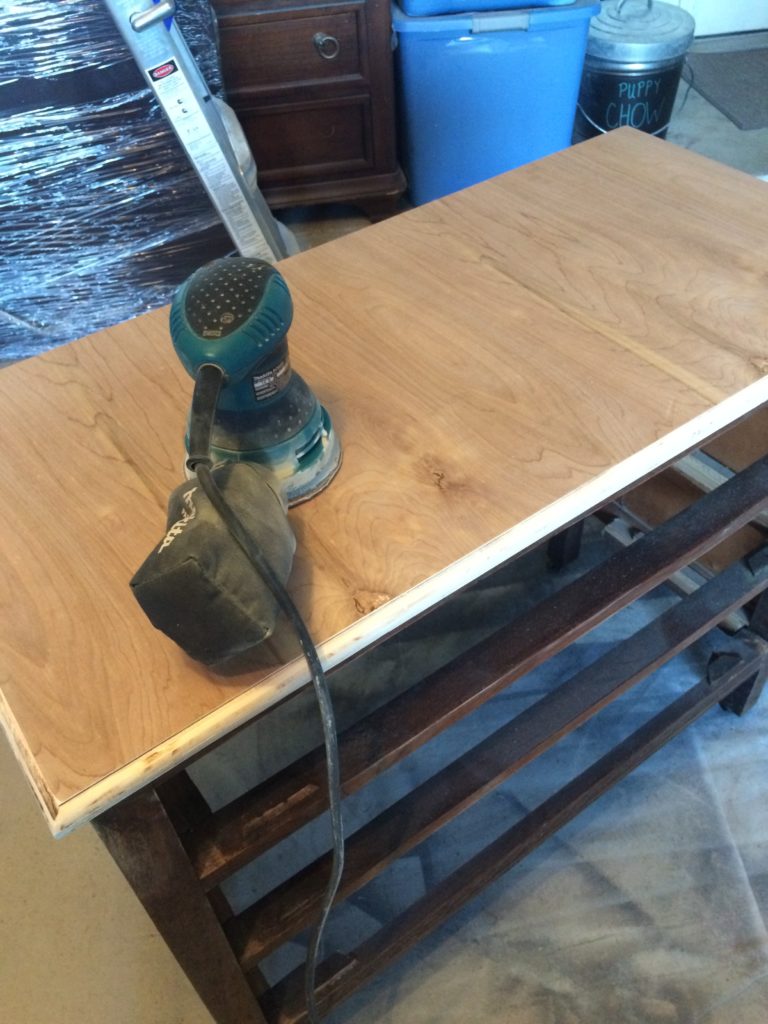
Here is what the top looked like all routed out and ready for sanding. If you decide to add a new top to an existing dresser, make sure you sand the lip of the top when you are done. Otherwise you will be left with rough spots from the router and it just does not feel or look great when running your hand across it to check for a smooth surface.
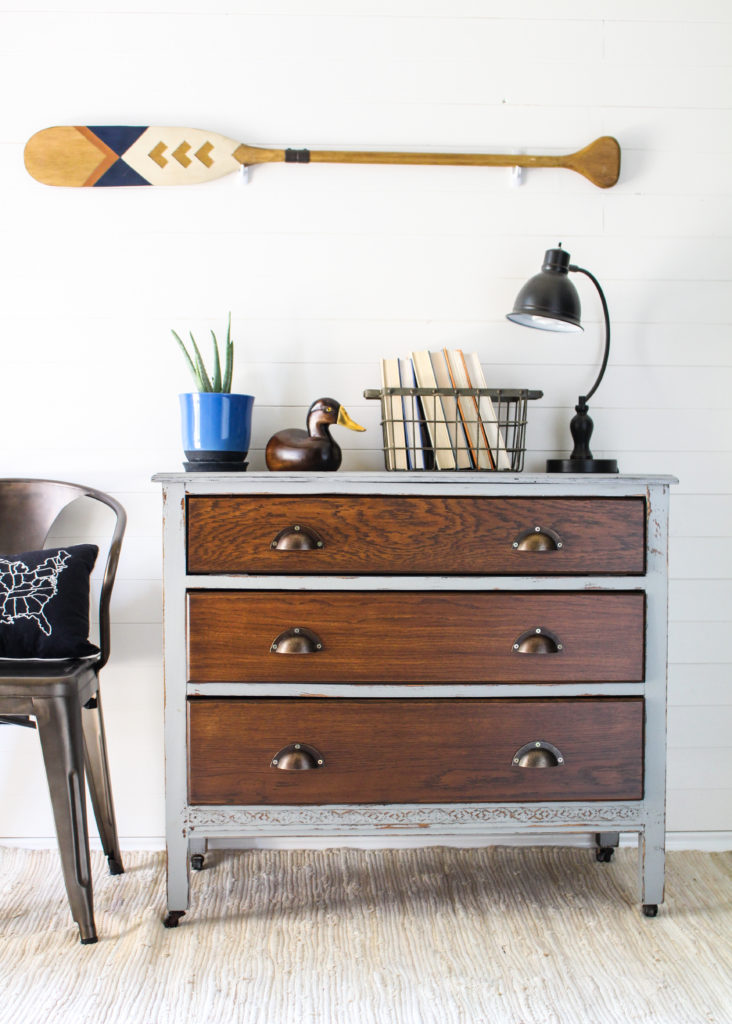
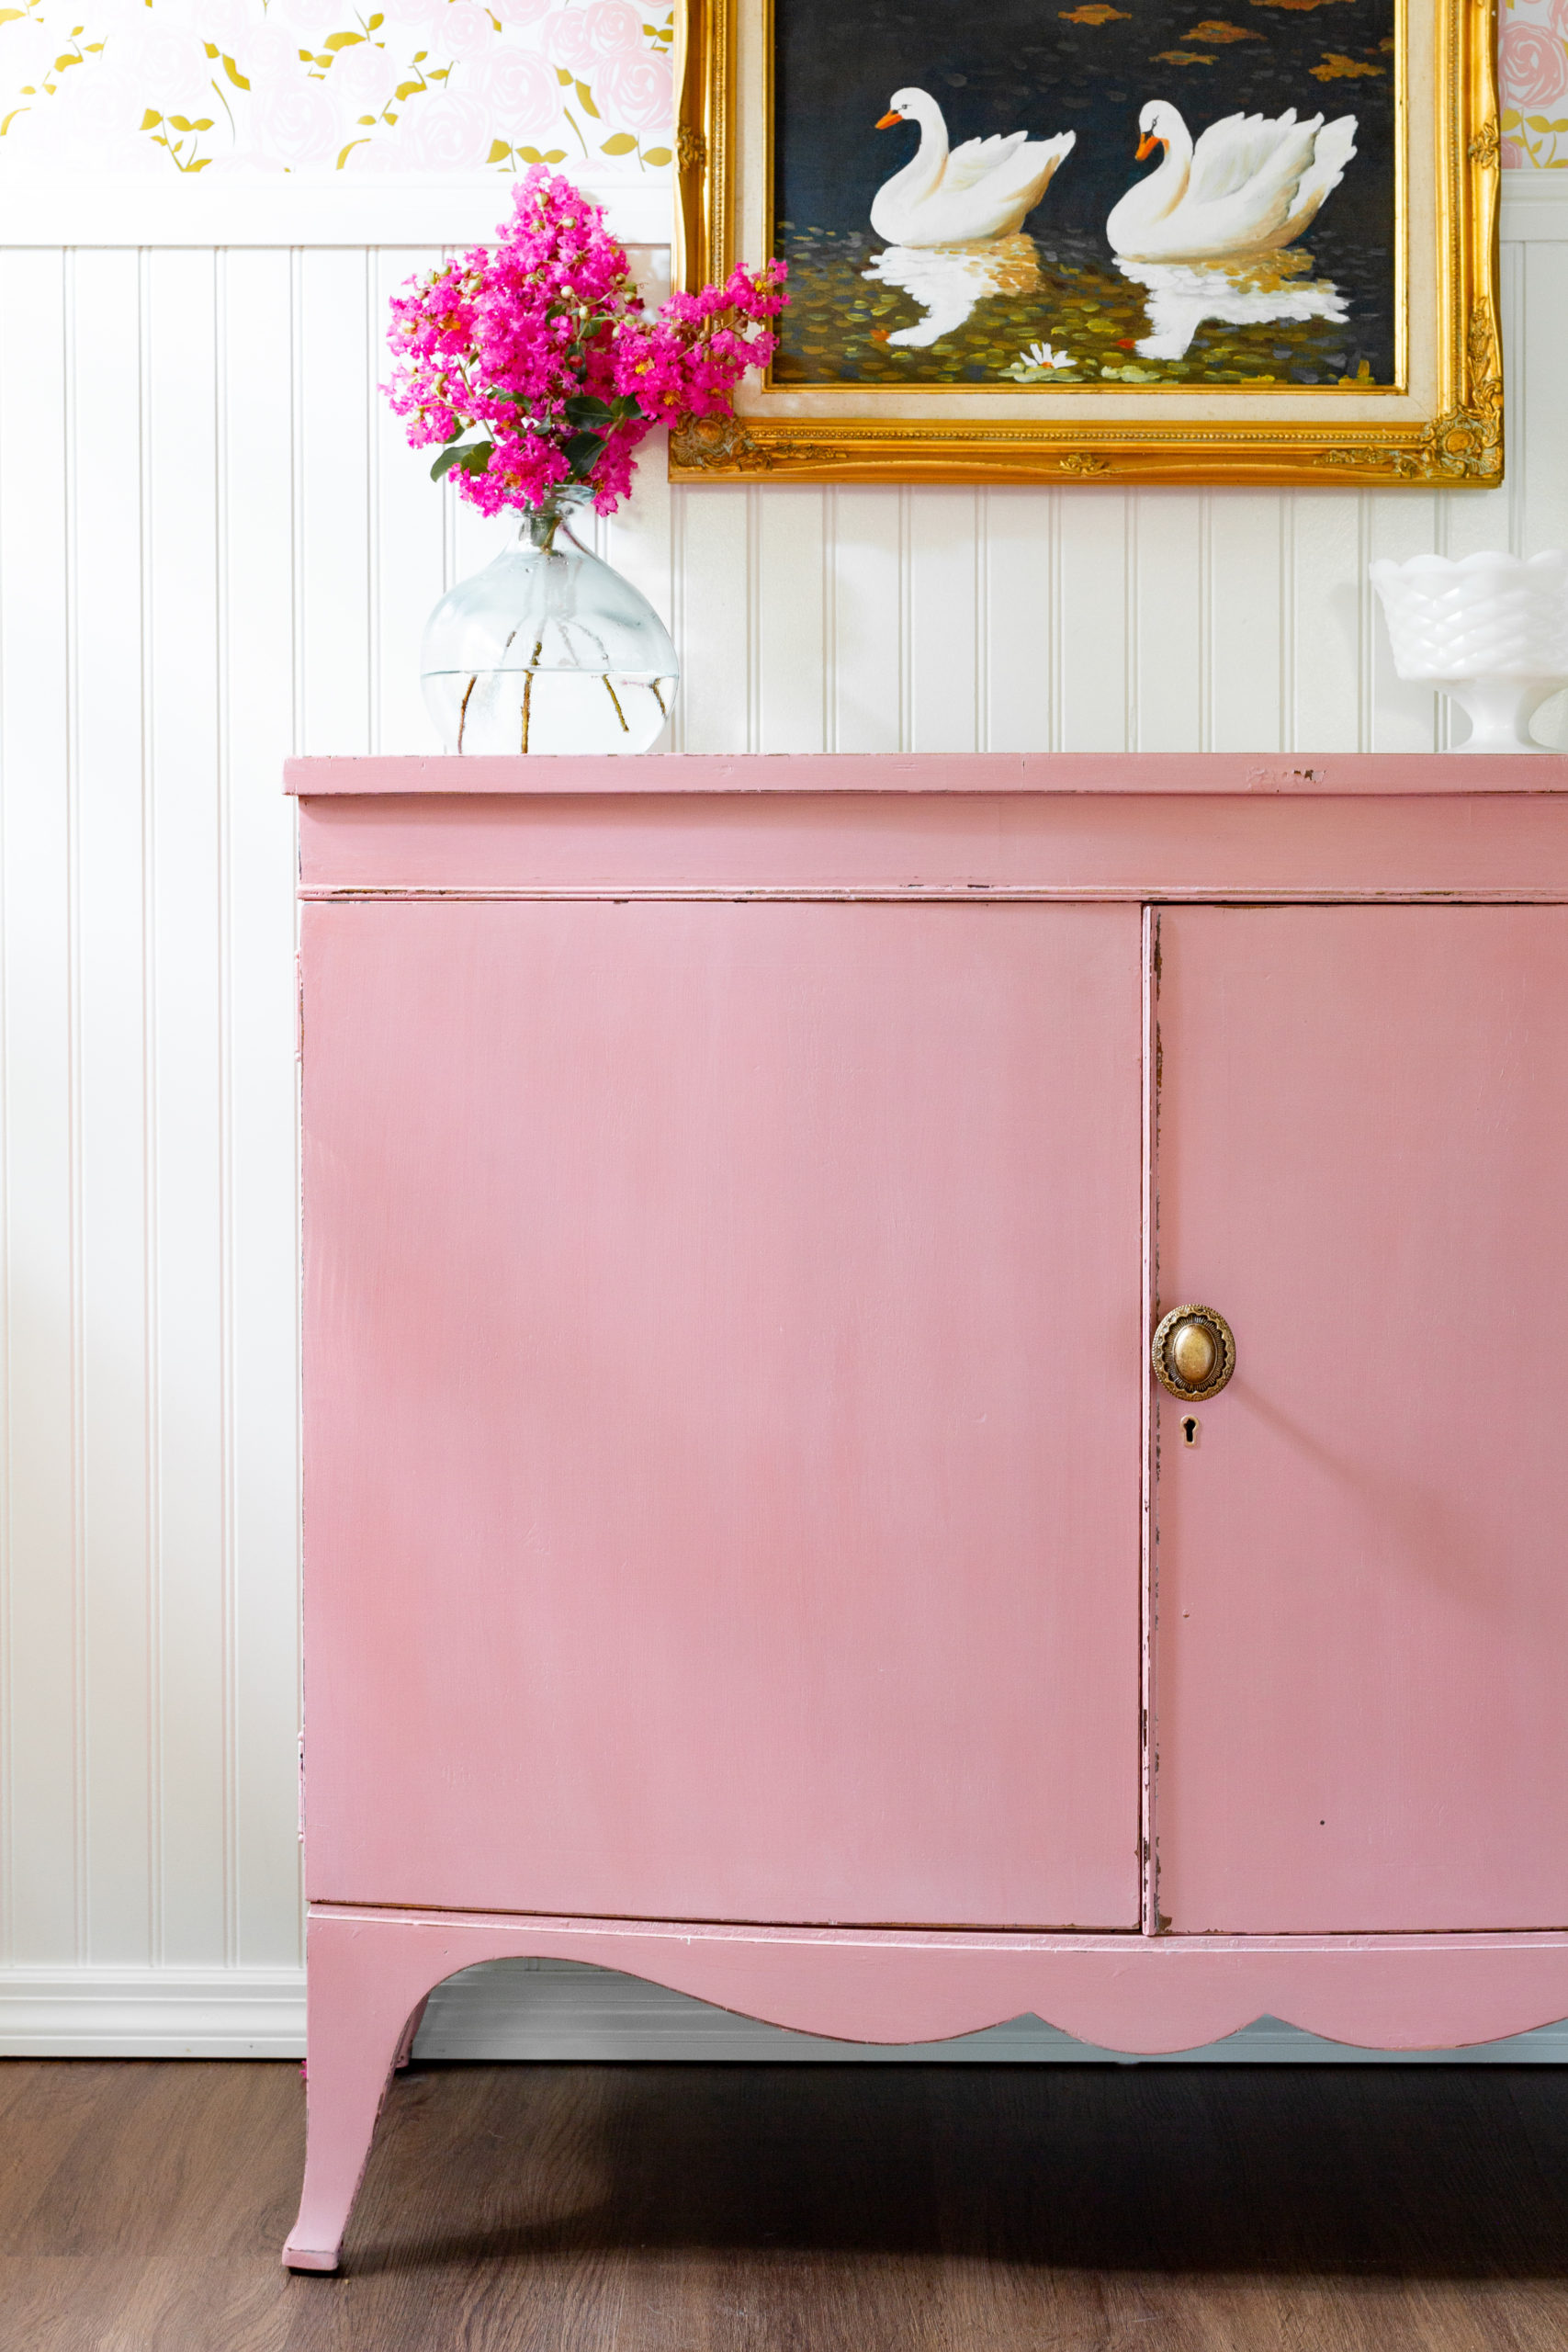
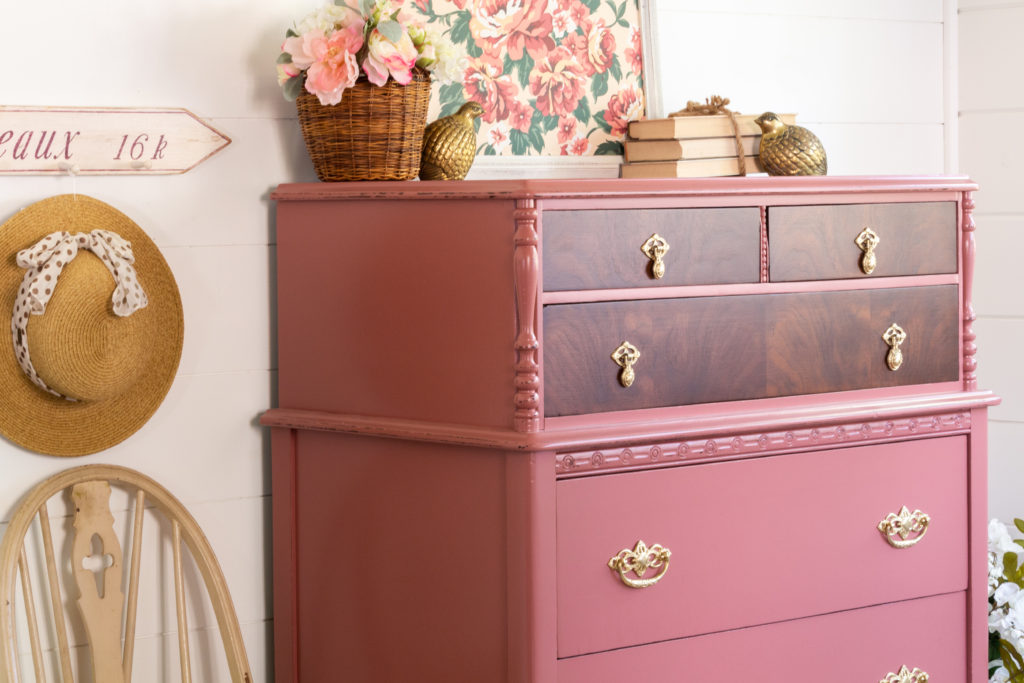
My original plan was to go with Fusion Mineral Paint’s “Damask” which is a beautiful muted pink with peach undertones. I wanted to make this dresser for a girl! But a client spotted this piece and requested just the opposite. To make it a rustic industrial dresser for her son. Instead I went with a two toned look using General Finishes Gel Stain in “Antique Walnut” and for the base Fusion Mineral Paint’s “Little Lamb” from their Tones for Tots Collection.
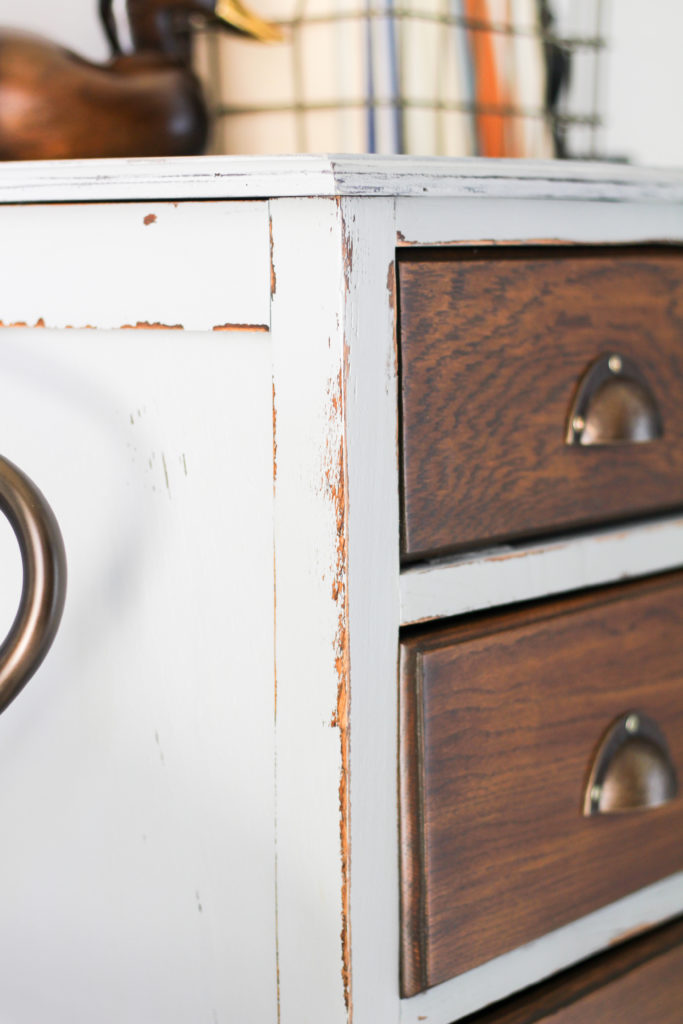
I used the orbital sander to distress after a couple of hours of dry time. I find that using this method rather than waiting the full 12 hours, give this sanding more of a chippy look where the paint didn’t fully dry.
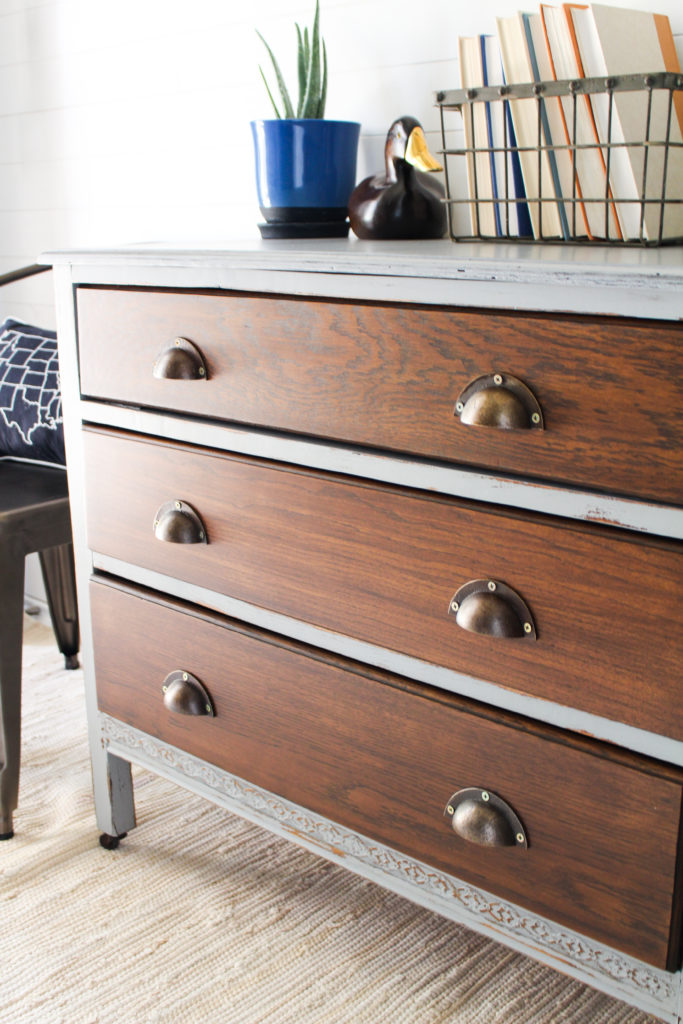
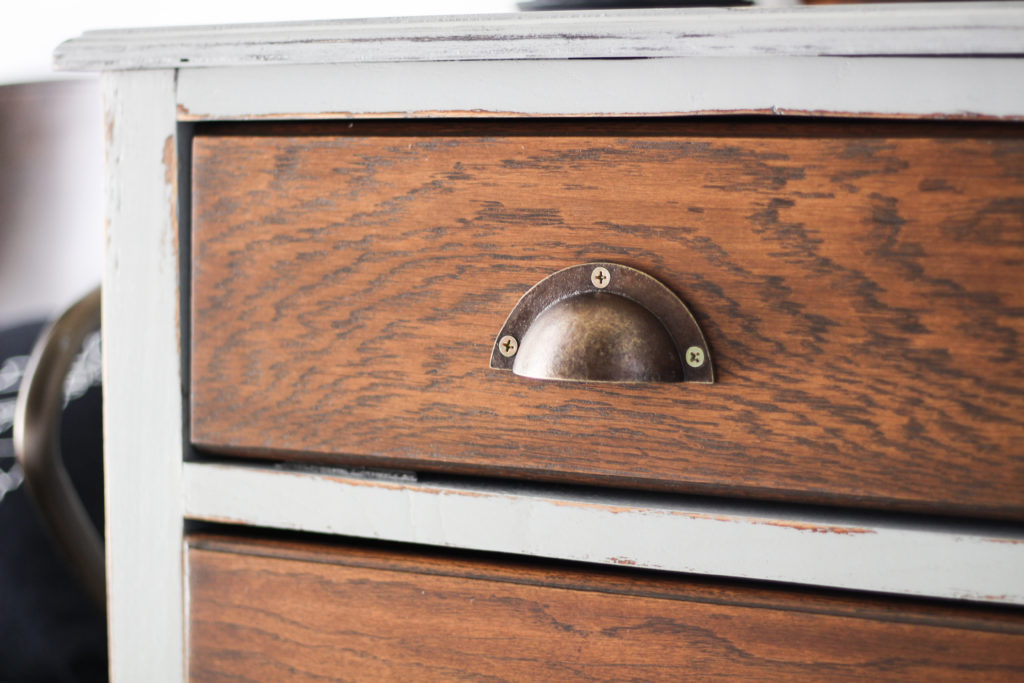
My client loved these rustic cup pulls I picked up from Hobby Lobby. She especially loved that the screws were visible, because it added to the overall industrial feel.
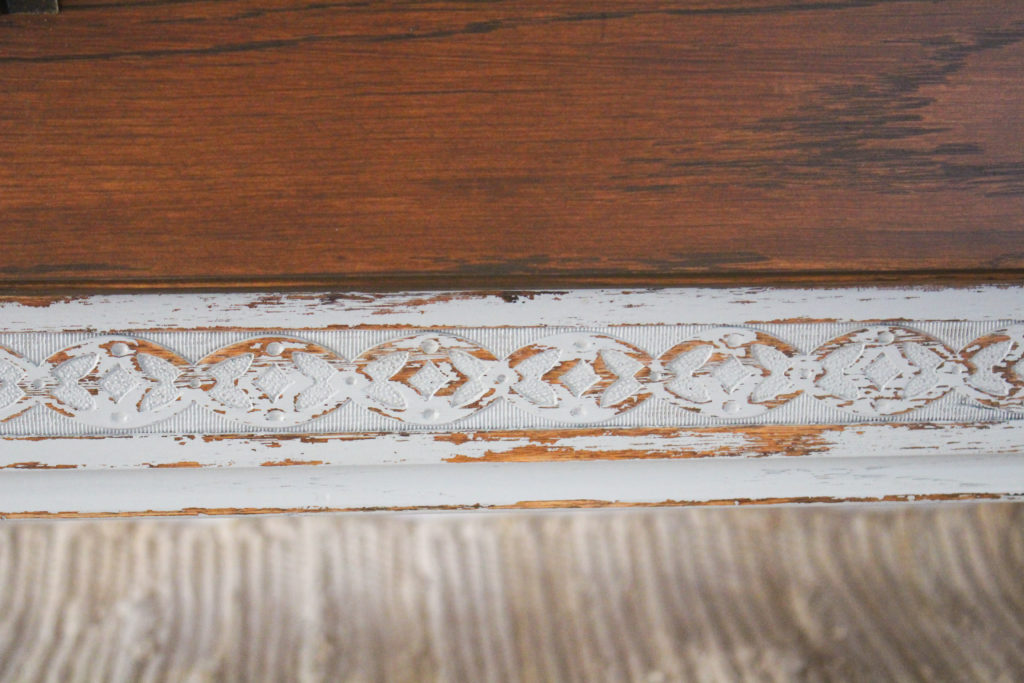
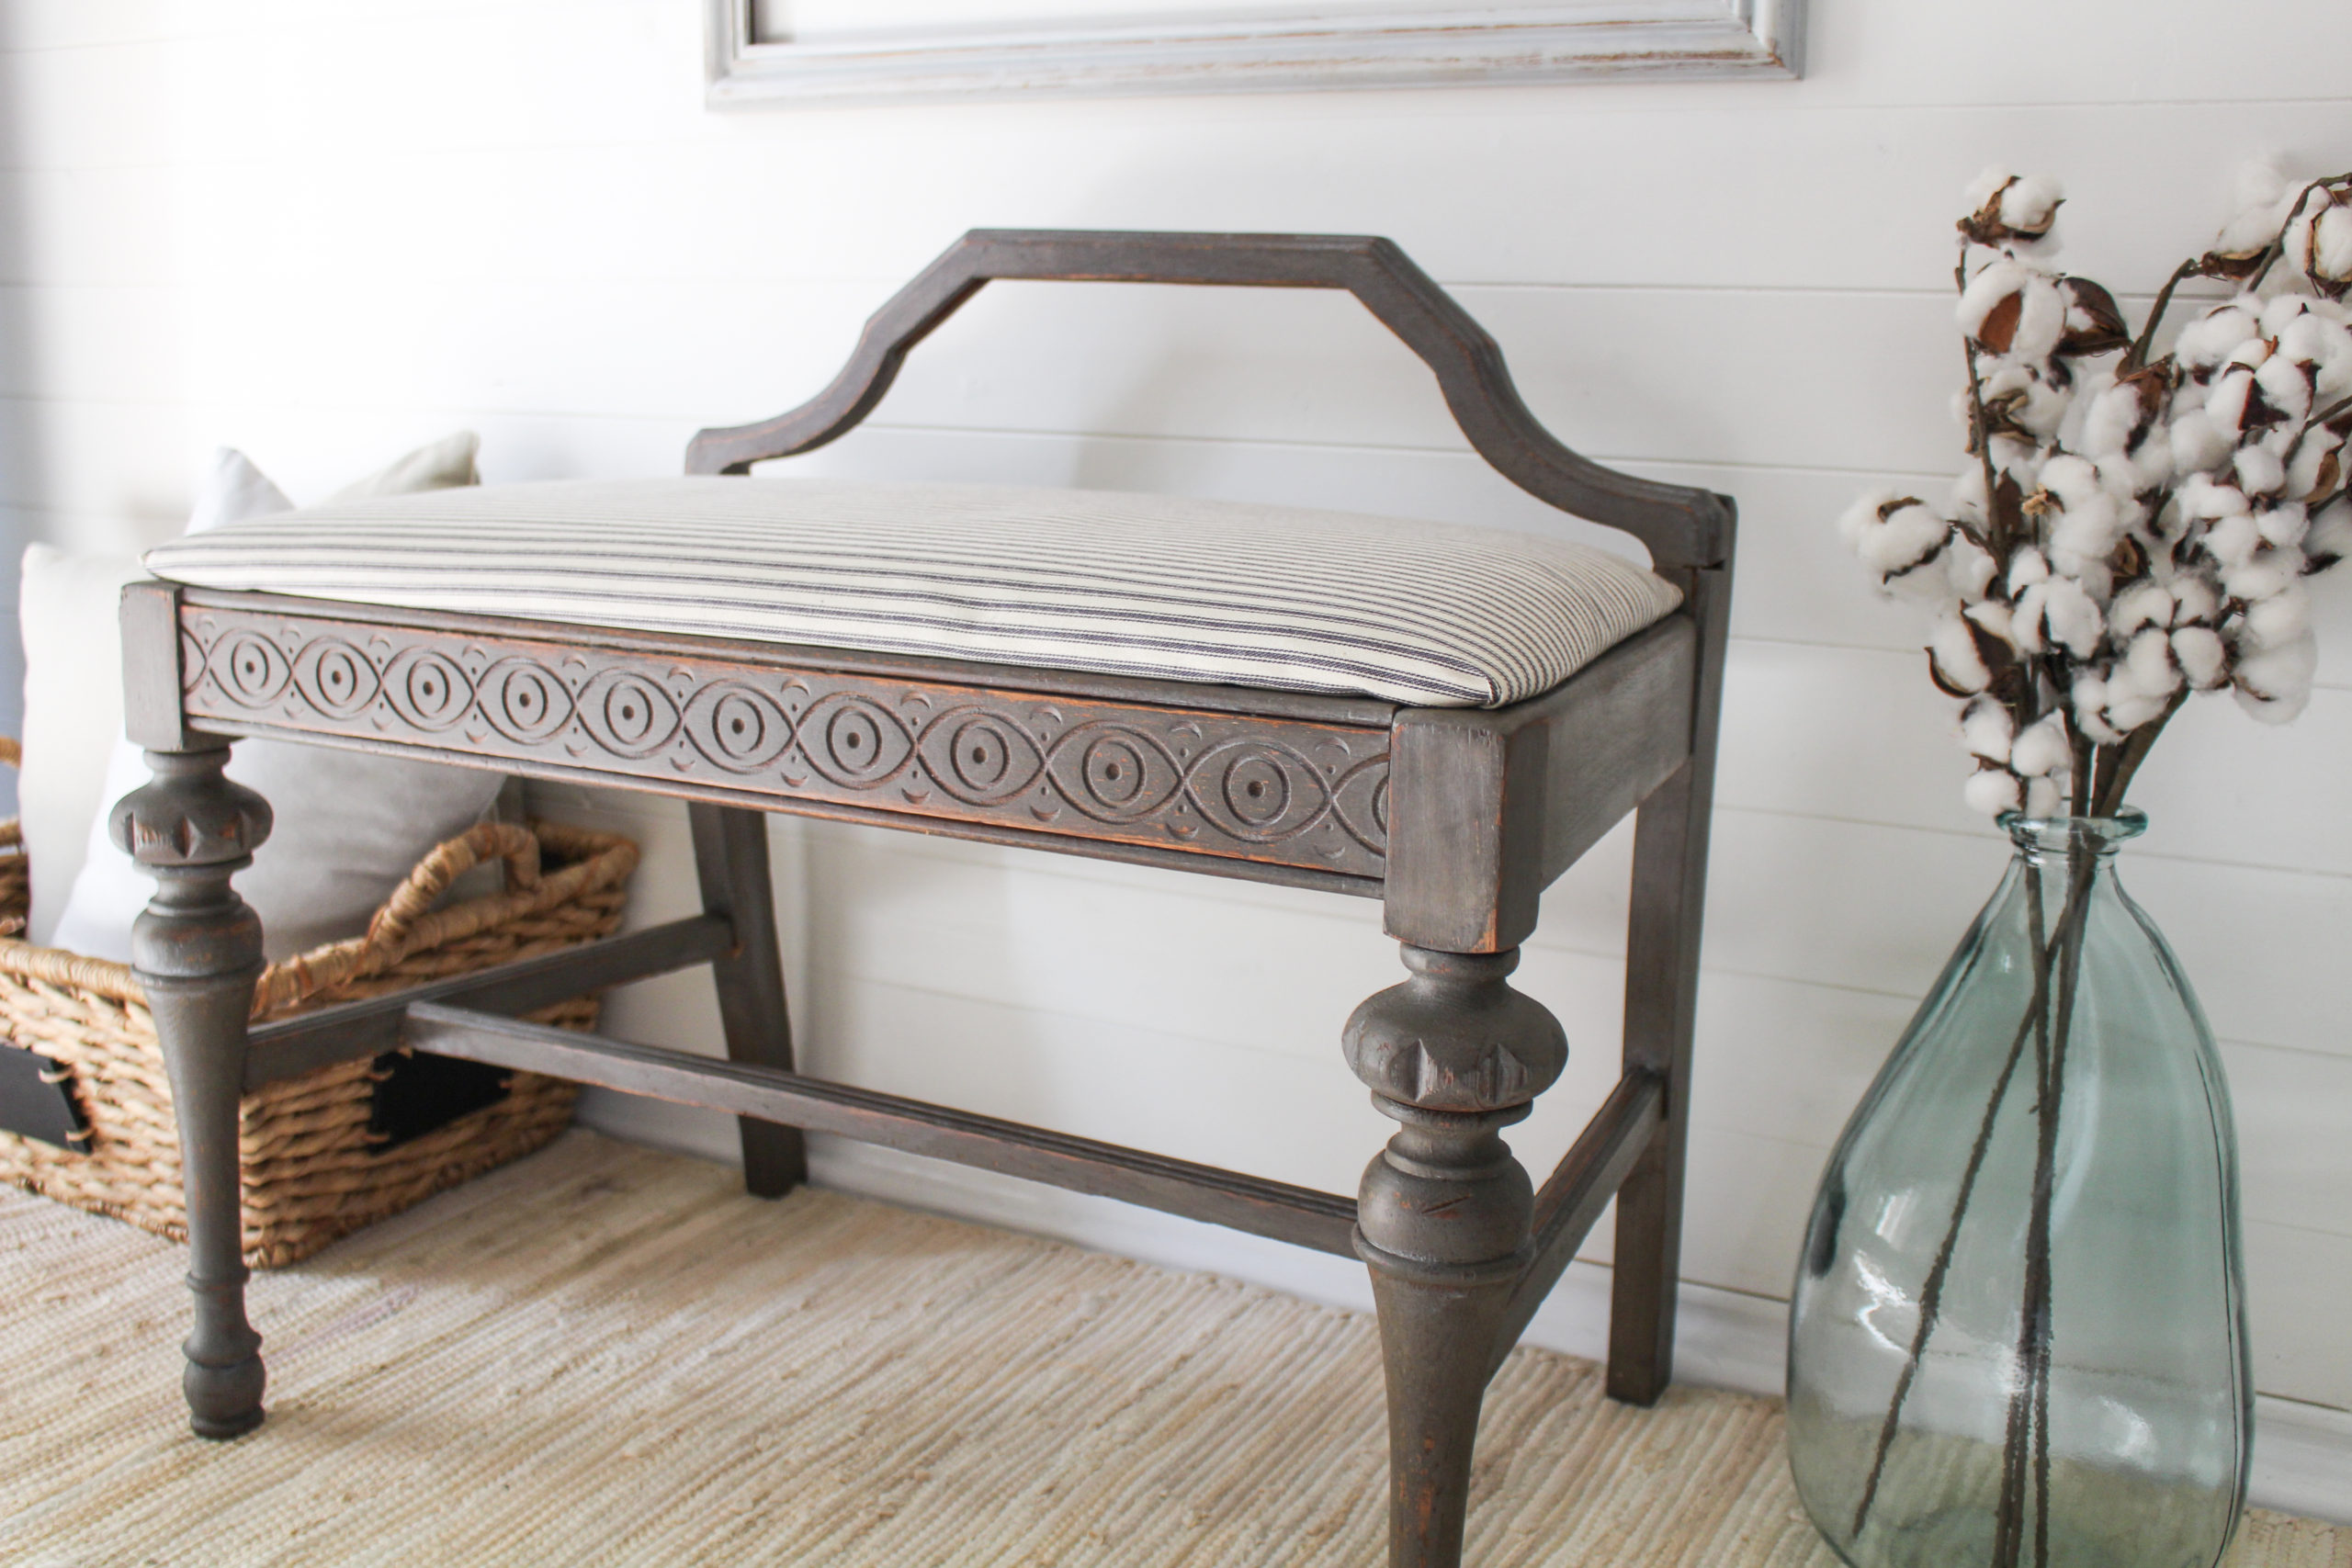
This pattern at the base of the dresser is very similar to the pattern on the Driftwood Deco Bench. Funny enough, both these pieces were sold to the same customer.
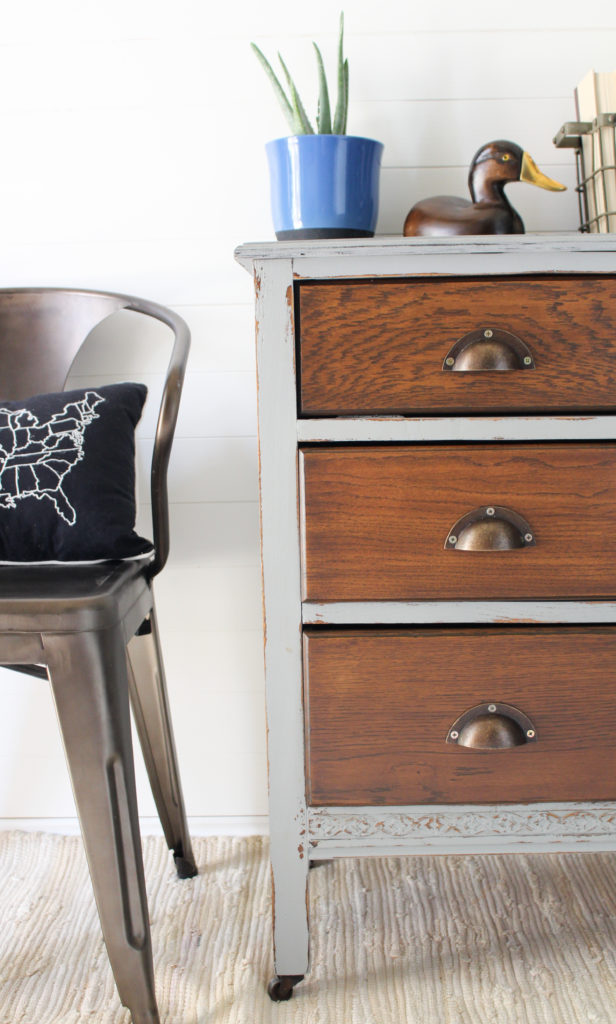
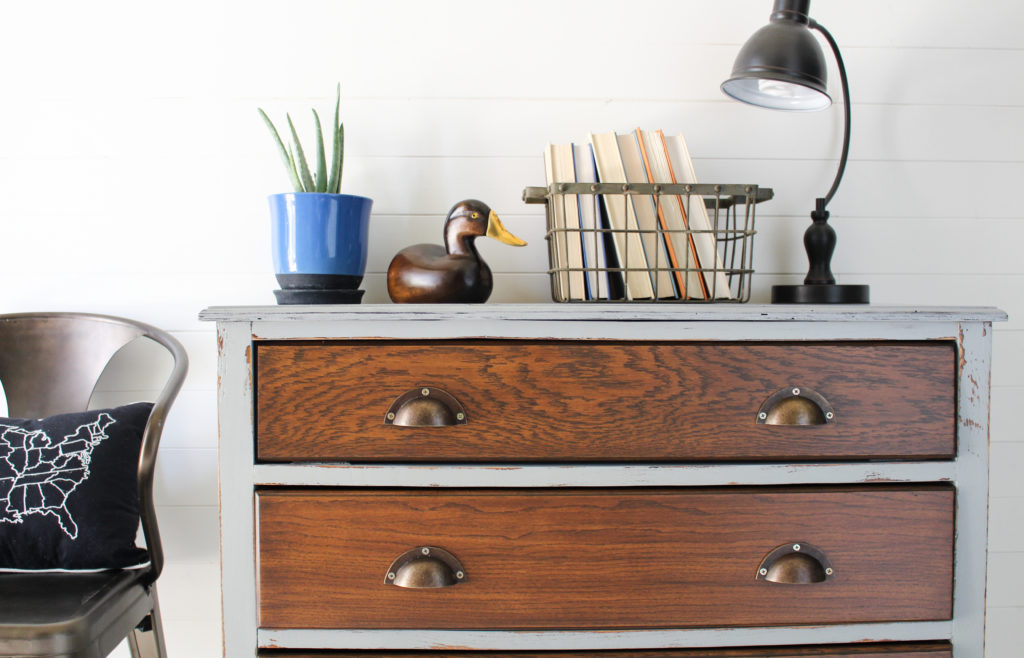
That little duck bookend is still available in my Etsy shop!
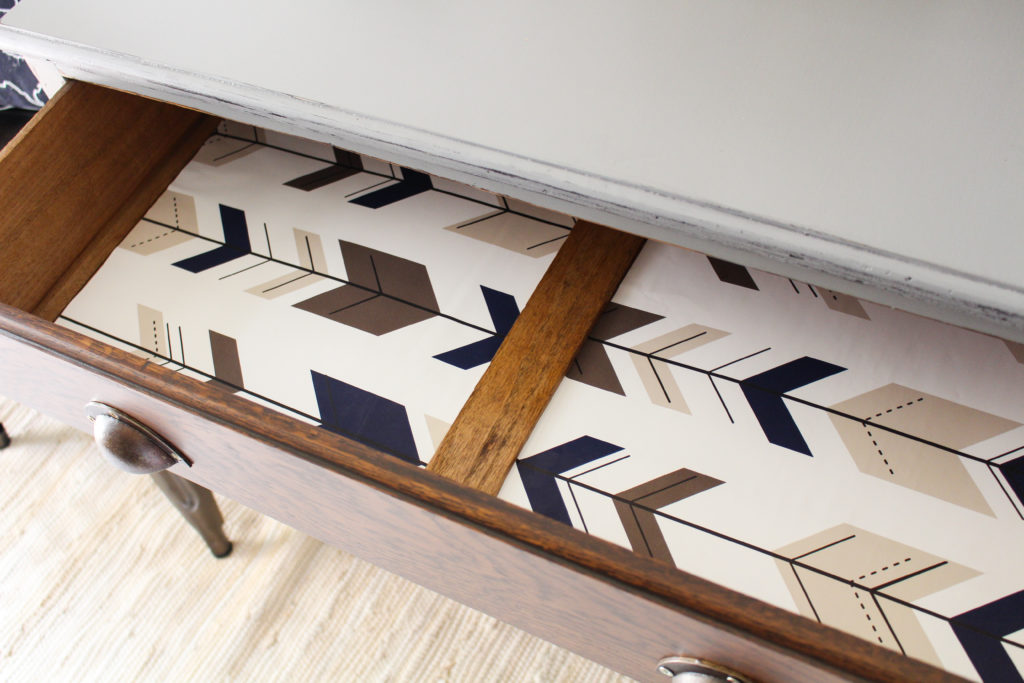
I love how this navy and tan arrow paper just takes this piece over the top! I may have to reorder it for future projects!!!
Well folks, thats it! Hope you enjoyed this modern industrial boys dresser makeover. Please PIN AWAY!







Leave a Reply