Typically, I prefer rustic and hardy furniture for a lot of my furniture updates. But every now and then I have the creative itch to get out and do something a little different. When that itch happens, I lean towards Mid Century Modern furniture or a bright, bold color. I have found that sometimes doing both in one piece gives me confidence in finishes and styles I would normally avoid. Which is a good thing…especially if you are business that its trying to expand your portfolio.
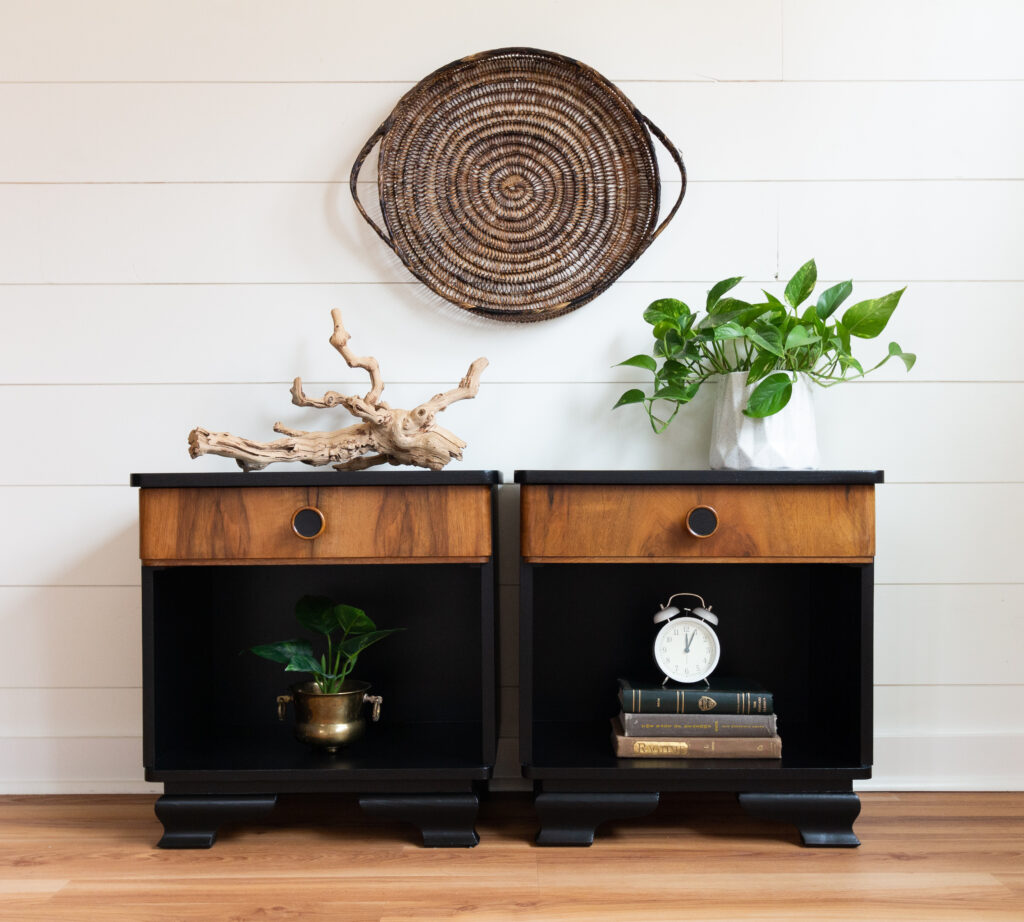
For this project, I found some retro/early Mid Century End tables that needed a good makeover. They were just an odd shape and they were covered in veneer (also two things I tend to avoid when searching for furniture). They sat in a sad thrift store aisle piled on with old cook books and magazines. Right away I knew they had the potential to be something flashy. So I scooped them up and brought them home.
*This post contain affiliate links. I receive a small commission for any purchases you make from my links. Please help continue to support bringing projects and posts like this by using the links in my blog post.
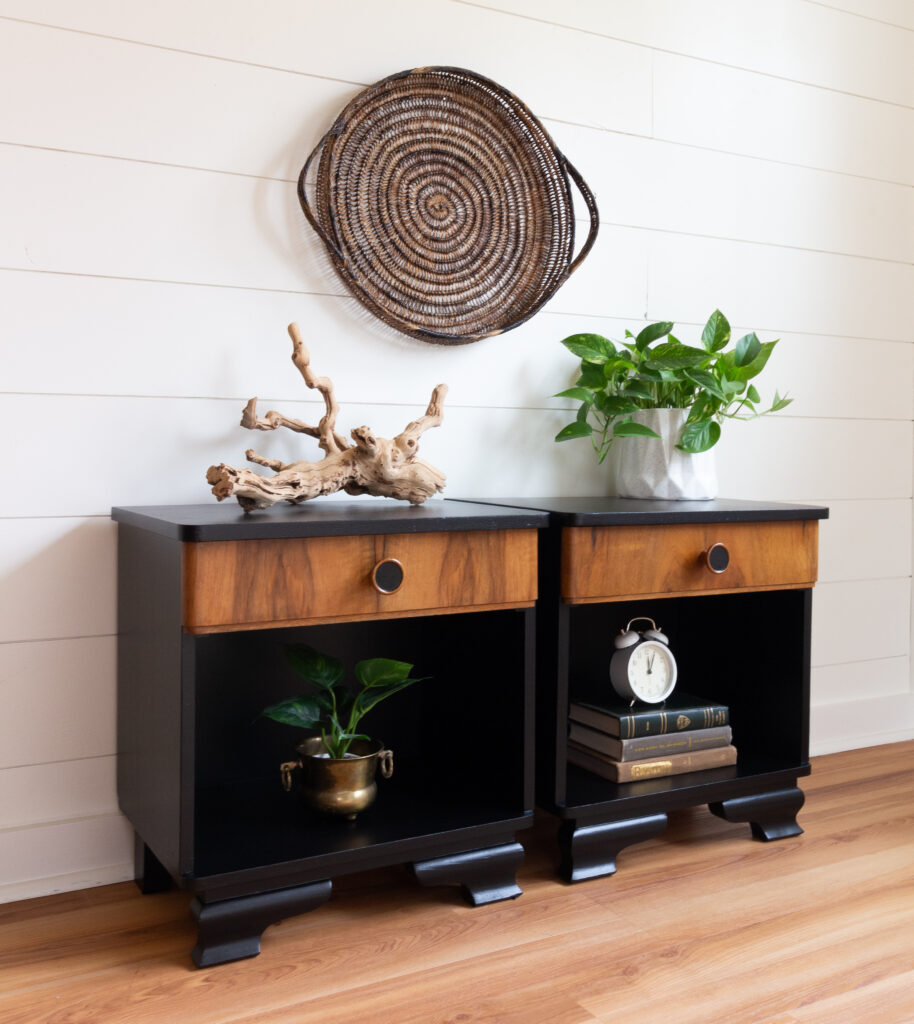
Unfortunately, I don’t have a “before” photo of these tables. But if you can picture brown lumps of veneer, that’s basically what they looked liked. Here is what they look like after:
Because these tables were veneer, I had to be extremely careful while prepping them. Here are some tips on how to refinish veneer furniture without causing more work for yourself.
CLEANING:
When cleaning veneer, you certainly want to watch how much liquid is used in the cleaning process. If too much liquid gets underneath it, you might deal with bubbling veneer. I prefer to use a spray bottle and wiping cloths when cleaning veneer furniture. Give one to two quick sprays, then quickly scrub and wipe. Repeat the process if it needs. Avoid saturation if at all possible.
SANDING:
When sanding veneer, it’s imperative you take your time and try to watch every rotation of your sander. It would be even better if you had a sander with speed settings like THIS ONE. If you use too heavy of a grit of sandpaper, and go too quickly to sand the finish off, you risk burning right through the veneer, leaving you with an ugly splotch of whatever is underneath it. Most often, its MDF underneath veneer and if you are trying to highlight the pretty pattern, a big ‘ole blotch of MDF will just rain on your parade.
Take your time, start with a higher grit of paper and if you have the time and patience, strip off the finish with a liquid stripper first. Watch your edges and don’t add any compression to your sander as you go. Sanding veneer will be the most stressful part of your project.
PAINTING
If you do happen to deal with bubbling veneer, or sand through your veneer, it’s best you make those repairs PRIOR to painting. Both require careful consideration depending on your finish. If you have veneer that is bubbling, use micro-syringes like this ONE to insert wood glue underneath. Use a heavy duty clamp with a soft pad to apply pressure.
- TIP: Applying the clamp directly to piece of furniture without a barrier can cause indentations in your veneer that cannot be fixed. Use a rag, or a sponge in-between your clamp and your furniture to prevent having to remove it.
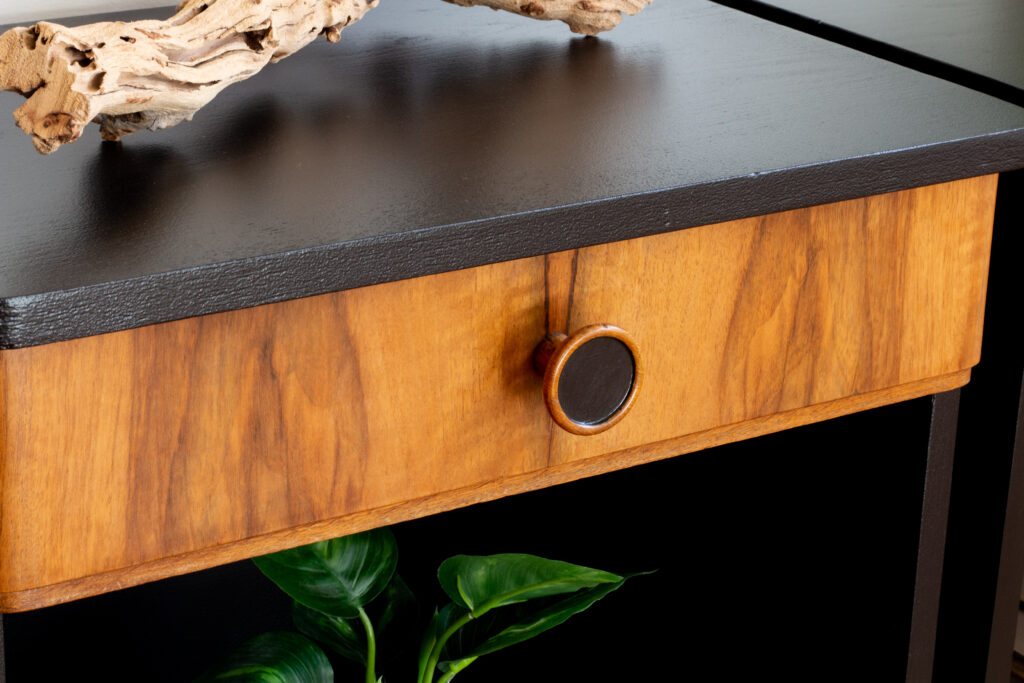
If you happen to sand or burn through your finish, you can use Bondo to create a “skim-coat” over that patch. The downside to this is, if your veneer is heavily textured, it might be obvious that it’s a patch job. So rather than skim coat just the patch, you may have to do the entire surface.
The reason this is in the painting tip is because the paint is really where you see what your piece will look like with finish. You want to pick a color that will blend and hide the imperfections of veneer, put also stay true to the style. Depending on how you apply your paint (roller vs. spray vs. brush) will all depend on how much you care what the finish looks like and whether or not you need to go through the extra trouble of a perfect surface.
So, long story short, you kind of need to visualize the finished product before you start prepping when it comes to veneer. It’s a tricky element to work with especially if you weren’t expecting to do all the extra prep.
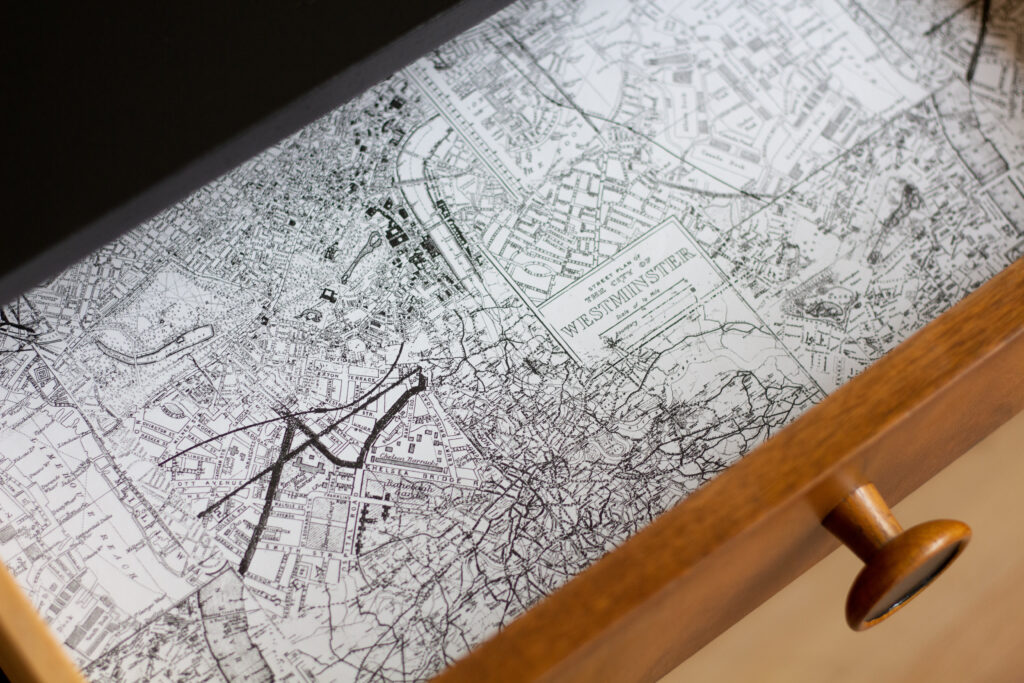
I always love to add a fun detail to my pieces by lining the drawers with some kind of paper. This might seem old-school and dated, but I really feel it’s a neat surprise when buyers are looking for that little bit of extra.
Below is a list of supplies used for this product! Don’t forget to use my Fusion Mineral Paint affiliate code for a discount on your order
DISCOUNT CODE: DRIFTWOODHOMEFMP
SUPPLY LIST
- Fusion TSP Alternative
- Reusable Microfiber Cleaning Towels
- Shop Vac with Brush Attachment
- Orbital Sander
- Sandpaper (various grits)
- Fusion Tough Coat
- Fusion Beeswax
- Microfiber Roller Kit
- Fusion Mineral Paint “Coal Black”





Leave a Reply